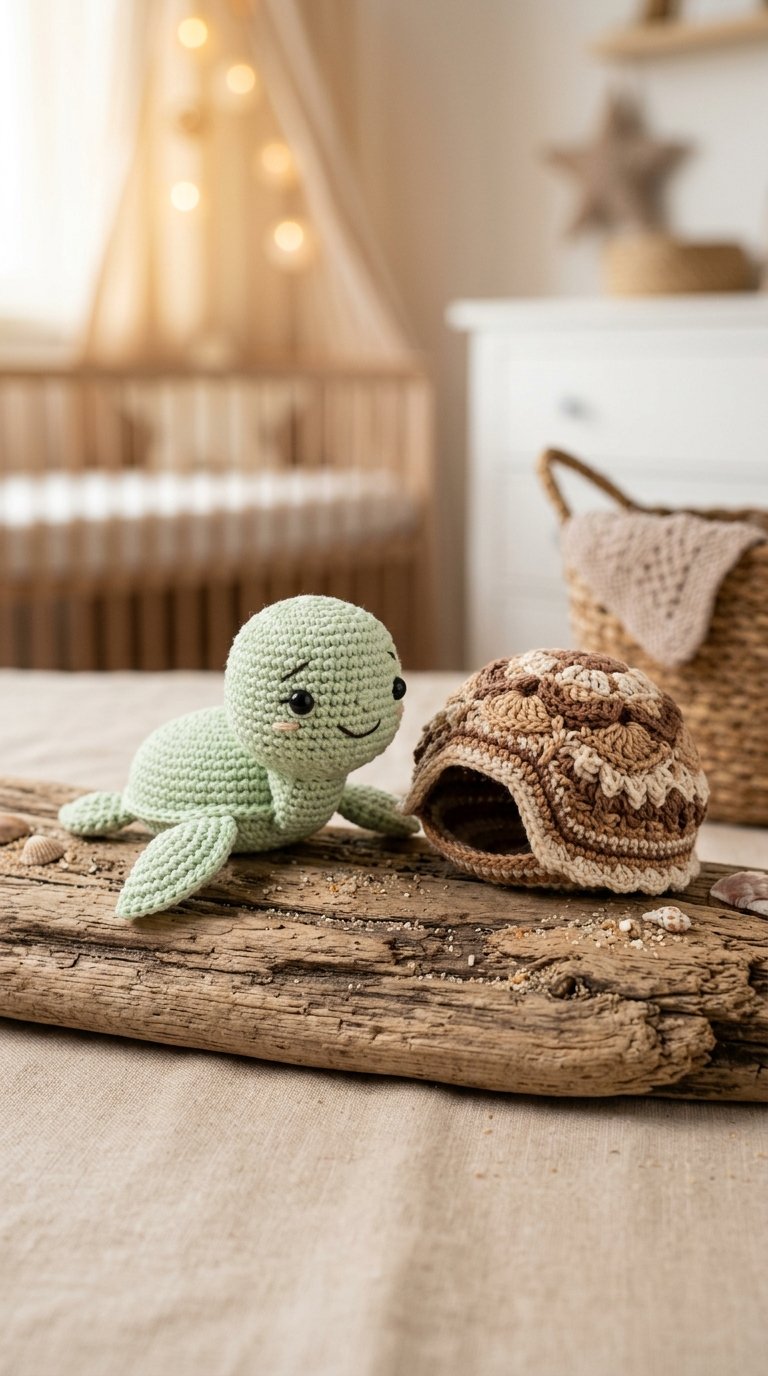
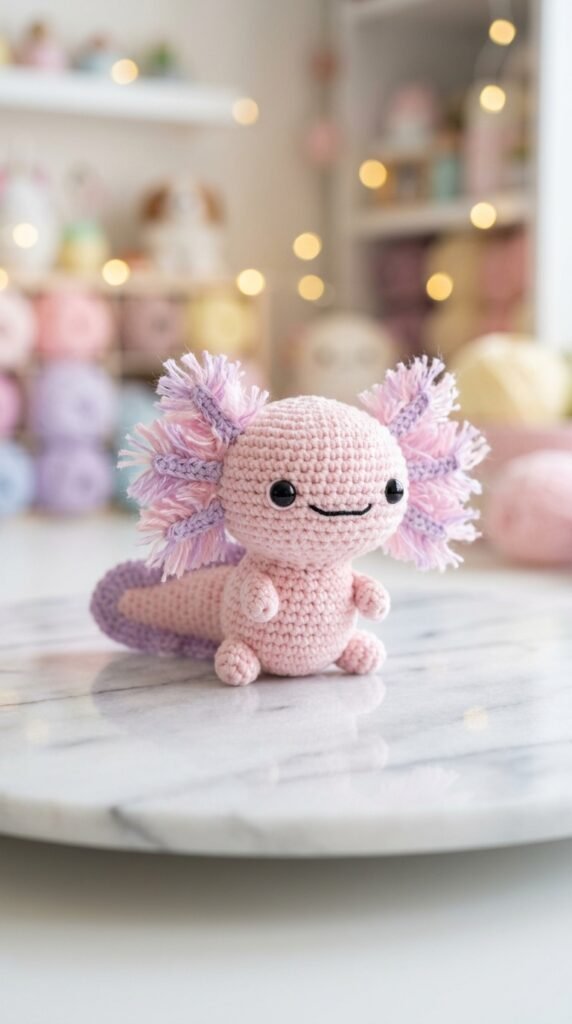
There is no creature quite as charming or quirky as the axolotl. With their wide, smiling faces and those iconic, feathery external gills, they have taken the crochet world by storm! This pastel-themed axolotl is designed to be soft, huggable, and full of personality.
Whether you’re a fan of these “water monsters” or just love the soft, dreamy aesthetic of pastel yarn, this project is the perfect weekend getaway for your hook.
Project Overview
- Skill Level: Intermediate (due to the gill fringe work)
- Finished Size: Approx. 5 inches tall
- Time Required: 6–8 hours
- Style Notes: The secret to this axolotl is the “fringe.” We’ll use a simple latch-hook style technique to create those signature fluffy gills.
What You’ll Need
- Yarn: DK or Sport weight cotton. Colors: Soft Pastel Pink (Body), Lilac/Lavender (Fringe/Tail).
- Hook: 2.5mm
- Safety Eyes: 8mm or 10mm black.
- Extras: Polyester fiberfill, tapestry needle, stitch markers, and black embroidery thread for the mouth.
The Pattern
Head
Start with Pastel Pink.
- MR, 6 sc (6)
- Inc around (12)
- [1 sc, inc] 6 times (18)
- [2 sc, inc] 6 times (24)
- [3 sc, inc] 6 times (30)
- [4 sc, inc] 6 times (36)
7-12. Sc around (36)
Insert safety eyes between rows 9 and 10. - [4 sc, dec] 6 times (30)
- [3 sc, dec] 6 times (24)
- [2 sc, dec] 6 times (18)
Stuff firmly and FO.
Body
- MR, 6 sc (6)
- Inc around (12)
- [1 sc, inc] 6 times (18)
- [2 sc, inc] 6 times (24)
5-10. Sc around (24) - [2 sc, dec] 6 times (18)
Stuff and sew to the head.
The Gills (The Fringe Technique)
- Crochet a base foundation of 3 small “branch” shapes in Lavender.
- The Fringe: Cut 3-inch lengths of your pastel yarn. Fold a piece in half, insert your hook into a stitch on your foundation branch, pull the loop through, and pull the tails through the loop (like a tassel).
- Repeat this in every stitch along the branch until you have a thick, fluffy gill. Use a wire brush (or a stiff toothbrush) to gently “brush out” the yarn ends to make them look soft and feathery.
The Tail
Using Lavender.
- Work a flat, triangular shape by chaining 10 and working back and forth, increasing by one stitch at the end of every row until the desired length.
- Sew firmly to the back of the body.
Expert Tips for the “Feathery” Gills
1. Brushing the Yarn
The secret to the “feathery” look is not just the yarn, but the brushing. After attaching your fringe, take a clean, unused wire-bristle pet brush. Gently brush the yarn ends. Be patient—it takes a few minutes, but it will transform your yarn into a soft, fluffy texture that looks just like a real axolotl’s gills.
2. The Smiling Mouth
Axolotls are famous for their permanent grins! Use a single strand of black embroidery thread to create a small “w” shape or a slightly upturned line directly between the eyes. Keep it simple—a tiny line goes a long way in giving this creature his “happy” disposition.
3. Balanced Proportion
Axolotls have long, wide heads. If you find your head is looking too “ball-like,” try adding two rows of “even” crochet (no increases) between the initial increase rounds and the decrease rounds. This will give the head a slightly more elongated, authentic axolotl shape.
4. Choosing the Right Pastel Palette
For the best aesthetic, look for “baby” tones—think powdery pinks, soft lilacs, or mint greens. Using variegated yarn for the gills (yarn that changes color) can also create a really cool, professional effect without you having to change colors manually!
A Note from One Maker to Another
Crocheting an axolotl is such a fun way to experiment with mixed-media techniques like brushing and fringe-work. Don’t be intimidated by the “hairy” parts! If the brush-out doesn’t look perfect the first time, simply trim the fringe with small sewing scissors until it looks even and neat.
Are you ready to create your own pastel aquatic friend?
Gather your hook, pick your favorite soft yarn, and enjoy the process of bringing this little smile-maker to life.