Hello, fellow yarn enthusiasts! I am so incredibly happy you’ve stopped by my little corner of the internet today. If we haven’t met yet, let me introduce myself: I’m a 44-year-old crochet addict living right here in the heart of the US. I’ve had a hook in my hand for over 20 years now—ever since my grandmother sat me down with a skein of scratchy wool and taught me my first chain stitch. Since then, crochet has been my therapy, my creative outlet, and my favorite way to show love to my family and friends.
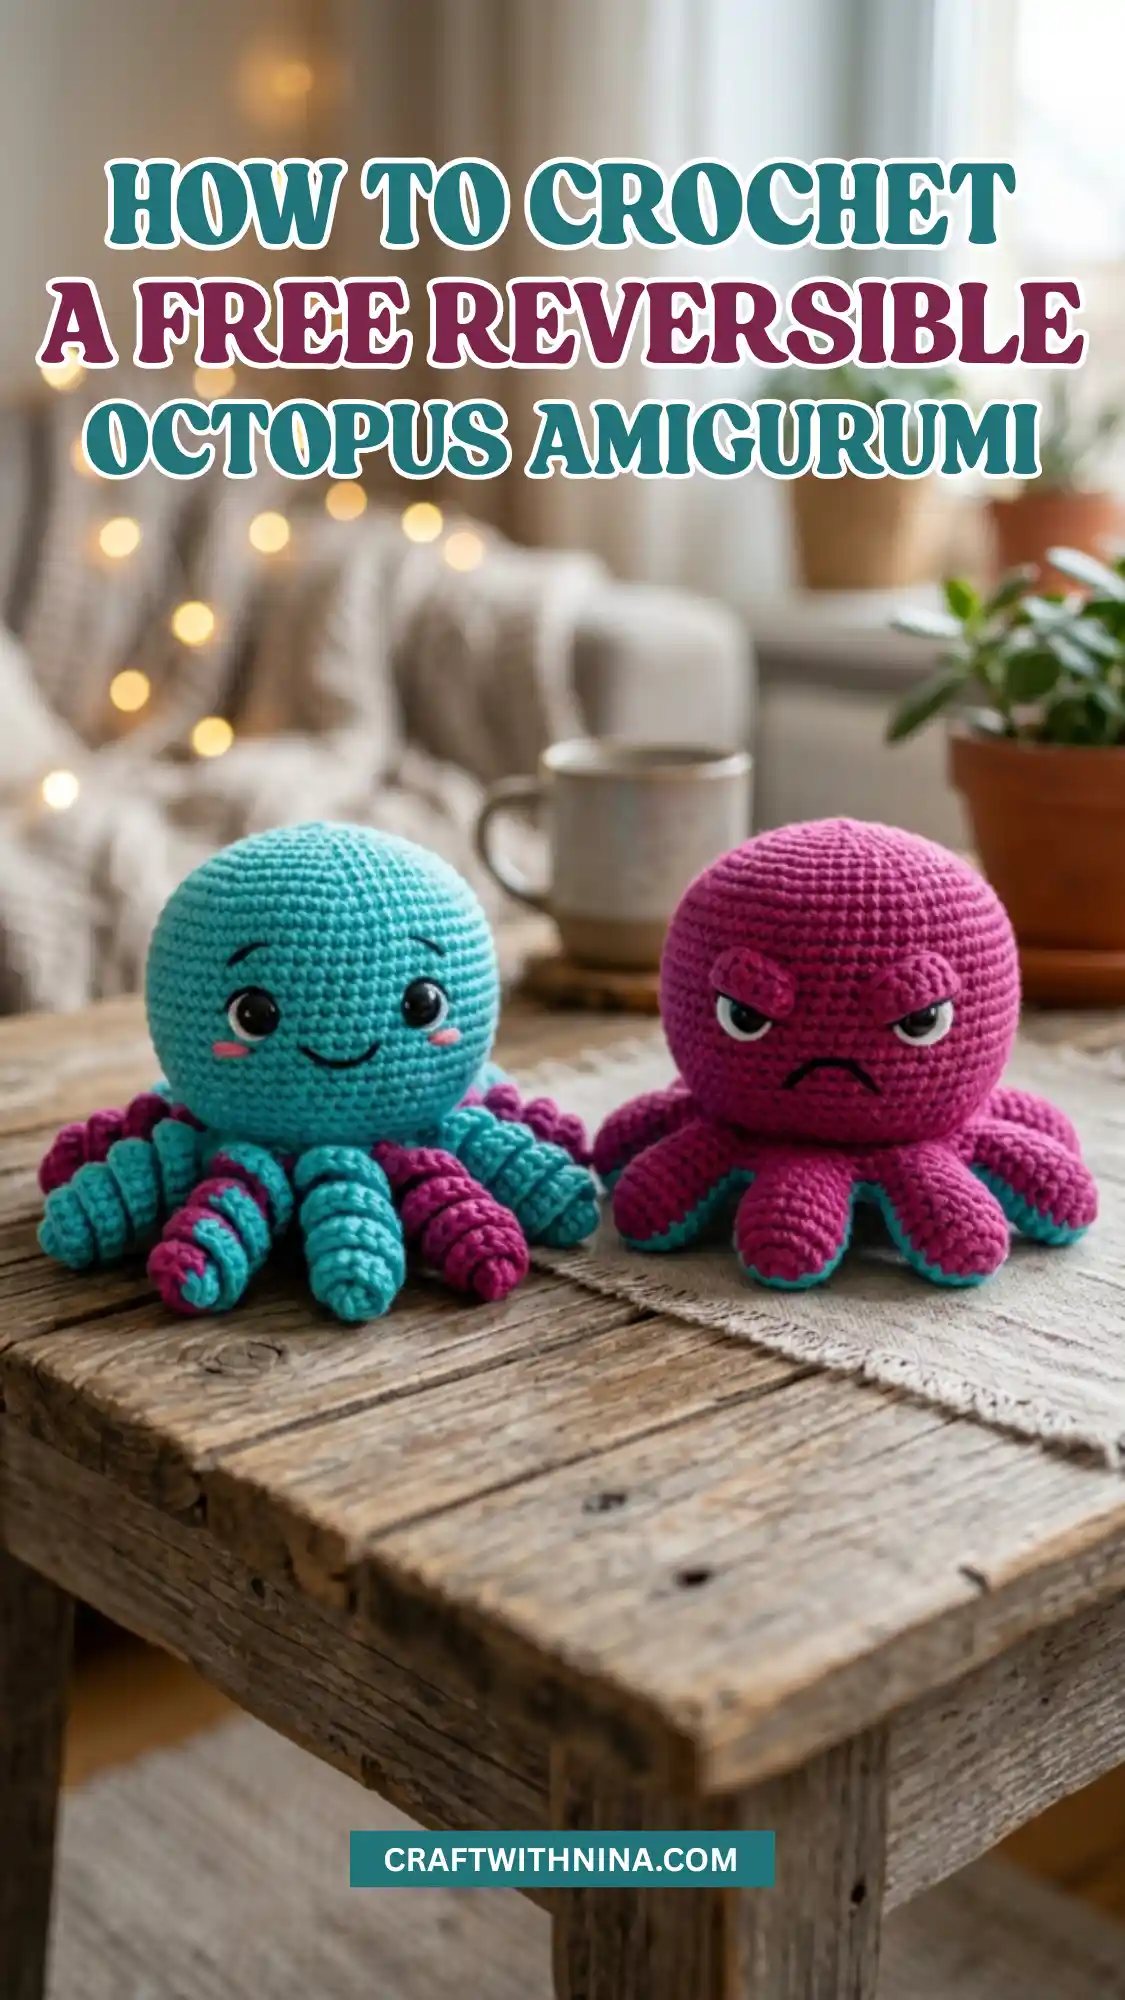
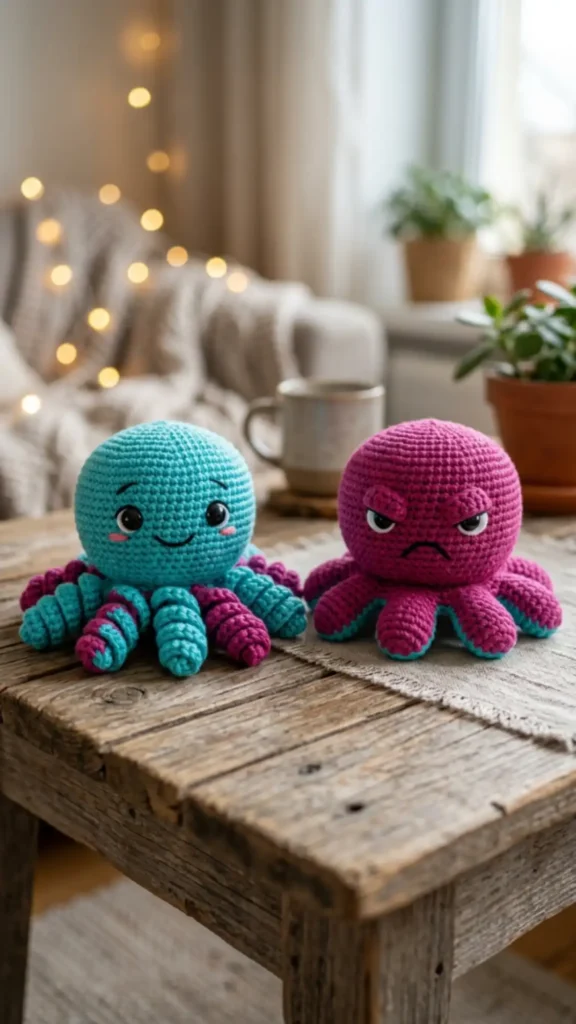
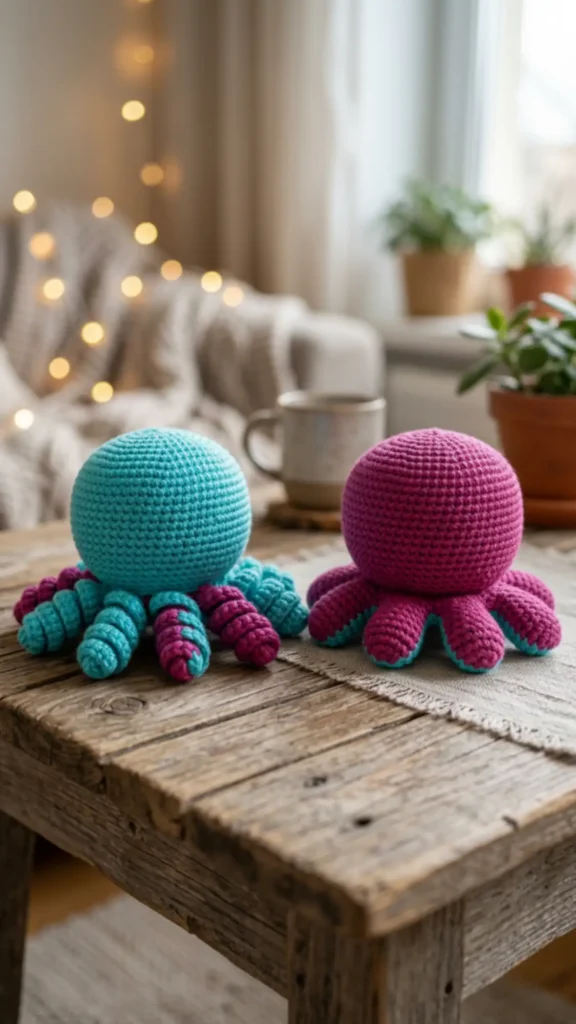
Today, I am sharing something truly special. You’ve probably seen these Reversible Octopus Amigurumis all over social media, and for good reason! They aren’t just adorable; they are functional “mood” toys. I first made one of these for my youngest daughter when she was having a hard time expressing her feelings, and it became a total game-changer in our house. One side is “Happy” (Teal), and the other is “Grumpy” (Purple).
Whether you’re a seasoned pro or someone looking to level up your amigurumi game, this pattern is a joy to work up. It’s quick, uses very little yarn, and is the ultimate “scrap-buster” project. So, grab a fresh cup of coffee (or tea!), find your favorite spot on the couch, and let’s get hooking!
Project Details
- Skill Level: Intermediate
- Time to Complete: 2–3 hours
- Final Size: Approximately 5 inches wide and 4 inches tall (depending on your tension).
A Note on the Skill Level: I’ve marked this as “Intermediate” not because the stitches are hard (it’s mostly just single crochet!), but because the assembly requires joining two separate pieces together while keeping the stuffing contained. If you’re a beginner, don’t be intimidated! Just take it slow, and read through my “Expert Tips” in each section.
Materials You’ll Need
To get that professional, “boutique” look you see in the photo, the quality of your materials matters. Here is exactly what I used:
- Yarn: Medium Weight Cotton or Acrylic (Size 4). I personally prefer a cotton blend like 24/7 Cotton or Lily Sugar’n Cream because it gives the octopus a sturdy structure and great stitch definition. You will need about 50 yards of Teal and 50 yards of Deep Purple.
- Crochet Hook: 3.25mm (D) or 3.5mm (E). In my 20 years of experience, the secret to perfect amigurumi is using a hook that is 1mm smaller than what the yarn label recommends. This prevents the stuffing from “bleeding” through the holes.
- Safety Eyes: Two pairs of 12mm black safety eyes. If you are making this for a baby under 3 years old, please embroider the eyes with black yarn instead to avoid a choking hazard.
- Stuffing: 100% Polyester Fiberfill (Poly-fil).
- Embroidery Thread: A small amount of black for the smiles and frowns, and a tiny bit of pink for the cheeks.
- Essential Tools: A sharp pair of scissors, a tapestry needle for weaving in ends, and—most importantly—a stitch marker.
Abbreviations (US Terminology)
- MR: Magic Ring (The gold standard for starting amigurumi!)
- Sc: Single crochet
- Inc: Increase (2 sc in the same stitch)
- Dec: Invisible Decrease (Insert hook in FLO of first st, then FLO of second st, yarn over, pull through two loops, yarn over, pull through remaining two).
- Ch: Chain
- Hdc: Half double crochet
- St(s): Stitch(es)
- Sl st: Slip stitch
- FLO: Front loops only
- BLO: Back loops only
The Pattern
Step 1: The Main Body/Head (Make Two)
You will make one of these in Teal and one in Purple. They are worked in continuous rounds, so do not join at the end of each row.
Rnd 1: Start with 6 sc in a Magic Ring. (6)
Rnd 2: Inc in every stitch around. (12)
Rnd 3: 1 sc, inc – repeat 6 times. (18)
Rnd 4: 2 sc, inc – repeat 6 times. (24)
Rnd 5: 3 sc, inc – repeat 6 times. (30)
Rnd 6: 4 sc, inc – repeat 6 times. (36)
Rnd 7: 5 sc, inc – repeat 6 times. (42)
Rnd 8: 6 sc, inc – repeat 6 times. (48)
Rnd 9-16: Sc in each stitch around. (48)
Expert Tip: While working these rounds, take a second to check your tension. If the fabric feels “floppy,” your hook is too big! You want a nice, firm fabric.
Rnd 17: 6 sc, dec – repeat 6 times. (42)
Rnd 18: 5 sc, dec – repeat 6 times. (36)
For the Teal head: Fasten off and weave in the ends.
For the Purple head: Do not fasten off. You will use the working yarn to join the two pieces later.
Step 2: The Face Placement
Before we join the heads, we need to add the personality!
- The Happy Side (Teal): Insert safety eyes between rounds 12 and 13, leaving about 8 stitches between them. Once secured, use your embroidery needle and black thread to stitch a small “U” shaped smile right between the eyes. For a little extra “expert” flair, take a pink yarn scrap and add two tiny horizontal lines just below the eyes for blushing cheeks.
- The Grumpy Side (Purple): Place the eyes between rounds 12 and 13 as well. To give him that “angy” look, use black embroidery thread to create two diagonal eyebrows pointing downward toward the nose. Stitch an inverted “U” (a frown) for the mouth.
Step 3: Joining the Heads
This is where the magic happens.
- Place the “Happy” head inside the “Grumpy” head (wrong sides facing each other).
- Align the stitches of the last round (Rnd 18) for both pieces.
- Using the Purple yarn you didn’t cut, insert your hook through both layers (one stitch from the Purple head and the corresponding stitch from the Teal head).
- Sc around the entire edge, but stop when you have about 2 inches left.
- Lightly stuff the area between the two heads. Expert Tip: Don’t overstuff! If it’s too firm, it won’t “flip” easily. You want just enough stuffing to give the head a round shape.
- Finish the single crochet round and join with a sl st.
Step 4: The Curly Tentacles (Make 8)
In the photo, you’ll see those beautiful, bouncy curls. Here is the secret to getting that perfect spiral:
- Ch 25.
- In the second chain from the hook, place 3 hdc.
- Place 3 hdc in every chain stitch until you reach the end.
- As you work, the chain will naturally start to twist. Use your fingers to “train” the spiral into a tight curl.
- Fasten off, leaving a long tail for sewing.
Make 4 tentacles in Teal and 4 in Purple.
Step 5: Final Assembly
Now, we’re going to attach the tentacles to the joining ridge we created in Step 3.
- Space your 8 tentacles evenly around the base of the octopus.
- I like to alternate them: one Teal, one Purple, and so on. This looks fantastic when the toy is flipped because you see a pop of the opposite color underneath!
- Using your tapestry needle, sew the tentacles securely to the sc-row where the two heads joined. Make sure to knot them tightly, especially if this is a toy for a child.
Expert Finishing Touches
After 20 years of crocheting, I’ve learned that the details make the difference. To really make your octopus pop:
- The Steam Block: If your tentacles are looking a bit “crunchy” or uneven, give them a very light steam with an iron (don’t touch the iron to the yarn!). This softens the fibers and makes the curls bounce.
- The Reversible Test: Flip your octopus back and forth a few times. If it feels too stiff, reach inside and pull out a tiny bit of stuffing. It should pop from happy to grumpy with a satisfying “click” feel.
Conclusion
And there you have it! Your very own Reversible Octopus Amigurumi. I hope this pattern brings a smile to your face (and maybe a giggle to whoever receives it). These little guys are so addictive to make—once you finish one, you’ll find yourself wanting to make a whole rainbow of them!
If you enjoyed this pattern, please share your photos with me! There is nothing I love more than seeing my designs come to life in different colors. If you ran into any trouble or have questions about the invisible decrease or the joining process, leave a comment below. I check the blog every morning with my first cup of coffee and would love to help you out.