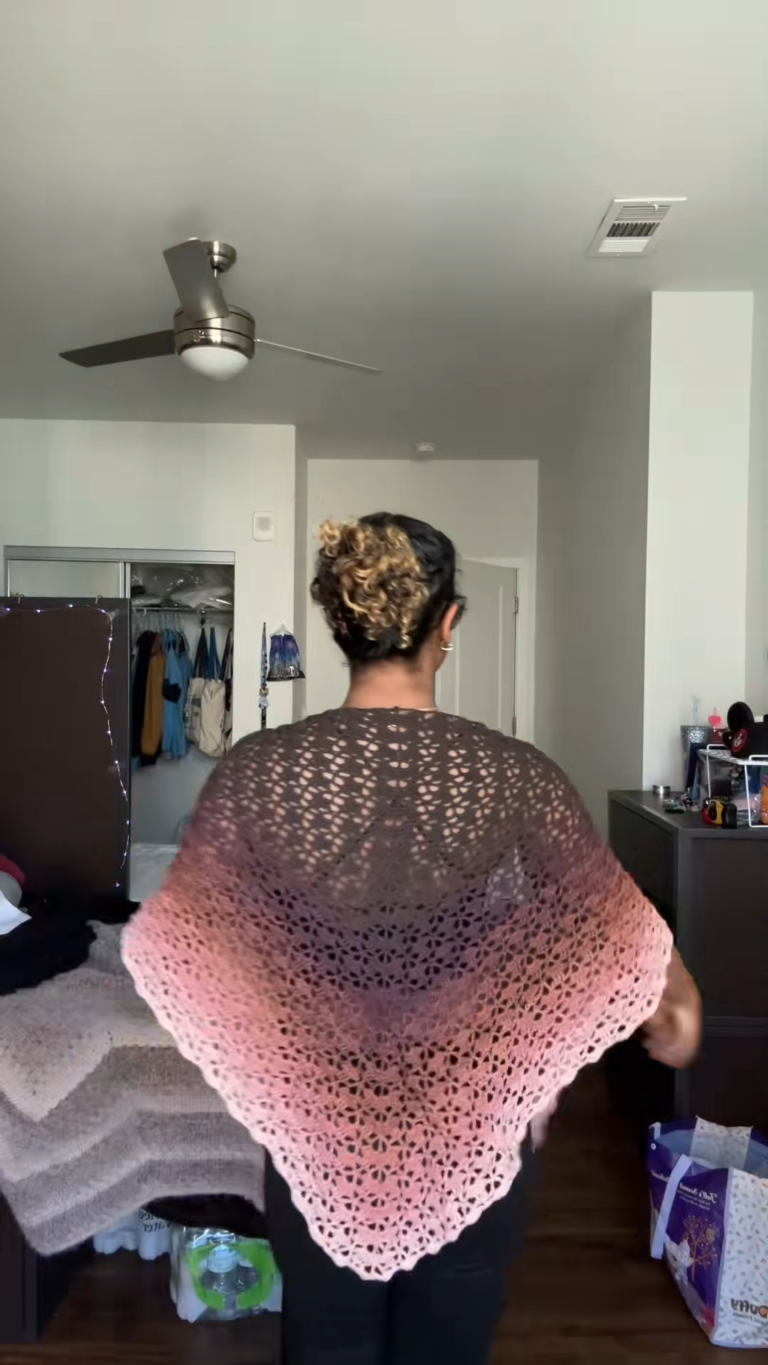
There is nothing quite as rewarding as curling up with a soft, warm scarf you’ve made yourself. This design is perfect for beginners because it relies on a single, repetitive stitch that creates a gorgeous “knitted” texture. The deep, rich cranberry color shown in the video makes it a stylish staple for any winter wardrobe.

Project Overview
- Skill Level: Beginner
- Time Commitment: 4–6 hours
- Style Notes: The ribbing provides a lovely, structured drape that is both warm and incredibly stretchy.
What You’ll Need
- Yarn: Bulky (Weight 5) or Super Bulky (Weight 6) yarn.
- Note: The video uses 3 skeins to achieve that thick, luxurious length.
- Hook: 8.0mm or 10.0mm (to match your yarn thickness).
- Extras: Large-eye tapestry needle and sharp scissors.
The Secret to the “Knit” Look
The magic of this scarf lies in the Half Double Crochet (HDC) into the Back Loop Only (BLO). By inserting your hook only through the back loop of each stitch from the row below, you create a beautiful, raised ridge. When you repeat this for every row, it mimics the look of a traditional knitted ribbing, but with the speed and ease of crochet!
Step-by-Step Pattern
1. The Foundation
- Chain 20 (or as wide as you would like your scarf to be).
- Row 1: HDC in the 3rd chain from your hook and in every chain across.
2. Building the Ribs
- Row 2: Ch 2 and turn. Work HDC into the back loop only of every stitch across.
- Repeat: Continue Row 2 until your scarf reaches your desired length. For a classic wrap-around scarf, aim for about 60–70 inches.
3. Attaching New Skeins
When you reach the end of a ball of yarn, don’t worry about messy knots! Simply tie your new skein to the old one with a strong, tiny knot (a “magic knot” is best), trim the tails closely, and continue crocheting. As you weave in your ends later, these knots will be completely hidden within the texture of the scarf.
4. The Finishing Touches
- Weaving Ends: Once you reach your desired length, fasten off. Use your tapestry needle to weave your yarn tails back and forth through the ridges of your scarf. Because the ribbing is so thick, you can easily hide the tails so they are invisible.
Expert Tips for a Professional Scarf
- Consistency is Key: With ribbed stitches, it’s easy to accidentally drop a stitch at the end of a row. Always count your stitches at the end of every row to ensure your edges stay straight and don’t taper.
- Don’t Over-Tighten: Beginners often pull their yarn tight to “secure” the stitch. With ribbed scarves, this makes the fabric stiff. Keep a loose, relaxed tension to ensure the scarf remains soft and squishy.
- The “Luxury” Test: If you want your scarf to look expensive, choose a yarn with a slight wool or alpaca content. It gives the fabric a “halo” of soft fuzz that makes the scarf feel significantly warmer and more premium.
Why Handmade Fashion Matters
There is a profound sense of peace in the repetitive motion of crocheting. It’s an opportunity to disconnect from screens, slow down your breathing, and focus on the tactile joy of creating something with your hands. Every time you wrap this scarf around your neck, you’ll be reminded of the time and care you invested in your own comfort.
Are you ready to start your scarf?
Grab your yarn, put on your favorite show, and settle in. It’s a rhythmic, relaxing process that leaves you with the perfect accessory for the chilly months ahead.