

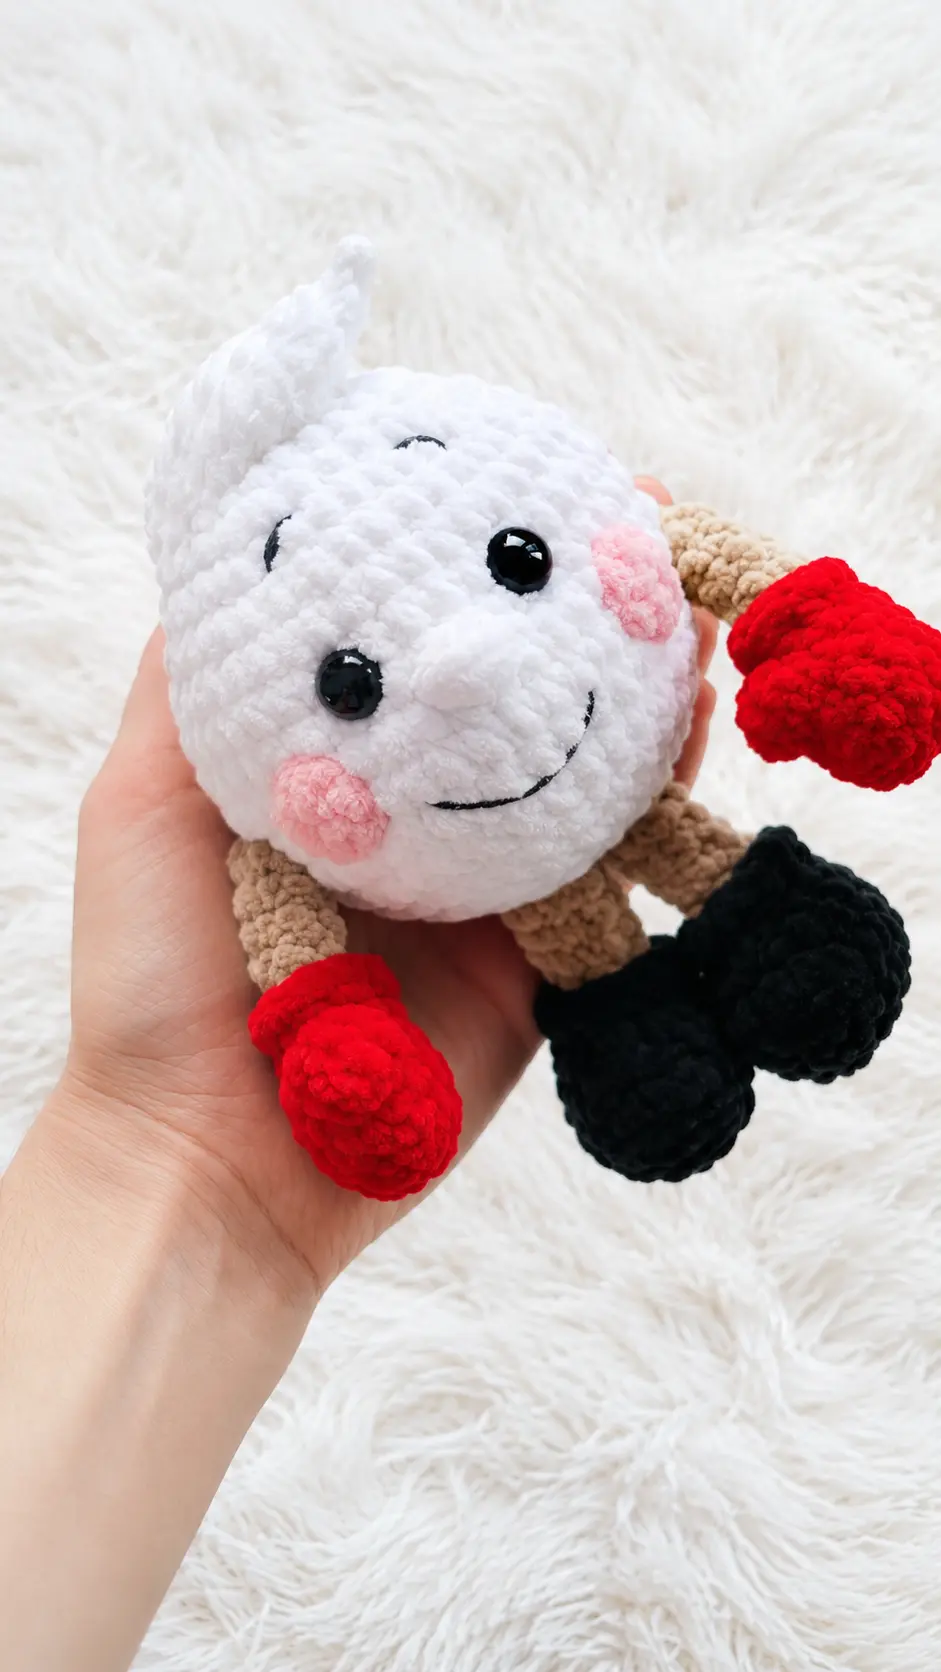
A few evenings ago, I was wrapping a few Christmas gifts when I realized I still had a basket of soft white plush yarn left over from my holiday projects. Before putting everything away, I decided to sit down for “just a few minutes” with my crochet hook. Those few minutes quickly turned into a relaxing evening as I experimented with a simple round shape that reminded me of a fluffy snowball. Once I added a sweet little face and tiny winter details, I knew it was too cute to keep to myself.
There’s something special about small holiday projects that can be finished in a single sitting. They don’t require a huge commitment, yet they add so much warmth and personality to your seasonal décor. This How to Crochet a Plush Snowball Character – Free Pattern is perfect for using leftover yarn while creating an adorable winter companion. Display it on a mantel, tuck it into a gift basket, use it as a stocking stuffer, or make a whole collection to brighten your home throughout the holiday season. However you choose to use it, this cheerful little snowball is sure to spread smiles with every stitch.
Materials Needed
- Plush yarn Himalaya Dolphin Baby (100g/120m) in white, sand, red, black, and pink
- Cotton yarn in black (for eyebrows) and gray (for mouth)
- Nako Paris yarn (for forelock)
- 12 mm safety eyes
- 3.5 mm crochet hook
- Fiberfill stuffing
- Stitch marker, needle, scissors, and Velcro (to brush out the forelock)
- Strong cotton thread for sewing parts together
Abbreviations
- mr = magic ring
- ch = chain
- sc = single crochet
- inc = increase (work 2 stitches into 1 stitch)
- dec = decrease (work 2 stitches together)
- sl st = slip stitch
- ps = puff stitch (made of 5 elements, 5 double crochets with a common top)
- (…)* = the number in parentheses at the end of each round shows total stitches in that round
Pattern Instructions
Ball
- White color:
- Stuffing: Stuff as you go.
- 1: 6 sc in mr (6)
- 2: 6 inc (12)
- 3: (sc, inc)*6 (18)
- 4: (2 sc, inc)*6 (24)
- 5: (3 sc, inc)*6 (30)
- 6: 2 sc, inc, (4 sc, inc)*5, 2 sc (36)
- 7: (5 sc, inc)*6 (42)
- 8: 3 sc, inc, (6 sc, inc)*5, 3 sc (48)
- 9-14: 6 rounds (48)
- 15: 3 sc, dec, (6 sc, dec)*5, 3 sc (42)
- 16: (5 sc, dec)*6 (36)
- Note: Insert eyes between rounds 10 and 11 at a distance of 6 sc.
- 17: 2 sc, dec, (4 sc, dec)*5, 2 sc (30)
- 18: (3 sc, dec)*6 (24)
- 19: (2 sc, dec)*6 (18)
- 20: (sc, dec)*6 (12)
- 21: 6 dec
- Note: Add stuffing.
- Note: Fasten off thread, cut, weave end into the work.
Arms (make 2)
- Red color: Work in red yarn.
- Stuffing: Stuff only the lower part.
- 1: ch 5, starting from 2nd ch from hook 3 sc, 3 sc in 1 st, 2 sc, inc (10)
- 2-3: 10 sc
- 4: 5 sc, ps, 4 sc (10)
- 5: (dec, 3 sc)*2 (8)
- Note: Change thread color to sand (do not cut the red thread, move it to the front side) and work in back loops only.
- 6: (sc, dec)*2, 2 sc (6)
- 7: dec, 4 sc (5)
- 8-10: 3 rounds (5)
- Note: Fasten off thread, cut, hide end in the work.
- Note: Return to round 6 and work in front loops only 8 sc.
- Note: Fasten off thread, cut, hide end in the work.
Legs (make 2)
- Black color: Work in black color.
- Stuffing: Stuff only the lower part.
- 1: ch 7, starting from 2nd ch from hook 5 sc, 3 sc in 1 st, 4 sc, inc (14)
- 2: inc, 4 sc, 3 inc, 4 sc, 2 inc (20)
- 3: 20 sc
- 4: 4 sc, 6 dec, 4 sc (14)
- 5: 3 sc, 4 dec, 3 sc (10)
- Note: Change thread color to sand (do not cut black thread, move it to the front side) and work in back loops only.
- 6: (sc, dec)*3, sc (7)
- 7-11: 5 rounds (7)
- Note: Fasten off thread, cut, hide end in the work.
- Note: Return to round 6 and work in front loops only 10 sc.
- Note: Fasten off thread, cut, hide end in the work.
Forelock
- Nako Paris yarn: Work with Nako Paris yarn.
- 1: 6 sc in mr
- 2: 6 inc (12)
- 3: (sc, inc)*6 (18)
- 4: (2 sc, inc)*6 (24)
- Note: Cut thread, leaving a long end for sewing.
Cheeks
- Pink color: Work with pink yarn.
- 1: 6 sc in mr
- Note: Fasten off thread, cut, hide ends inside work when sewing.
Design and Assembly
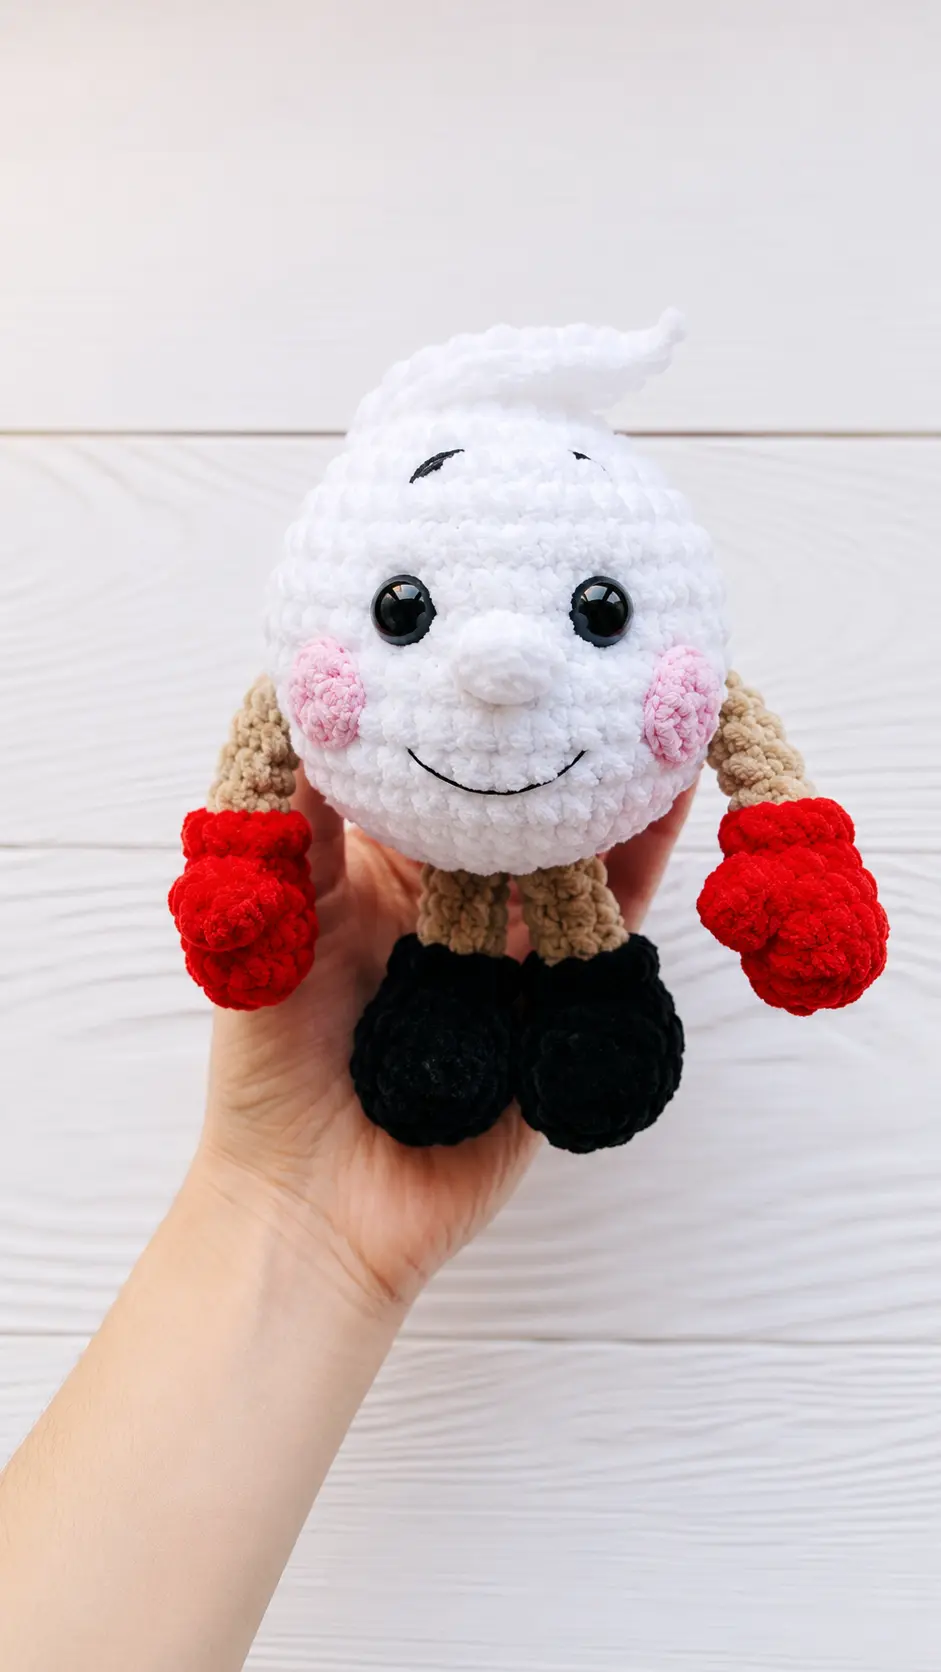
- Step 1: using white thread, the same used to make the ball, embroider the nose between rounds 11 and 12 between eyes (takes 2 sc);
- Step 2: on round 14 embroider mouth with gray color;
- Step 3: with black thread embroider eyebrows;
- Step 4: with matching thread sew cheeks on rounds 12 and 13;
- Step 5: sew forelock on rounds 1 and 4 of head;
- Step 6: sew arms at round 12;
- Step 7: sew legs at rounds 19-20.
Tips for Success
- Making the forelock fluffy: Use the hook side of a piece of Velcro to gently comb out the Nako Paris yarn once sewn onto the head. This gives it a soft, brushed look.
- Creating neat mitten thumbs: Take your time with the puff stitch on round four of the arms. Pulling your loops to the same height ensures the thumb stands out clearly.
- Color changing trick: Leave the unworked yarn color on the outside of your stitches when working in back loops only. It makes working into those leftover front loops later much easier.
- Stuffing the limbs: Keep stuffing light and centered only in the feet and hands. Leaving the upper legs and arms unstuffed lets them dangle naturally when assembled.
- Securing facial embroidery: Use a strong needle to weave your black and gray thread tails deep into the fiberfill body so your embroidered facial expressions stay locked in place.
Frequently Asked Questions
- What yarn can I use if I cannot find Himalaya Dolphin Baby?Any size 6 super bulky chenille or plush yarn will work well as a substitute. Just ensure you match the recommended 3.5 mm hook size to keep your stitches tight.
- How do I brush out the forelock yarn without damaging the stitches?Gently brush the specialty yarn in short, soft strokes using Velcro or a wire pet slicker brush. Avoid pulling too hard so you do not snag the underlying foundation stitches.
- Can I attach the eyes after finishing the main body ball?Safety eyes with backings must be placed between rounds 10 and 11 before decreasing the top of the body. If your ball is already closed, you can use black safety eyes that glue on or embroider them with black yarn instead.
- Why are my front loop cuff stitches looking uneven?Make sure to keep your tension consistent when going back to round 6 to work in the front loops. Holding the piece upside down toward you can give you a clearer view of those unused loops.
- How do I keep the arms and legs attached securely?Use a strong cotton thread or dental floss in a matching color rather than plush yarn to sew limbs to the body. This creates a much stronger join that holds up to handling.
Conclusion
Making small, cheerful items like this is such a rewarding craft experience. The soft texture of plush yarn makes the stitching process so cozy, and seeing the expressive face come together at the end is pure joy. I hope this Free Amigurumi Pattern Plush Snowball Character brings plenty of smiles to your crafting space today. Grab your favorite hook, gather your colorful yarn scraps, and enjoy every stitch of this fun little project!


Leave a Comment