

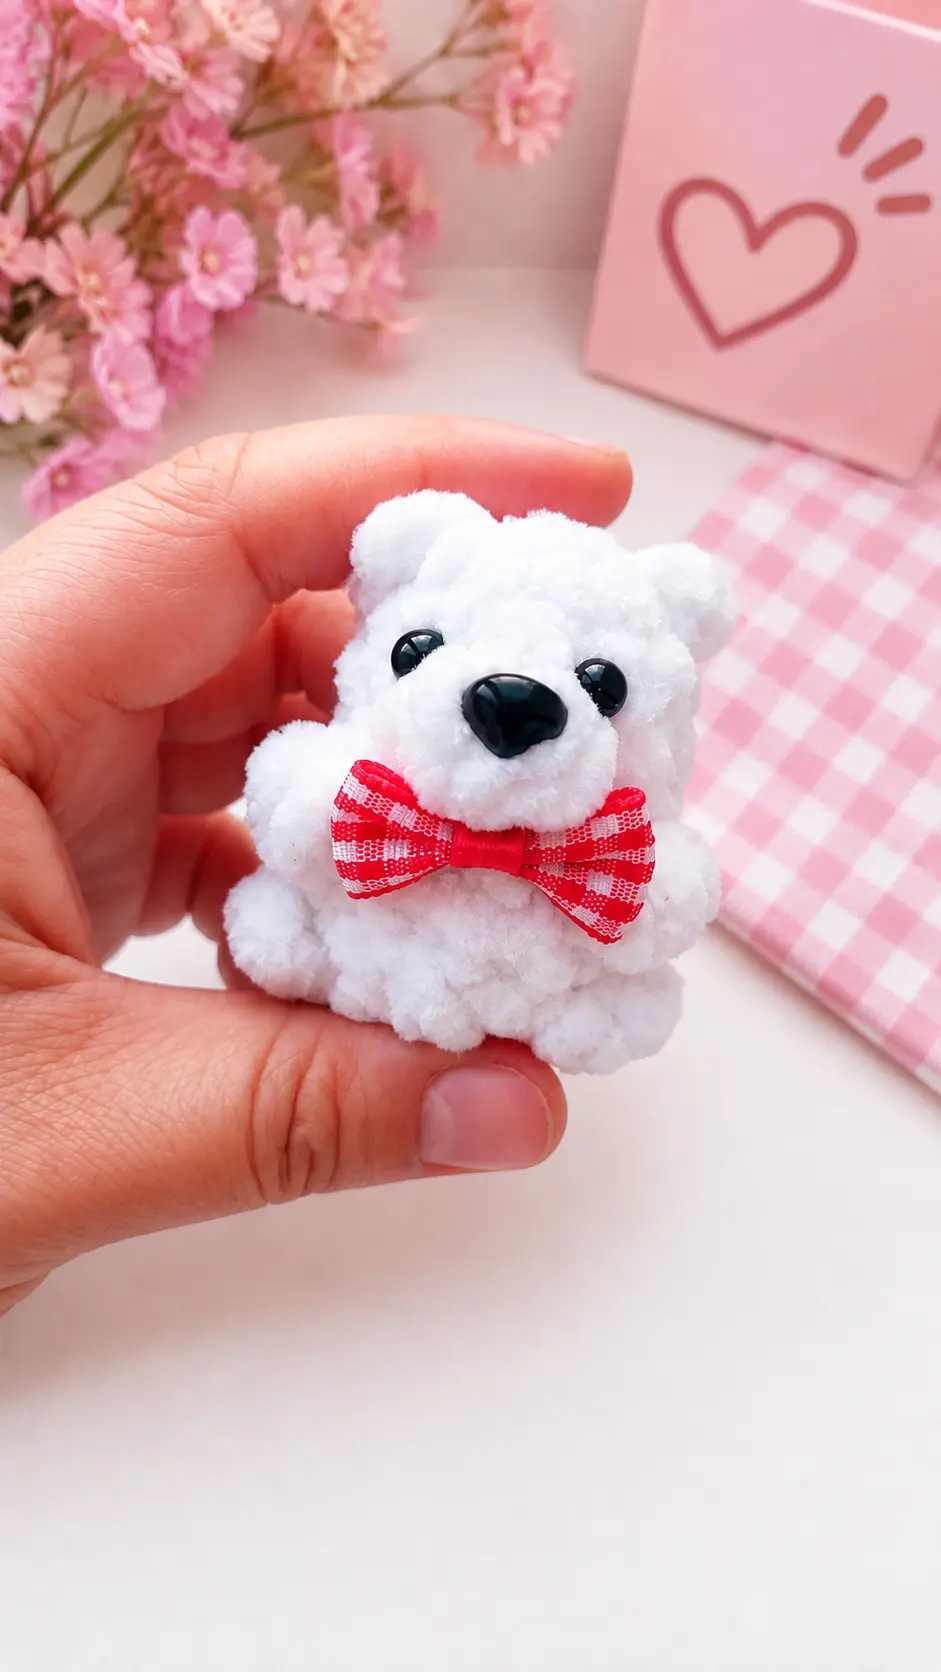
I was picking up a birthday card at a little gift shop last week when something in the window made me turn around for a second look. Mixed in with the candles and greeting cards was a basket filled with tiny white plush animals, each one small enough to fit in the palm of your hand. A woman beside me picked one up and joked that the tiny things are always the hardest to leave behind. She wasn’t wrong.
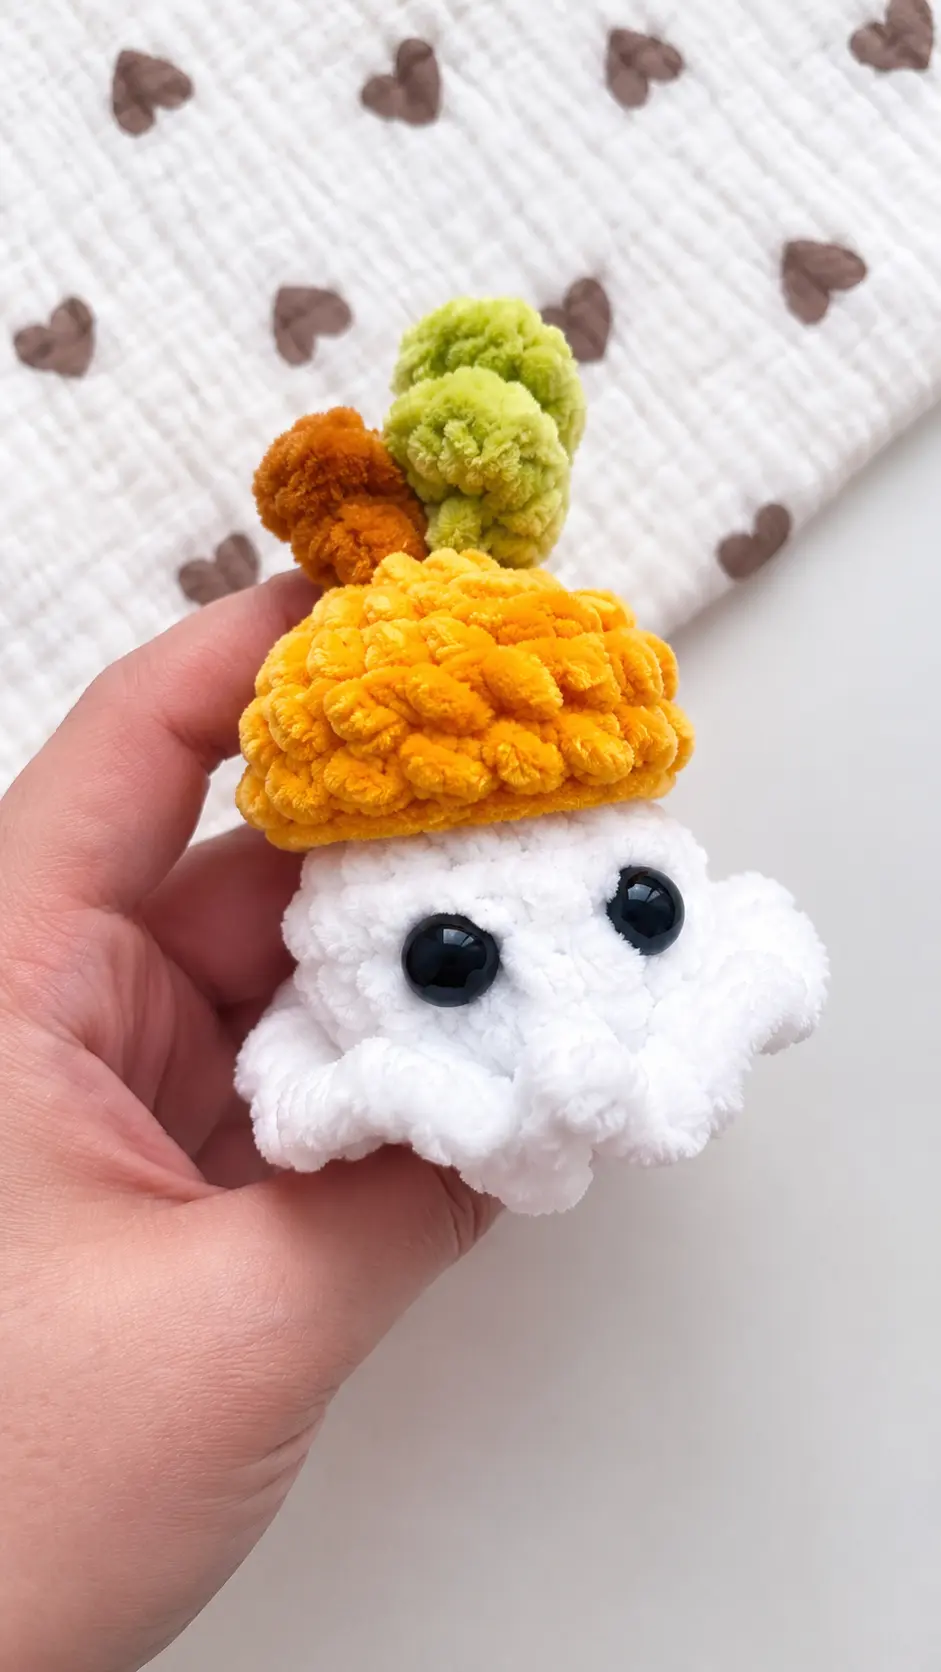
I didn’t buy one, but the idea followed me home. That night, I found a small amount of white plush yarn left from another project and decided to see what I could make with it. I didn’t overthink the design or plan anything elaborate. I simply started stitching, adjusted the shape as I went, and watched this funny little character slowly appear. Those spontaneous projects are often the ones I enjoy most.
And that’s really the appeal of this Free Amigurumi Pattern. It’s small enough that you can enjoy the satisfaction of finishing something without giving up your entire afternoon, yet the finished plush still has plenty of personality. Mine has already migrated from my work table to the bookshelf, although I have a feeling it won’t stay there for long. Tiny handmade creatures have a funny way of getting claimed by whoever spots them first.
Materials Needed
- Plush yarn (density 120m/100g)
- 3.5 mm crochet hook
- Fiberfill stuffing
- 6 mm half-bead eyes
- 7*9 mm nose
Finished Size
- Not specified in the pattern.
Abbreviations
- sc = single crochet
- inc = increase
- dec = decrease
- ch = chain
- sl st = slip stitch
- hdc = half double crochet
- puff = puff stitch made of 3 hdc
Pattern Instructions
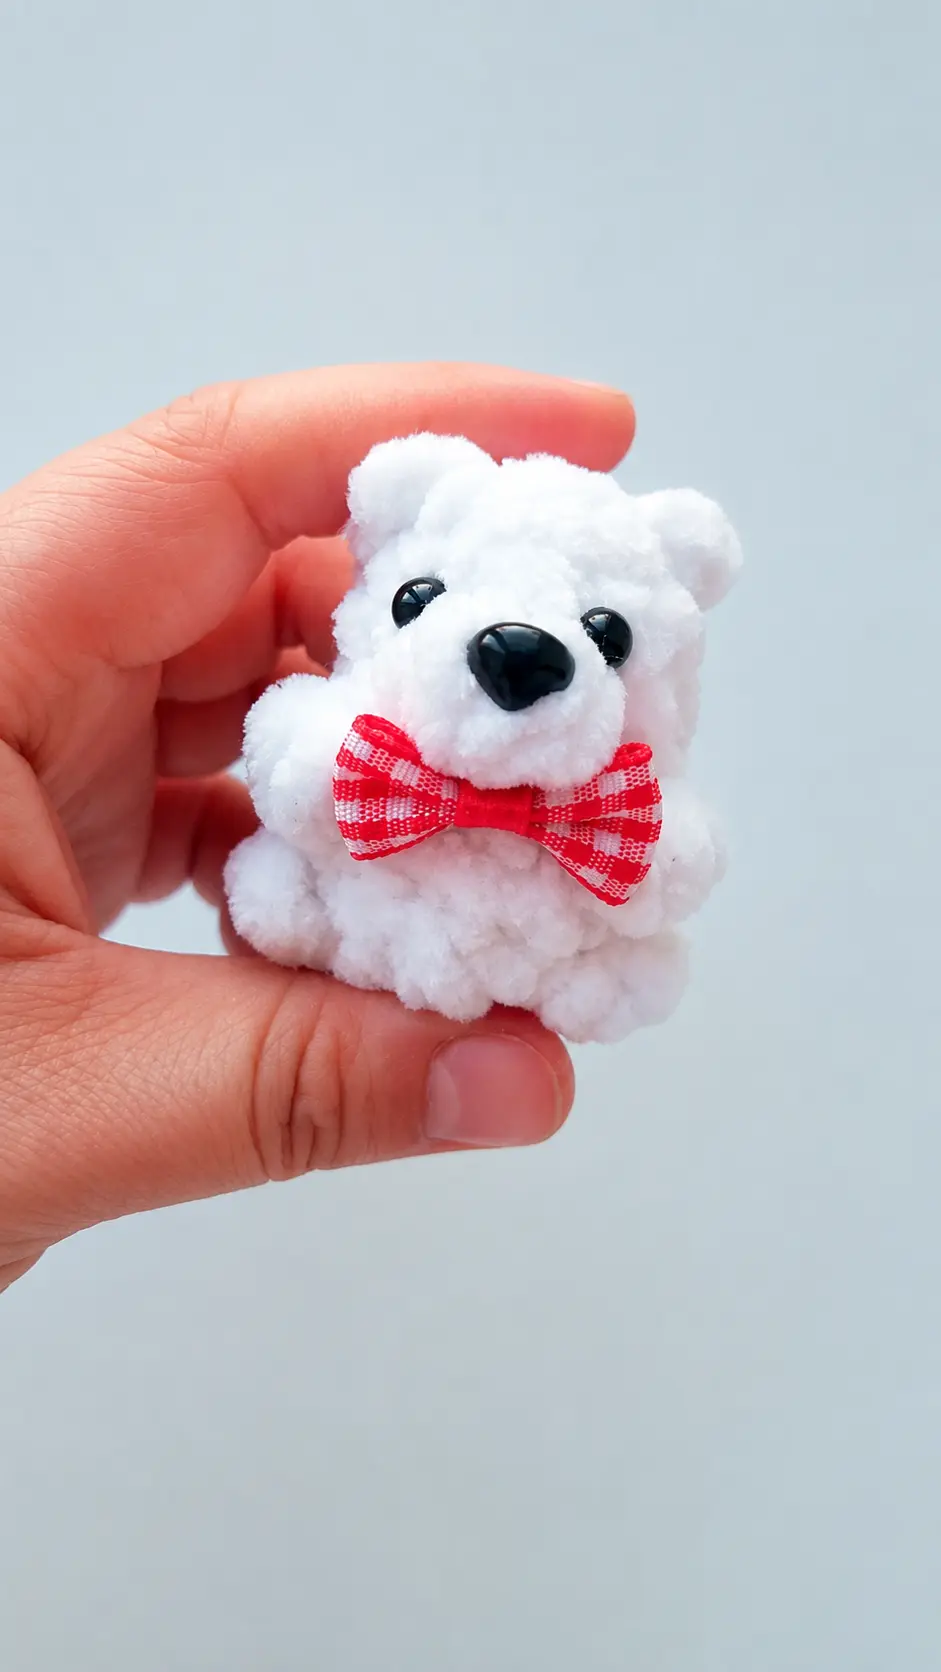
Ears – attach yarn, work sc into base stitch. Fasten off and cut yarn.
Start crocheting from the head:
- 1) 6 sc in magic ring (6)
- 2) (inc) x 6 (12)
- 3) 12 sc
- 4) 5 sc, (crochet the muzzle with one top) 2 unfinished hdc in sc, then another 2 unfinished hdc in next sc, after that crochet sc in the last sc of the muzzle, 5 sc (12)
- 5) 12 sc
- 6) 4 sc, puff, 3 sc, puff, 3 sc (12)
- 7) 12 sc
- 8) 4 sc, puff, 4 sc, puff, 2 sc (12)
Stuff the piece.
- 9) (dec) x 6 (6)
Cinch the opening closed, fasten off, and cut yarn. Hide ends inside the piece.
Tips for Success
- Use a stitch marker: When working with plush yarn, individual stitches can sometimes be harder to see. Placing a stitch marker on the first stitch of each round helps you keep your place effortlessly.
- Keep tension firm but light: Plush yarn needs light, consistent tension so it glides easily over your hook without snapping or crushing the fluffy fibers.
- Stuff as you go: Be sure to stuff the body firmly before closing up round 9 so your little bear holds its round, cute shape over time.
- Glue or secure safety elements early: Place the nose and eyes securely onto the face right after working round 4 or 5 so they are locked in position before stuffing.
- Weave yarn tails carefully: Use a blunt yarn needle to weave in your ends through the middle of the stuffing to hide all yarn tails neatly inside.
Frequently Asked Questions
- What yarn weight works best for this project?A plush chenille or velvet yarn with a weight rating around 120 meters per 100 grams gives the bear its super soft, fluffy texture.
- Can I use standard acrylic yarn instead of plush yarn?Yes, you can use worsted weight acrylic yarn, but your bear will turn out smaller. Be sure to drop down to a smaller hook size, like a 2.5 mm or 3.0 mm hook.
- How are the paws formed in this pattern?The legs and arms are created directly into the rounds using puff stitches, making this a seamless piece with almost no sewing required.
- How do I attach the ears?Attach your yarn directly onto the top of the head at the desired position, work a single crochet into the base stitch, then fasten off and weave in the ends.
- Is this pattern friendly for beginners?Yes, it is very simple and fast to complete. If you know basic stitches like single crochet and decreases, you will find this pattern very approachable.
Conclusion
I hope you have a wonderful time making this sweet little plush project. It brings a smile to my face every time I see one resting on a shelf or tucked into a display. Enjoy working through this Free Amigurumi Pattern, and happy crocheting!


Leave a Comment