

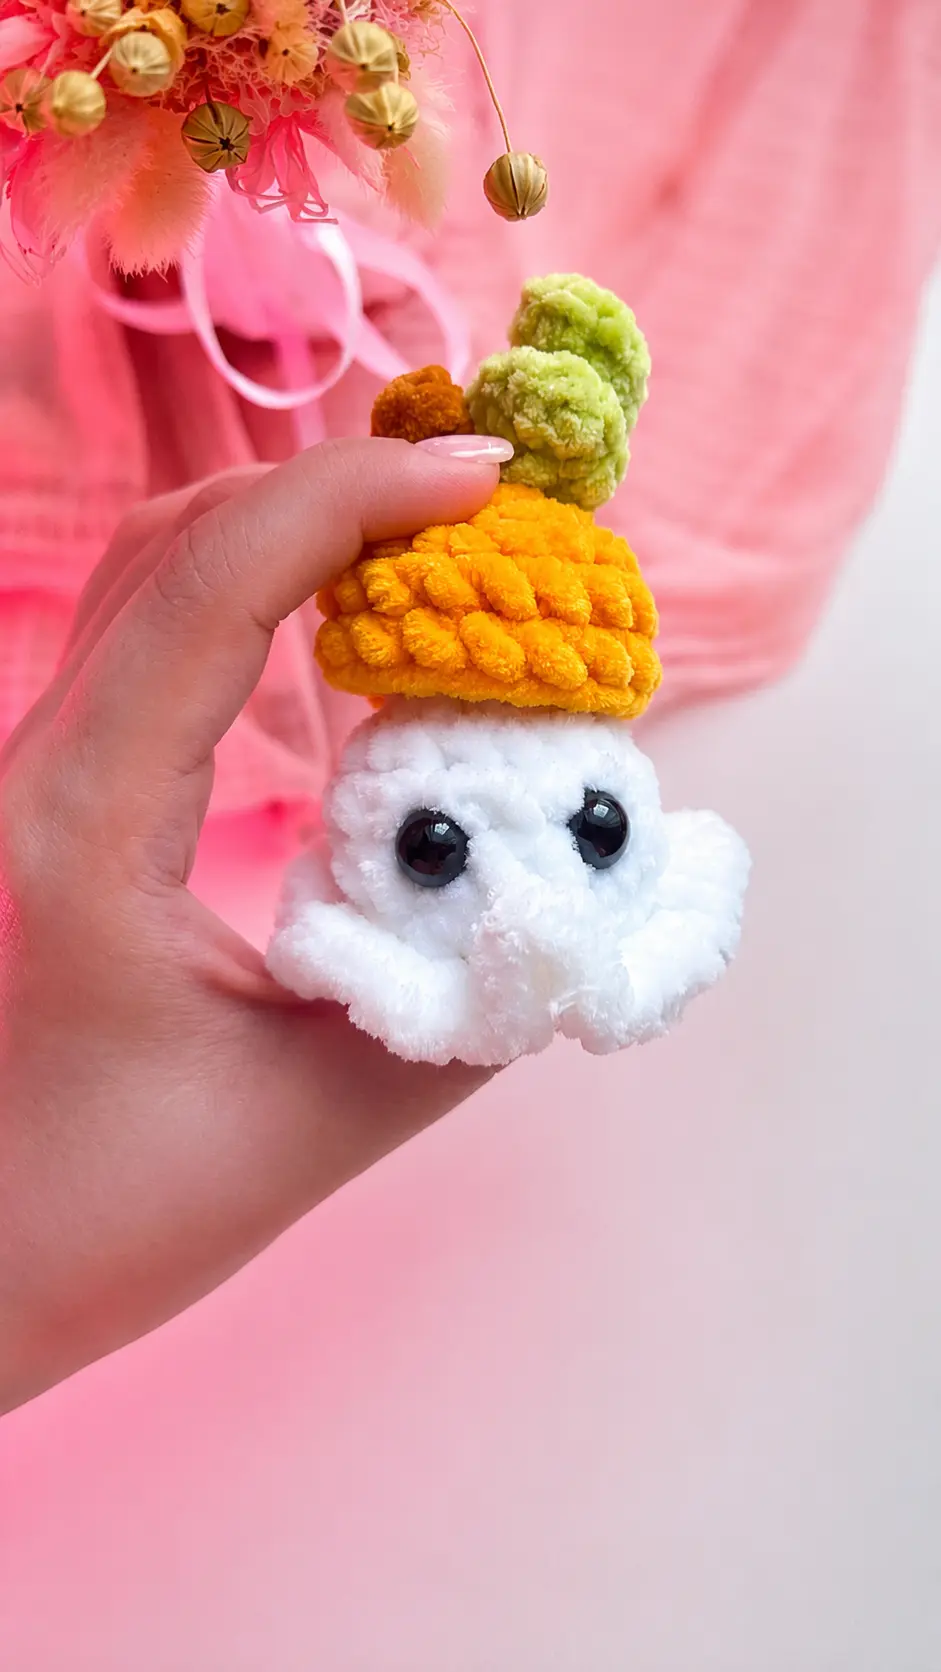
I got the idea for this little project while standing in line at the farmers market last weekend. The woman in front of me had filled her wagon with pumpkins, mums, and bundles of dried corn, while her little girl was carefully carrying the tiniest white pumpkin I had ever seen. She held onto it like it was something precious and kept telling everyone, “This one is mine.” I couldn’t help smiling.
That tiny pumpkin stayed in my mind after I got home, and later I started wondering what it would look like made from plush yarn. I chose white for the body, added a bit of bright orange and green for the seasonal details, and kept everything small enough to fit comfortably in my hand. It was finished much faster than I expected, which made it even more satisfying.
Sometimes I don’t want a project that takes three evenings and leaves half-finished pieces all over my table. This Free Amigurumi Pattern is for exactly those days. It’s small, cheerful, and has just enough autumn personality to look adorable tucked between pumpkins, candles, or other fall decorations. I may have started with only one, but I’m already tempted to make a few more in different colors for a little mismatched autumn collection.
Materials Needed
- Yarn:
- White – Himalaya Dolphin Fine #80501, used 6 g.
- Orange – YarnArt Dolce #853, used 3 g.
- Green – Wolans Bunny baby #100-46, used 2 g.
- Fiberfill stuffing
- 3.5 mm crochet hook
- 8-9 mm safety eyes
- Needle
- Stitch markers
- Scissors
Abbreviations
- mr = magic ring
- sl st = slip stitch
- ch = chain
- sc = single crochet
- inc = increase (2 sc in one stitch)
- dec = decrease (2 sc worked together with one top)
- hdc = half double crochet
- (…) x N = repeat instructions in parentheses N times
Pattern Instructions
Ghost
Work in orange color:
- 1) 6 sc in mr
- 2) 6 inc (12)
- 3) (1 sc, inc) x 6 (18)
- 4) 18 sc
- 5) In front loops of 4th round: 18 sc
Fasten off and cut orange yarn.
Work in white color:
- 6) In back loops of 4th round: 9 dec (9)
- 7) (1 sc, dec) x 3 (6)
Do NOT stuff the cap.
- 8-9) 6 sc (2 rounds)
- 10) 6 inc (12)
- 11) (2 sc, inc) x 4 (16)
- 12-14) 16 sc (3 rounds)
Place 9 mm eyes between rounds 12 and 13. Distance between eyes is 3 sc.
- 15) In front loops of 14th round: in each stitch 3 sc x 16
- 16) In back loops of 14th round: 9 dec (9)
Stuff the body of the ghost. No need to stuff the cap.
- 17) (1 sc, dec) x 3 (6)
Close the crochet work, cut and hide yarn end.
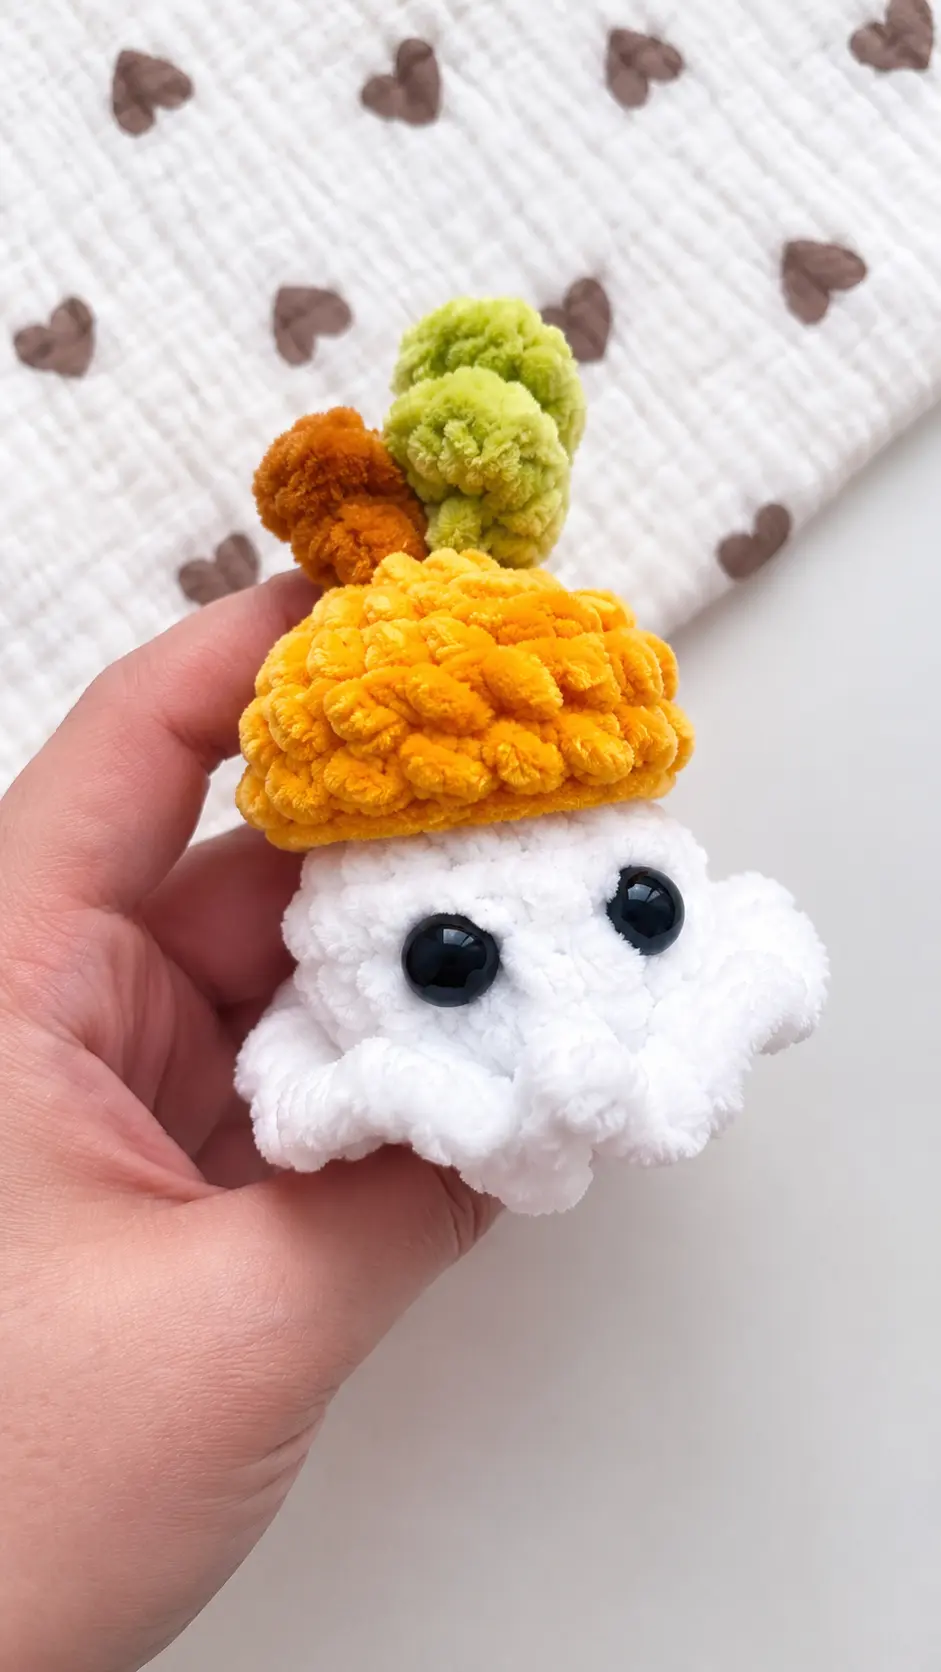
Stem
Attach brown yarn between mr and 1st round, in the center of the orange cap. Attach yarn using sl st, then crochet 3 ch, starting from second chain from hook crochet HDC, 1 sc, then crochet sl st into the base of the stem.
Cut yarn and hide inside the toy.
Leaf
Attach green yarn between mr and 1st round using sl st. Crochet 8 ch, starting from second chain from hook crochet into each chain: 2 sc x 7. Next crochet sl st into the base.
Cut yarn and hide inside the toy.
Tips for Success
- Use stitch markers for plush yarn: Velvet and plush yarns can make it tricky to see individual stitches, so marking the beginning of every round keeps your counts accurate.
- Keep tension gentle: When pulling stitches tight with chenille yarn, use a soft touch to avoid snapping the thread or damaging the plush texture.
- Leave the cap unstuffed: Keep the little orange pumpkin hat free of fiberfill so it sits naturally flat over the top of the ghost head.
- Check safety eye placement early: Ensure your 8-9 mm safety eyes are firmly snapped into place between rounds 12 and 13 before you start stuffing the body.
- Use a dull needle for weaving: A yarn needle with a blunt tip makes hiding yarn tails inside plush toys effortless without catching on the internal fibers.
Frequently Asked Questions
- Can I use standard worsted acrylic yarn for this pattern?Yes, standard acrylic or cotton yarn works well, though your finished plushie will be slightly smaller than one made with plush yarn.
- How do I attach the stem and leaf securely?Simply join your yarn directly into the top center ring of the cap using a slip stitch, follow the chain instructions, and pull the tail securely into the body with a tapestry needle.
- What hook size is best if I use a different yarn weight?Always choose a hook size 1-2 sizes smaller than recommended on the yarn label to keep stitches tight enough so stuffing does not peek through.
- Is this amigurumi project suitable for beginners?Yes, this project is simple and quick, making it a great pattern for crocheters who are comfortable working in back and front loops.
- How do I keep the ruffle skirt along the bottom nice and wavy?Working three single crochets into every single front loop around round 14 naturally creates that full, wavy ruffle without any extra shaping needed.
Conclusion
I hope you have so much fun making this adorable little plushie for your home. Creating quick seasonal decorations always brings such warmth to the cozy fall months. Enjoy every stitch of your Free Amigurumi Pattern, and happy crocheting!


Leave a Comment