

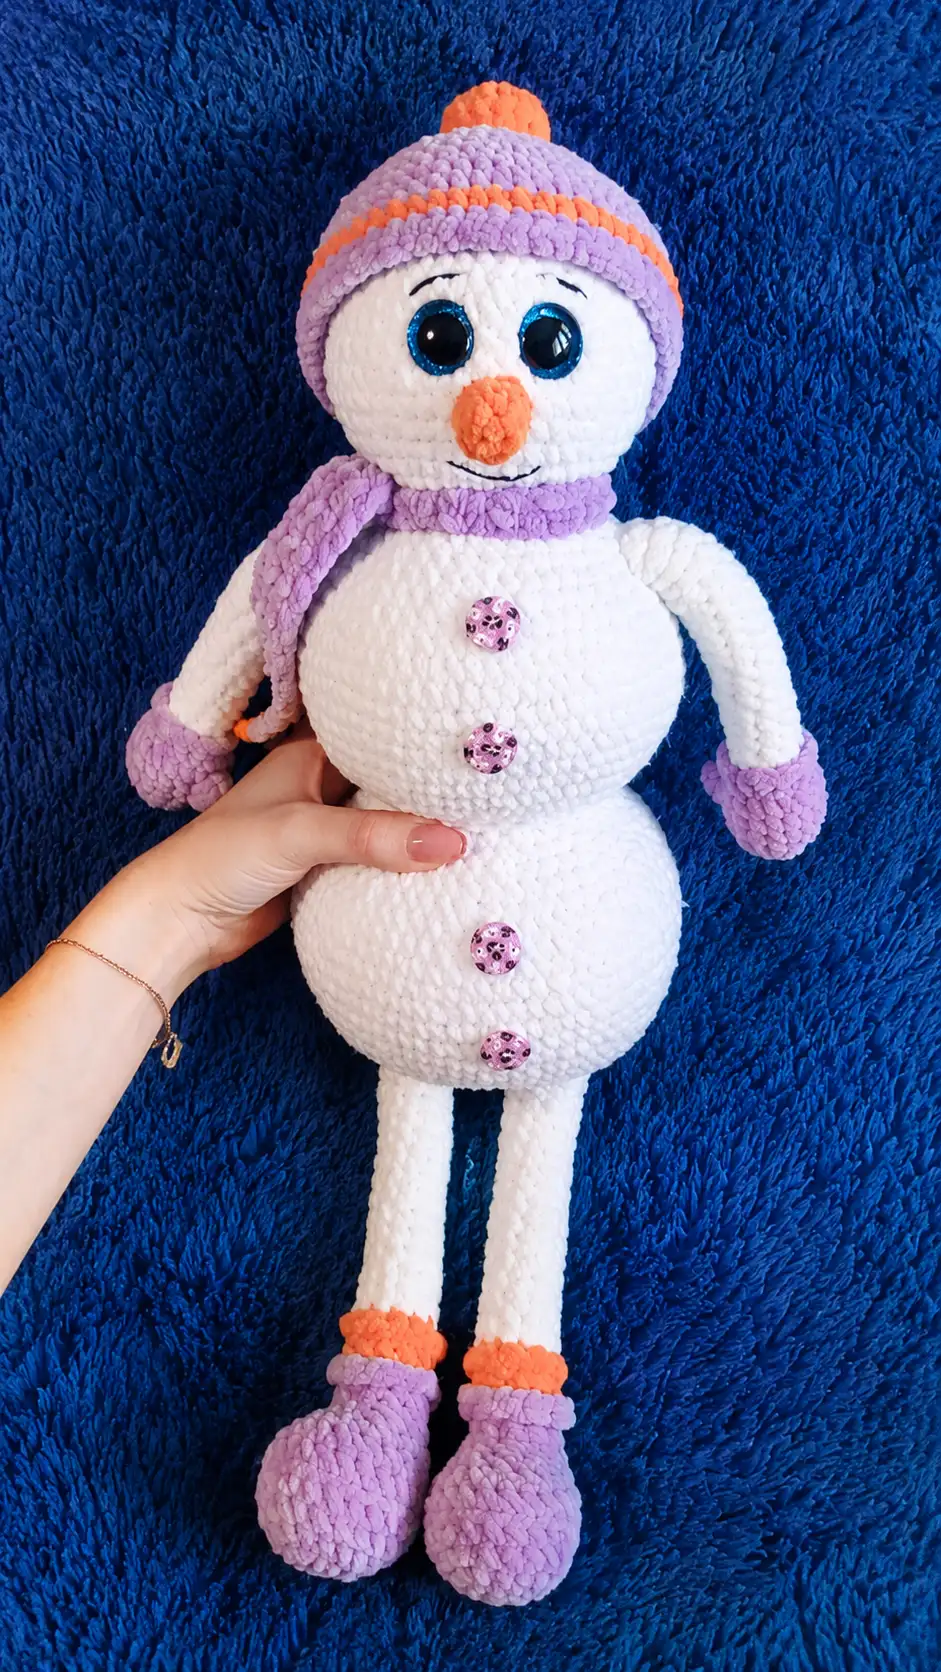
Yesterday morning was wonderfully quiet. I sat by the living room window with a hot cup of coffee, enjoying a rare moment to myself before starting my daily household chores. Looking at my yarn basket, I noticed a few leftover skeins of soft plush yarn from recent projects. A sweet seasonal project sounded like just the right thing to make. I grabbed my hook, pulled out some cozy white and purple yarn, and settled in to make this lovely plush snowman doll.
Materials Needed
- Plush yarn (such as Lavita Velur) in three colors: White (2 skeins), Purple (0.5 skein), and Orange (a small amount)
- Fiberfill stuffing
- Crochet hook size 4 mm
- 20 mm safety eyes
- Black thread for eyebrows and mouth
- Decorative buttons
Abbreviations
- ch = chain
- inc = increase
- sc = single crochet
- hdc = half double crochet
- dec = decrease
- blo = back loop only
- flo = front loop only
- mr = magic ring
Pattern Notes
- Stuff the snowman as you go.
Pattern Instructions
Legs
- Start with purple yarn: ch 5, starting from the second ch from hook, inc, 2 sc, 4 sc in 1, 2 sc, inc (12)
- Round 2: 1 sc, inc, 2 sc, (1 sc + inc)*2, 2 sc, 1 sc, inc (16)
- Round 3: 2 sc, inc, 2 sc, (2 sc + inc)*2, 2 sc, 2 sc, inc (20)
- Round 4: 3 sc, inc, 2 sc, (3 sc + inc)*2, 2 sc, 3 sc, inc (24)
- Round 5: 24 sc blo
- Round 6: (3 sc + dec)*4, 4 sc (20)
- Round 7: 5 sc, 5 dec, 5 sc (16)
- Round 8: 4 sc, 4 dec, 3 sc (11)
- Rounds 9-10: 11 sc (2 rounds)
- Round 11: change color to orange, 11 sc blo
- Round 12: 11 sc
- Round 13: change color to white, 11 sc blo
- Rounds 14-29: 11 sc (16 rounds)
- Assembly note: Fasten off and cut the yarn on the 1st leg. Do not cut the yarn on the second leg. Make the second leg.
Body
- Round 30: from the second leg ch 5, 11 sc along the 1st leg, 5 sc along the ch, 11 sc along the second leg (32)
- Round 31: 5 inc, 11 sc, 5 inc, 11 sc (42)
- Round 32: (3 sc + inc)*10 (50)
- Round 33: 50 sc
- Round 34: (4 sc + inc)*10 (60)
- Round 35: 60 sc
- Round 36: (5 sc + inc)*10 (70)
- Round 37: 70 sc
- Round 38: (6 sc + inc)*10 (80)
- Rounds 39-43: 80 sc (5 rounds)
- Round 44: (6 sc + dec)*10 (70)
- Round 45: 70 sc
- Round 46: (5 sc + dec)*10 (60)
- Round 47: 60 sc
- Round 48: (4 sc + dec)*10 (50)
- Round 49: 50 sc
- Round 50: (3 sc + dec)*10 (40)
- Round 51: 40 sc
- Round 52: (2 sc + dec)*10 (30)
- Round 53: 30 sc
- Round 54: 30 inc (60)
- Round 55: (5 sc + inc)*10 (70)
- Rounds 56-63: 70 sc (8 rounds)
- Round 64: (5 sc + dec)*10 (60)
- Round 65: 60 sc
- Round 66: (4 sc + dec)*10 (50)
- Round 67: 50 sc
- Round 67: (3 sc + dec)*10 (40)
- Round 68: 40 sc
- Round 69: (2 sc + dec)*10 (30)
- Round 70: 30 sc
- Round 71: (1 sc + dec)*10 (20)
- Round 72: 20 sc
Head
- Round 73: 20 inc (40)
- Round 74: (3 sc + inc)*10 (50)
- Rounds 75-82: 50 sc (8 rounds)
- Assembly note: Insert safety eyes between rounds 81 and 82
- Round 76: (3 sc + dec)*10 (40)
- Round 77: 40 sc
- Round 78: (2 sc + dec)*10 (30)
- Round 79: (1 sc + dec)*10 (20)
- Round 80: 10 dec, pull hole closed.
Nose
- Round 1: 6 sc in mr
- Rounds 2-4: 6 sc (3 rounds)
- Round 5: (1 sc + inc)*3 (9)
- Assembly note: Fasten off, cut yarn, leave a long tail for sewing.
Arms
- Round 1: start with purple yarn 6 sc in mr
- Round 2: 6 inc (12)
- Round 3: 12 sc
- Round 4: (1 sc + inc)*6 (18)
- Rounds 5-7: 18 sc
- Round 8: (1 sc + dec)*6 (12)
- Round 9: change color to white, dec, 4 sc, dec, 4 sc (10)
- Rounds 10-25: 10 sc (16 rounds)
- Assembly note: Work 4 sc across to close the arm, leave yarn for sewing, sew between rounds 68 and 69.
Mitten Thumb
- Round 1: 6 sc in mr
- Round 2: 6 sc
- Assembly note: Fasten off, leave yarn for sewing, sew to mitten.
Hat
- Round 1: 6 sc in mr
- Round 2: 6 inc (12)
- Round 3: (1 sc + inc)*6 (18)
- Round 4: (2 sc + inc)*6 (24)
- Round 5: (3 sc + inc)*6 (30)
- Round 6: (4 sc + inc)*6 (36)
- Round 7: (5 sc + inc)*6 (42)
- Round 8: (6 sc + inc)*6 (48)
- Round 9: 48 sc
- Round 10: (7 sc + inc)*6 (54)
- Round 11: (8 sc + inc)*6 (60)
- Rounds 12-14: 60 sc (3 rounds)
- Round 15: change color to orange, 60 sc
- Round 16: change color to purple, 60 sc
- Assembly note: Fasten off, cut yarn.
Pompom
- Round 1: 6 sc in mr
- Round 2: 6 inc (12)
- Round 3: (1 sc + inc)*6 (18)
- Rounds 4-5: 18 sc (2 rounds)
- Round 6: (1 sc + dec)*6 (12)
- Round 7: 6 dec
- Assembly note: Fasten off, leave tail for sewing.
Scarf
- Row 1: ch 4; starting from second ch 3 sc, ch 1, turn work 3 sc, ch 1, continue in this way until desired scarf length is reached, fasten off, cut yarn.
Finishing Touches
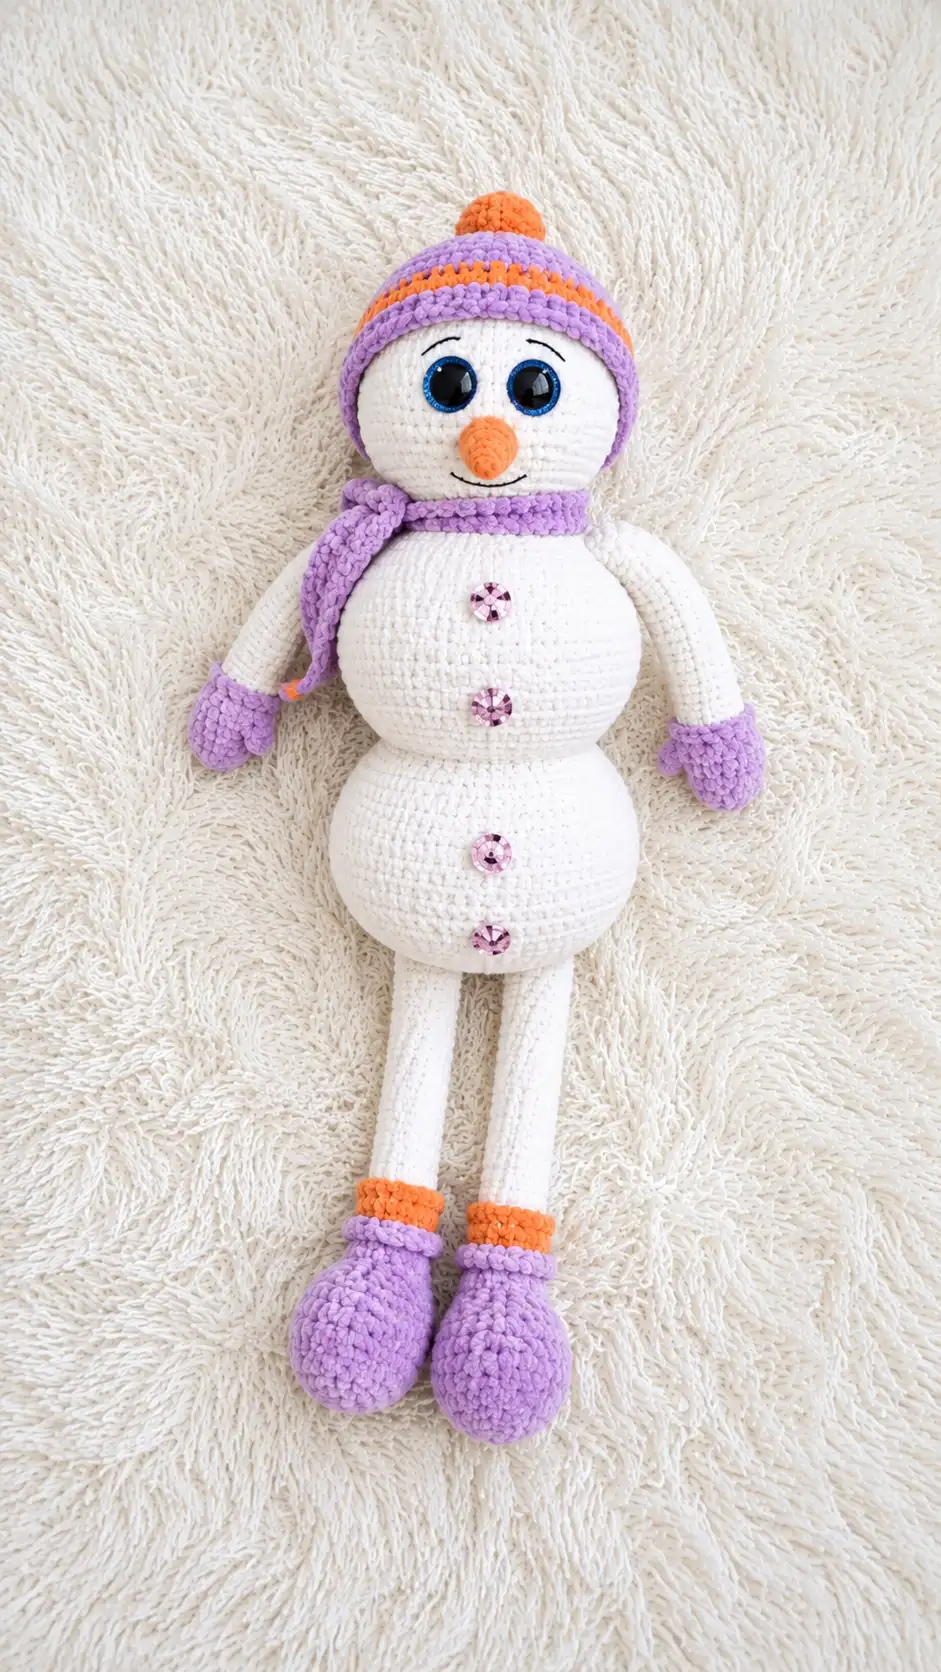
- Step 1: Work around the arms in the round using flo in purple color.
- Step 2: Work around the shoe leg using flo with 11 hdc in purple color. Work the socks using 11 sc in orange color.
- Step 3: Embroider eyebrows.
- Step 4: Sew buttons onto the snowman.
Tips for Success
- Stuffing technique: Stuff the body and head firmly as you go so the plush yarn holds its shape without stretching out the stitches.
- Working with plush yarn: Keep a loose, even tension. Plush velvet yarn can hide stitches, so feel for the top loops with your fingers if they are hard to see.
- Safety eye placement: Be sure to attach the safety backings securely to the eyes inside the head before you start decreasing to close up the top.
- Color changes: Make your yarn color changes on the last yarn-over of the previous stitch to keep the color transitions looking clean and neat.
- Edging detail: When edging the shoes and socks in the front loops, take your time to maintain standard stitch size so the borders stay neat.
- Embroidering features: Use a standard black sewing thread or embroidery floss for the facial details rather than bulky plush yarn so the eyebrows and mouth look soft and natural.
Frequently Asked Questions
- Can I use standard acrylic yarn instead of plush yarn? Yes, you can use worsted weight acrylic yarn instead. Keep in mind that using a thinner yarn will make the finished snowman smaller, so choose an appropriate hook size like a 3.5 mm or 3.75 mm.
- How do I prevent gaps when making decreases? Using the invisible decrease method works wonders when crocheting amigurumi. Insert your hook into the front loops only of the next two stitches, yarn over, and complete your single crochet as usual.
- Are safety eyes safe for small children? Safety eyes are generally secure, but they can present a choking hazard for babies and toddlers if they come loose. If this toy is intended for a young child, embroider the eyes with black thread instead.
- What is the best way to sew the parts together? Use a yarn needle and the long yarn tails left after fastening off. Take small, firm stitches through both the body and the attached piece to keep everything sturdy.
- How do I wash a plush amigurumi? It is best to spot clean your handmade plushie with cold water and mild soap. If a full wash is needed, place it inside a pillowcase and wash on a gentle cycle, then let it air dry completely.
Conclusion
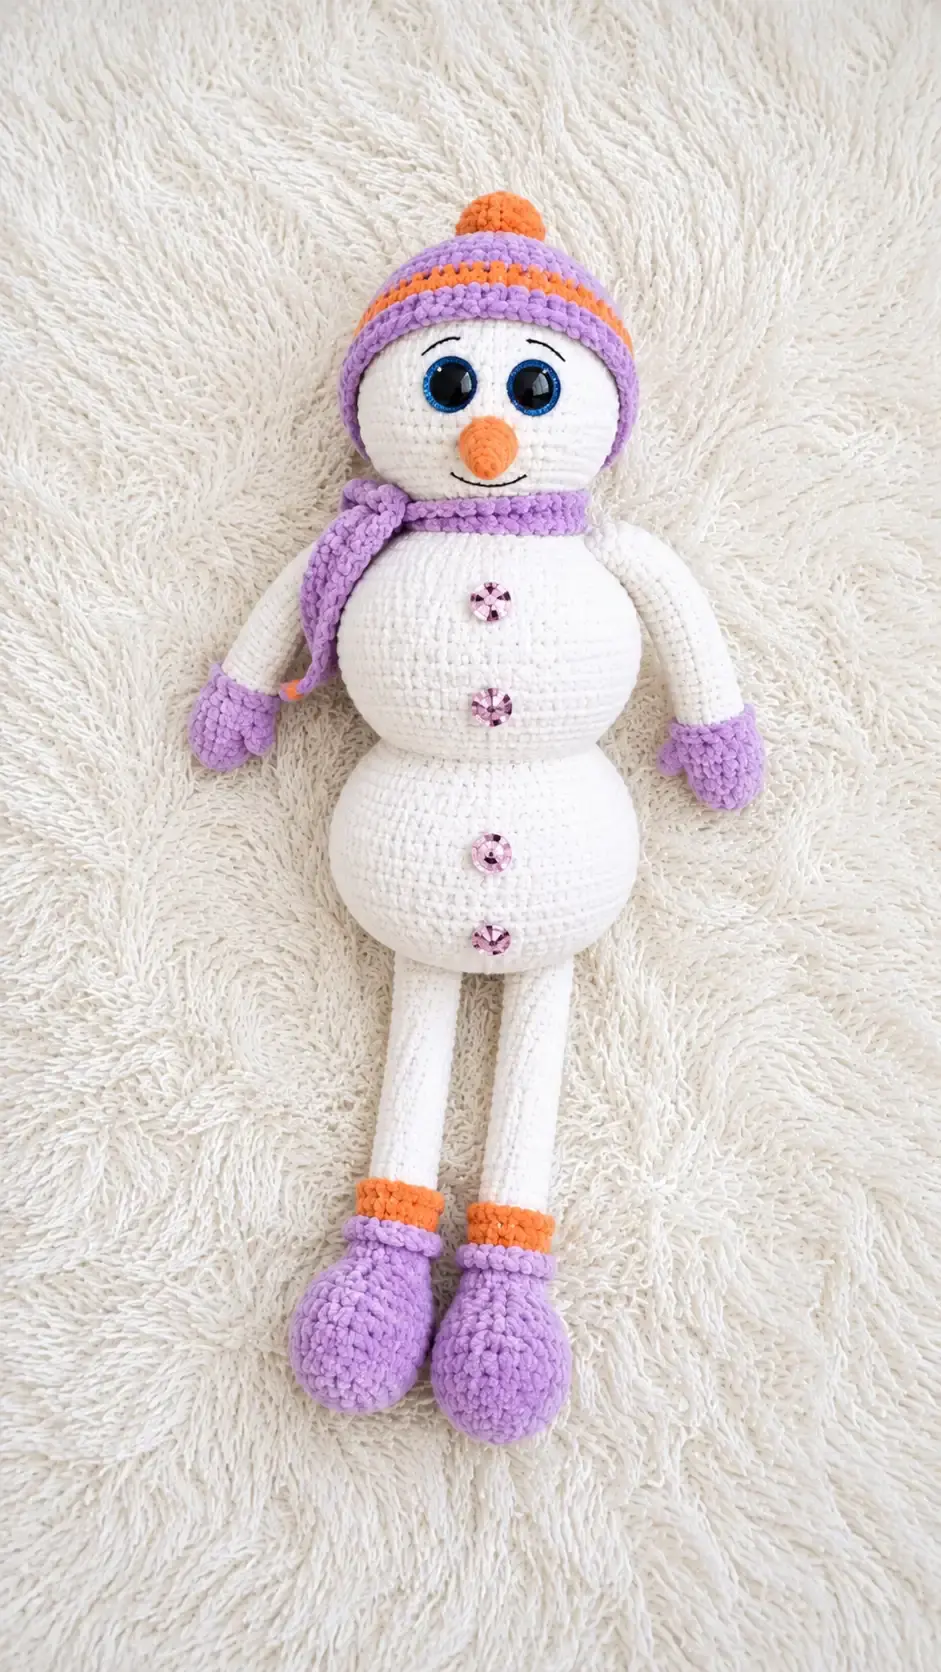
I hope you have as much fun bringing this cozy project to life as I did. Making plush toys is such a peaceful way to unwind, and this little fellow brings so much cheer to any shelf or room. Once you complete your own, you will see how sweet those little details like the matching hat and boots turn out. Grab your favorite hook, enjoy every stitch, and happy crafting with this free amigurumi pattern!


Leave a Comment