

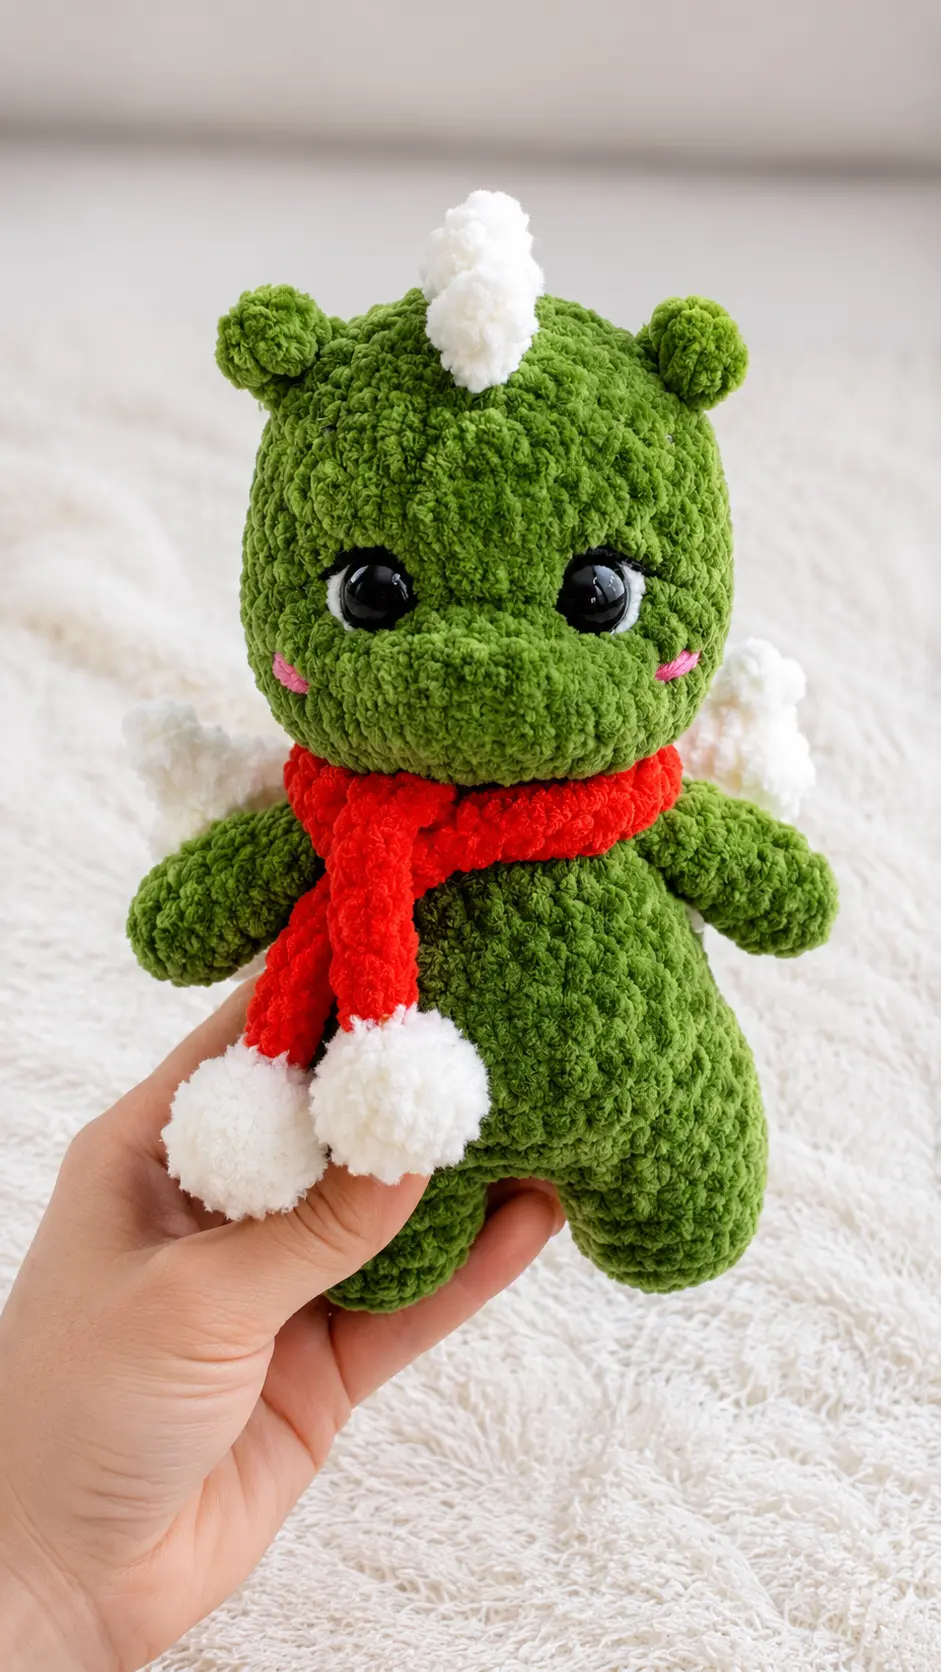
A few weeks ago, I took my grandson to the library, and after we picked out a stack of books, he headed straight for the fantasy section. He came back carrying a picture book about friendly dragons and insisted we read it together before we left. The dragons weren’t fierce at all—they were colorful, kind, and always helping their friends. On the drive home, he asked, “Grandma, do you think you could crochet a baby dragon?” I smiled and told him I’d give it a try.
The next morning, that little conversation was still on my mind. I wandered into my craft room and searched through my yarn basket until I found the perfect shades of soft green and creamy white. I put on a little music, settled into my favorite chair, and started crocheting. As the tiny wings, little spikes, and cozy scarf came together, the dragon seemed to develop its own playful personality. By lunchtime, I had a cuddly little dragon sitting on my desk, ready for its next adventure.
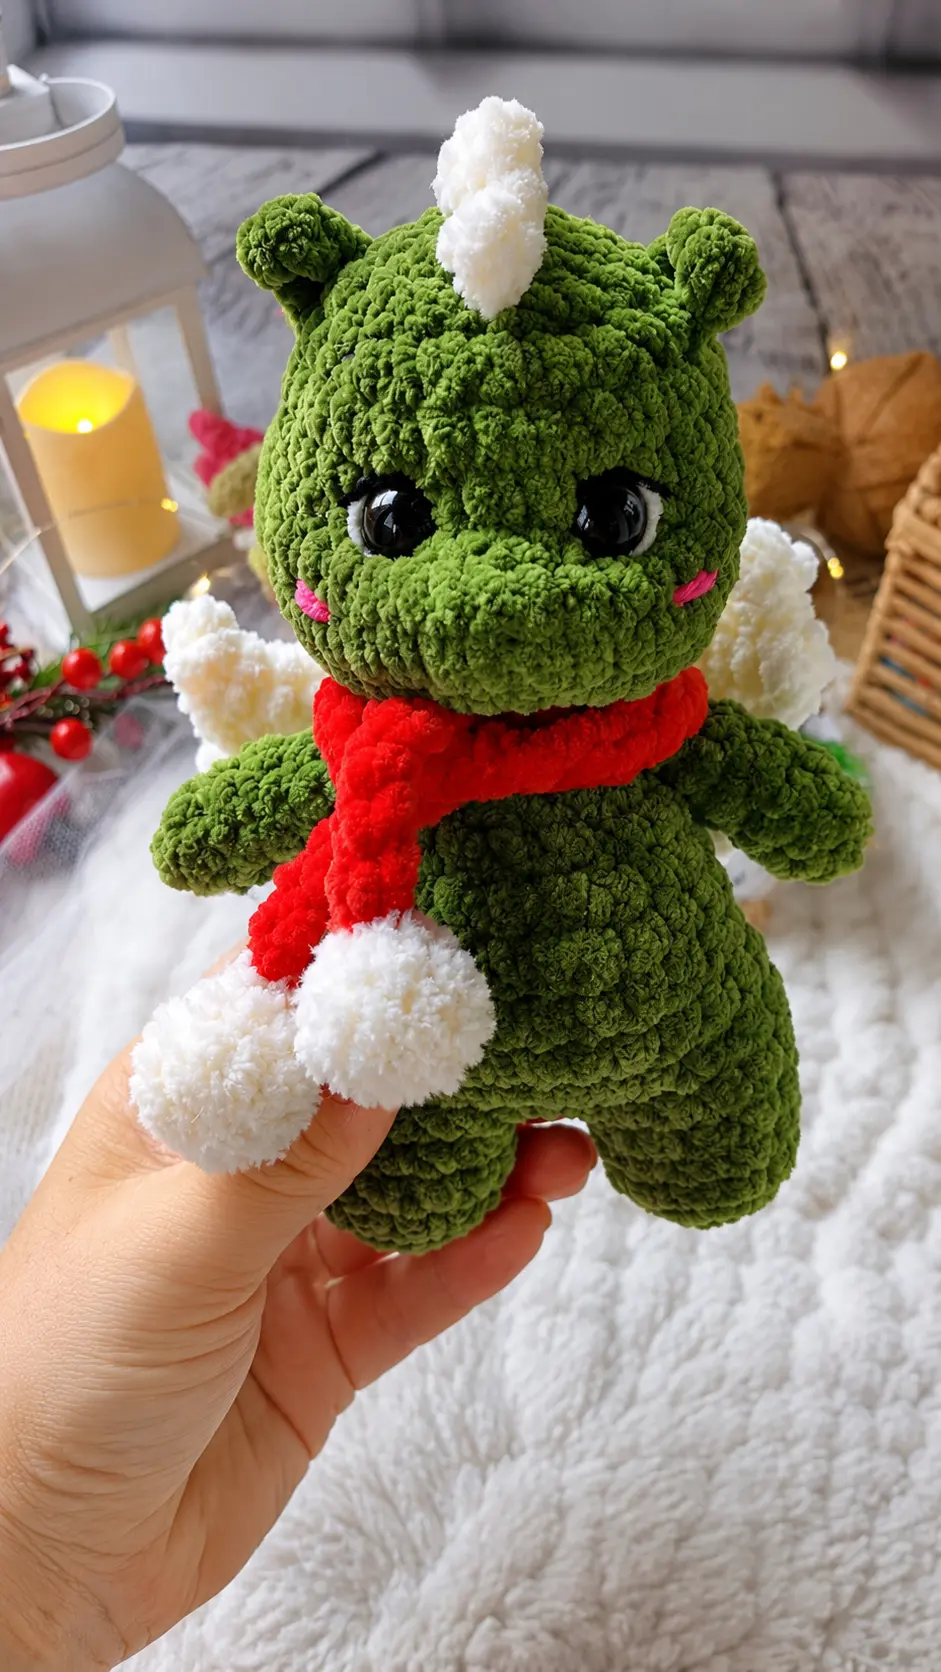
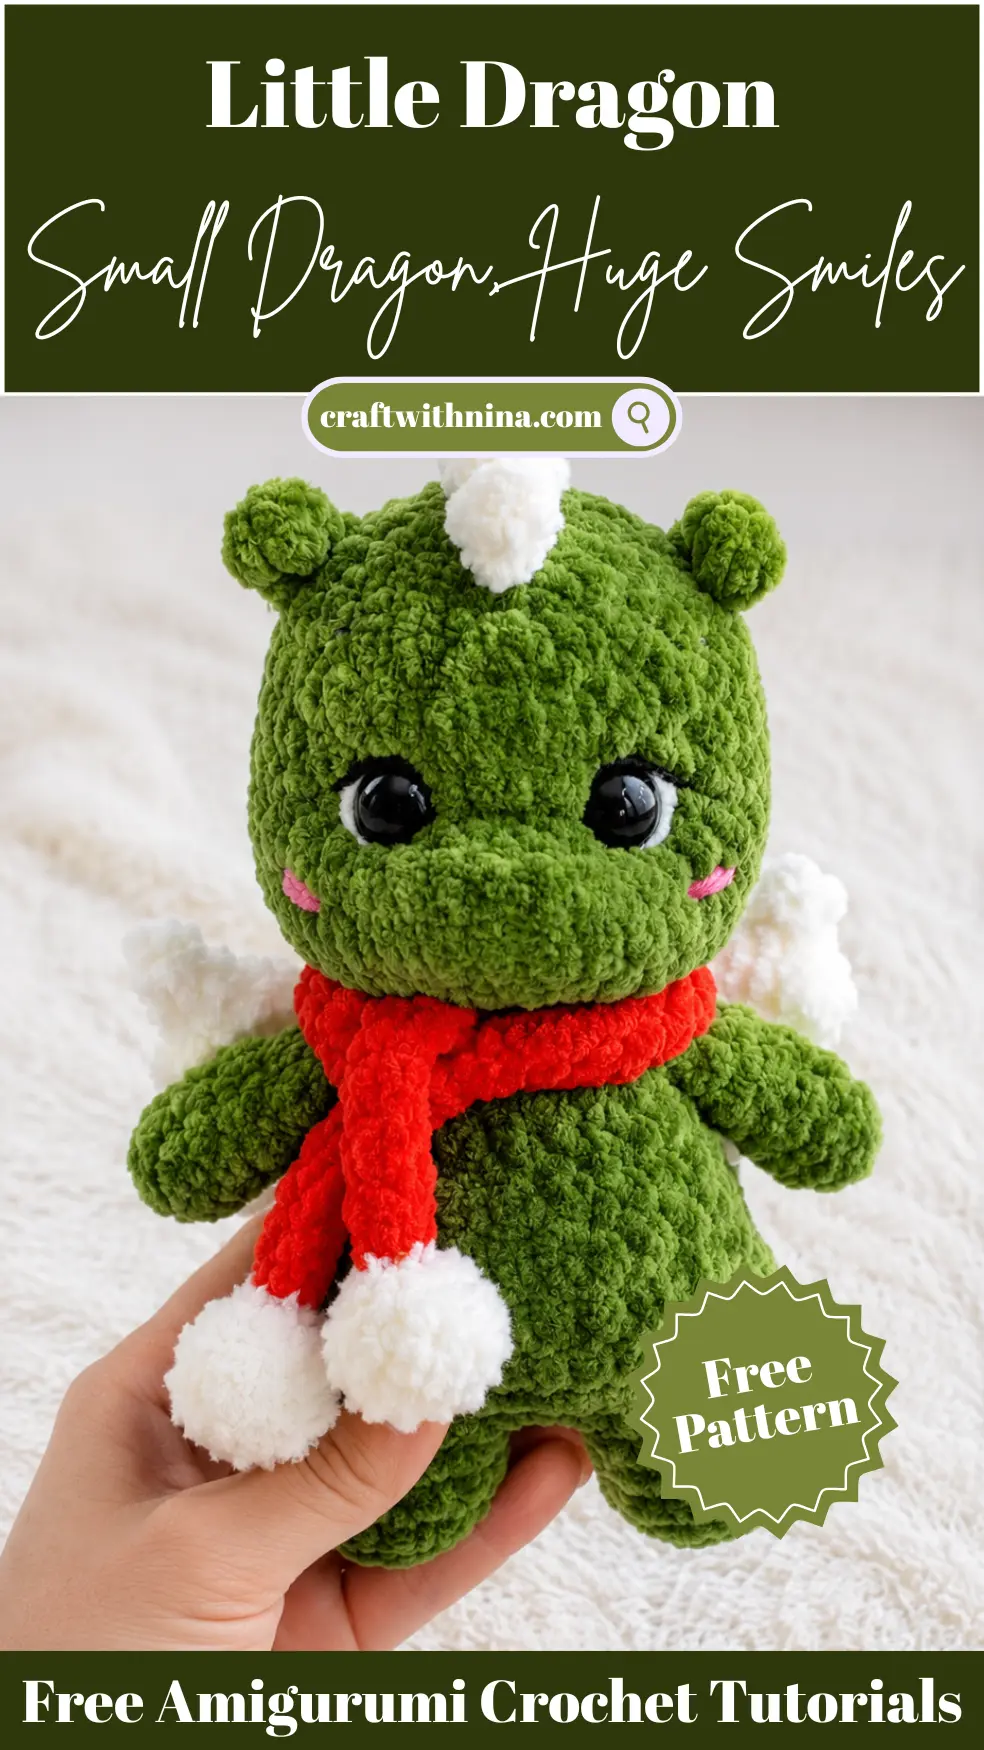
This Free Amigurumi Pattern Little Dragon Plush is a wonderful project for anyone who loves whimsical creatures and soft, cuddly amigurumi. The charming details make it fun to crochet, while the finished dragon looks adorable on a bookshelf, in a nursery, or wrapped up as a thoughtful handmade gift. Whether you’re making one for a fantasy fan or simply because dragons make you smile, this little plush is sure to become a favorite in your collection.
Materials Needed
For the toy:
- YarnArt Dolce, Himalaya Dolphin Baby, Wolans Bunny Baby, or any plush yarn 120m/100g in two colors. (YarnArt Dolce 772 khaki and 745 milky)
- Hook 4 mm
- Fiberfill stuffing
- Safety eyes 10 to 14 mm (1 pair, 12 mm used in original)
- Strong thread for face sculpting
- Needle for face sculpting and sewing the tail
For decoration:
- A tiny bit of black and pink embroidery floss, or YarnArt Jeans split in half. Milky YarnArt Dolce for the eye whites.
- Needle
For the scarf:
- Red plush yarn for the scarf and Alize Softy for the pom-poms.
- Hook 3 mm
Finished Size
14 cm (when made with specified yarn tension)
Abbreviations
- MR = magic ring
- sc = single crochet
- dc = double crochet
- inc = increase
- dec = decrease
- ch = chain stitch
- shift st = shift stitch
- sl st = slip stitch
- turning ch = turning chain stitch
Pattern Instructions
Arms (make 2):
- Rnd 1: 6 sc in MR
- Rnd 2-6: 6 sc (5 rnds)
Do not stuff the piece. Fold the arm in half and work 3 sc through both sides. Fasten off and cut the thread.
Legs (make 2):
Cut thread on the first leg, do not cut on the second leg.
- Rnd 1: 6 sc in MR
- Rnd 2: 6 inc (12)
- Rnd 3-4: 12 sc (2 rnds)
Body:
Continue working the body. Stuff firmly as you go.
- Rnd 5: 2 ch, join to second leg, 12 sc along second leg, 2 sc along ch, 12 sc along first leg, 2 sc along ch (28)
- Rnd 6: 12 sc, 2 inc, 13 sc (30). Incomplete round so that marker is in the middle of the back. Increases strictly on the belly.
- Rnd 7: 9 sc, dec, 8 sc, dec, 9 sc (28)
- Rnd 8: 6 sc, dec, 12 sc, dec, 6 sc (26)
- Rnd 9: 7 sc, dec, 8 sc, dec, 7 sc (24)
- Rnd 10: 24 sc
- Rnd 11: 10 sc, dec, 1 sc, dec, 9 sc (22). Decreases and 1 sc should be centered exactly in the middle.
- Rnd 12: 9 sc, dec, 1 sc, dec, 8 sc (20). Decreases and 1 sc should be centered exactly in the middle.
- Rnd 13: 8 sc, dec, 1 sc, dec, 7 sc (18). Decreases and 1 sc should be centered exactly in the middle.
- Rnd 14: (dec, 1 sc)*6 (12)! In the next round we will join the arms. They should be centered on the sides, with 3 sc between them in front and 3 sc in back.
- Rnd 15: 2 sc, 3 sc with arm, 3 sc, 3 sc with arm, 1 sc
Do not cut the thread, continue working the head.
Head:
- Rnd 16: 12 inc (24)
- Rnd 17: (3 sc, inc)*6 (30)
- Rnd 18-20: 30 sc (3 rnds)
Work shift sts to the middle of the back of the head, about 4 sc.
- Rnd 21: 9 sc, 6 dec, 9 sc (24) decreases centered in the middle
- Rnd 22-24: 24 sc (3 rnds)
Insert safety eyes between rnds 21-22, 3 sc apart between eye edges.
- Rnd 25: (2 sc, dec)*6 (18)
- Rnd 26: (1 sc, dec)*6 (12)
- Rnd 27: 6 dec
Cinch hole closed, fasten off thread and hide inside.
Face Sculpting and Details:
(Sculpting is done in two stages)
Stage 1: Insert thread into point 1, bring out at point 2, insert at point 3, bring out at point 4. Insert again into point 1, bring out at point 5, insert at point 6, bring out at point 4. Pull thread to sculpt the muzzle, secure.
Stage 2: Insert thread into point 1, bring out at point 7, insert at point 8, bring out at point 4. Pull to form the nose, secure.
With white thread, embroider the eye whites. With black thread, embroider eyelashes and eyebrows. With pink thread, embroider cheeks: 3 stitches on each side between rnds 19 and 20, 1 sc wide.
Ears:
From the center of the forehead in rnd 24-25, count 5-6 sc to both sides.
Right ear: Join thread to the side of the head in rnd 25, 4 ch, starting from 3rd ch from hook 2 hdc. Work sl st into rnd 24. Cut thread, bring up to the second end, tie a knot, and hide.
Left ear: Join thread to the side of the head in rnd 24, 4 ch, starting from 3rd ch from hook 2 hdc. Work sl st into rnd 25. Cut thread, bring down to the second end, tie a knot, and hide.
Make sure ears are placed at the same distance and height from each other.
Spikes:
(WORK WITH MILKY YARN)
In rnd 25, centered, join milky thread to stitches on the dragon’s forehead and work an odd number of sl st down to rnd 15, where the body joins the head. Work ch 1 and turn.
Next work as follows: In first st: sc, dc, sc. In second st: sl st. Repeat these two steps to the end. Fasten off thread and hide.
Wings:
(WORK WITH MILKY YARN)
Leave a long tail. Work in turning rows.
- Row 1: 17 ch, starting from 2nd ch from hook 16 sc, 3 ch, turn
- Row 2: starting from 2nd ch from hook 17 sc, 3 ch, turn
- Row 3: starting from 2nd ch from hook 18 sc, 3 ch, turn
- Row 4: starting from 2nd ch from hook 19 sc, 3 ch, turn
- Row 5: starting from 2nd ch from hook 11 sc, cut thread leaving a long tail. Pull thread through.
At this stage, you should have 2 “feathers” on one side and 3 “feathers” on the other.
Return to the beginning where we left the long tail. Insert hook into the first new chain st and pull up a loop.
- Row 6: 2 ch, turn, and starting from second ch from hook 8 sc.
The thread should end up opposite to the thread from Row 5.
Thread the top yarn tail (from Row 5) into a needle and stitch accordion-style down the middle of the wings, cinch tight, and tie together with the bottom tail.
Wings are ready. Sew them centered right under the spikes.
Tail:
(WORK WITH GREEN YARN)
- Rnd 1: 5 sc in MR
- Rnd 2: inc, 4 sc
- Rnd 3: 1 sc, inc, 4 sc
- Rnd 4: 2 sc, inc, 4 sc
- Rnd 5: 3 sc, inc, 4 sc
- Rnd 6: 4 sc, inc, 4 sc
- Rnd 7: 5 sc, inc, 4 sc
- Rnd 8: 6 sc, inc, 4 sc
Along the side of the tail with increases, crochet white spikes just as on the head.
Stuff tail lightly with fiberfill and sew spikes-up under the wings. Fasten off thread, leaving a tail for sewing.
Scarf:
With red yarn, chain 51 ch, starting from 2nd ch from hook 50 sc.
Pom-poms (make 2): (Alize Softy yarn, 3 mm hook)
- Rnd 1: 6 sc in MR
- Rnd 2: 6 inc (12)
- Rnd 3-4: 12 sc (2 rnds)
- Rnd 5: 6 dec
Stuff pom-poms lightly, close opening, and sew to the ends of the scarf.
Tips for Success
- Keep your tension even with plush yarn: Since bulky plush yarn can obscure stitches, count your stitches at the end of each round to ensure your toy stays symmetrical.
- Stuff as you go: Be sure to stuff the legs and body firmly while crocheting up the torso, as smaller openings make it tricky to add fiberfill evenly later on.
- Use stitch markers for alignment: Place temporary stitch markers on the belly to make sure your increases and decreases stay centered on the front of the body.
- Take care with face sculpting: Pull the sculpting thread slowly and firmly to pull in the eyes and muzzle, creating a cute expression without snapping your thread.
- Double-check wing accordion stitching: Cinch the middle of the wings smoothly using the long yarn tail so both sides gather into a uniform shape.
Frequently Asked Questions
Can I use a different yarn weight for this pattern?
Yes, you can use worsted weight cotton or acrylic yarn, but keep in mind that your finished dragon will turn out smaller than 14 cm. Be sure to drop down your hook size accordingly.
Does the finished dragon stand up on its own?
Yes, thanks to the placement and shape of the tail at the back, the dragon balances and stands independently on its own.
How do I join the legs together?
In Round 5, you chain 2 from the second leg, single crochet across the first leg, single crochet across the 2 chains, and continue around to form one joined base for the body.
What size safety eyes work best?
The pattern recommends 10 mm to 14 mm safety eyes placed between Rounds 21 and 22. A 12 mm pair gives the cutest proportion for plush yarn.
How do I attach the arms without sewing?
The arms are flattened and worked directly into Round 15 of the body using single crochet stitches, which secures them firmly without extra assembly.
Conclusion
I hope you have so much fun bringing this Free Amigurumi Pattern Little Dragon Plush to life on your hook! It is such a delightful little project that comes together quickly and makes a sweet addition to any home. Happy stitching, and enjoy creating your cute new dragon friend!


Leave a Comment