

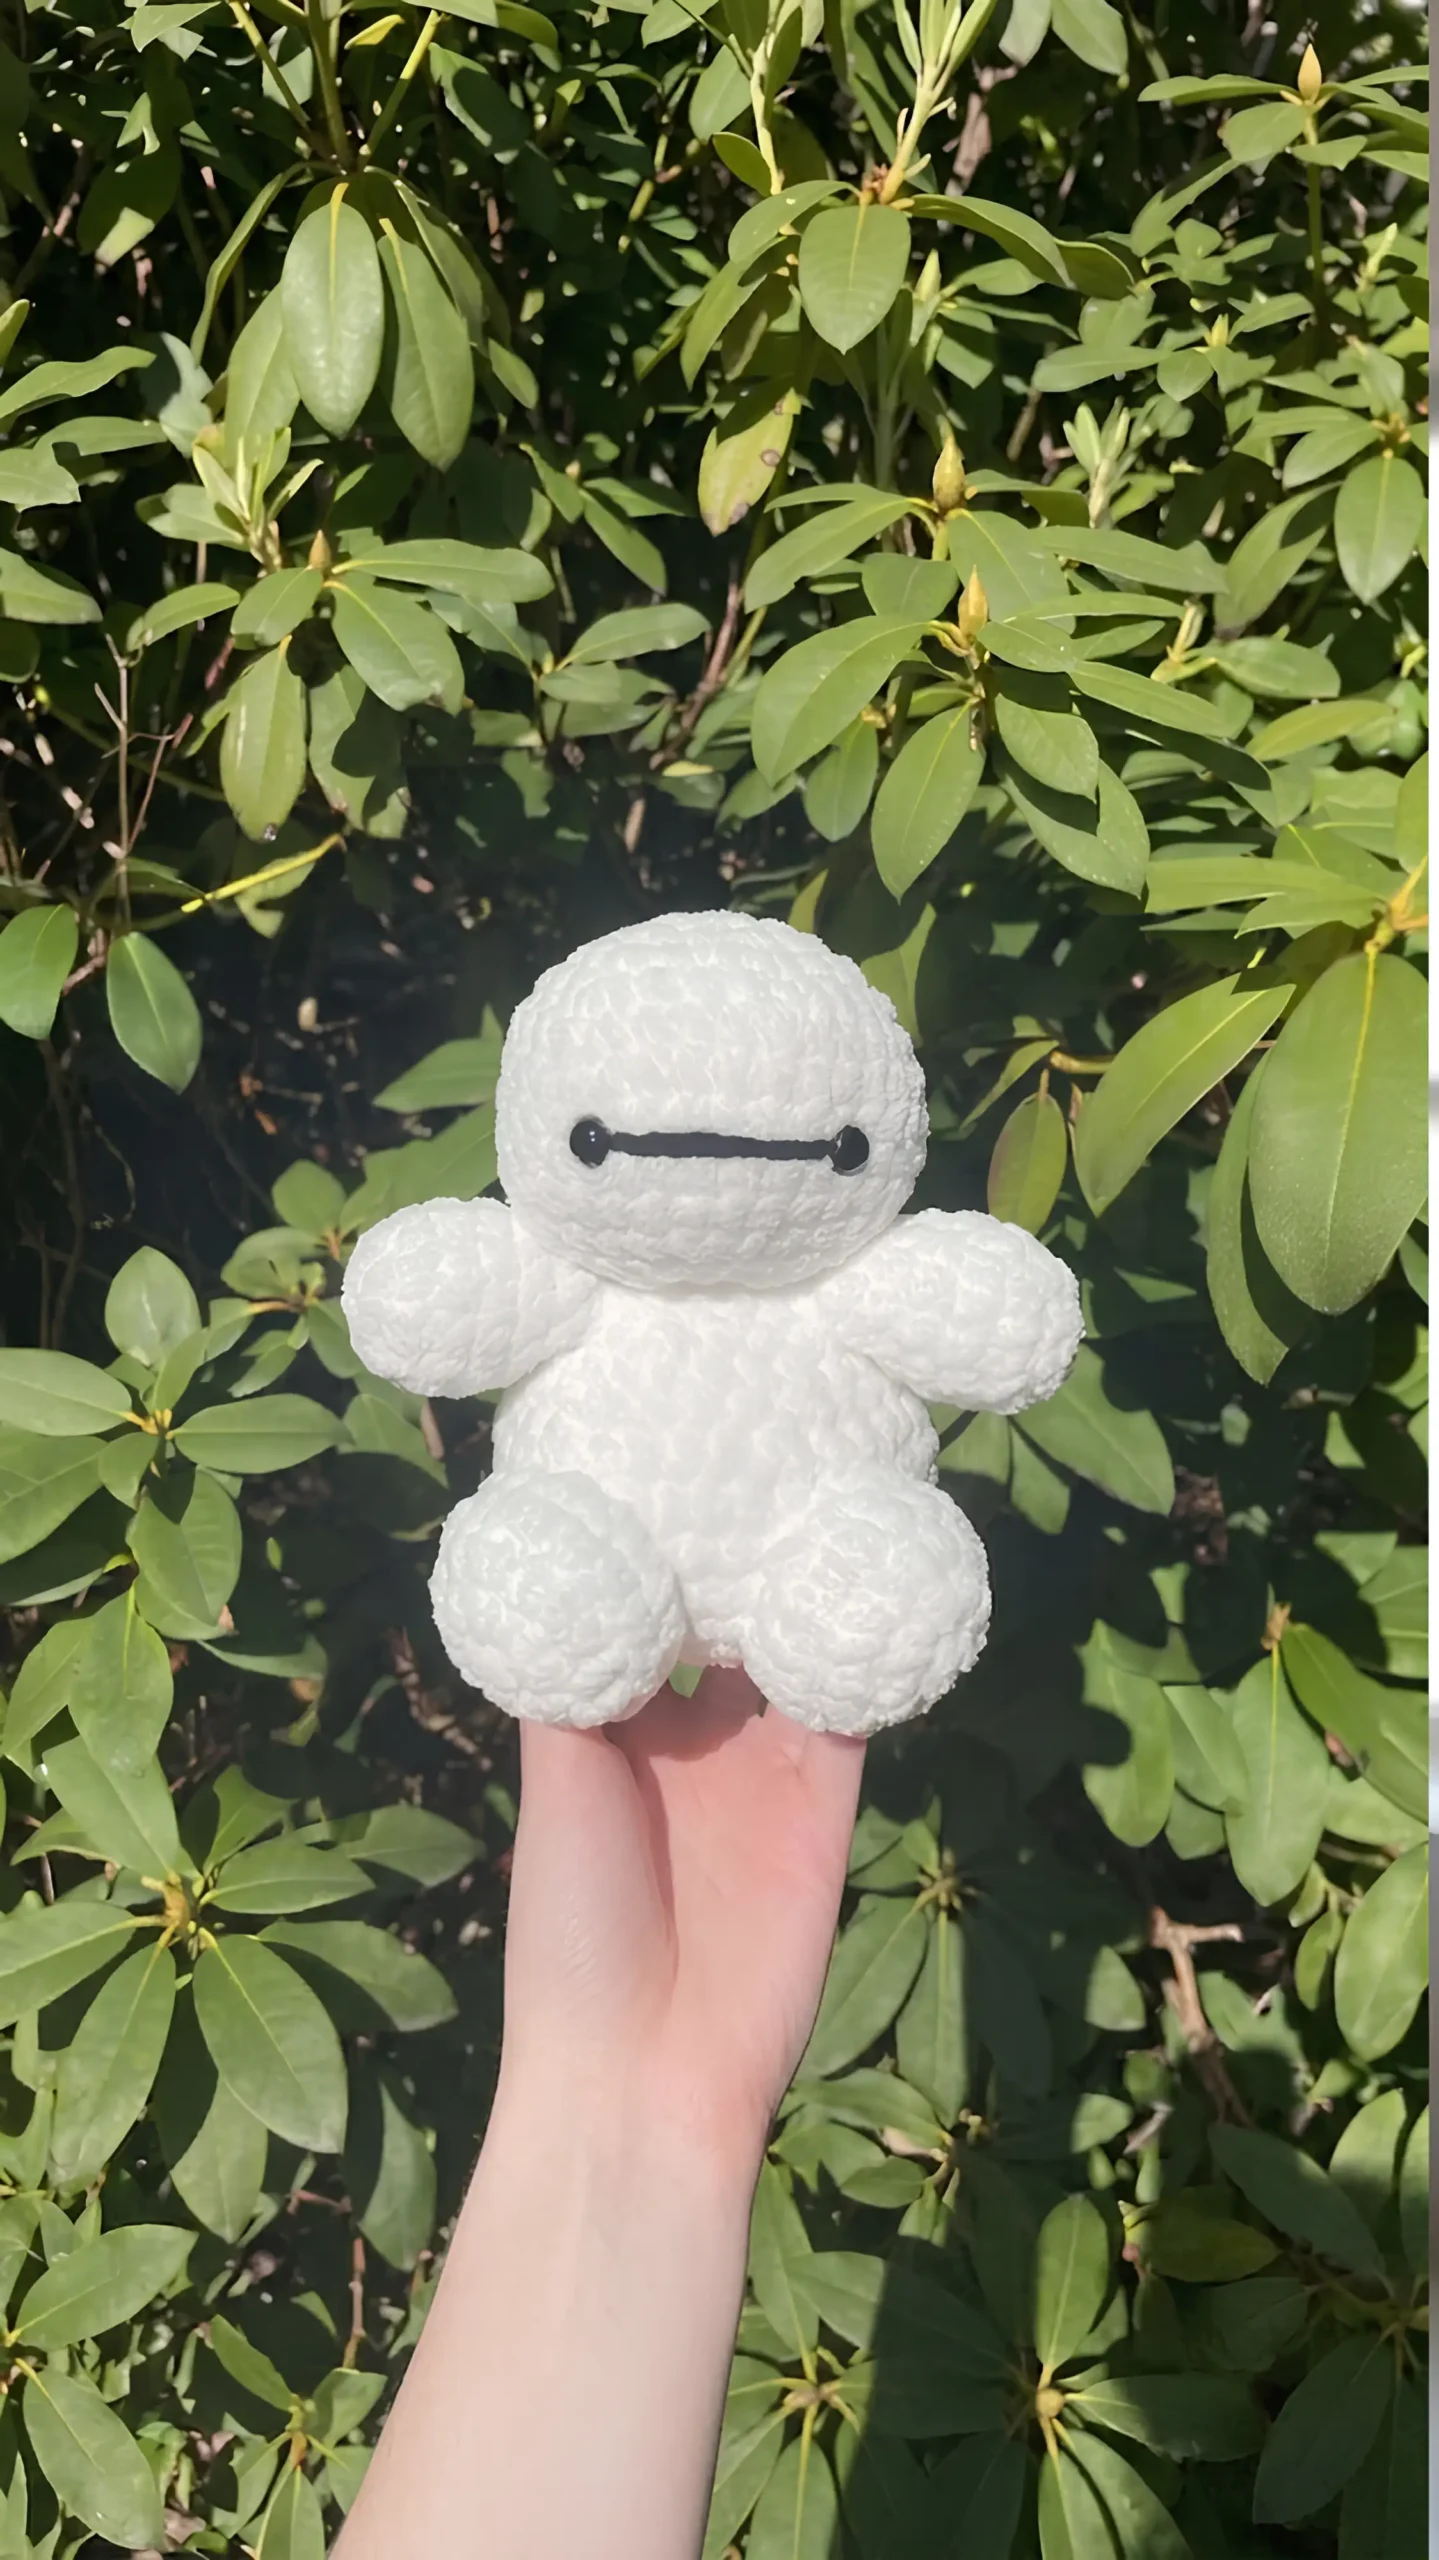
There is nothing quite like a peaceful weekend afternoon to finally slow down and get some crafting done. After a busy week of running errands, keeping up with the family schedule, and sorting through the never-ending piles of laundry, sitting down in my favorite armchair by the window is pure bliss. Yesterday, I poured myself a hot cup of tea and decided to organize my yarn closet. I found a few leftover skeins of chunky white blanket yarn sitting on the shelf, and I instantly knew they would be perfect for a quick, comforting project.
That is how I decided to work up this adorable, huggable robot friend. This project comes together so quickly, making it a wonderful option if you love making handmade gifts for neighbors, family, or upcoming community charity drives. This free amigurumi pattern is wonderfully simple, using basic stitches to create a soft, squeezable companion that everyone will love. Grab your favorite large hook, find a cozy spot to relax, and let’s get stitching together.
Materials
- Black and white yarn (I used Bernat Blanket)
- Crochet Hook (I used a size 6.50 mm)
- Saftey eyes (I used 12mm)
- Stuffing (I use Poly-fil)
- Darning needle
- Scissors
Notes
Please do not sell, redistribute, modify, repost, or steal this pattern. You are welcome to sell your finished plushie.
Abbreviations
- Mr: Magic Ring
- Sc: Single Crochet
- St: Stitch
- Dec: Decrease
- Inc: Increase
Pattern Instructions
Head
Row 1: 6sc in mr (6)
Row 2: inc in every stitch around (12)
Row 3: (1sc, inc) x6 (18)
Row 4: (2sc, inc) x6 (24)
Row 5: (3sc, inc) x6 (30)
Place safety eyes 8 stitches apart between rows 8 and 9
Row 6: 9sc, inc, 14sc, inc, 5sc (32)
Row 7-10: sc in every stitch around (4 rows) (32)
Sew line with black yarn 8 stitches apart, between rows 8 and 9 of head
Row 11: (3sc, dec) x6,sc2 (26)
Row 12: (2sc, dec) x6,sc2 (20)
Row 13: (5sc, dec) x6, Dec (13)
Finish off no need to leave long tail
Body
Row 1: 6sc in mr (6)
Row 2: inc in all (12)
Row 3: (1sc, inc) x6 (18)
Row 4: (2sc, inc) x6 (24)
Row 5: (3sc, inc) x6 (30)
Row 6: (4sc, inc) x6 (36)
Rows 7-9 Sc in all (3 rows) (36)
Row 10: (4sc, dec) x6 (30)
Row 11: (3sc, dec) x6 (24)
Row 12: sc in all (24)
Row 13: (2sc,dec) x6 (18)
Row 14: Sc in all (18)
Row 15: (1 sc, dec) x6 (12)
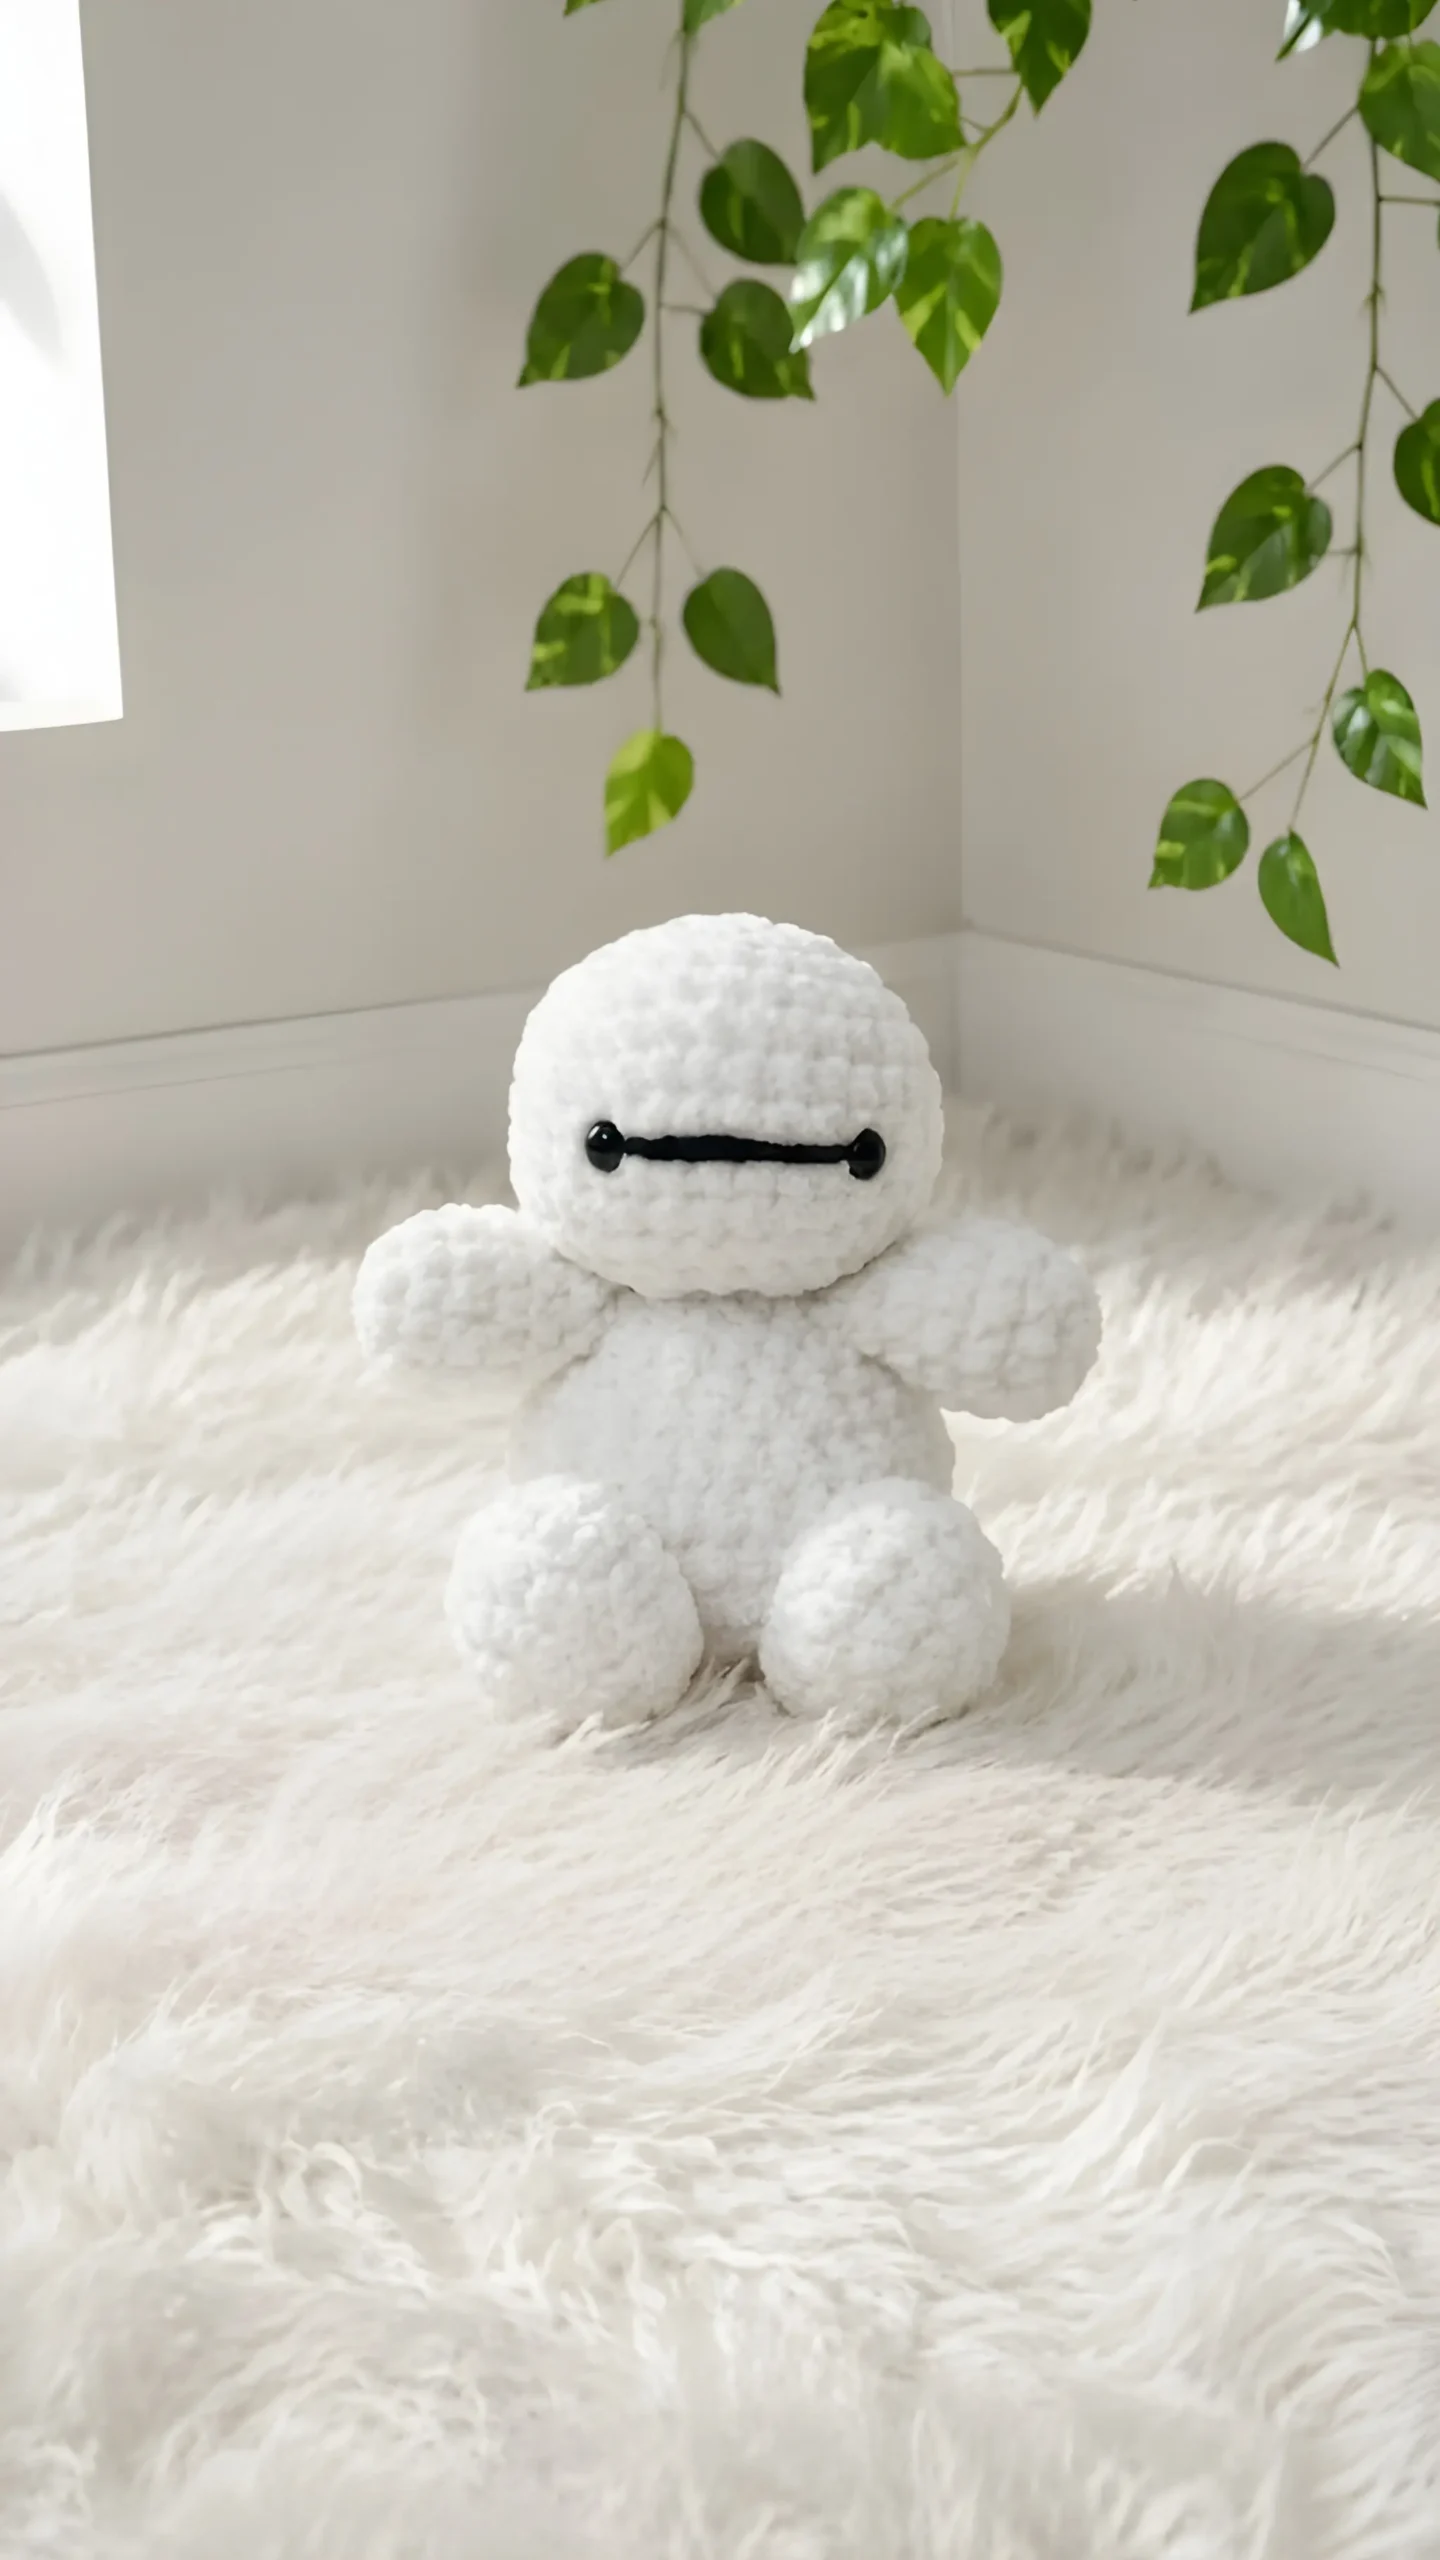
Leave long tail for sewing, then sew body to head
NOTE: Stuff firmly throughout the decreasing process
Arms
(Make two)
Row 1: 6sc in mr (6)
Row 2: inc in all (12)
Rows 3-6 sc in all (4 rows) (12)
Row 7: (1sc, dec) x6 (9)
Stuff lightly
Fold together and sc 4 along the top
Finish off leaving a long tail for sewing
Sew arms between rows 13 and 14 of body, sewing in the 1st stitch right where the eyes end and the line starts, then sew the last three stitches of arm going away from the face (My arms were 8 stitches apart in the front)
Legs
(Make Two)
Row 1: 6sc in mr (6)
Row 2: inc in all (12)
Row 3: (1sc, inc) x6 (18)
Row 4: Sc in all (18)
Row 5: (1sc, dec) x6 (12)
Stuff firmly
Finish off leaving long tail for sewing
Sew bottom of the legs between rows 4 and 5 of body, having the top of the legs touching row nine (I sewed the legs 2 stitches apart from each other so there is a little gap in between them)
Congratulations! You now have your very own crochet Baymax! Don’t forget to tag me so I can see your plushie @madscrochet
Pattern Tester Appreciation
Tips for Success
- Use a stitch marker: When working with thick blanket yarn, it can sometimes be tricky to see the exact start of your rounds, so keeping a marker in the first stitch helps tremendously.
- Embroider the eye line before stuffing: It is much easier to secure your black yarn and hide the knots inside the head before you fully pack it with your fiberfill stuffing.
- Keep your tension even: Thick chenille style yarns can show gaps if your stitches are too loose, so try to maintain a firm, even tension as you work the single crochets.
- Stuff the limbs carefully: Make sure to follow the instructions for stuffing the arms lightly but packing the legs firmly so your plushie can sit up nicely without tipping over.
- Count your stitches on decrease rows: Rows 11, 12, and 13 of the head have unique final counts, so take a quick pause to count your loops at the end of those rounds.
Frequently Asked Questions
Can I use a smaller yarn and hook for this pattern?
Absolutely. You can use standard worsted weight acrylic yarn and a smaller hook like a 3.5mm or 4.0mm. Just keep in mind that your finished robot will turn out much smaller than the blanket yarn version.
How do I make sure the black embroidered eye line stays straight?
Take your time to map it out using straight pins between rows 8 and 9. Run your black yarn directly across the surface from one safety eye to the other, securing it tightly inside the head.
Why does my blanket yarn keep shedding when I cut it?
Chenille and blanket yarns tend to shed at the raw ends. You can tie a tiny knot at the very end of your cut yarn tail to stop the fibers from sliding off the central thread.
Do I need to use the exact hook size mentioned?
Not necessarily. If you tend to crochet very loosely, you might want to drop down to a 6.0mm hook so that the stuffing doesn’t peak through the stitches of your plushie.
What is the best way to attach the limbs securely?
Use the long tails left over from your work and a sturdy darning needle. Whipstitch through both the loops of the limb and the stitches of the body, pulling tight and weaving the ends deep inside the plushie.
Conclusion
Thank you so much for stopping by my blog today to check out this sweet new project. Taking a little time out of a busy day to create something with your own two hands is so rewarding, and I hope this free amigurumi pattern brings a big smile to your face. Whether you are stitching this up for a sweet little one in your family or making a batch of them for a local holiday charity drive, it is a joy to watch them take shape. If you make a robot friend of your own, please leave a comment down below and share your experience. Happy crocheting, everyone!


Leave a Comment