

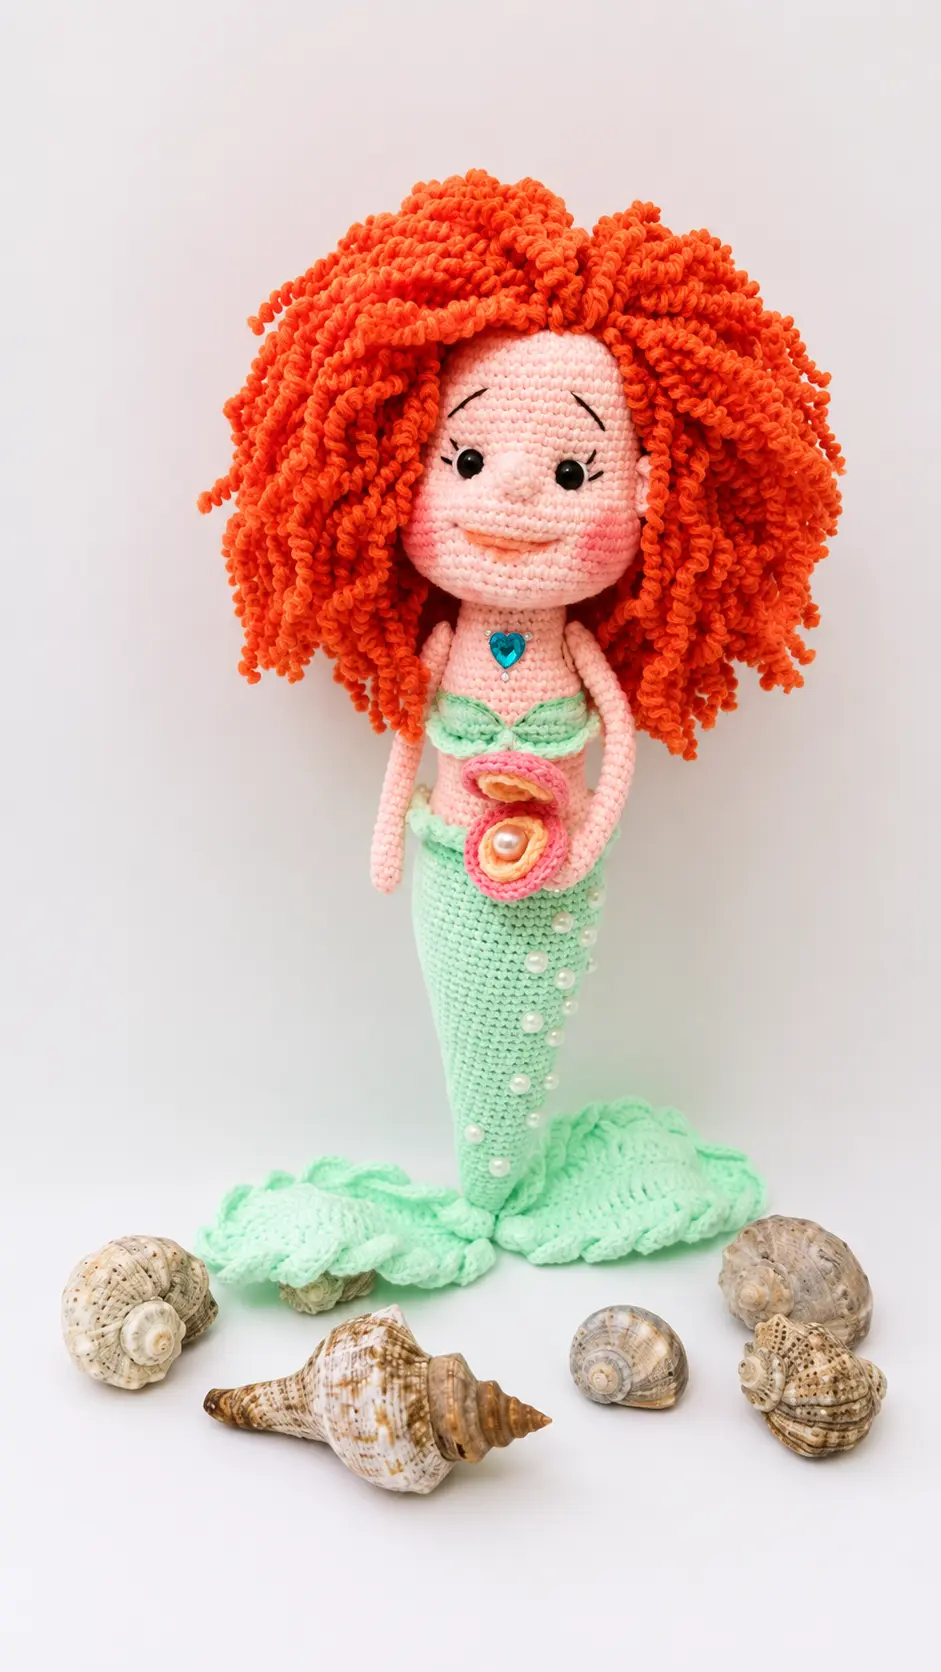
I wasn’t planning a new crochet project when I went shopping with my sister last week. We stopped at a little beachside gift shop after lunch, mostly to browse, and I found myself looking at a shelf filled with seashells, tiny boats, and mermaid decorations. There was one little mermaid with pink hair and a seafoam green tail that immediately caught my attention. My sister saw me looking at it and laughed, “You’re already figuring out how to crochet that, aren’t you?” She knows me too well.
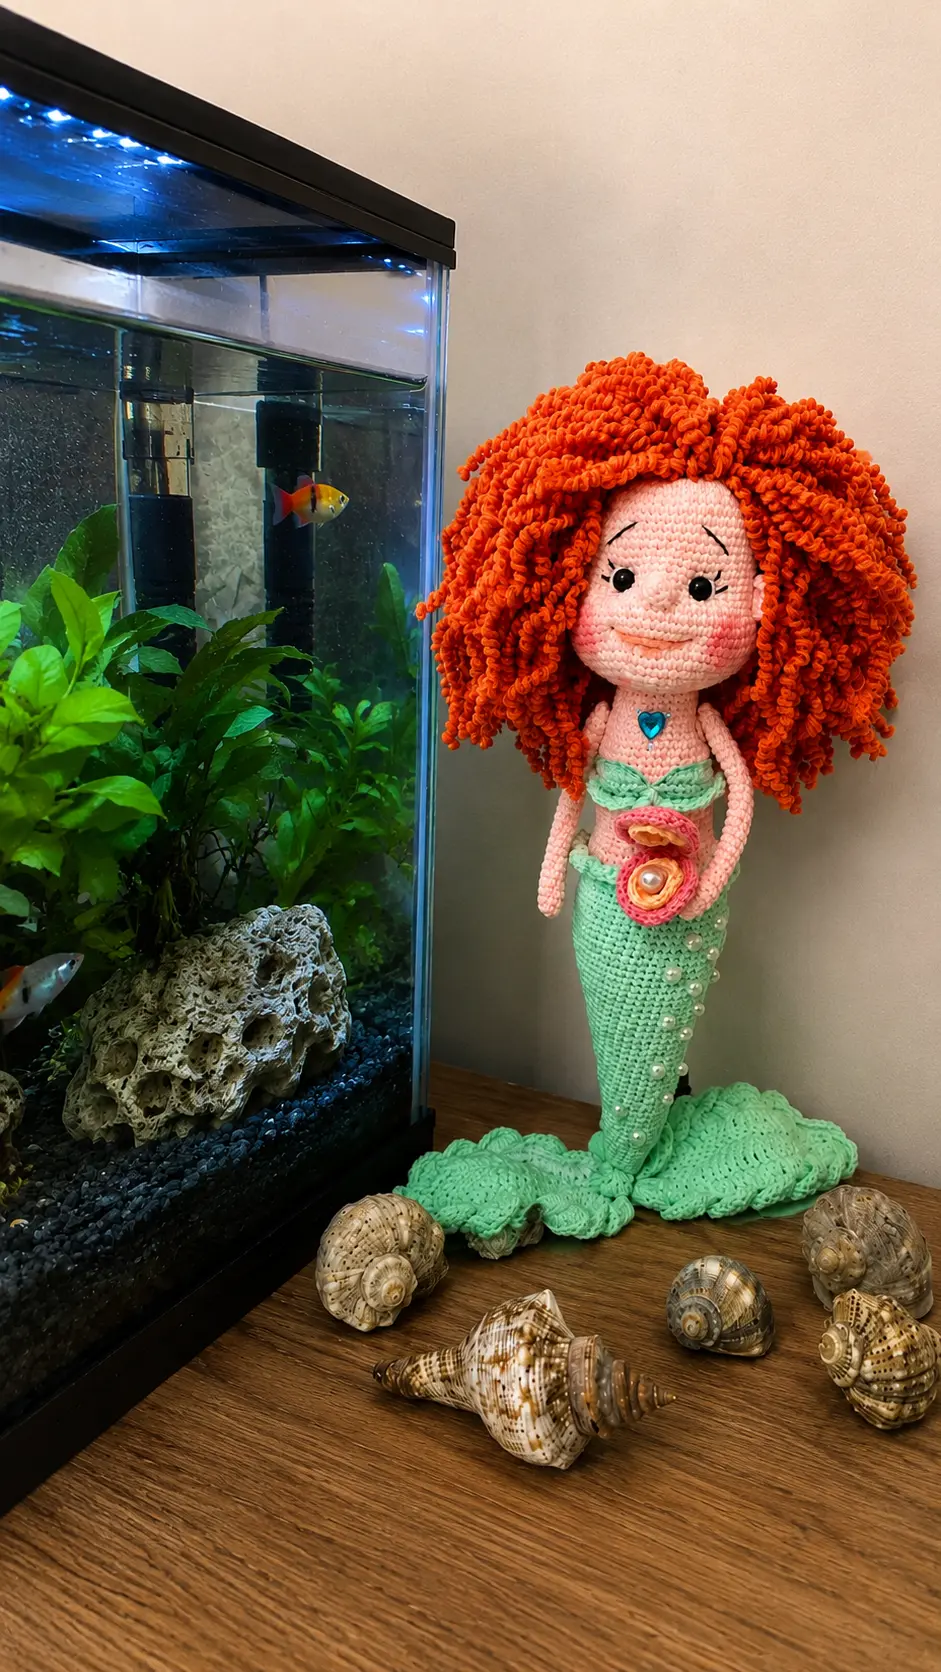
A couple of days later, I decided to see if I could bring that idea to life with yarn. I chose pink and seafoam green for a bright, playful look and started with the little doll before working my way down to the tail. Once the hair and final details were added, she had exactly the whimsical personality I had pictured. I ended up sitting her on the bookshelf beside a jar of seashells we collected years ago, and she looks like she belongs there.
What I especially enjoy about this Free Amigurumi Pattern Little Mermaid Doll is how much room there is to make her your own. Try different hair colors, experiment with the tail, or use tiny scraps to add colorful details. She’s small enough for a relaxing weekend project but has enough personality to feel special when she’s finished. For anyone who enjoys crocheting dolls with a little bit of storybook magic, this mermaid is a lovely one to have on your hook.
Materials Needed
- Jeans yarn or any semi-cotton yarn (or acrylic yarn)
- Kamteks stretch yarn for hair
- Crochet hook size 1.75 mm or 2.0 mm
- Half beads for eyes and pearl half beads for tail decoration
- Buttons for arm attachment
- Fiberfill stuffing
Abbreviations
- sc = single crochet
- mr = magic ring
- inc = increase
- dec = decrease
- hdc = half double crochet
- dc = double crochet
- tr = treble crochet (double dc)
- ch = chain
- sl st = slip stitch
Pattern Instructions
1. Head:
- 1. 6 sc in mr
- 2. 6 inc (12)
- 3. (sc, inc)*6 (18)
- 4. (2 sc, inc)*6 (24)
- 5. (3 sc, inc)*6 (30)
- 6. (4 sc, inc)*6 (36)
- 7. (5 sc, inc)*6 (42)
- 8. (6 sc, inc)*6 (48)
- 9. (7 sc, inc)*6 (54)
- 10. (8 sc, inc)*6 (60)
- 11-22. 60 sc
- 23. 10 sc, 6 inc, 7 sc, 6 inc, 31 sc (72)
- 24-27. 72 sc
- 28. (10 sc, dec)*6 (66)
- 29. (9 sc, dec)*6 (60)
- 30. (8 sc, dec)*6 (54)
- 31. (7 sc, dec)*6 (48)
- 32. (6 sc, dec)*6 (42)
- 33. (5 sc, dec)*6 (36)
- 34. (4 sc, dec)*6 (30)
- 35. (3 sc, dec)*6 (24)
- 36. (2 sc, dec)*6 (18)
- 37. (sc, dec)*6 (12)
- 38. 6 dec
- Step: Pull opening closed, cut yarn, leaving a tail for sewing.
2. Body and tail:
- Step: Start with body color:
- 1. 6 sc in mr
- 2. 6 inc (12)
- 3. (sc, inc)*6 (18)
- 4. (2 sc, inc)*6 (24)
- 5. (3 sc, inc)*6 (30)
- 6-8. 30 sc (30)
- 9. (9 sc, inc)*3 (33)
- 10. 33 sc
- 11. (10 sc, inc)*3 (36)
- 12-13. 36 sc (36)
- 14. (11 sc, inc)*3 (39)
- Step: Start crocheting the bodice with the bodice color:
- 15. 14 sc, 3 inc, 5 sc in body color, 3 inc, 14 sc (45)
- 16. 21 sc, 3 sc in body color, 21 sc (45)
- 17. 14 sc, 3 dec, 2 sc, 1 sc in body color, 2 sc, 3 dec, 14 sc (39)
- 18. 39 sc
- 19. back loop only: 12 sc, inc, 12 sc, inc, 12 sc, inc (42)
- 20-21. 42 sc (42)
- 22. In body color: 12 sc, dec, 12 sc, dec, 12 sc, dec (39)
- 23. 8 sc, dec, 20 sc, dec, 8 sc (37)
- 24-26. 37 sc (37)
- 27. (5 sc, inc)*4, 6 sc, inc, 5 sc, inc (43)
- 28. (sc, inc)*3, 31 sc, (inc, sc)*3 (49)
- 29. 49 sc in fin color (49)
- 30. back loop only: 49 sc (49)
- 31-34. 49 sc (49)
- 35. 3 sc, dec, 39 sc, dec, 3 sc (47)
- 36-42. 47 sc (47)
- 43. 13 sc, dec, 14 sc, dec, 13 sc, dec (44)
- 44. 44 sc (44)
- 45. 13 sc, dec, 12 sc, dec, 13 sc, dec (41)
- 46. 41 sc (41)
- 47. 12 sc, dec, 11 sc, dec, 12 sc, dec (38)
- 48. 38 sc (38)
- 49. 11 sc, dec, 10 sc, dec, 11 sc, dec (35)
- 50-51. 35 sc (35)
- 52. 10 sc, dec, 9 sc, dec, 10 sc, dec (32)
- 53-54. 32 sc (32)
- 55. 9 sc, dec, 8 sc, dec, 9 sc, dec (29)
- 56-58. 29 sc (29)
- 59. 8 sc, dec, 7 sc, dec, 8 sc, dec (26)
- 60-62. 26 sc (26)
- 63. 7 sc, dec, 6 sc, dec, 7 sc, dec (23)
- 64-65. 23 sc (23)
- 66. 6 sc, dec, 5 sc, dec, 6 sc, dec (20)
- 67. 20 sc (20)
- 68. 5 sc, dec, 4 sc, dec, 5 sc, dec (17)
- 69. 17 sc (17)
- 70. 4 sc, dec, 3 sc, dec, 4 sc, dec (14)
- 71. 14 sc (14)
- 72. 3 sc, dec, 2 sc, dec, 3 sc, dec (11)
- 73. 11 sc (11)
- 74. 2 sc, dec, sc, dec, 2 sc, dec (8)
- 75. 9 sc (8)
- 76. 4 dec. Pull opening closed, secure yarn, and hide.
3. Tail fin:
- Step: Crochet 4 pieces.
- Step: Cast on a chain of 26 sc, starting from the 2nd loop from the hook:
- 1. 24 sc, 3 sc in the last stitch, along the other side: 24 sc.
- 2. inc, 2 sc, 3 hdc, 4 dc, 5 tr, 4 dc, 3 hdc, 3 sc, inc of 3 sc, along the other side: 3 sc, 3 hdc, 4 dc, 5 tr, 4 dc, 3 hdc, 2 sc, sl st.
- Step: Fin edging:
- Step: Take two pieces and crochet them together. For edging the tail, you can use a shell pattern or any textured pattern you like.
4. Arms:
- Step: Arms can be made thin or thick, according to preference. Do not stuff arms heavily.
- Step: If you want thin arms:
- 1. 6 sc in mr
- 2. (2 sc, inc)*2 (8)
- 3. (3 sc, inc)*2 (10)
- 4-6. 10 sc
- 7. (3 sc, dec)*2 (8)
- 8-26. 8 sc
- Step: If you want a thicker arm:
- 4. (4 sc, inc)*2 (12)
- 5. (5 sc, inc)*2 (14)
- 6-7. 14 sc
- 8. (5 sc, dec)*2 (12)
- 9-24. 12 sc
- 25. (5 sc, inc)*2 (14)
- 26-28. 14 sc
- 29. (5 sc, dec)*2 (12)
- 30. 6 dec
- Step: Secure yarn and hide.
5. Design:
Nose:
- 1. 5 sc in mr
- 2. sc, inc, 2 sc, inc (7)
- 3. 7 sc
Ears:
- 1. 5 sc in mr
- 2. inc, 2 sc, inc, sc, turn
- 3. ch, 7 sc
Bodice edging:
- Step: 3 ch, sl st in each stitch.
Tail waist edging:
- Step: Start edging from the front in the middle.
- 1. 1 sc, (3 ch, sc in next stitch)*4, (4 ch, sc in next)*6, (5 ch, sc in next)*7, (6 ch, sc in next)*10, (5 ch, sc in next)*7, (4 ch, sc in next)*6, (3 ch, sc in next)*4, sl st (returning to the start).
- Step: Sew all parts together, glue eyes, and decorate the tail. Attach hair using knots after pre-cutting strands of Kamteks or any other yarn to the desired length.
Tips for Success
- Stuffing the head evenly: As you work down the head decreases, add small amounts of fiberfill continuously to ensure a smooth, round shape without any awkward lumps.
- Choosing your yarn type: Sport weight semi-cotton yarn gives a wonderful stitch definition that holds structure well, while soft acrylic works great if you prefer a slightly smaller, lighter doll.
- Attaching flexible arms: Using tiny buttons to attach the arms to the sides of the body gives them a nice jointed movement, making your mermaid doll much easier to pose.
- Creating full, yarn hair: Cut your hair strands twice as long as your desired length. Fold each strand in half and use your crochet hook to loop them securely into the scalp stitches like fringe.
- Adding tail embellishments: Glue pearl half beads along the tail ridges or waist edging to give the finished tail a sparkling, ocean-inspired look.
Frequently Asked Questions
- Can I adjust the length of the mermaid hair?Yes, you can cut your hair strands as long or as short as you like. Long strands give a gorgeous cascading style, while shorter lengths are easier to keep untangled.
- How do I attach the tail fins?After crocheting two fin pieces together with a decorative border to form one complete fin, sew the flat top edge directly onto the base of the tapered tail.
- What hook size is best for this doll pattern?A 1.75 mm or 2.0 mm hook works best with sport weight or fine yarn. This small hook size keeps the single crochet stitches tight so no stuffing shows through.
- Are button joints necessary for the arms?Not at all. While small buttons allow the arms to rotate, you can also sew the tops of the arms flat directly onto the sides of the torso if you prefer.
- How do I attach the facial features securely?You can glue half-bead eyes in place with strong craft glue or fabric adhesive. Sew the small nose piece centered between the eyes on the front of the face.
Conclusion
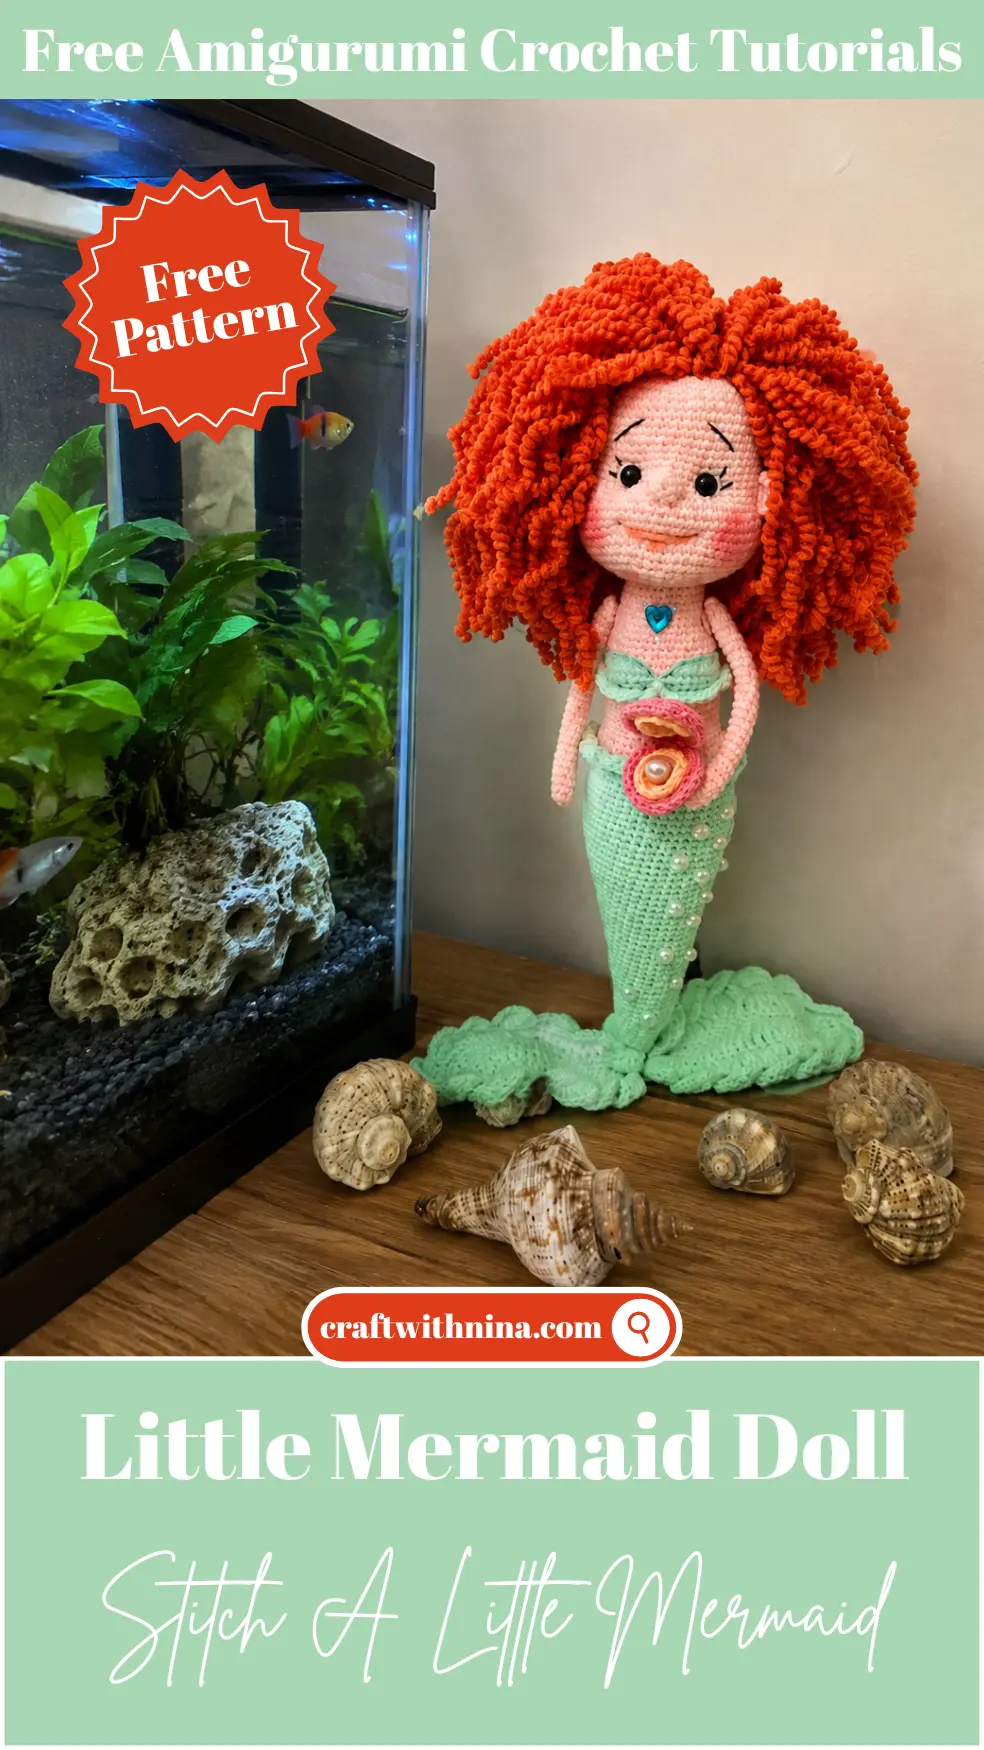
Making handmade toys is such a rewarding way to spend a quiet afternoon, especially when you watch a charming ocean character come to life stitch by stitch. The delicate waist edging, pretty bodice, and textured tail make this project a joyful craft from start to finish. I hope you enjoy every moment of bringing this sweet project to life. Grab your favorite hook, gather your colorful yarn, and have fun making your own Free Amigurumi Pattern Little Mermaid Doll!


Leave a Comment