

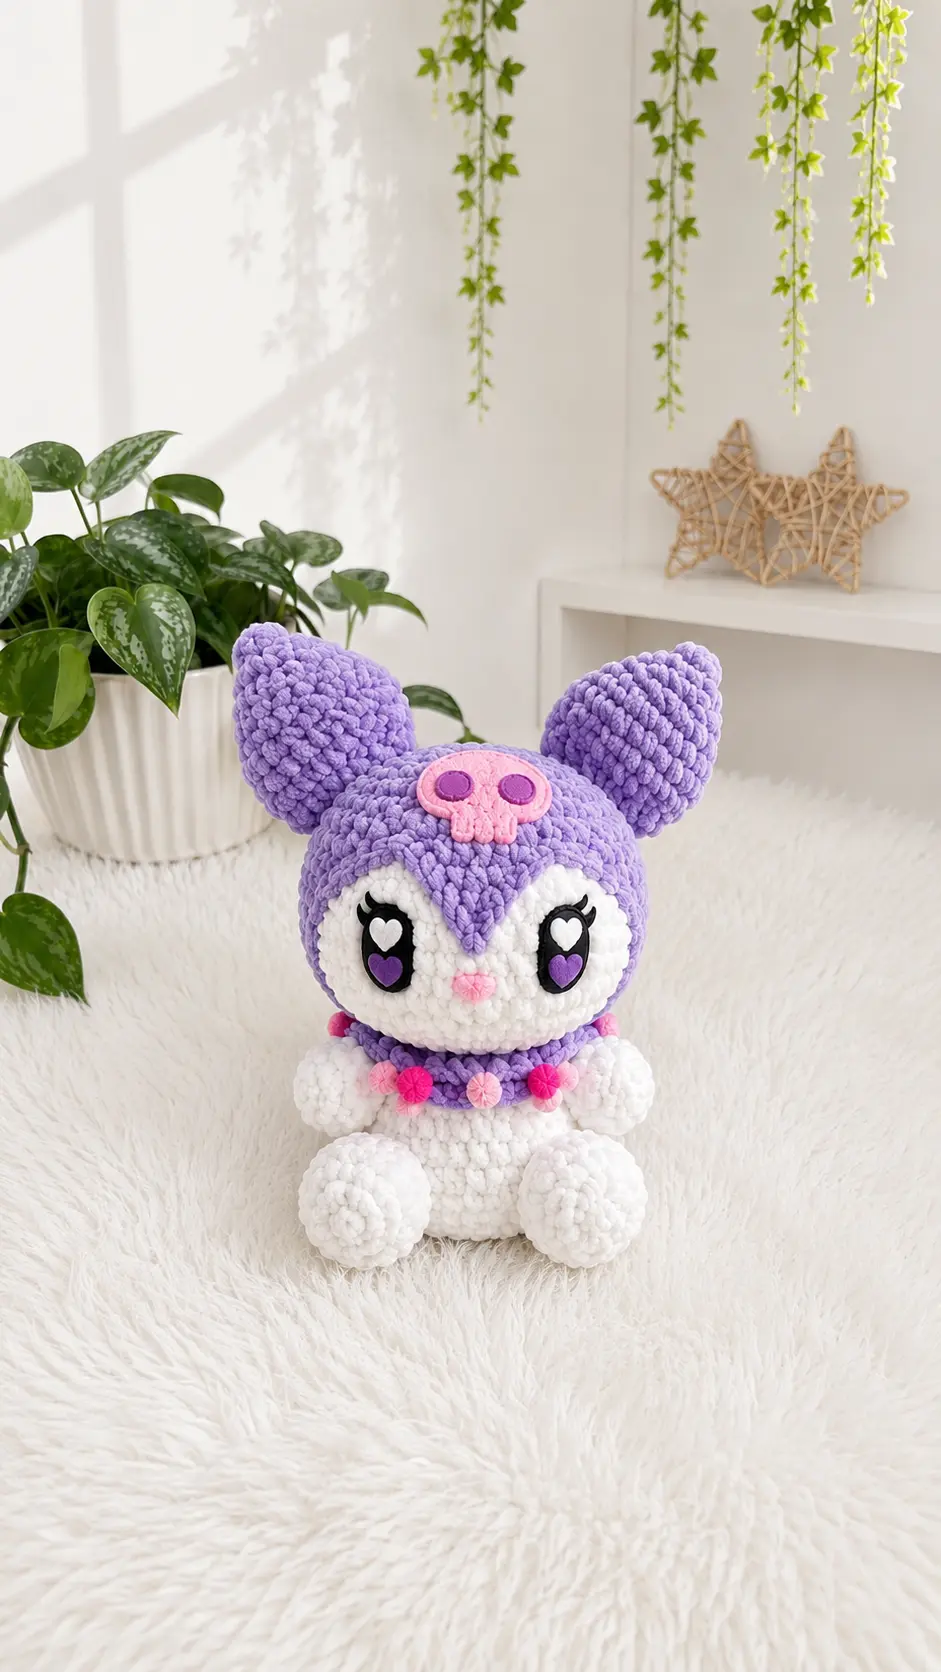
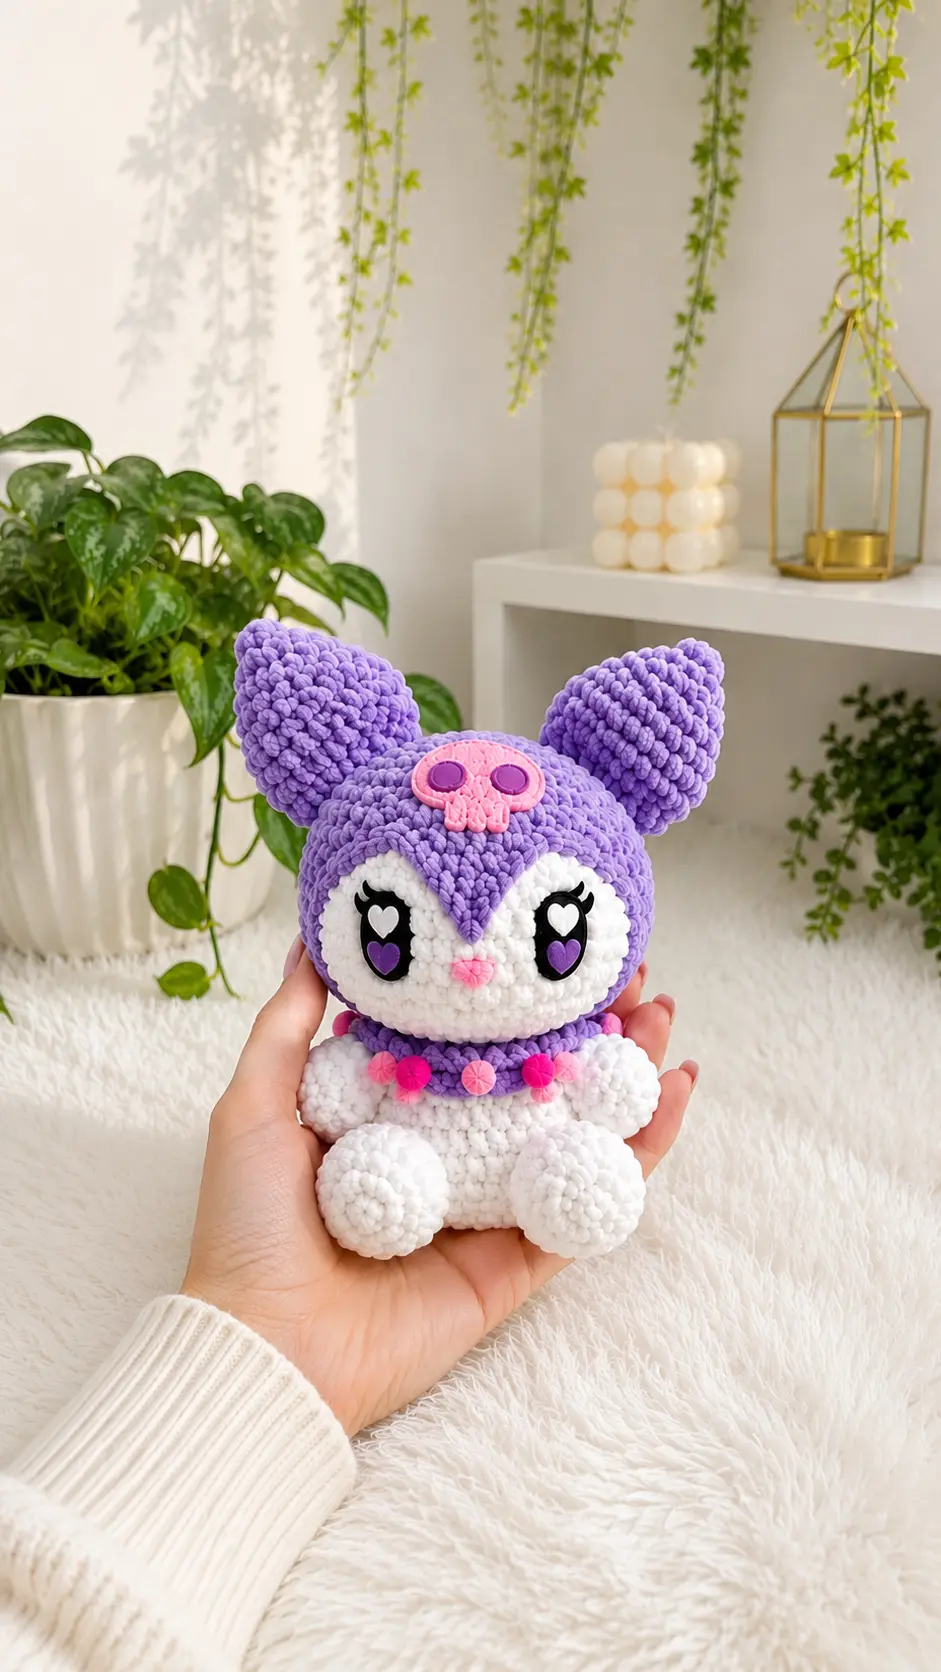
Hello there! My teenage daughter recently asked if I could make a handmade gift for her best friend’s upcoming birthday. She requested something cute with a bit of a punk edge, which led me right to this adorable character. Between running errands for my son and keeping up with the house, sitting down with my hook and yarn is my absolute favorite way to unwind. Finding a quiet afternoon to work on this design brought me so much joy, and the smile on my daughter’s face when I finished it was just wonderful. If you are looking for a fun and rewarding weekend craft, this Kuromi crochet pattern is a fantastic project to try.
Materials Needed
- White, lilac (or black) yarn.
- 100% polyester chenille yarn was used for this design.
- Hook (5 mm).
- Pink, lilac, black and white felt.
- Textile glue.
- Stuffing.
- Rounds marker.
- Pink pompom balls.
- Scissors and needle.
Finished Size
If you use yarn and a needle similar to the designer’s, you will have a 28 to 30 cm tall amigurumi.
Gauge
A specific gauge is not provided for this pattern. Just make sure you crochet tightly enough so that your stuffing does not show through the stitches.
Abbreviations
- Ch = chain
- MR = magic ring
- sc = single stitch
- inc = increase
- dec = decrease
- dc = double crochet
- sl st = slip stitch
- st = stitch
Pattern Notes
- This amigurumi requires an intermediate level because there are many pieces to knit and sew.
- Anything written in brackets will be repeated during the round or the number of times indicated after the bracket.
Kuromi Crochet Pattern Instructions
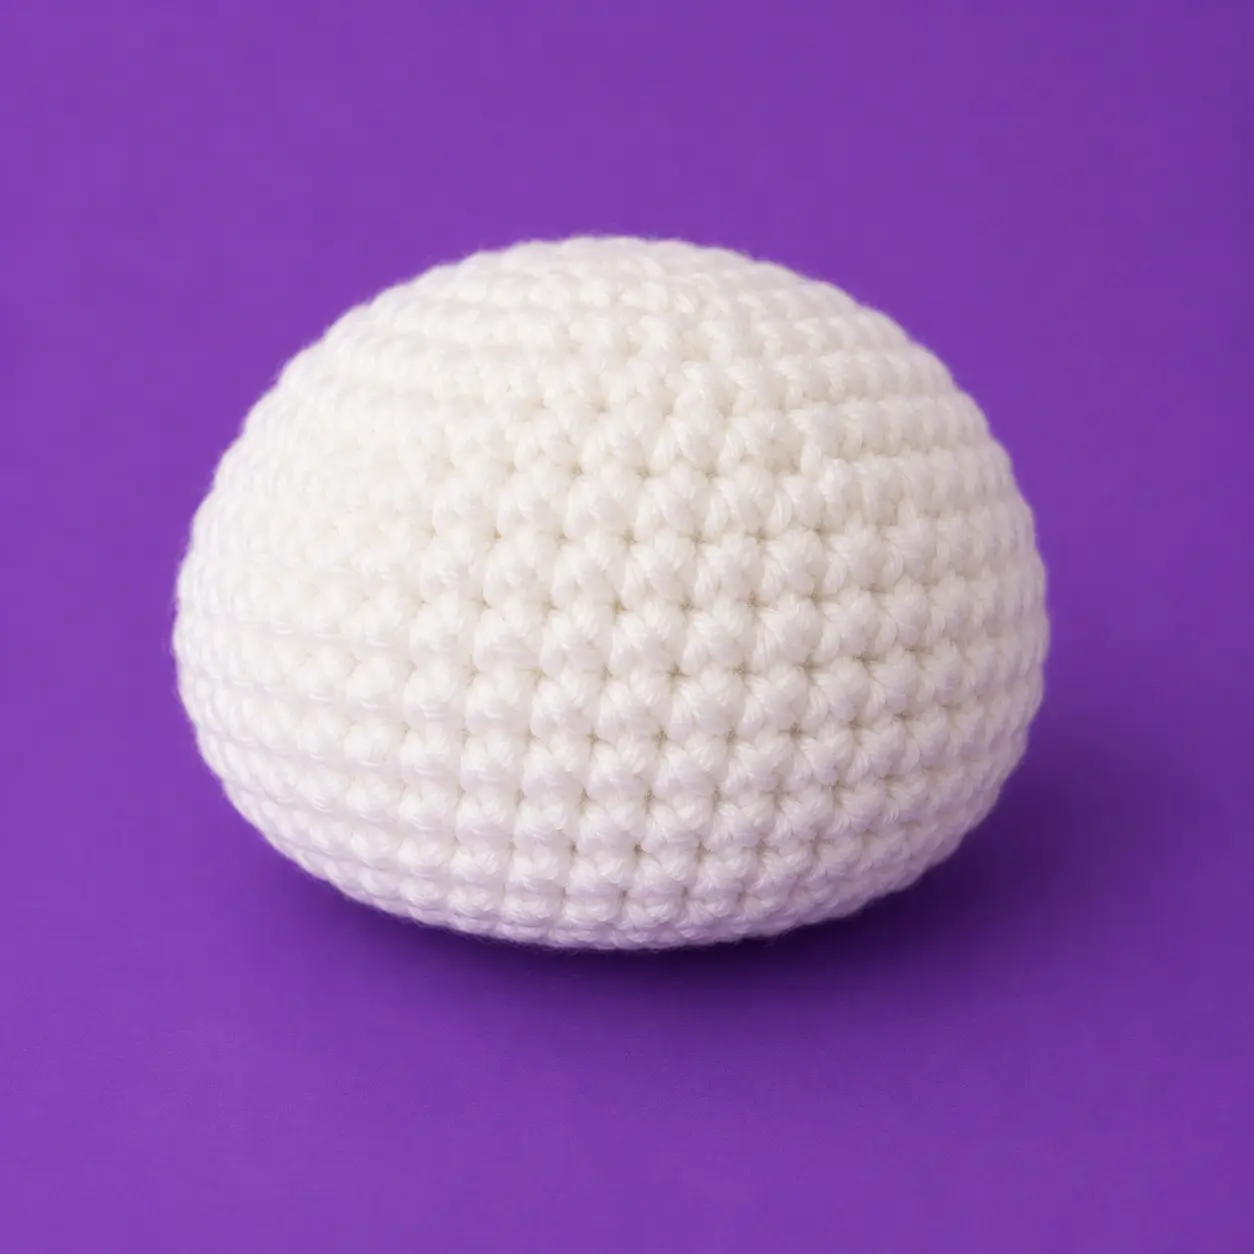
Head
- White
- MR 8 sc (8)
- 8 inc (16)
- (1 sc, 1 inc) x 8 (24)
- (2 sc, 1 inc) x 8 (32)
- (3 sc, 1 inc) x 8 (40)
- (4 sc, 1 inc) x 8 (48) 7-15. 48 sc (48) – 8 rounds
- (4 sc, 1 dec) x 8 (40)
- (3 sc, 1 dec) x 8 (32)
- (2 sc, 1 dec) x 8 (24) Start stuffing!
- (1 sc, 1 dec) x 8 (16)
- Dec x 8 (8) Finish stuffing, making sure that is firm all over the piece. Crochet 1 sl st, fasten off with the needle and hide the remaining inside the head.
Body
- White
- MR 8 sc (8)
- 8 inc (16)
- (1 sc, 1 inc) x 8 (24)
- (2 sc, 1 inc) x 8 (32)
- (3 sc, 1 inc) x 8 (40) 6-11. 36 sc (40) – 4 rounds
- (3 sc, 1 dec) x 8 (32)
- (2 sc, 1 dec) x 8 (24)
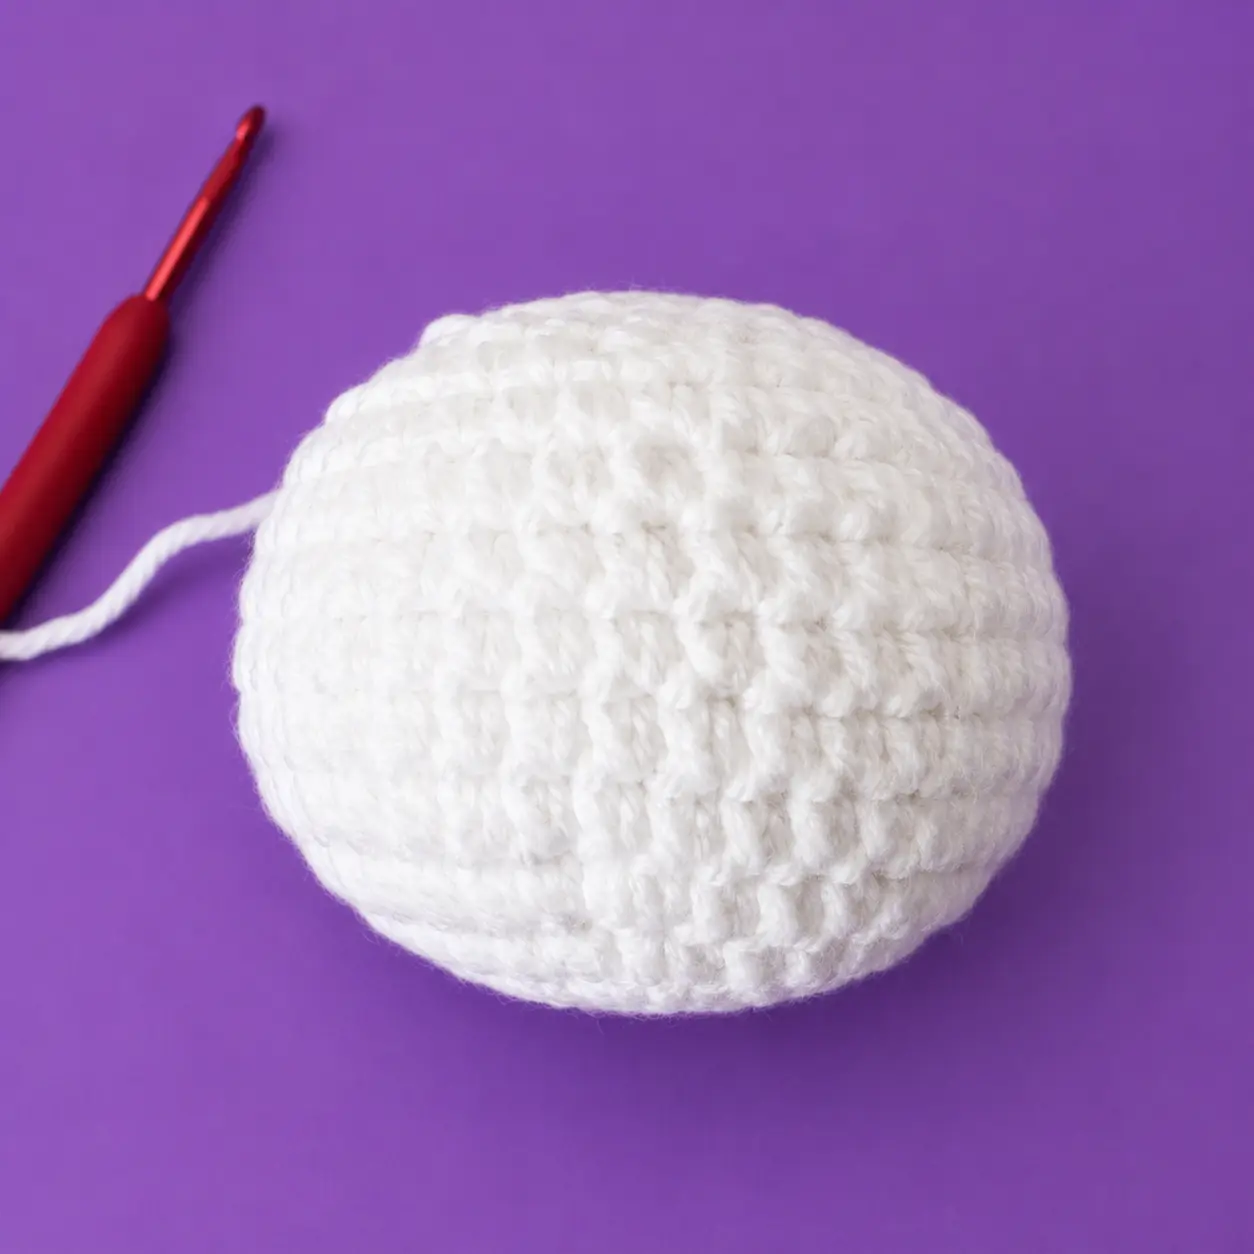
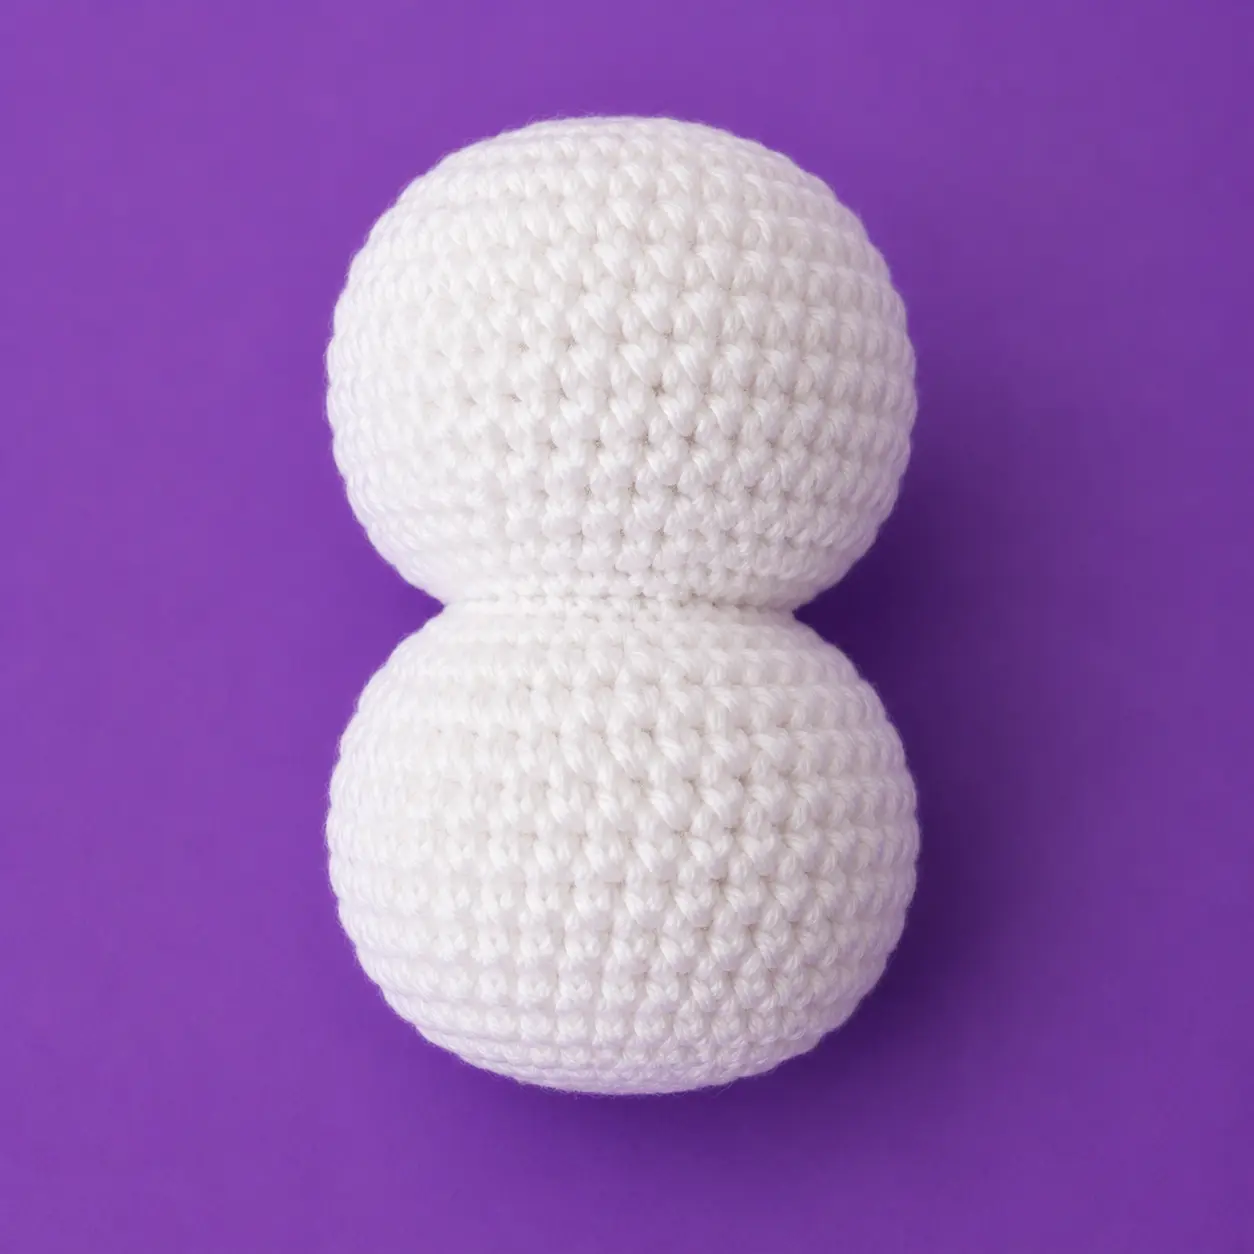
- 24 sc (24) Crochet 1 sl st and leave a long tail of yarn to sew the piece to the head. Stuff the body. You can sew the body to the head if you want! You can also leave it for the end, with the rest of the pieces (at the end of the pattern is the assembly section), but I recommend you to do it now because it will be useful to check the rest of the pieces.
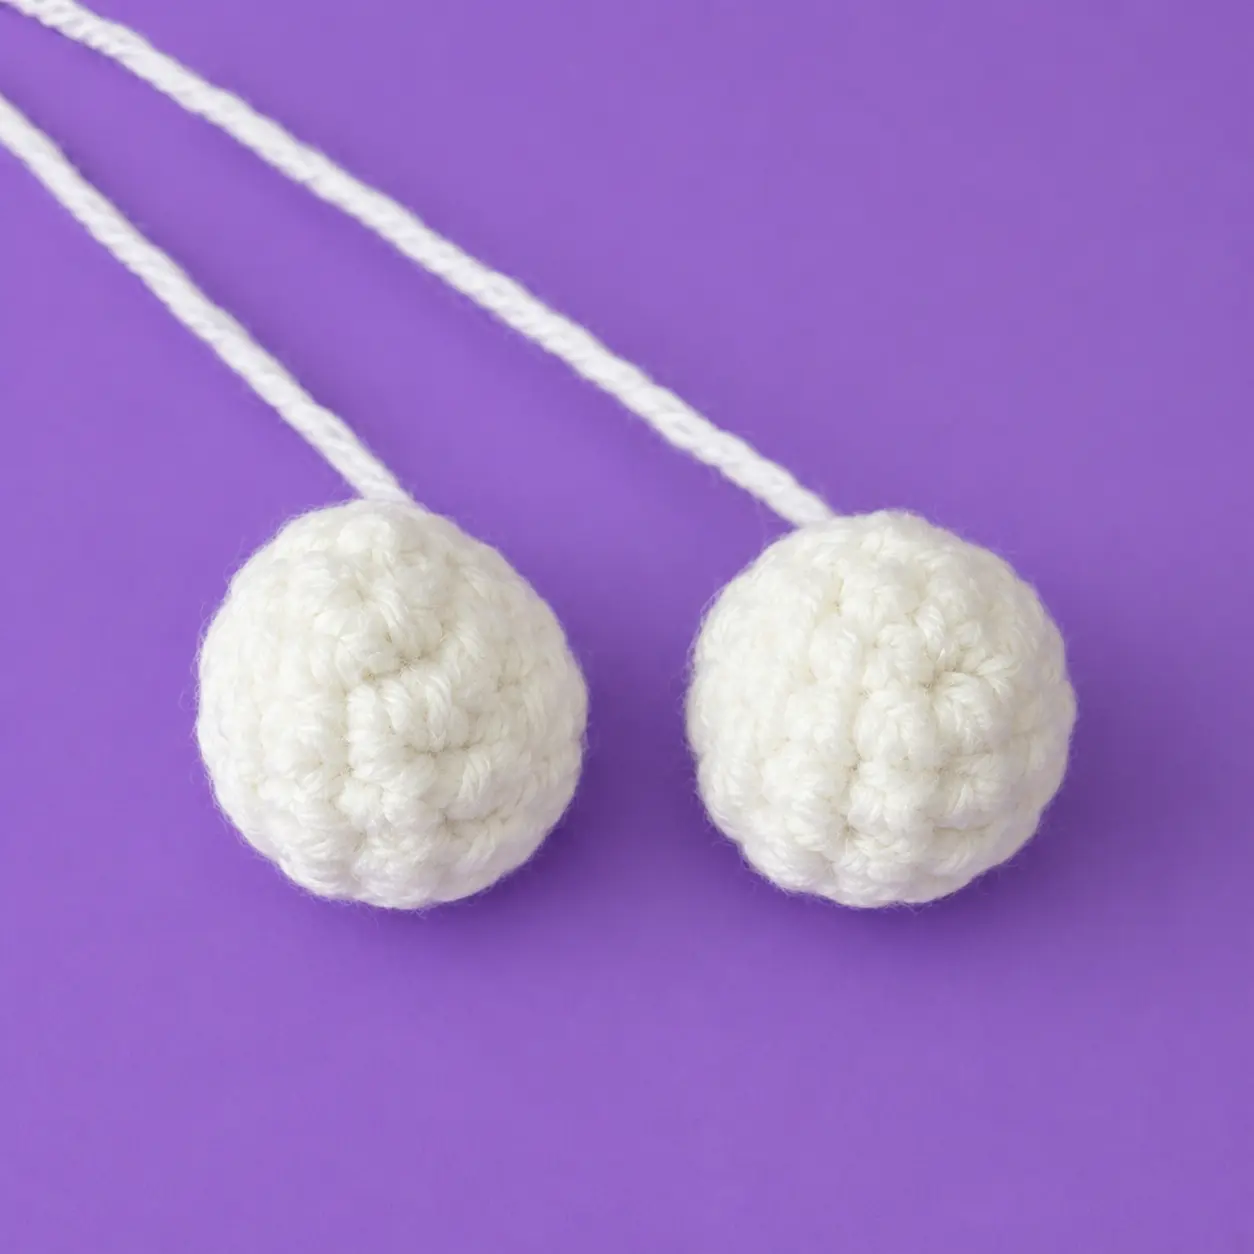
Arms x2
- White
- MR 5 sc (5)
- 5 inc (10)
- (4 sc, 1 inc) x 2 (12) 4-5. 12 sc (12) – 2 rounds Crochet 1 sl st and leave some yarn to sew to the body. Stuff lightly.
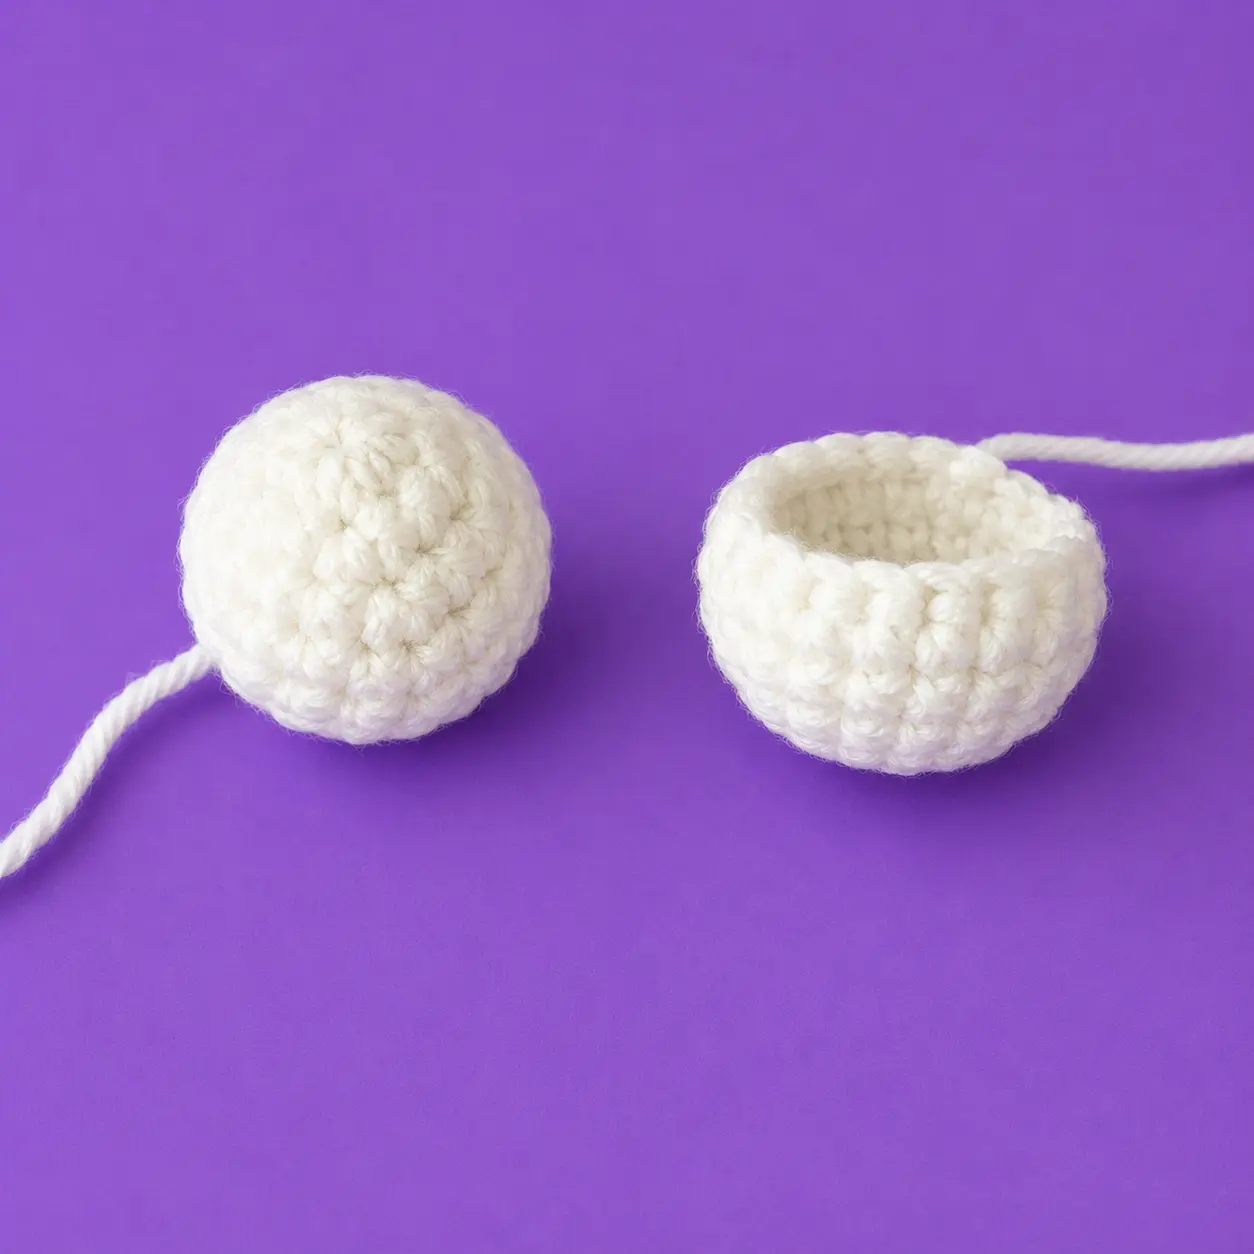
Legs x2
- White
- MR 6 sc (6)
- 6 inc (12)
- (1 sc, 1 inc) x 6 (18) 4-5. 12 sc (18- 2 rounds
- (2 sc, 1 dec) x 4, 2 sc (14) Crochet 1 sl st and leave some yarn to sew to the body. Stuff lightly.
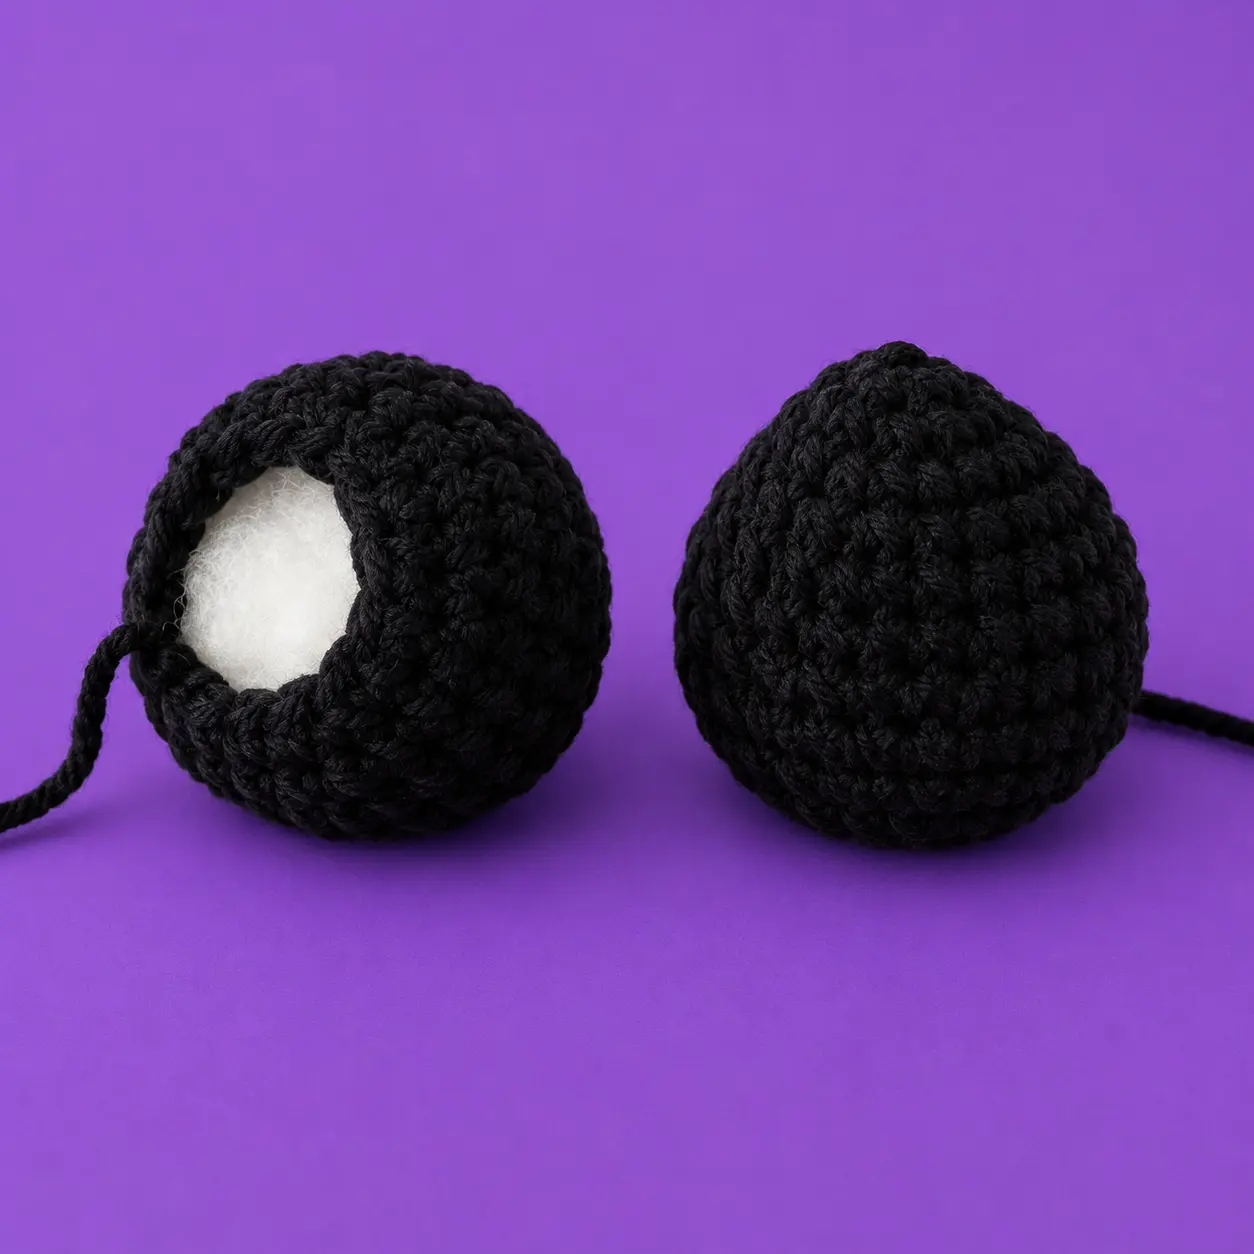
Ears x 2
- Black or lilac
- MR 5 sc (5)
- 5 inc (10)
- (4 sc, 1 inc) x 2 (12)
- (2 sc, 1 inc) x 4 (16)
- (1 sc, 1 inc) x 8 (24)
- 24 sc (24)
- (5 sc, 1 inc) x 4 (28) 8-10. 28 sc (28) – 3 rounds
- 1.(2 sc, 1 dec) x 7 (21)
- (1 sc, 1 dec) x 7 (14) Crochet 1 sl st and leave long tail of yarn to sew them to the head.
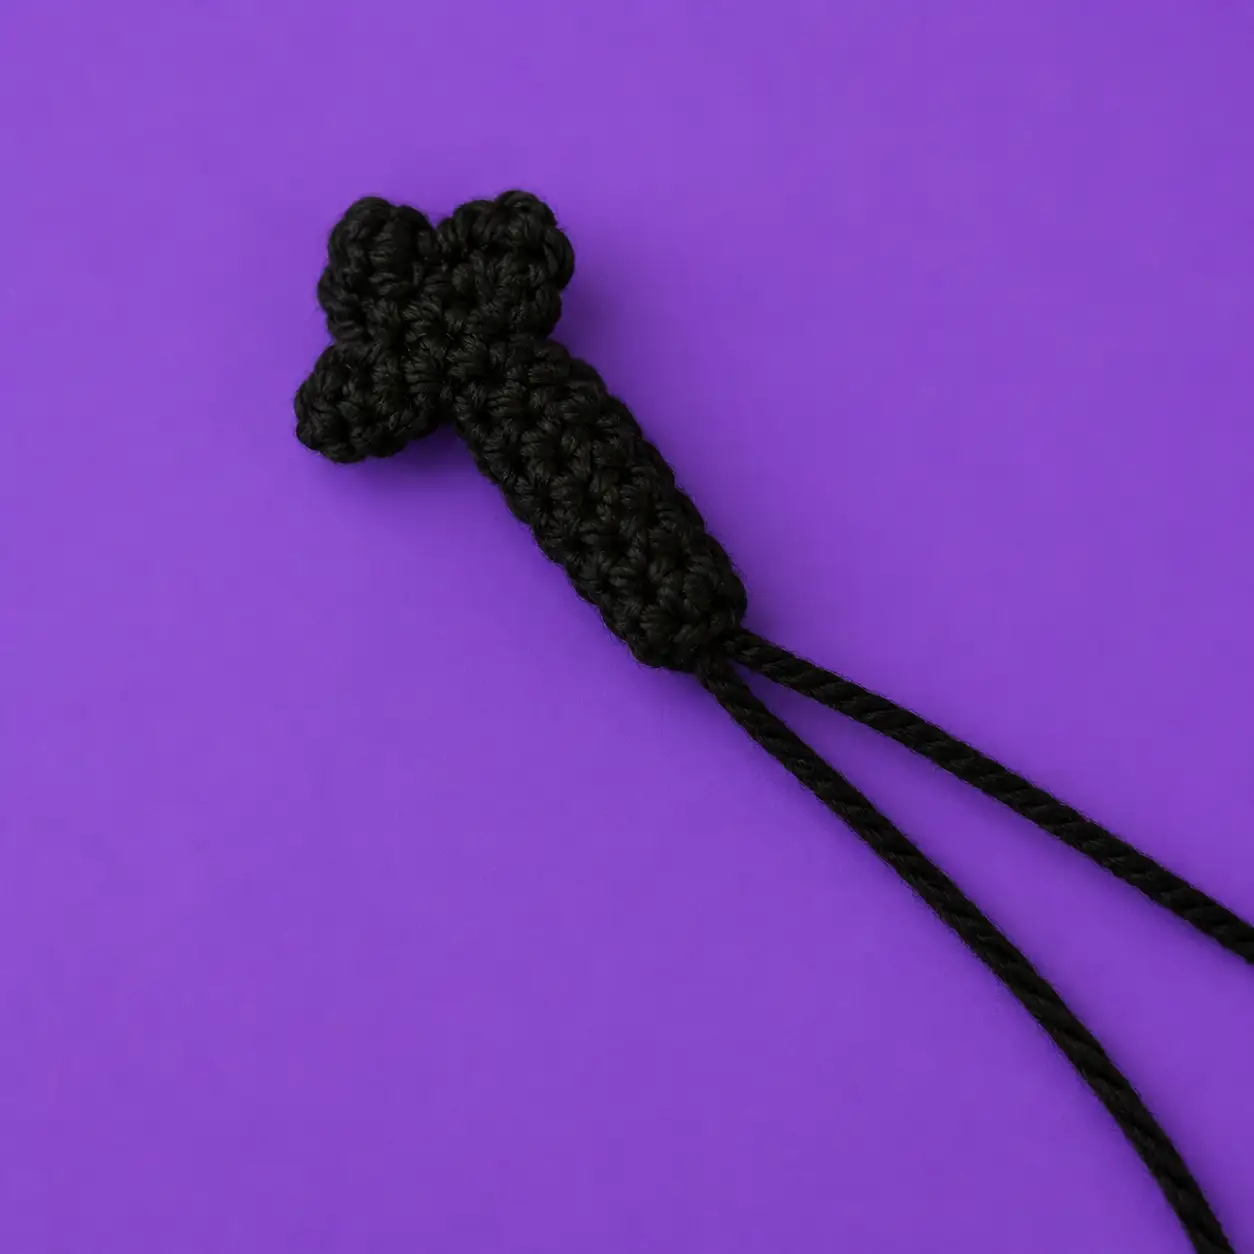
Tail
- Black or lilac Crochet this piece in rows
- Start with 2 ch
- Skip 1 ch, 1 inc, 1 ch and turn the piece (2)
- Skip 1 ch, 1 sc, 1 inc, 1 ch and turn the piece (3)
- Skip 1 ch,, 2 sl st. Crochet 7 ch, skip 1 ch and crochet 6 sc back to the tail. Crochet 1 sl st in the same stitch where you started the 7 ch and 1 more sl st in the next stitch. Leave some yarn to sew to the body. You should end up with an arrow shape.
Necklace
- Black or lilac This piece is crocheted in two rows.
- Start with 31 ch*
- Skip 1 ch and: (3 sl st, 3 ch: skip 1 st, 1 sc and 1 de down the nex two ch) x 7 End the necklace with 1 sl st and leave a long tail of yarn to sew it to the body. Do not sew the collar to the neck yet. First we have to crochet the hat and sew it to the head. You should have 7 triangles on the necklace, but if you get more or less it doesn’t matter. *It is important that the necklace goes around the neck, so it may be useful if you have already sewn the head to the body, so you can check it. Add or delete chains if needed.
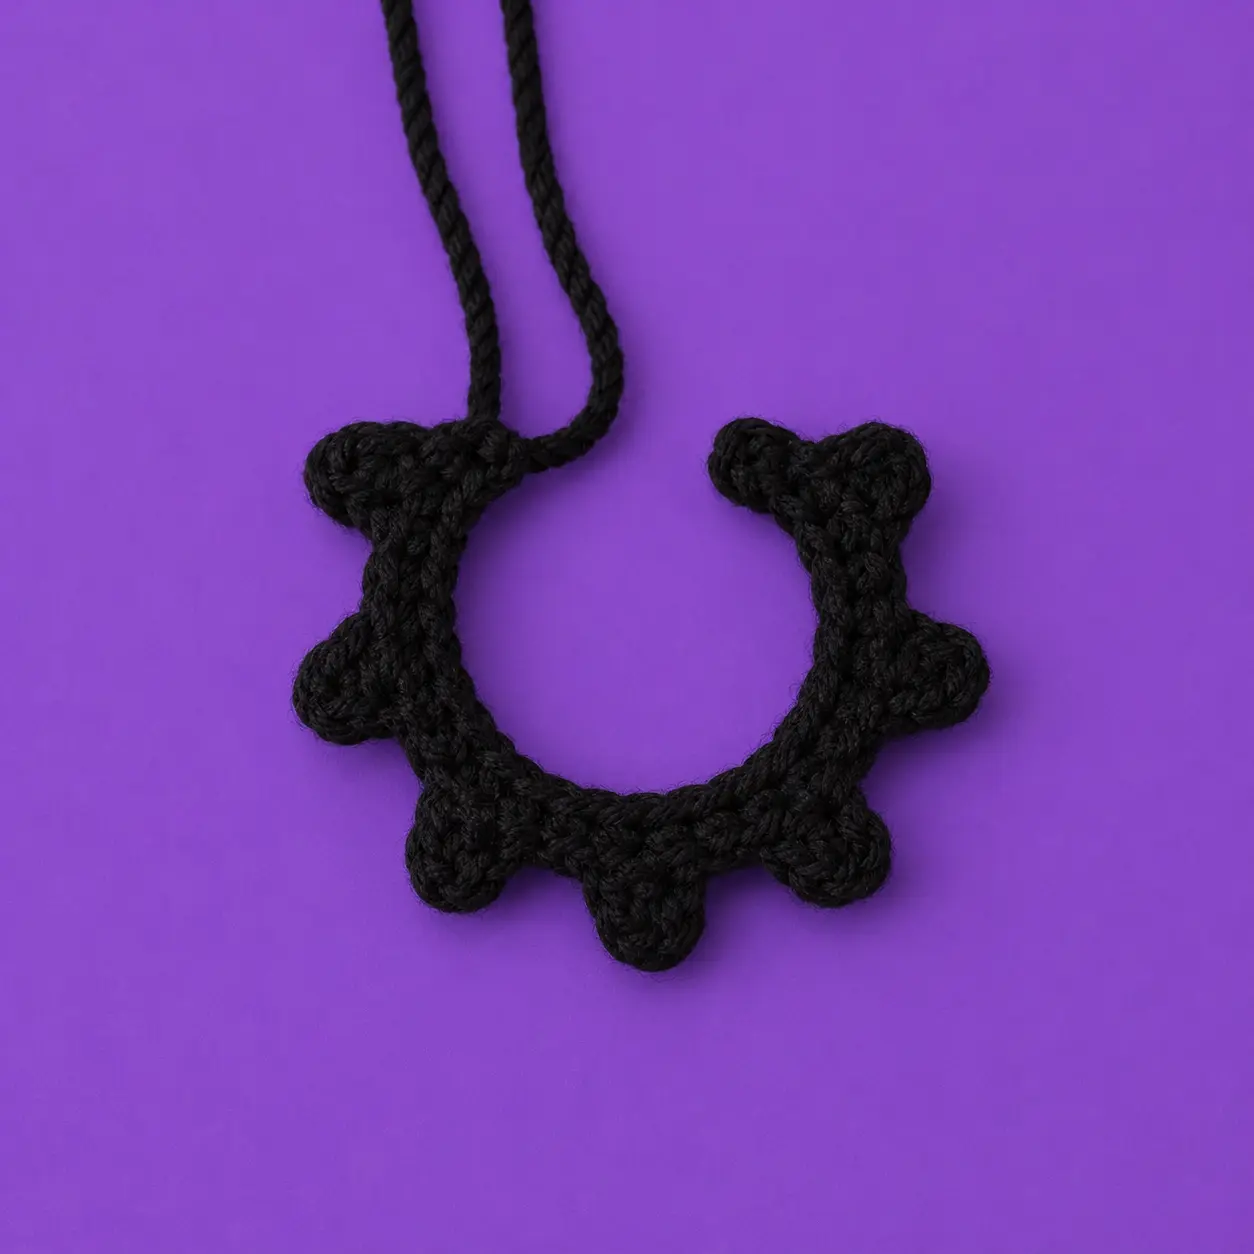
Hat – part 1/2
- Black or lilac
- MR 8 sc (8)
- 8 inc (16)
- (1 sc, 1 inc) x 8 (24)
- (2 sc, 1 inc) x 8 (32)
- (3 sc, 1 inc) x 8 (40)
- (4 sc, 1 inc) x 8 (48) 7-15. 48 sc (48) – 9 rounds Don’t fasten off, we’ll continue in rows to crochet the fins of the hat: Crochet 1 ch and turn the piece
- skip 1 ch, (1 sc, 1 dec) x 4, 1 ch and turn (8)
- skip 1 ch, 1 dec, 2 sc, 1 dec, 2 sc and turn [no chain] (6)
- skip 1 st, 5 sc and turn [no chain] (5)
- skip 1 st, 4 sc, 1 ch and turn (4)
- skip 1 ch, 3 sc and turn [no chain] (4)
- skip 1 st, 3 sc and turn [no chain] (3)
- skip 1 st, 2 sc and turn [no chain] (2)
- skip 1 st, 1 sc – don’t turn, we’ll continue down the triangle we crocheted to go back to the base of the hat.
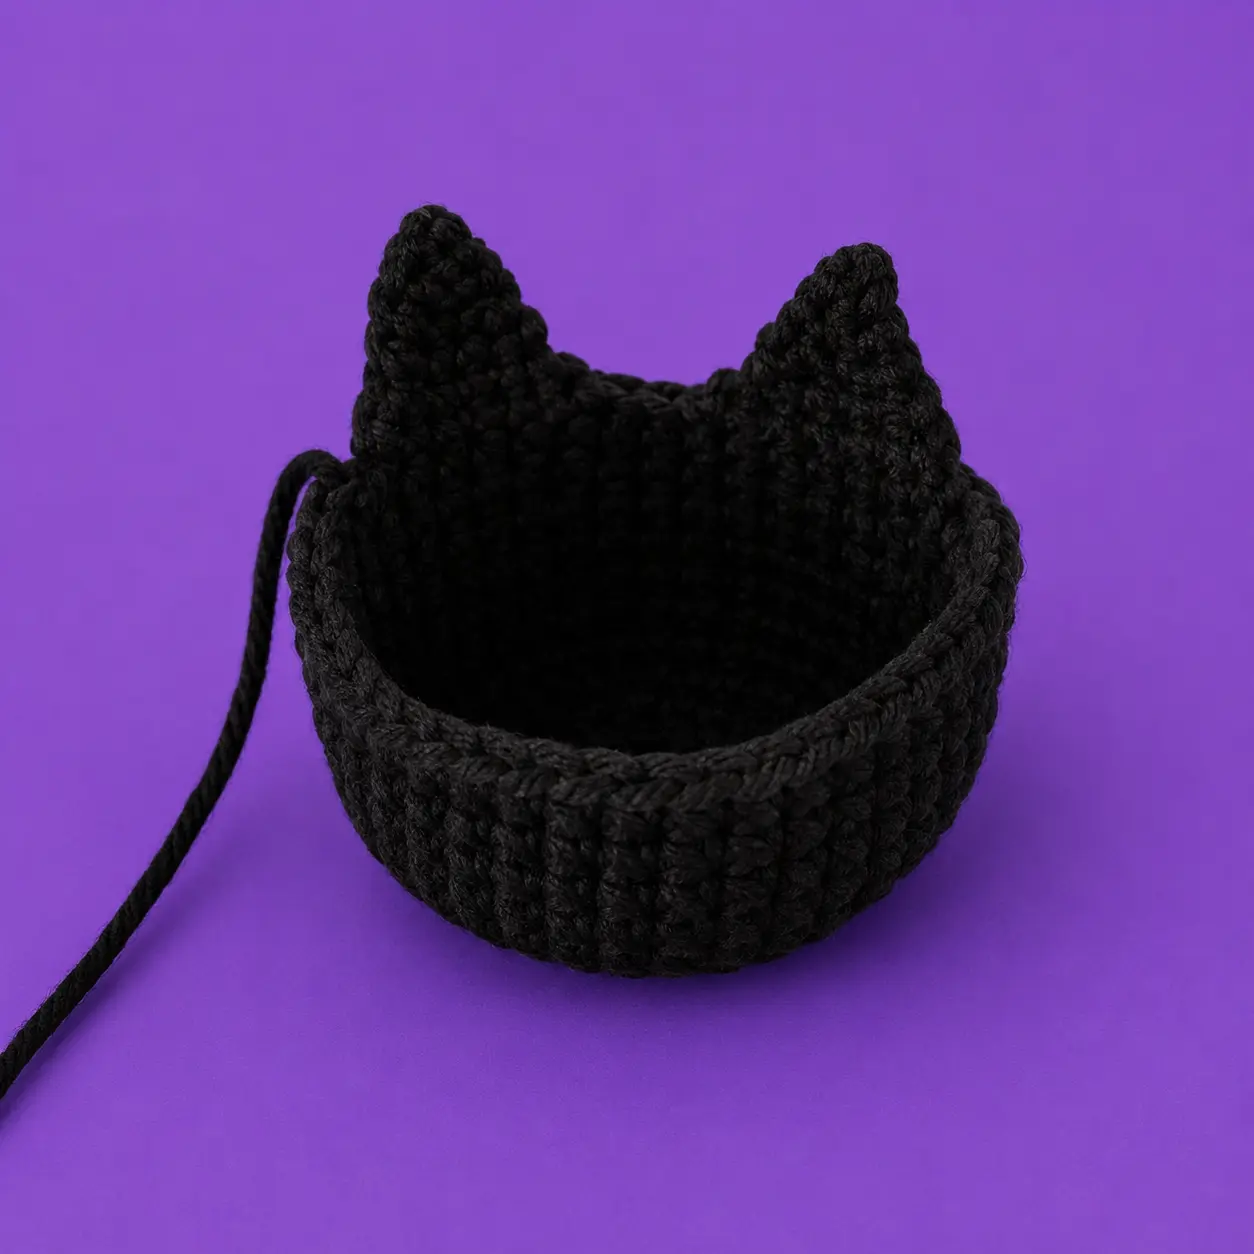
Hat – part 2/2
Crochet 10 sl st down to the base of the hat (if you need less stitches to reach the base is fine) and:
- (1 sc, 1 dec) x 4, 1 ch and turn (8)
- skip 1 ch, 1 dec, 2 sc, 1 dec, 2 sc and turn [no chain] (6)
- skip 1 st, 5 sc and turn [no chain] (5)
- skip 1 st, 4 sc, 1 ch and turn (4)
- skip 1 ch, 3 sc and turn [no chain] (4)
- skip 1 st, 3 sc and turn [no chain] (3)
- skip 1 st, 2 sc and turn [no chain] (2)
- skip 1 st, 1 sc and crochet 10 sl st down to the base of the hat. Crochet sc all the way around the hat to the first fin (around 26 pb). Cut the yarn and leave a long tail to sew to the head.
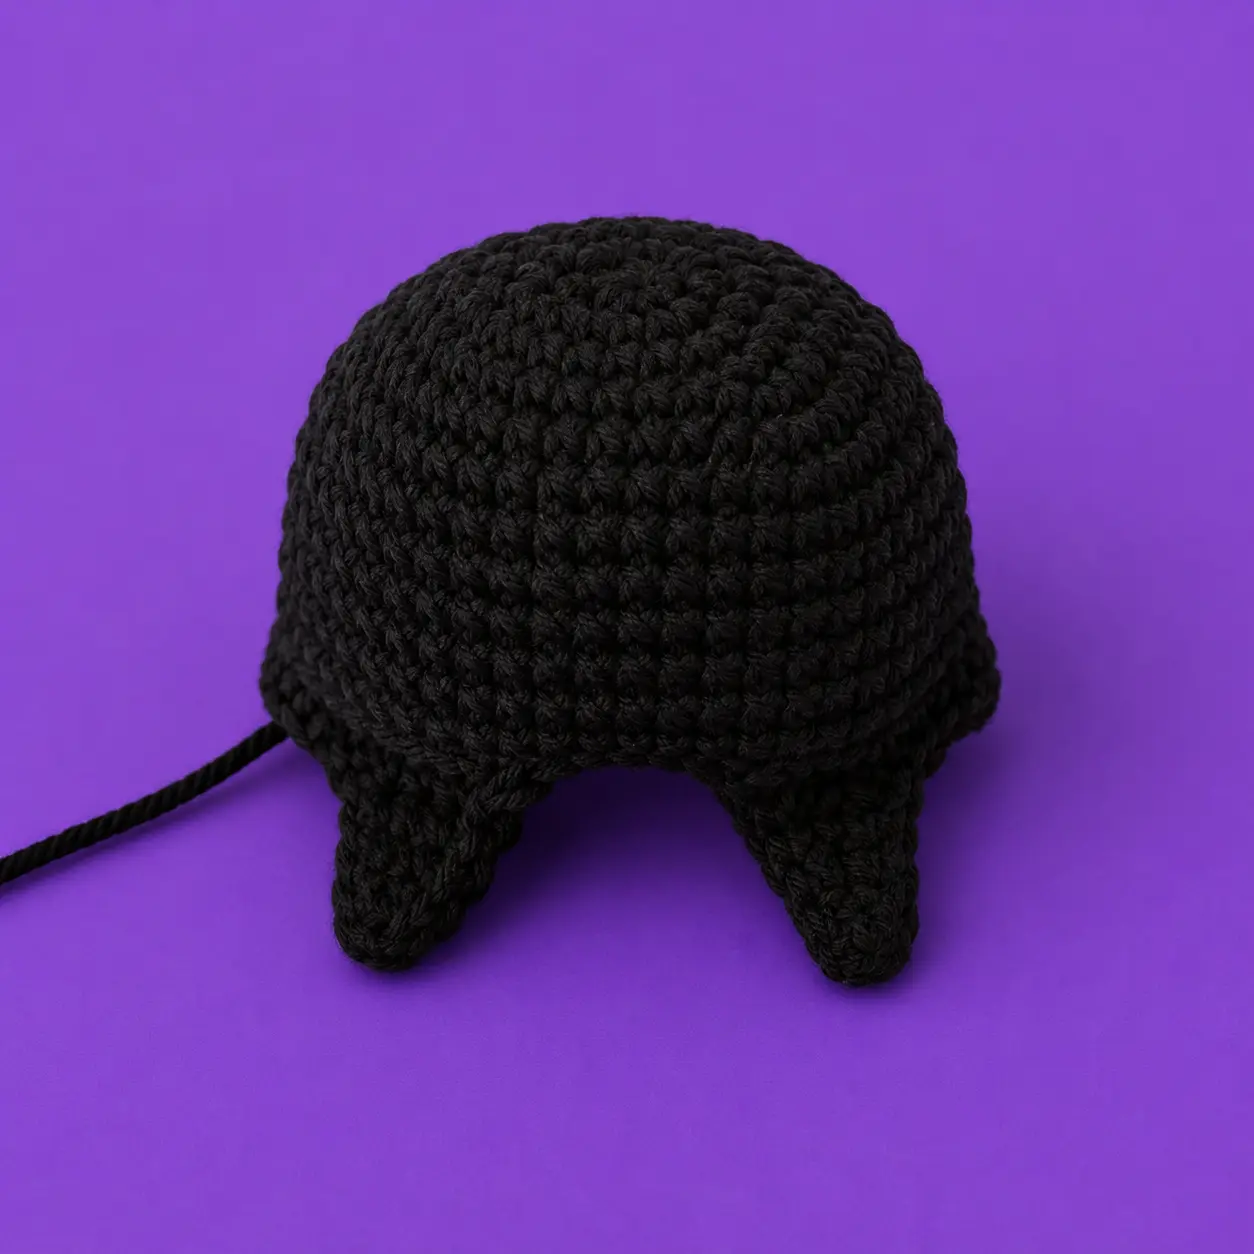
Hat Triangle
- Black or lilac This piece is crocheted in rows:
- Start with 8 ch
- Skip 1 ch, 7 sc, 1 ch and turn
- Skip 1 ch, 3 dec, 1 pb, 1 ch and turn
- Skip 1 ch, 2 dec, 1 ch and turn
- Skip 1 ch, 1 dec Next, crochet sc around the whole triangle and leave some yarn to sew to the head.
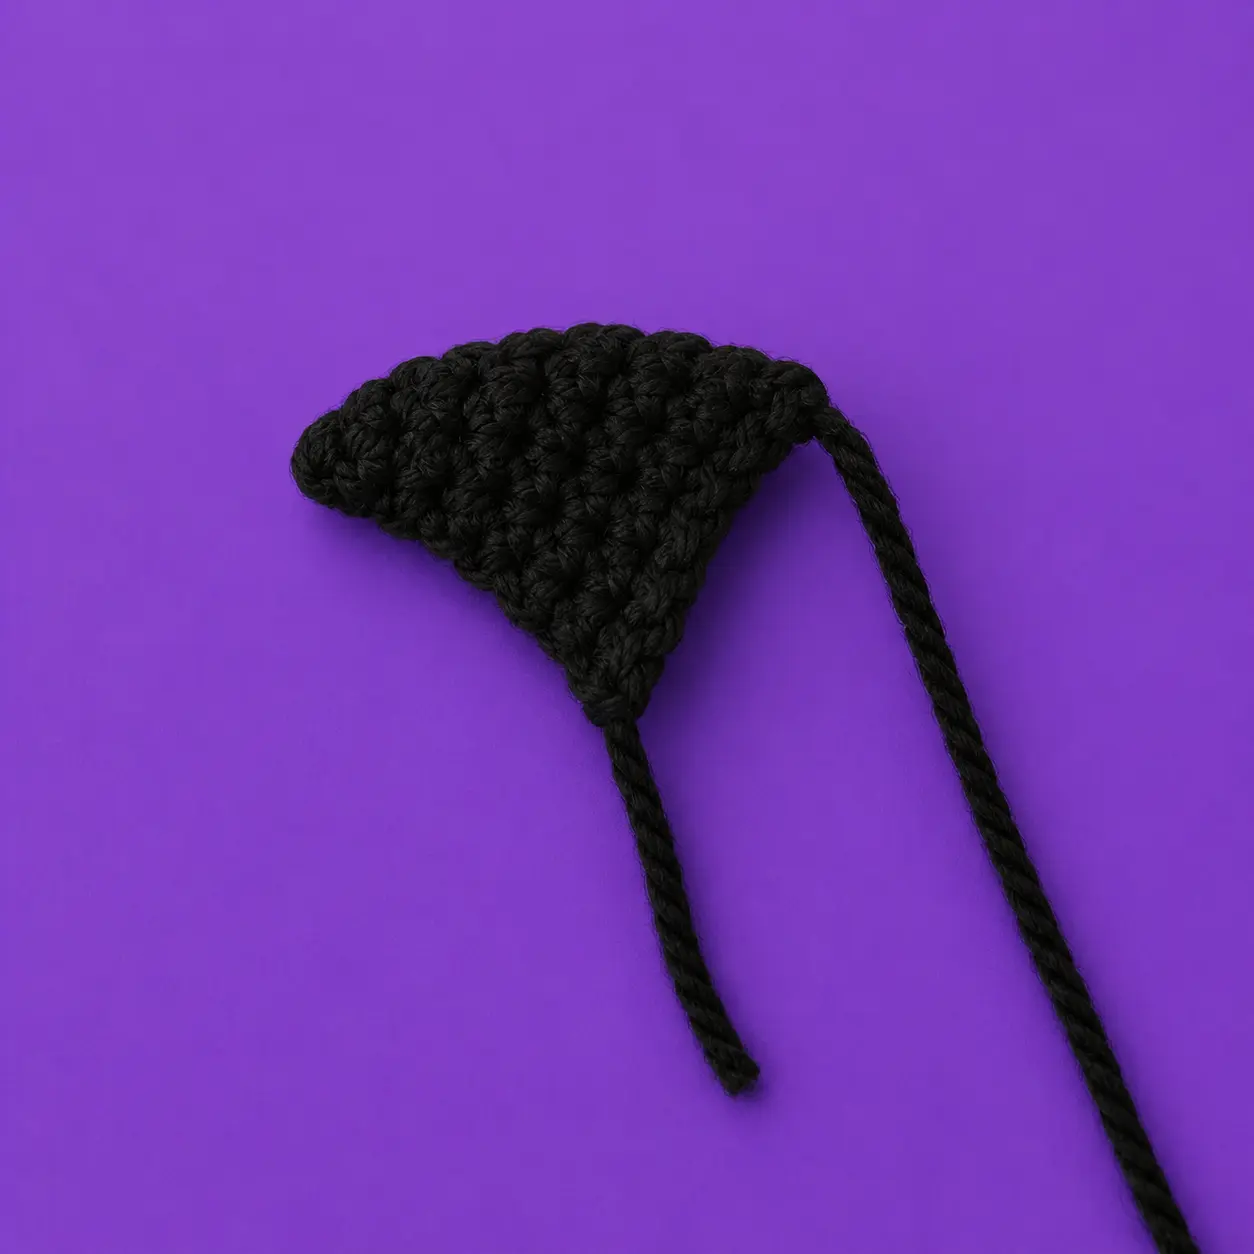
IMPORTANT
We have finished crocheting all the parts! The hat is, in my opinion, the most complex piece. I recommend that you try it on Kuromi’s head as you crochet it to make sure it fits on his head (it should fit snugly), but first you must sew the head to the body because we need the neck as reference.
FELT DETAILS
If you crochet your Kuromi in black, you will need black, white and pink felt. Lilac Kuromi will need black, white and lilac felt (the lilac as close as possible to the shade of yarn you use to crochet the hat). Once you have cut out the pieces (make sure you try them on Kuromi so that the proportions and size are to your liking), glue them together. I use a specialised textile glue [Gütermann creativ HT2], but you can use glue. Don’t use contact glue, it will burn the yarn and felt.
Tips for Success
- Patience is key: This pattern has several pieces, so take your time making and assembling each one.
- Fit the hat as you go: As the designer notes, the hat is the most complex piece. Try it on the amigurumi head frequently to ensure a snug fit before finishing.
- Choose the right glue: When attaching the felt details, stick to textile glue or craft glue. Contact glue will melt your synthetic yarn and felt.
- Check the neck: Sew the head to the body before sizing the necklace so you can easily add or remove chains for the perfect length around the neck.
Frequently Asked Questions
Is this pattern suitable for complete beginners? This specific design requires an intermediate skill level. Because there are many small pieces to crochet and sew together, it might be a bit tricky if this is your very first project. However, if you are comfortable with basic stitches and assembling amigurumi, you will do just fine.
Can I make this project in different colors? Absolutely. The pattern suggests using either black or lilac yarn for the hat and details, paired with white for the body. Just be sure to match your felt colors to your yarn choices so everything looks perfectly coordinated.
What type of yarn works best for this project? The original designer used 100% polyester chenille yarn, which gives the character that perfectly plush and soft look. You can use acrylic or cotton, but the finished size and texture will turn out slightly different.
How tall will my finished amigurumi be? If you use a 5 mm hook and chenille yarn similar to the original instructions, your finished project will be approximately 28 to 30 cm tall.
Conclusion
Making toys for the people we care about is what makes crafting so special. The steps might take a little patience, but seeing the final result is completely worth the effort. I hope you enjoy working up this Kuromi crochet pattern as much as I did. Grab your hook, settle into your favorite chair, and have a wonderful time creating!


Leave a Comment