

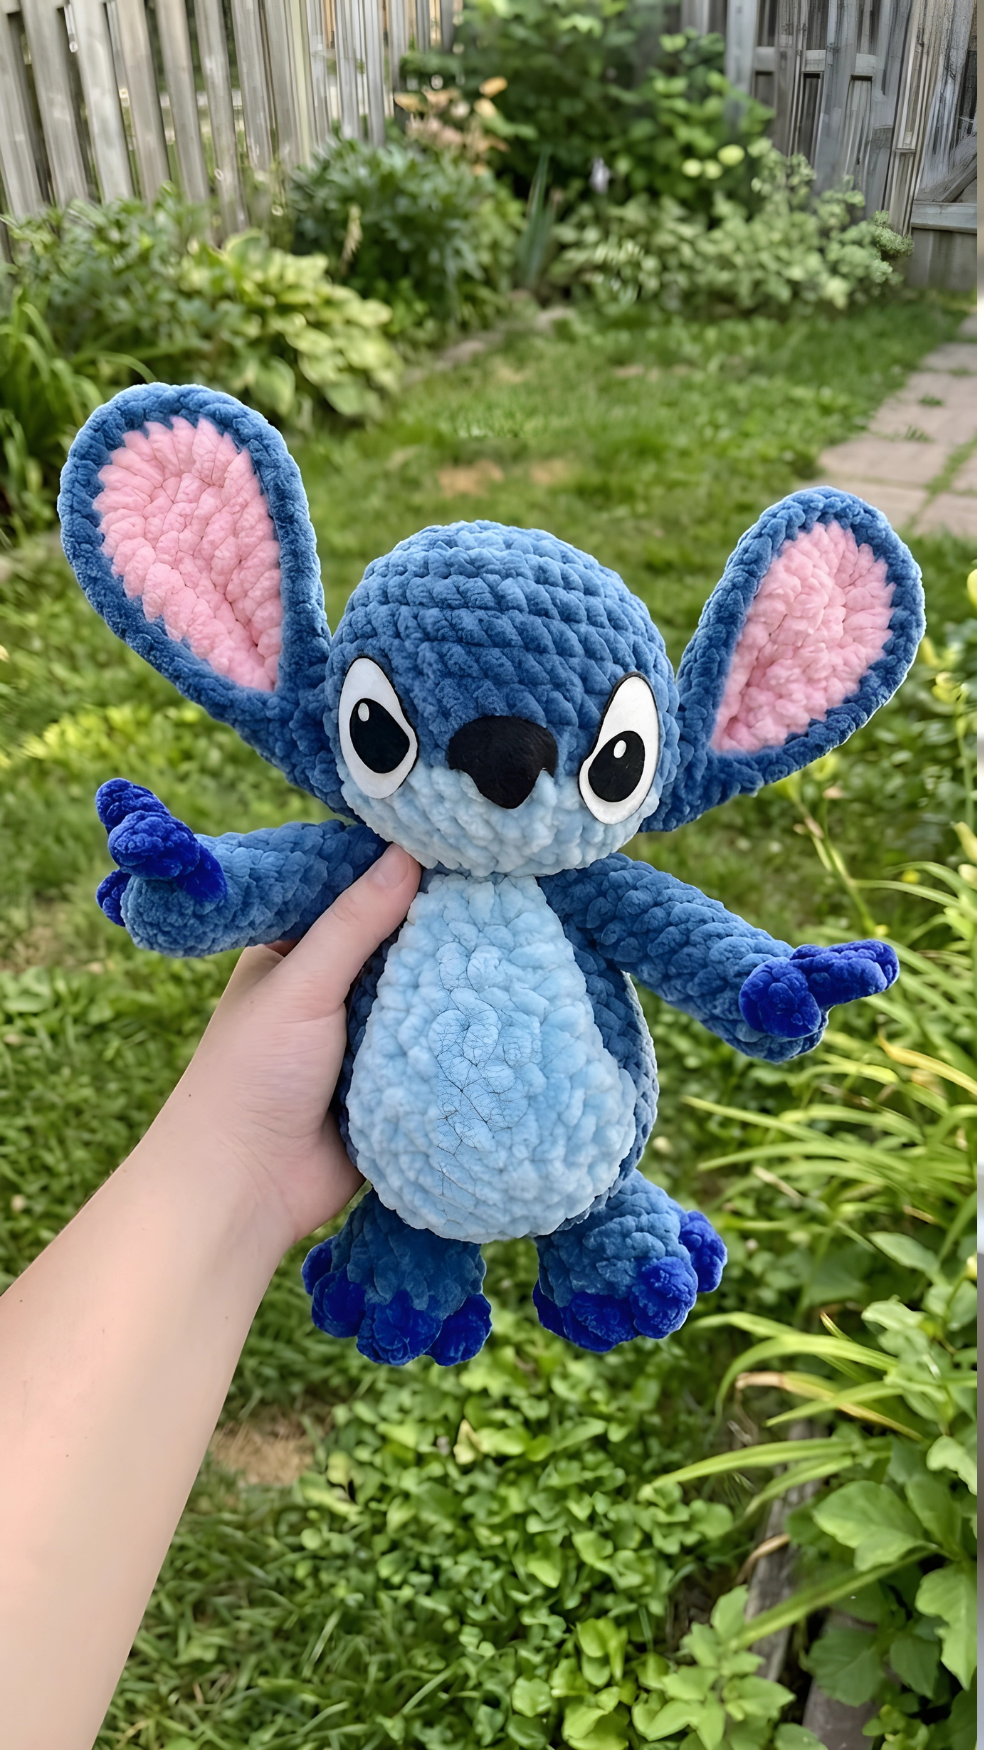
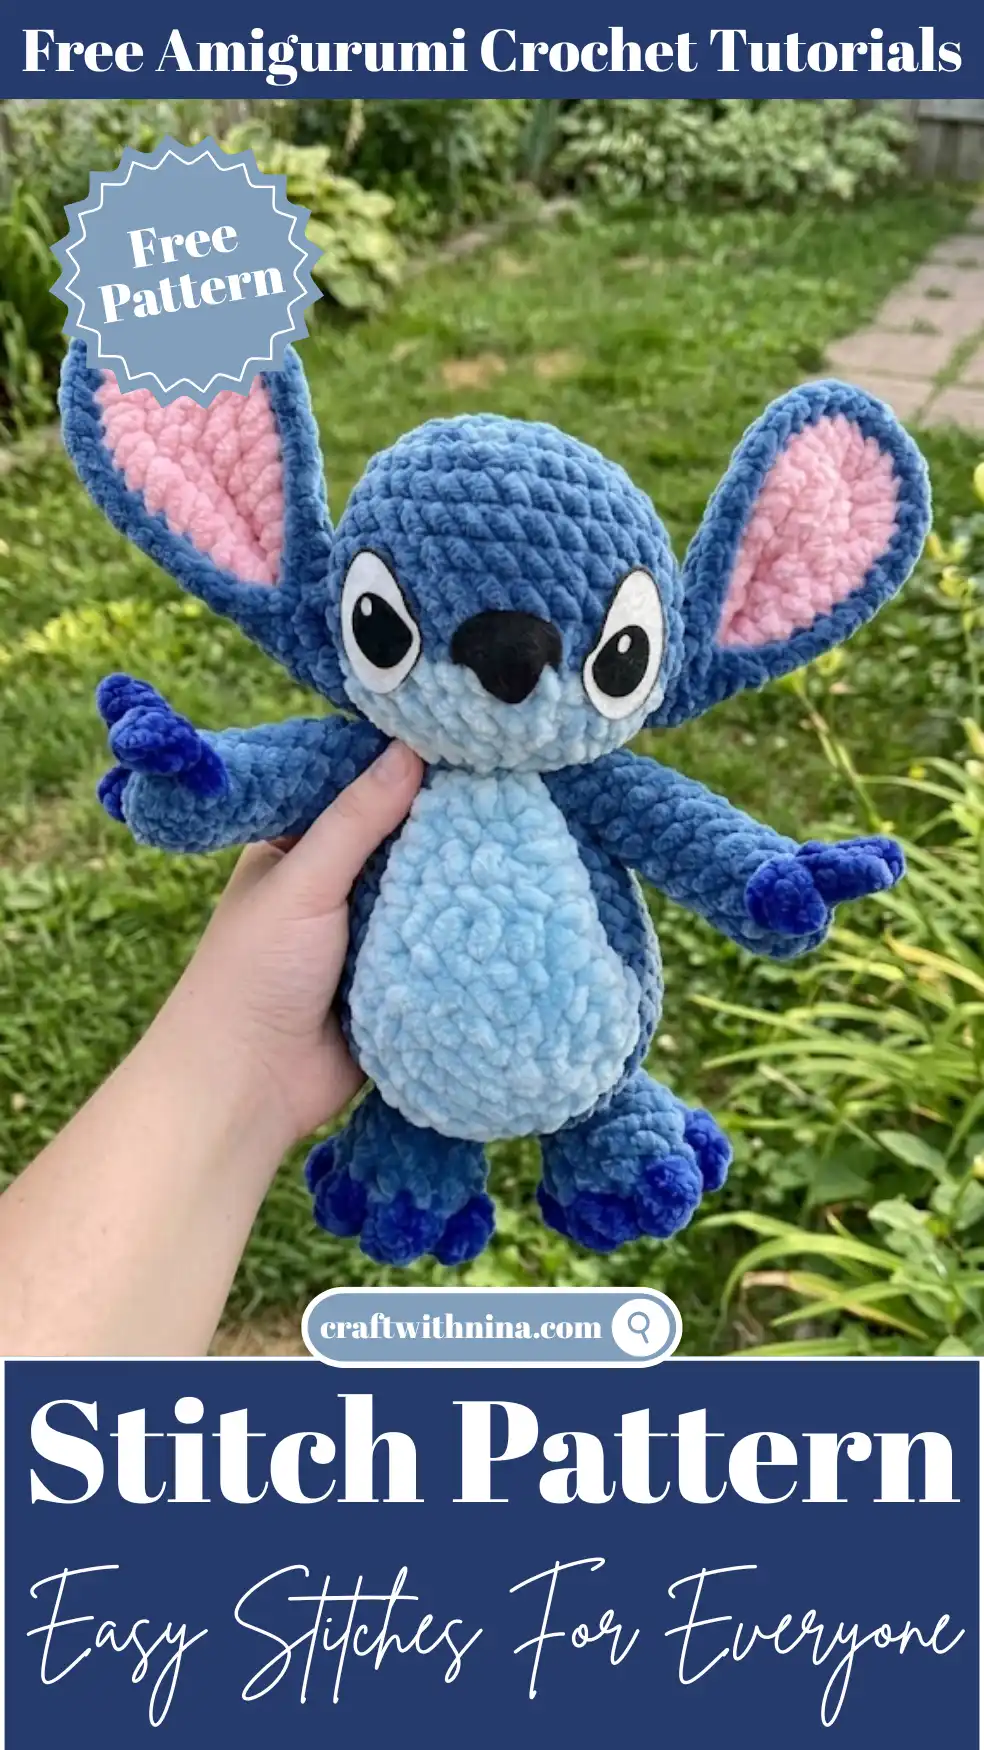
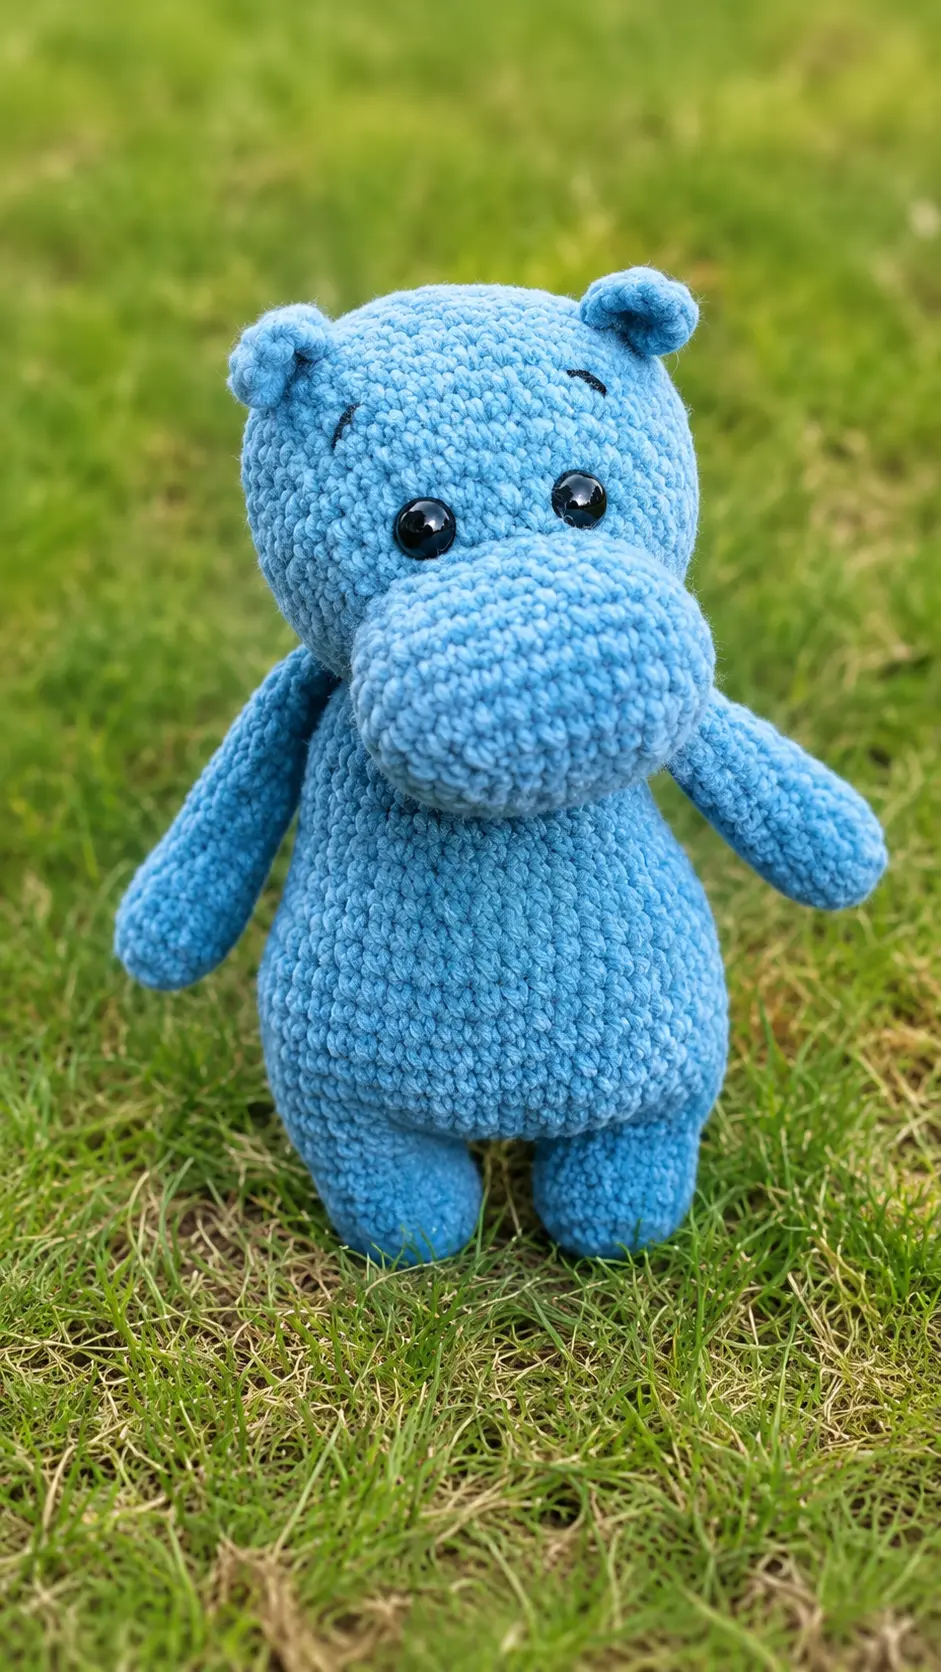
Yesterday afternoon was one of those rare, perfectly quiet times in our house. The laundry was folded, the kitchen was clean, and I had a whole two hours to myself before starting dinner. I sat down on the sofa with a fresh cup of hot chamomile tea and started digging through my yarn baskets, looking for inspiration. Right at the bottom of my favorite wicker bin, I found three plush skeins of blue yarn left over from a blanket I made last winter. Immediately, a certain mischievous, blue alien came to mind. My youngest nephew has been asking for one of these characters for weeks, and it felt like the perfect time to sit down and design something special. I grabbed my largest hook and got to work, mapping out each stitch. If you love working with super bulky chenille yarn to make soft, cuddly toys, you are going to adore this crochet Stitch pattern. It comes together surprisingly quickly and makes the sweetest, squishest plushie. Grab your favorite blue skeins, get comfortable in your cozy crafting spot, and let’s start making this adorable character together.
Materials Needed
- Weight 7 yarn in Denim, Sky Blue, Blue, and Pink
- 8 mm crochet hook
- 1.5 inch felt eyes
- Stuffing
- Scissors
- Darning needle
- Stitch marker
Finished Size
- Not specified (Highly dependent on individual tension, but using weight 7 yarn and an 8 mm hook results in a large, ultra-soft plush toy.)
Gauge
- Not specified
Abbreviations
- mr= magic ring
- $60=$ fasten off
- $sc=$ single crochet
- $ch=$ chain
- inc= increase
- [#]= stitch count
- dec decrease
- sts= stitches
- $cc=$ color change
- $700=$ turn work
- $600=$ front loop only sist= slip stitch
- $660=$ bobble stitch (5 loops)
- hdc-inc= half double crochet increase
Pattern Notes
Colors of the text will represent what color that stitch is:
- Sky blue
- Denim
If using safety eyes, place them between rounds 9-10 or 10-11, with 4 visible stitches apart. Begin stuffing as you go.
The Free Crochet Stitch Pattern Instructions
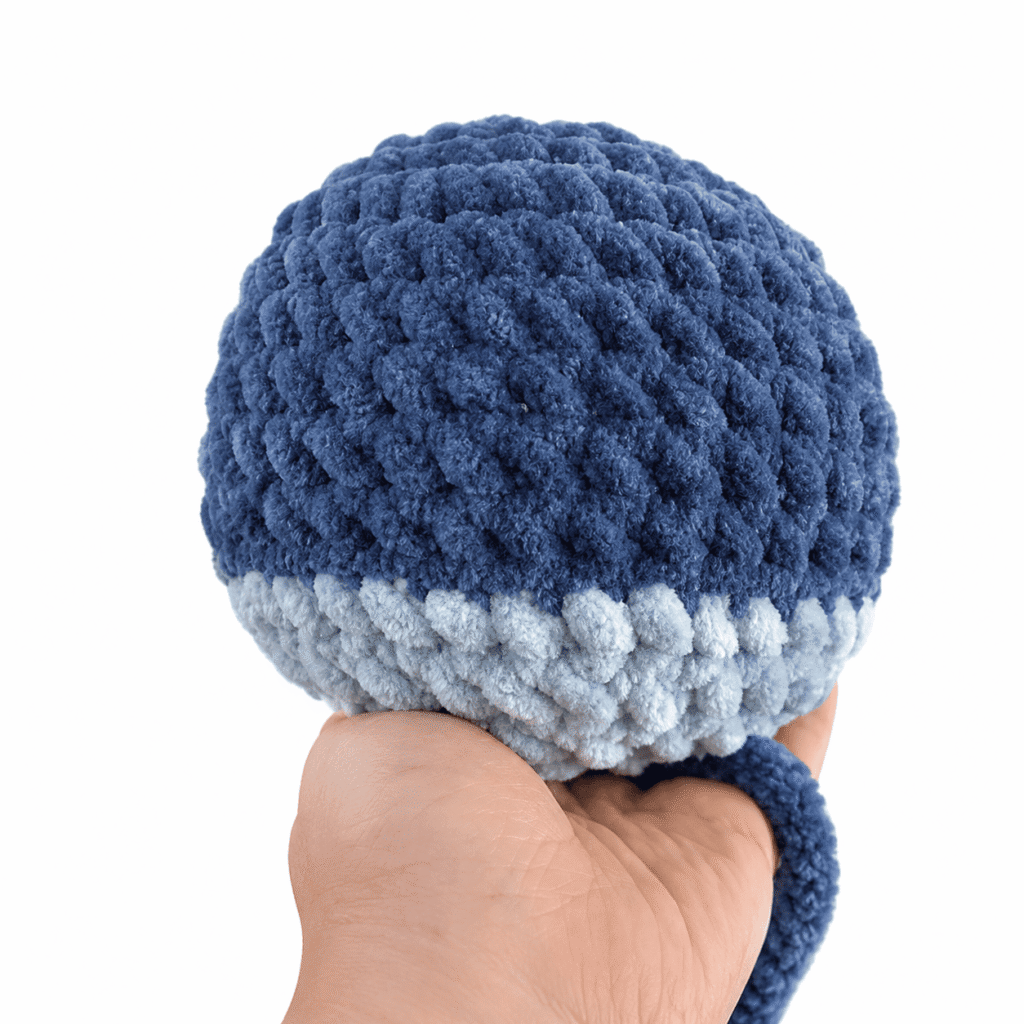
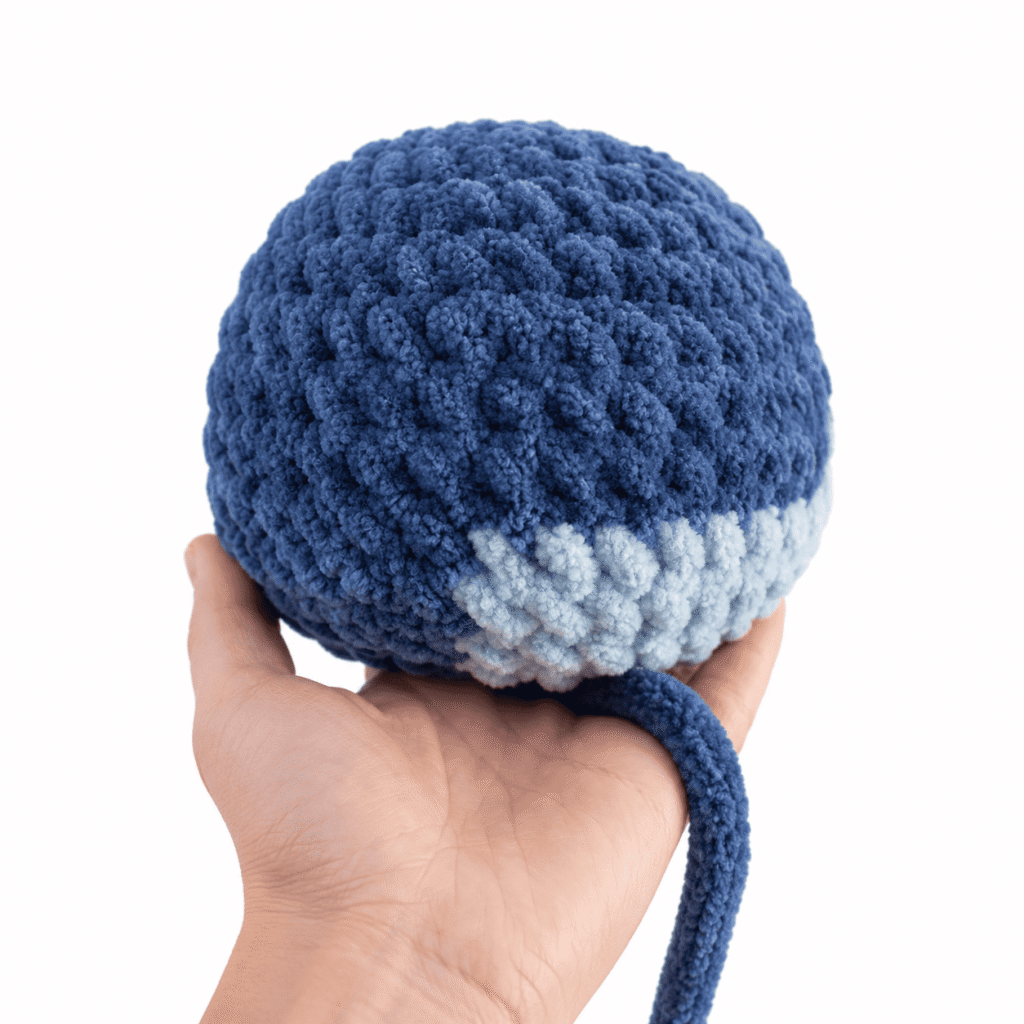
Head
R1: 7 sc in mr [7]
R2: 7 inc [14]
R3: (1 sc, 1 inc) x7 [21]
R4: $(2~sc,1~inc)\times7[28]$
R5: (3 sc, 1 inc) x7 [35]
R6-10: sc around [35] 5 ROUNDS
R11: 10 sc, FLO 15 sc, 10 sc [35]
R12: (3 sc, 1 dec) x2, (3 sc, 1 dec) x3, (3 sc, 1 dec) x2 [28]
If using safety eyes, place them between rounds 9-10 or 10-11, with 4 visible stitches apart. Begin stuffing as you go.
R13: (2 sc, 1 dec) x2, (2 sc, 1 dec) x3, (2 sc, 1 dec) $\times2$ [21]
R14: (1 sc, 1 dec) $\times2$, (1 so, 1 dec) $\times3$, (1 sc, 1 dec) x2, [14]
R15: 2 dec, 3 dec, 2 dec [7]
FO, leave tail, close hole, weave in tail.
Felt instructions are in the assembly section
Arms x2
In Denim
R1: 8 sc in mr [8]
R2: 2 sc, CC to Blue, FLO, (slst, ch3, in 2nd ch from hook, 2 sist back down the chain)x4, sist back in same stitch, CC to Denim, back in both loops, 2 sc [8]
In rnd 3 you will work is some of the back loops from rnd 2.
R3-11: sc around [8] 9 ROUNDS
Don’t stuff, FO, leave short tail as it will be crocheted onto the body.
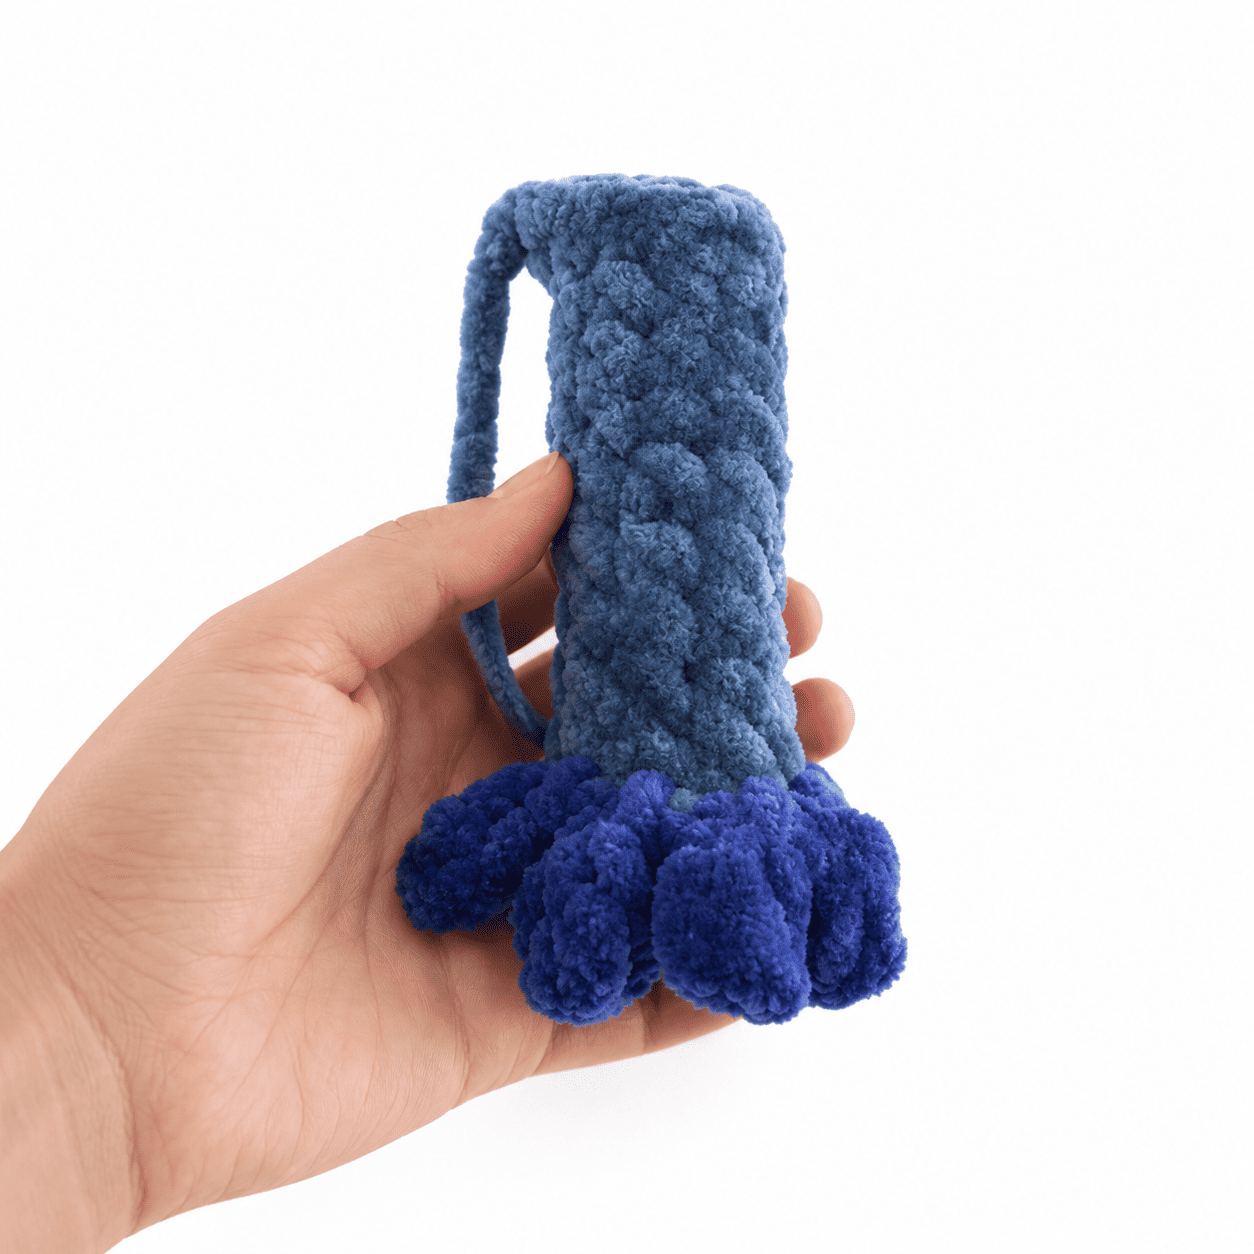
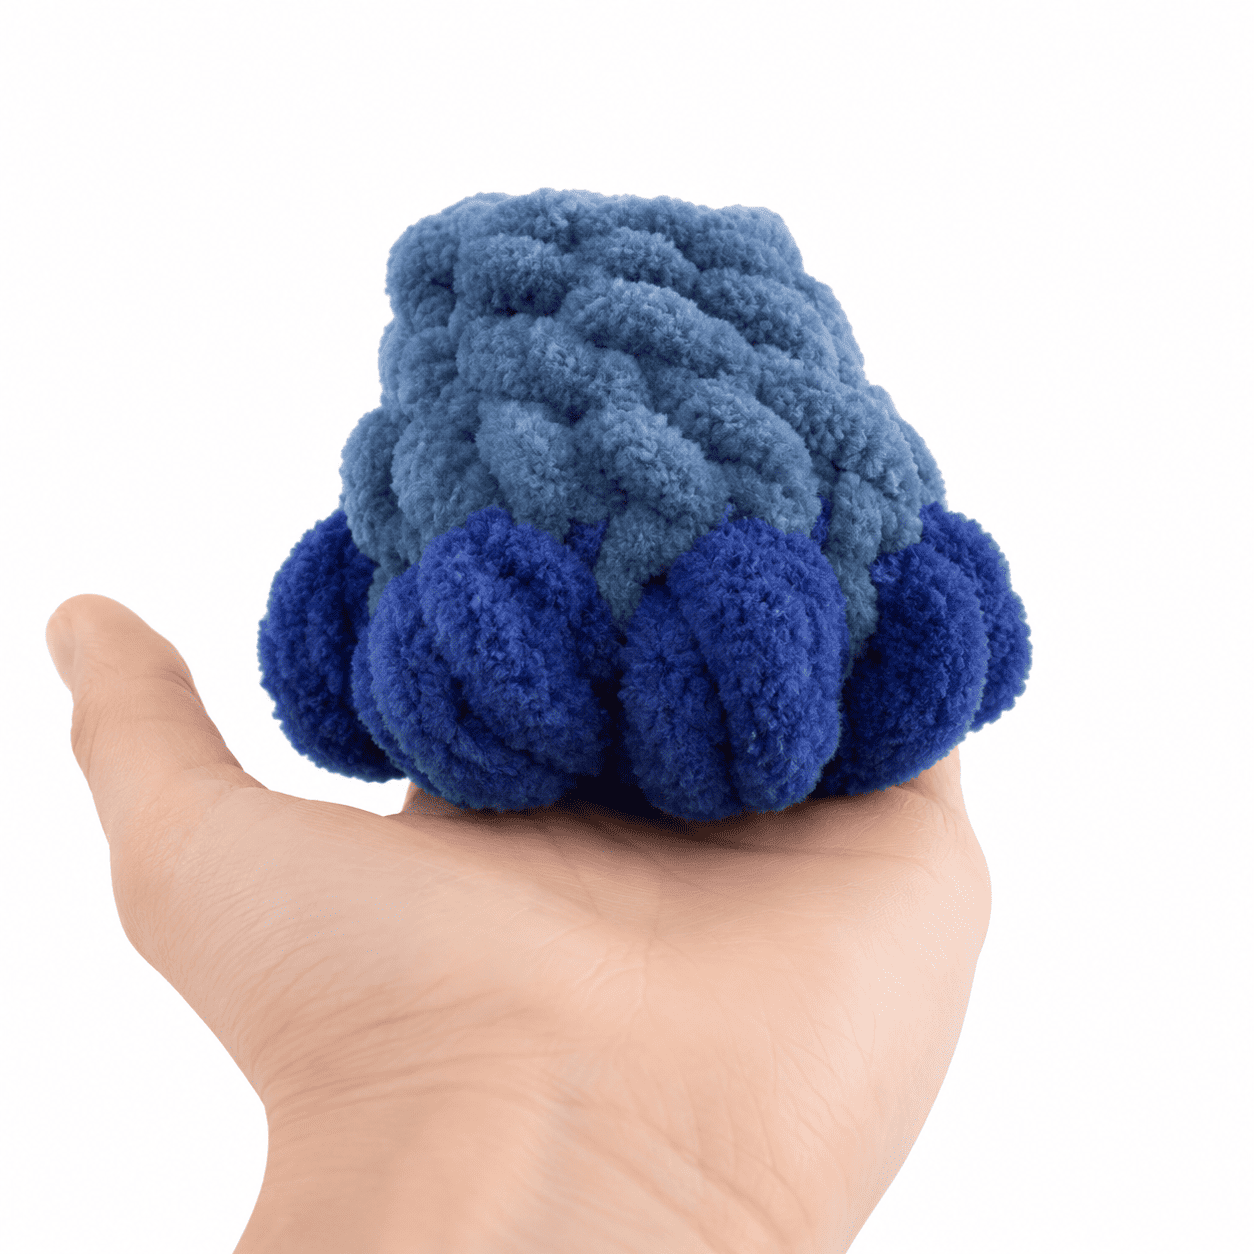
Feet x2
In Denim, 6BLs will be in Blue.
R1: 7 sc in mr [7]
R2: 7 inc [14]
R3: 3 sc, (168L, 1 sc) x4, 3 sc [14]
R4: sc around [14]
R5: 3 sc, 4 dec, 3 sc [10]
R6: sc around [10]
Stuff, FO, leave long tail for sewing.
Body
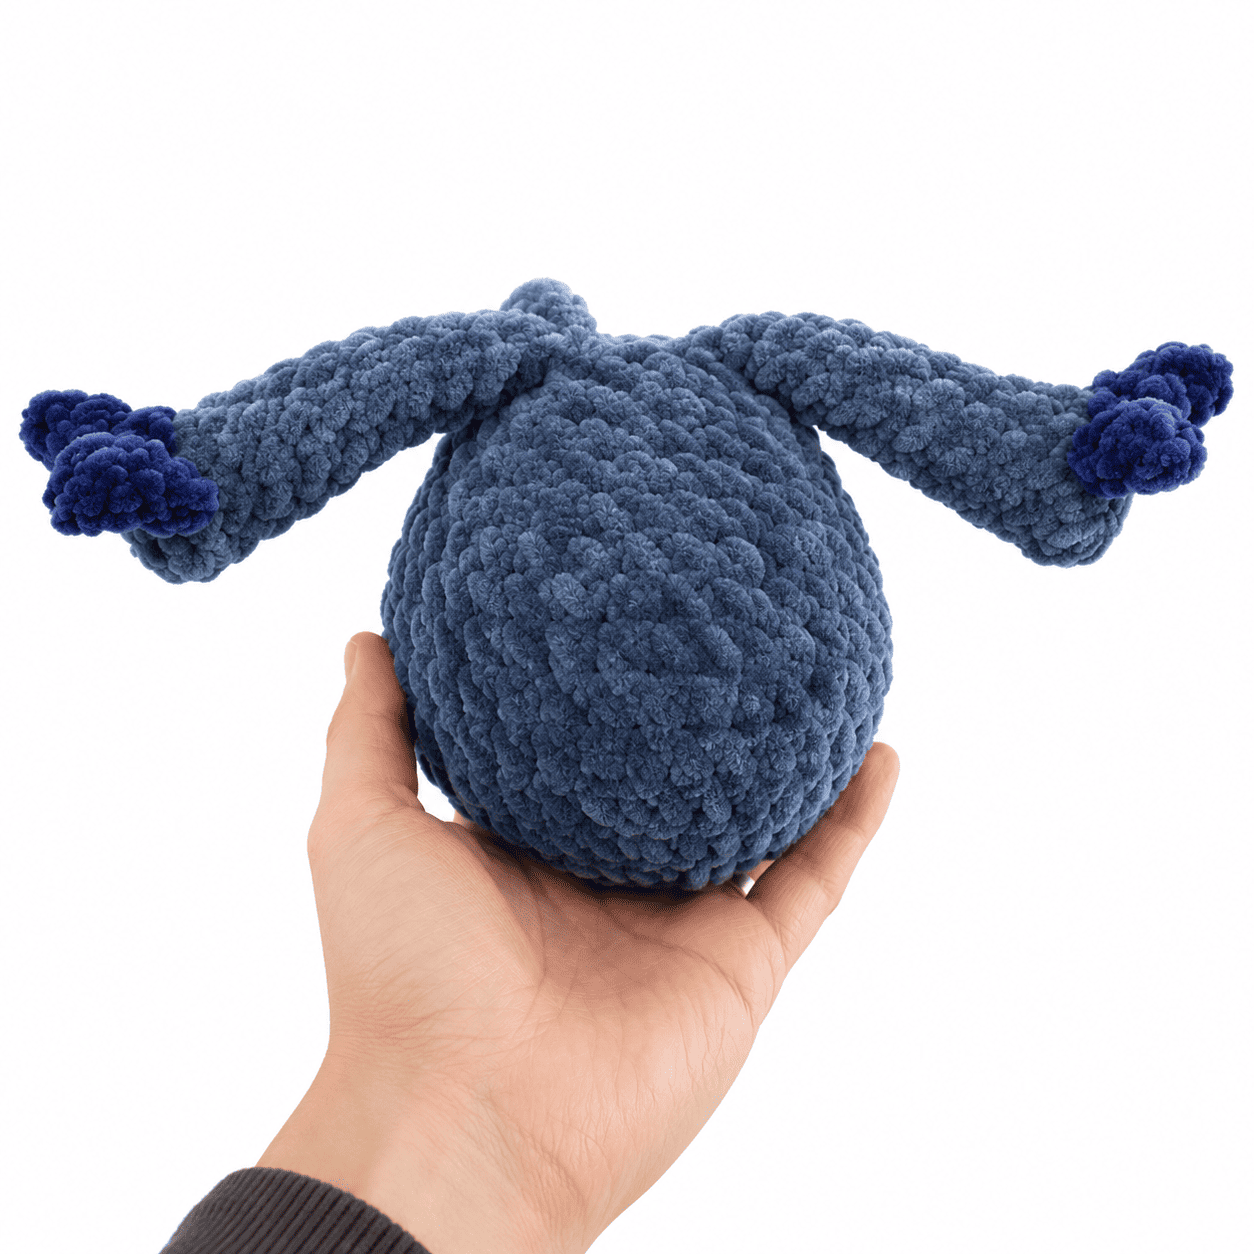
In Demin
R1: 7 sc in mr [7]
R2: 7 inc [14]
R3: (1 sc, 1 inc) x7 [21]
R4: (2 sc, 1 inc) x7 [28]
R5: (3 sc, 1 inc) x7 [35]
R6-9: sc around [35] 4 ROUNDS
R10: 7 sc, (1 sc, 1 dec) x7, 7 sc [28]
R11: sc around [28]
R12: 8 sc, (1 sc, 1 dec) x4, 8 sc [24]
Start stuffing as you go.
R13: (6 sc, 1 dec) x3 [21]
R14: sc around [21]
R15: (1 sc, 1 dec) x7 [14]
We will now crochet in the arms.
When crocheting on arms we will be going through 3 layers. You might need to adjust where the arms go so they are on the sides.
The belly pouch should be facing forward.
R16: 3 sc, 4 sc arm, 3 sc, 4 sc arm [14]
FO, leave long tail for sewing.
Belly Patch
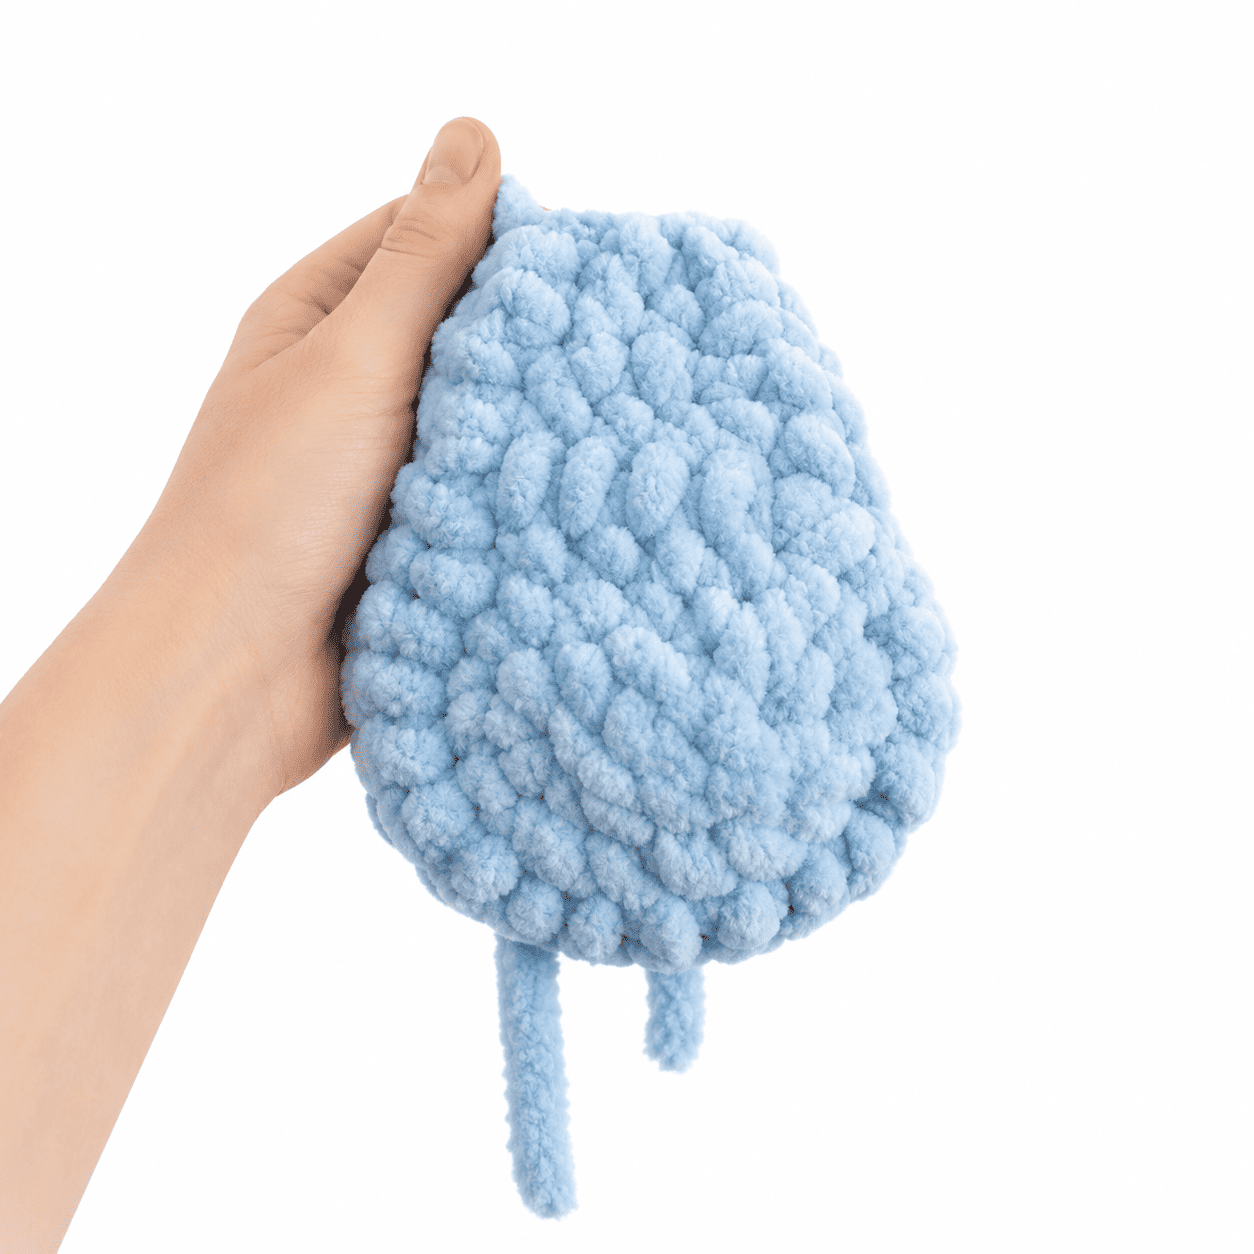
In Sky Blue
R1: ch5, starting in $2^{nd}$ chain from hook, 3 sc, do 4 sc in next ch, Turn to other side of chain, 3 sc, do 3 sc in last ch [13]
R2: 3 sc, 4 inc, 3 sc, 3 inc [20]
We will now start doing rows
We will ch1 and TW after every row.
R3-5: 5 sc [5] 3 ROWς
R6: 1 dec, 1 sc, 1 dec [3]
R7: 3 sc [3]
R8: 1 dec, 1 sc [2]
ch1 and sc around entire piece, FO, leave long tail for sewing.
Tail
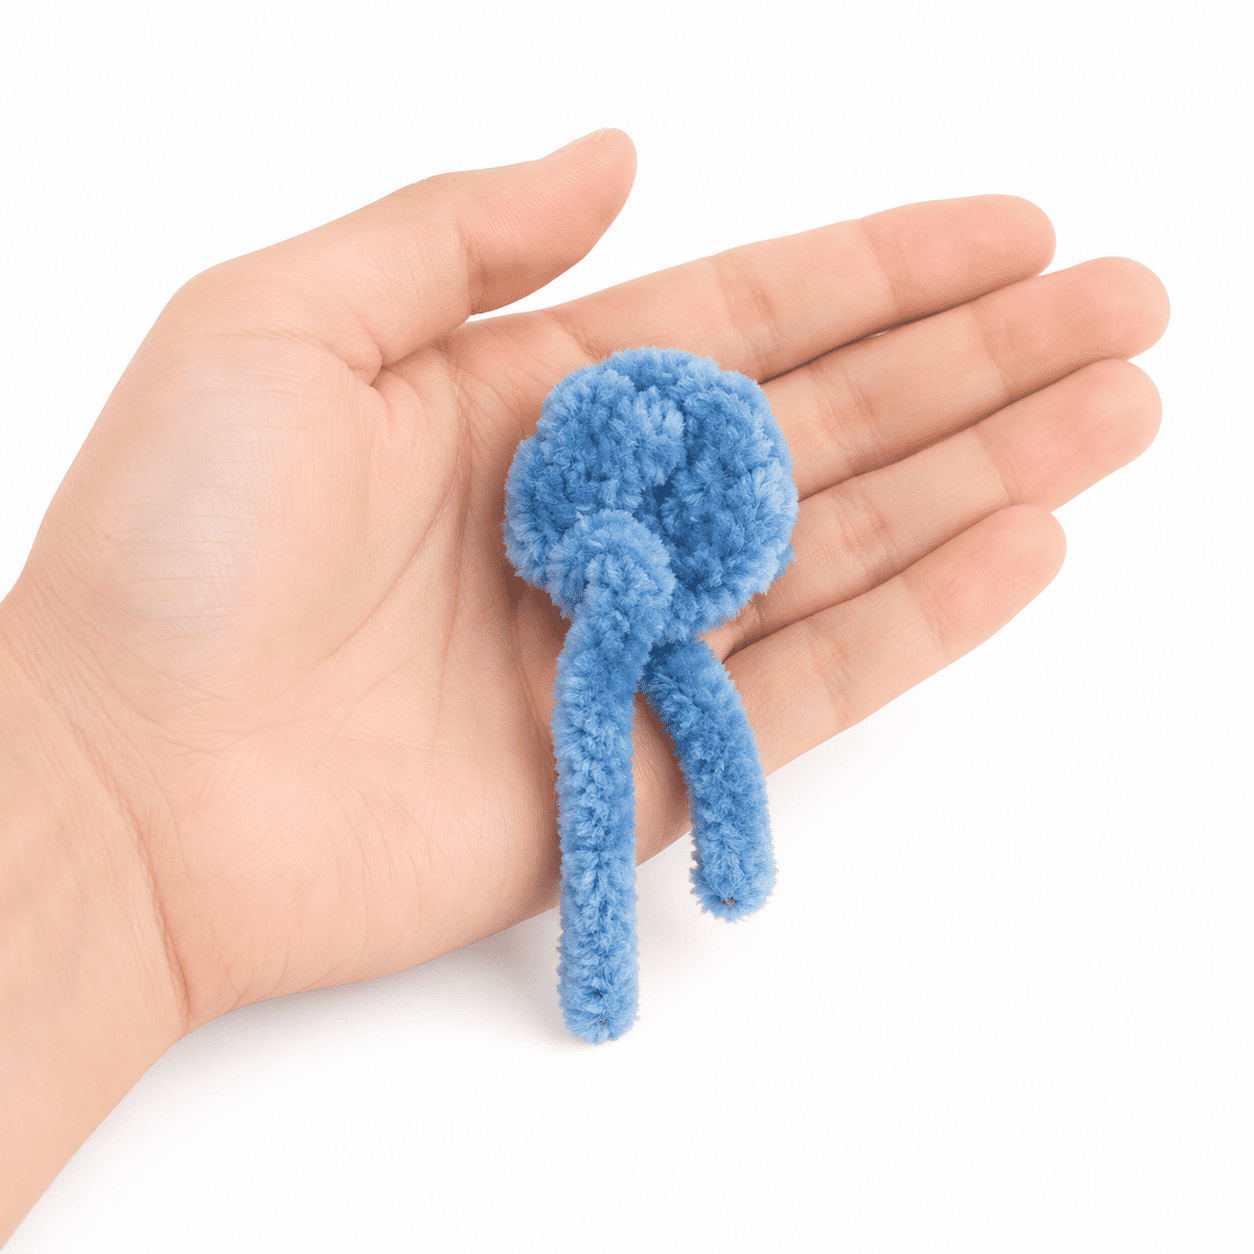
In Denim
ch2, in 2nd chain from hook, 1 hdc, 2 dc,1 hdc, sist all in the same chain. FO and leave a tail for sewing.
Inner Ears x2
In Pink
R1: ch11, in the 2nd ch from hook, 9 sc, 4 sc in next ch, on the other side of ch, 9 sc, 3 sc in last ch [25]
R2: 7 sc, 2 inc, 4 hdc-inc, 2 inc, 10 sc [33]
FO, leave short tail.
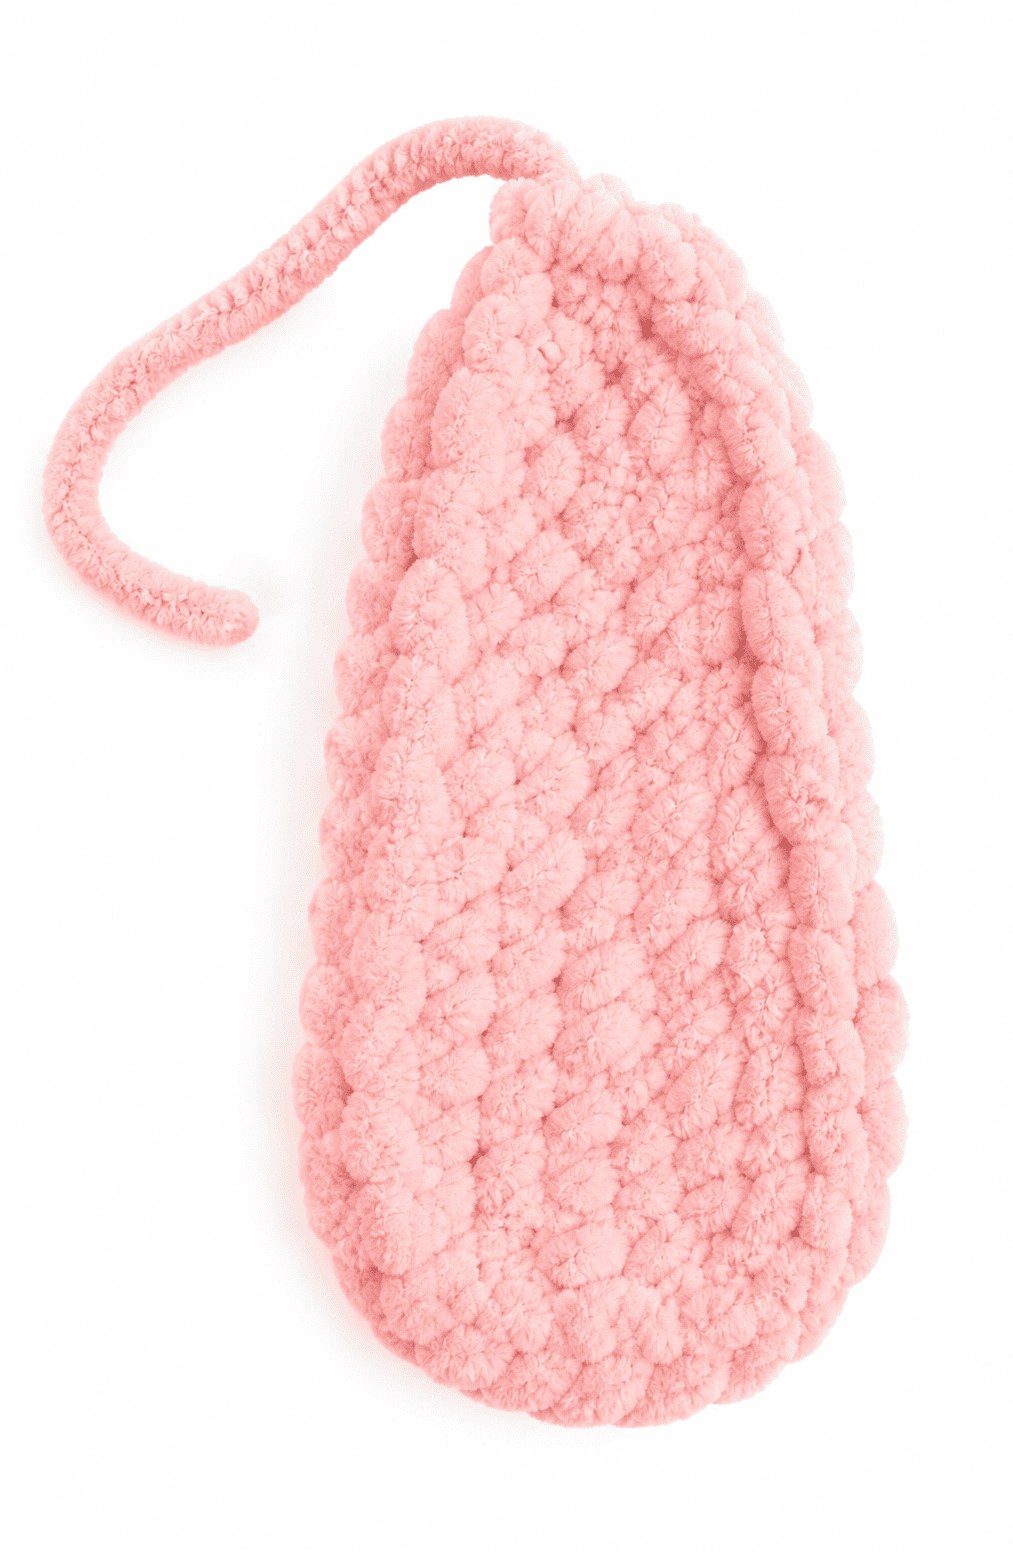
Outer Ears x2
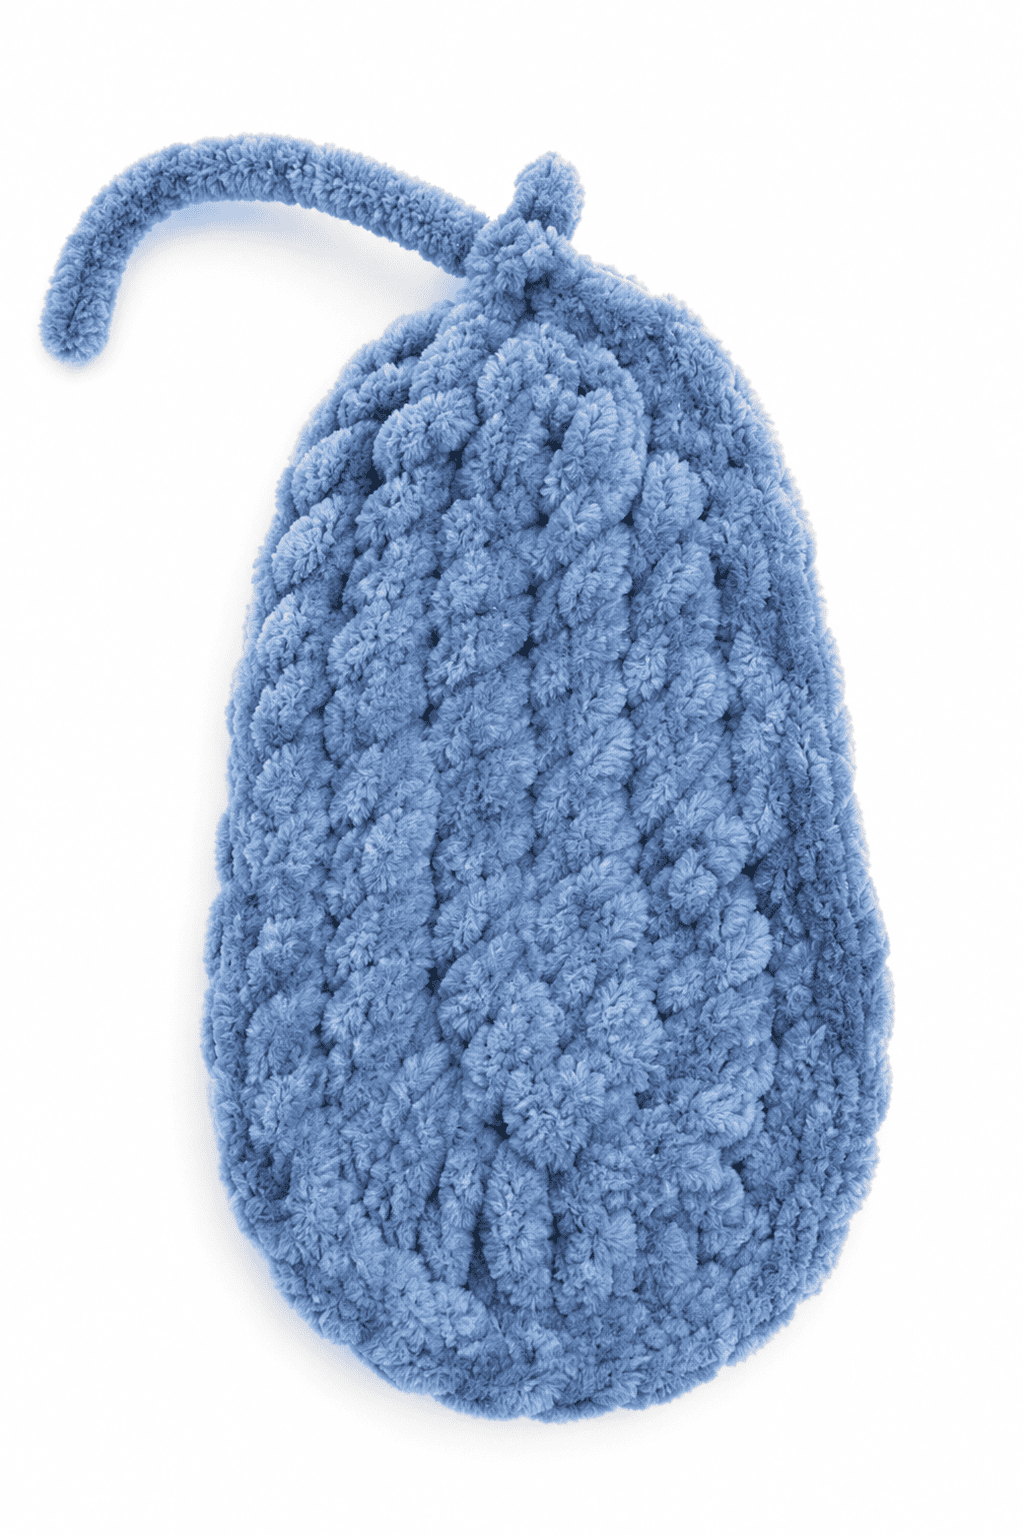
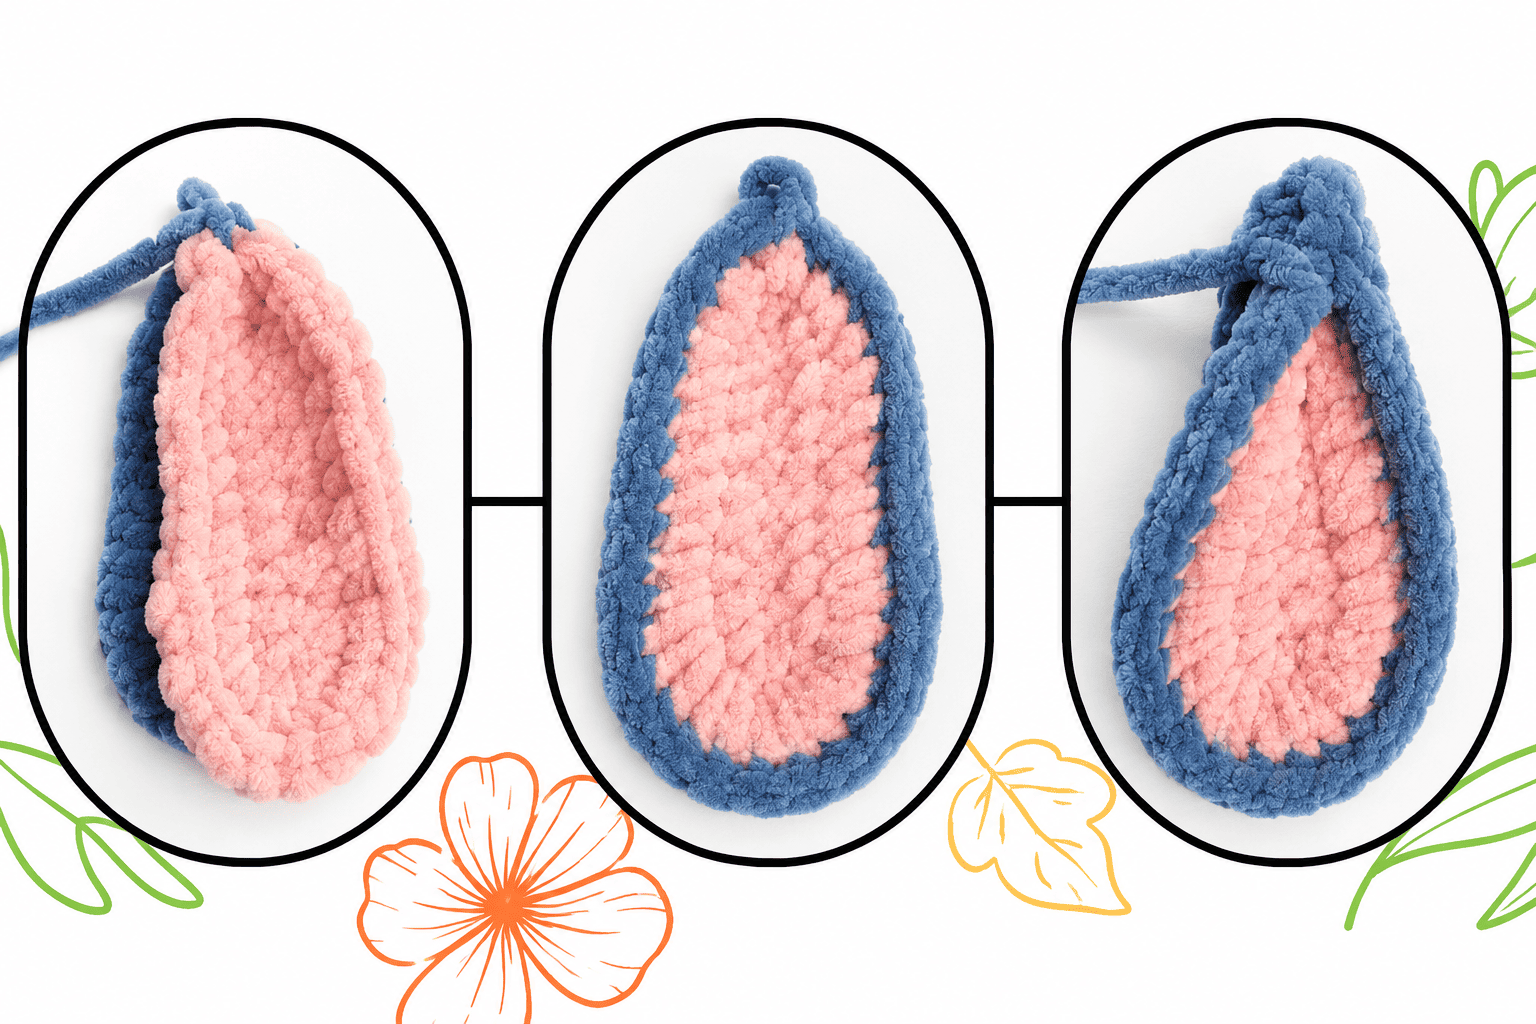
In Denim Repeat inner ear and add an extra row of sc. Turn your work so the underside is pointing up. Don’t FO, place inner ear on top of outer ear so they line up. sc through both layers around the entire peice. FO and leave long tail for sewing. Fold in half at top and sew 4 stitches together to make a teardrop.
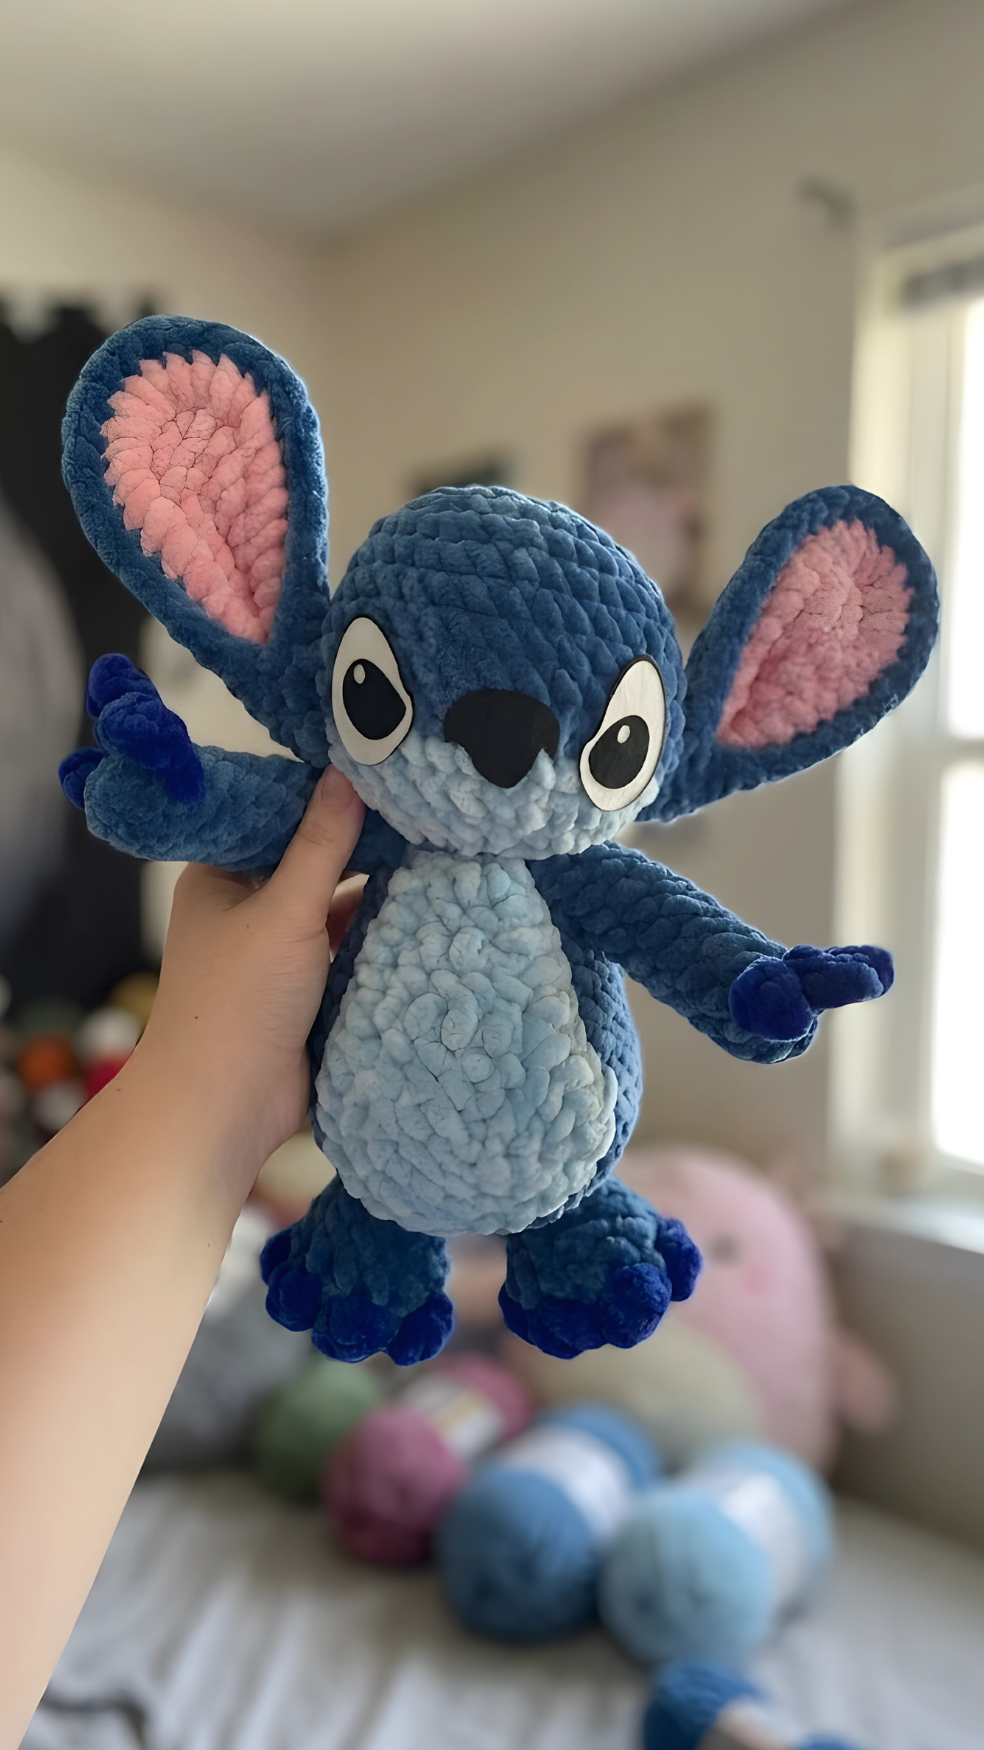
Assembly
- Glue felt eyes onto rnds 8-11, 6-7 sts apart.
- Glue nose onto rnds 10-11 inbetween eyes.
- Sew ears onto rnds 9-12, 1 stitch behind eyes.
- Sew body onto head, make sure the belly pouch is facing forward.
- Sew belly patch onto rnds 5-16 on the front of body.
- Sew feet onto rnds 1-4 of the bottom of body, toes facing forward.
- Sew tail onto rnd 4 on the backside of body.
Angel Mod
To make angel you will replace all Denim with Rose. Fingers, toes, and nose will be in purple. Replace all Light Blue with Pink.
Head Tentacles x2
Starting in Rose
R1: 6 sc in mr [6]
R2-4: sc around [6] 3 ROUNDS
CC to Purple
R5-7: sc around [6] 3 ROUNDS
CC to Rose
R8-25: sc around [6 18 ROUNDS
If your tentacles stand up too much you can add a few extra rounds to make them flop over more.
Don’t stuff, FO and leave tail for sewing.
Extra Details
- Add some eyelashes to the eyes
- Use purple felt nose or embroider a nose.
- Sew head tentacles onto rnds 3-4.
You’re all done!
I hope you had fun creating your own Stitch! I would love to see your finished plushie, Feel free to tag me here on instagram. Also feel free to let me know if you have any questions about the pattern.
Tips for Success
- Mark your rounds: Because super bulky chenille yarn has a dense texture, it can be very hard to see your stitches, especially when using a dark color like Denim. A simple lockable stitch marker at the beginning of each round will keep you on track.
- Pull your magic ring gently: Velvet and chenille yarns are beautiful but can occasionally break if pulled too hard. When closing your magic ring, pull slow and steady to keep the yarn intact.
- Stuff as you go: For a perfectly shaped head and body, add small handfuls of stuffing gradually. This prevents the plushie from getting lumpy and helps you shape the features evenly.
- Pin before you sew: When assembling the ears, feet, and belly patch, use long sewing pins to hold them in place first. This lets you look at the plushie from all angles to make sure everything is perfectly straight before committing to your stitches.
- Mind your color changes: When crocheting the claws on the arms, keep your tension even. Moving from the main Denim yarn to the contrasting Blue claws can feel a bit snug, but taking your time makes the details look incredibly neat.
Frequently Asked Questions
What kind of eyes work best if I do not want to use felt?
If you prefer not to use felt eyes, you can easily use large plastic safety eyes. Just make sure to insert them securely between rounds 9 and 10 or 10 and 11, with about 4 visible stitches between them, before you completely stuff and close the head.
My chenille yarn keeps shedding at the ends. How do I stop this?
Thick chenille yarns can shed a bit when cut. A quick trick is to singe the very tip of the cut yarn tail carefully with a lighter for just a second, or tie a small knot at the very end of the tail to lock the fibers in place.
What does the abbreviation “TW” mean in the belly patch instructions?
“TW” stands for turn work. After you complete a row on the belly patch and make your chain 1, you will turn the piece over to work back across the previous stitches.
Is this pattern suitable for complete crochet beginners?
This project is wonderful for adventurous beginners. The actual stitches are very simple, mostly using single crochet, but working with thick chenille yarn and joining several pieces together requires a little bit of patience.
Can I make this toy using regular worsted weight yarn?
Yes, you certainly can! If you switch to worsted weight yarn, make sure to use a much smaller hook, like a 4 mm hook. Your finished toy will turn out much smaller, but it will have the exact same adorable proportions.
Conclusion
I hope you have as much fun bringing this little alien to life as I did! Crocheting is such a wonderful way to unwind, and there is nothing quite like seeing a soft, handmade plushie sitting on the shelf or sharing it with someone you love. This free crochet Stitch pattern is a great weekend project that is sure to bring a smile to anyone’s face. If you give this pattern a try, please share your thoughts or drop any questions in the comments below. I’d love to hear how yours turned out! Happy crocheting!


Leave a Comment