

A few days ago, I was waiting in line at the fabric store while the cashier helped another customer with a big order. Right next to the checkout was a basket filled with plush chenille yarn in all sorts of colors. I wasn’t planning to buy any yarn that day, but the soft pink and white skeins were too pretty to leave behind. They ended up coming home with me, along with a few buttons I didn’t really need.
After dinner that evening, when everything was finally cleaned up, I made myself a cup of tea and sat down with my new yarn. I didn’t have a pattern in mind—I just wanted to crochet something relaxing. As the stitches started coming together, a sweet little bunny with a cozy hood slowly appeared, and I couldn’t stop smiling.
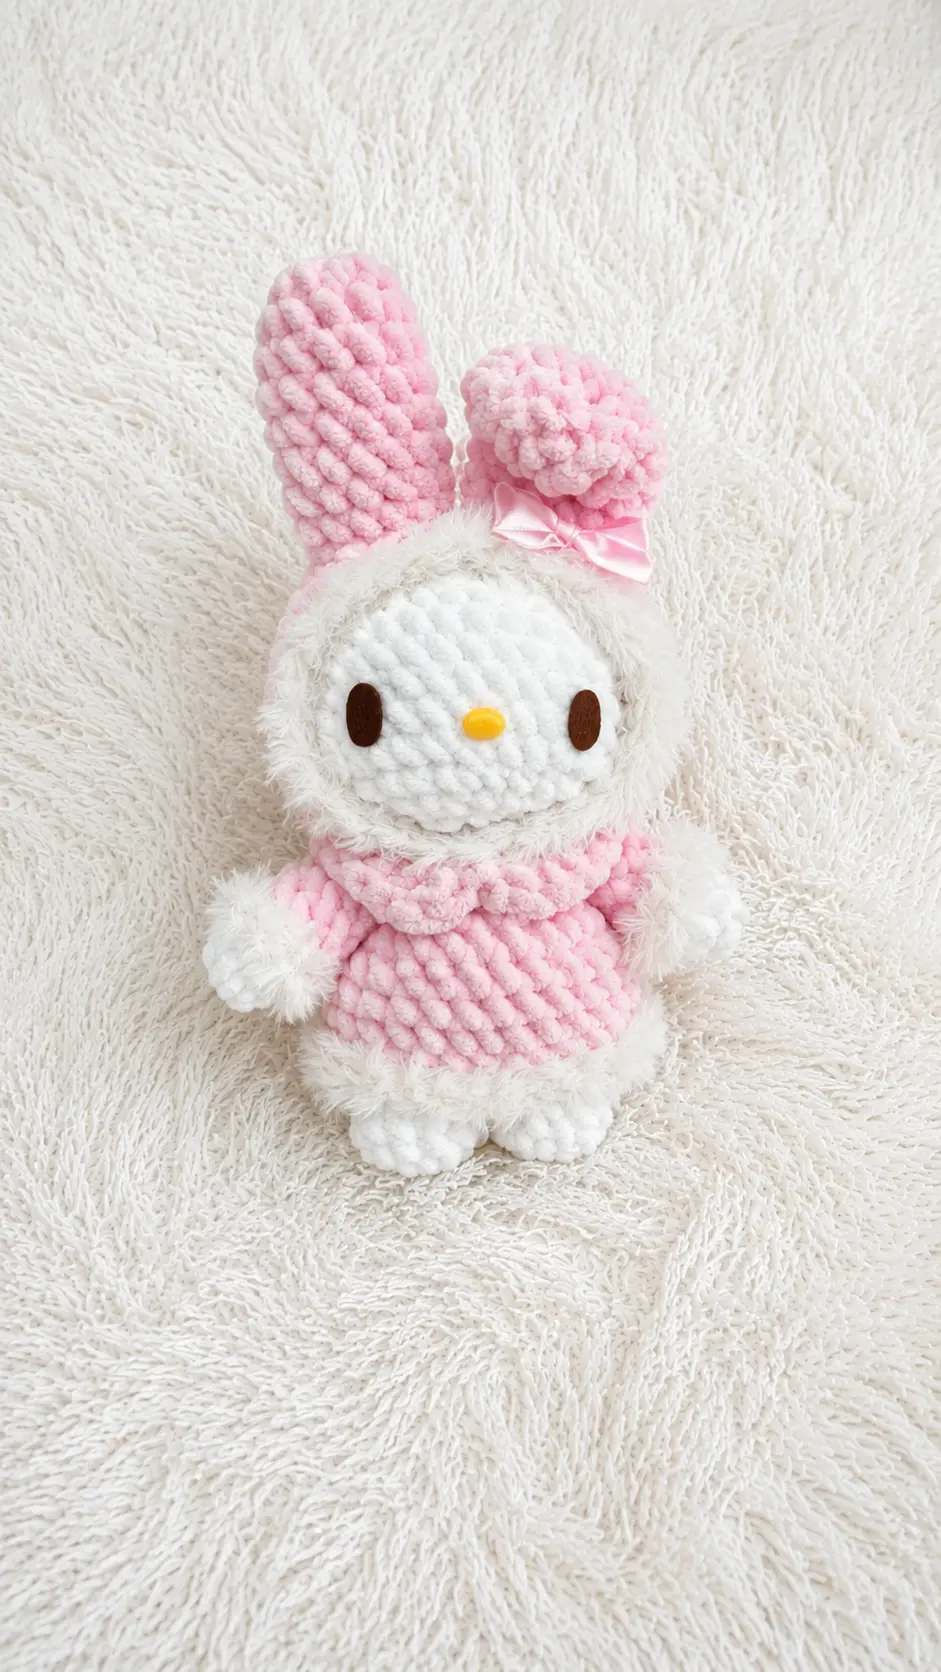
This Free Amigurumi Pattern Sweet Bunny Plush Doll is the result of that simple evening. Made with soft chenille yarn and fluffy details, it has the cuddliest texture and works up much faster than you might expect. Whether you’re making it as a heartfelt gift or keeping it for your own collection, this adorable bunny is a joy to crochet. Grab your favorite hook, get comfortable, and let’s make this sweet little plush together.
Materials Needed
- Size 6 yarn in the colors pink & white
- (optional) fluffy yarn in white or just white chenille yarn
- Crochet hook appropriate for your yarn
- Polyfil stuffing
- Stitch marker
- Tapestry needle
- Scissors
- Felt for the eyes and nose
Abbreviations
- sc: single crochet
- Mr: magic ring
- dc: double crochet
- inc: increase
- dec: decrease
- CH: chain
- R: row / round
- FO: fasten off
- BLO: sc into the back loop only
- FLO: sc into the front loop only
Pattern Instructions
Head
in white
R1: 7sc in Mr (7)
R2: inc x 7 (14)
R3: (sc, inc) x 7 (21)
R4: (2sc, inc) x 7 (28)
R5: (3sc, inc) x 7 (35)
R6-R12: sc around (7 rounds)
R13: (3sc, dec) x 7 (28)
R14: (2sc, dec) x 7 (21)
R15: (sc, dec) x 7 (14)
Stuff
R16: dec x 7 (7)
FO sew closed
Cut out felt eyes and nose and glue onto head.
Hood
in pink
R1: 7sc in Mr (7)
R2: inc x 7 (14)
R3: (sc, inc) x 7 (21)
R4: (2sc, inc) x 7 (28)
R5: (3sc, inc) x 7 (35)
R6: (4sc, inc) x 7 (42)
R7-R11: sc around (42) (5 rounds)
R12: (9sc, dec) x 3, 9sc (39)
R13: (6sc, dec) x 4, 7sc (35)
R14: switch to fluffy white yarn and (5sc, dec) x 4, 7sc (31)
FO weave in ends
Ears x 2
in pink
R1: 6sc in Mr (6)
R2: inc x 6 (12)
R3: (3sc, inc) x 3 (15)
R4-R9: sc around (15)
FO leave a tail for sewing
Collar
CH 25 in the 2nd chain from the hook you will DC all the way down (24)
FO and weave in ends
feel free to add more chains if it seems to fit tightly
Legs / Body
starting in white
Leg one
R1: 6sc in Mr (6)
R2: inc x 6 (12)
R3-R5: sc around (12) (3 rounds)
FO for first leg repeat R1-R5 for the 2nd leg. Attach the 2nd leg to the 1st leg with a sc that sc will count as the first sc for the next row.
R6: 10sc, 2inc in first leg, 2inc, 10sc in second leg (28)
R7: sc around (28)
R8: switch to pink and sc in BLO (28) (place a stitch marker in the front loops of the first and last stitch of that row you will be crocheting into those loops at the end)
R9-R10: sc around (28)
R11: (5sc, dec) x 4 (24)
R12: sc around (24)
R13: (4sc, dec) x 4 (20)
R14: (3sc, dec) x 4 (16)
FO leave a long tail for sewing and stuff
Arms x 2
starting in white
R1: 9sc in Mr (9)
R2-R3: sc around (9) (2 rounds)
R4: switch to pink and in BLO sc around (9) place stitch markers in the front loops of the first and last stitch of the row we will be crocheting into these at the end
R5-R7: sc around (9) (3 rounds)
FO leave a tail for sewing stuff lightly
Fluffy Lining
With your fluffy yarn make a slip knot flip the arms and body upside down. insert your hook into the stitch markers we placed on the front loops of the body and arms and sc around FO and weave in the ends
Assembly
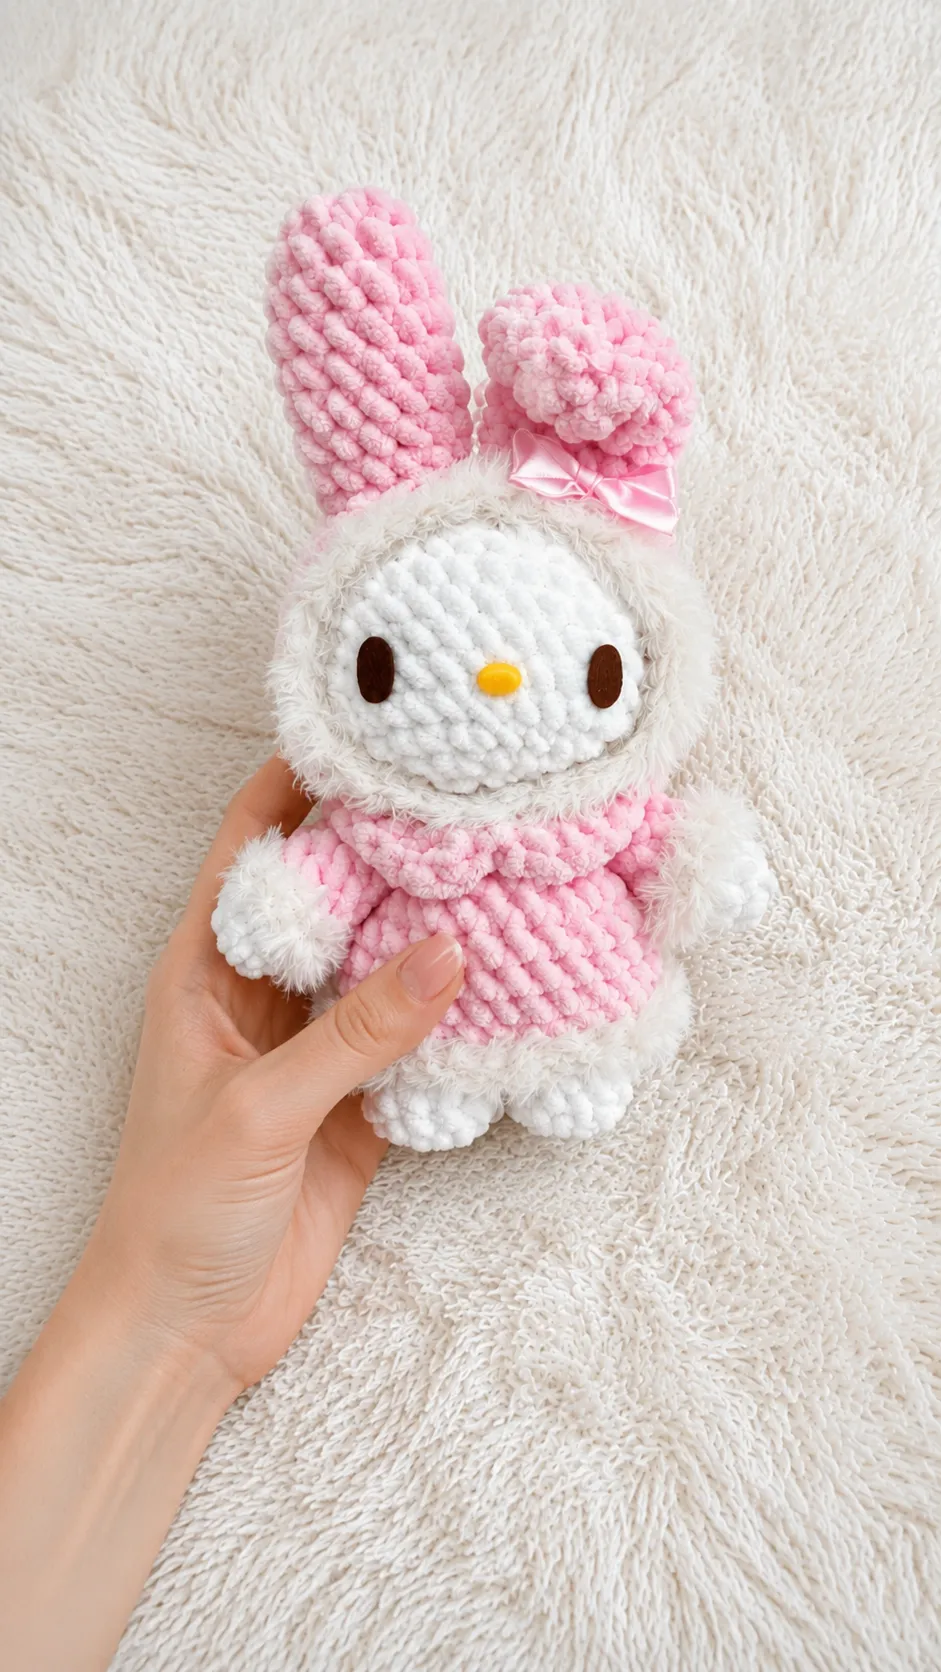
- Place head inside hood since we decreased on the last rows you might need to gently nudge it in
- sew the hood/head combo onto the body
- sew arms between the head and body
- fold one of the ears and sew them on R2/R3 of hood
- wrap collar around neck with the begining and end touching and sew the flaps together.
Tips for Success
- Mark your front loops early: When you reach the back loop only rounds on the body and arms, place your stitch markers right away. Finding those unworked front loops later can be tricky when using soft or plush yarns.
- Count stitches in continuous rounds: Because this pattern works in continuous rounds without joining, keep a stitch marker in the first stitch of every round so you never lose your place.
- Handle fluffy yarn with light tension: If you choose a novelty fluffy yarn for the trim, avoid pulling it too tightly. Feel for the chain loops with your fingers if the stitches are hard to see.
- Adjust collar length if needed: Plush yarns vary in thickness. Try wrapping the collar chain around the neck area before adding your double crochets to ensure it closes comfortably without stretching.
- Nudge the head into the hood slowly: The final rounds of the hood taper inward. Take your time positioning the stuffed head inside so the face opening sits centered and smooth.
Frequently Asked Questions
Do I need to join rounds with a slip stitch?
No, this pattern is worked in continuous spiral rounds. Simply continue making stitches directly into the next stitch without slip stitching or chaining at the end of each round.
What size yarn and hook should I use?
The pattern uses size 6 super bulky yarn. Choose a hook size recommended on your yarn label, or go down a hook size if you want a tighter fabric that prevents stuffing from showing through.
How do I attach the felt face features?
Cut out your eyes and nose from craft felt. You can secure them neatly onto the white head using craft glue or fabric glue after completing the head shape.
Why do I need to flip the body upside down for the fluffy lining?
Flipping the body and arms upside down allows you to work into the saved front loops easily. It directs the fluffy stitches outward to form a clean trim edge along the sleeves and sweater body.
Can I use standard chenille yarn instead of fluffy yarn?
Yes, you can substitute white chenille yarn for the trim on the hood, body, and sleeves if you do not have eyelash or fluffy textured yarn available.
Conclusion
Creating handmade plushies is such a satisfying way to unwind and spend a quiet afternoon. I love how the soft colors and charming hood details give this project so much personality without needing complicated techniques. I hope you enjoy stitching your own version using this Free Amigurumi Pattern Sweet Bunny Plush Doll. Happy crocheting!


Leave a Comment