

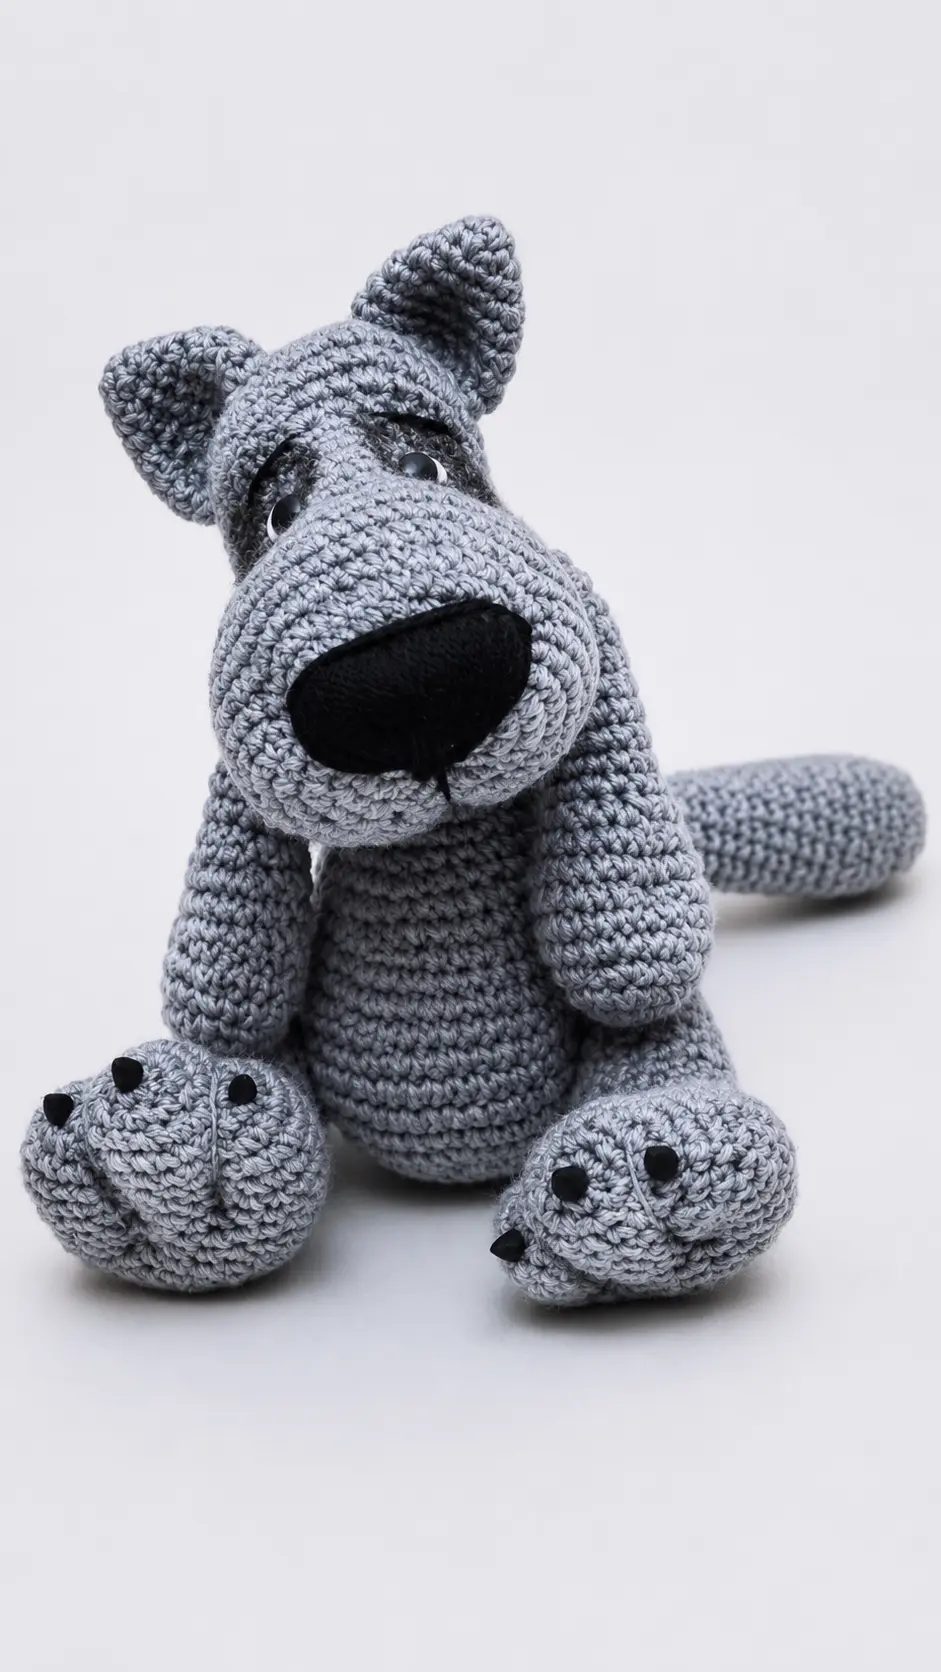
The idea for this little wolf actually started during a weekend trip to a wildlife park with my family. We had already walked past the deer and birds when we reached the wolf enclosure. Most of the wolves were resting farther back among the trees, but one young gray wolf wandered close enough for us to get a good look. It stood there for a moment with its ears perked up, watching everyone just as carefully as we were watching it. My niece whispered, “He looks like a big fluffy dog,” and everyone around us laughed.
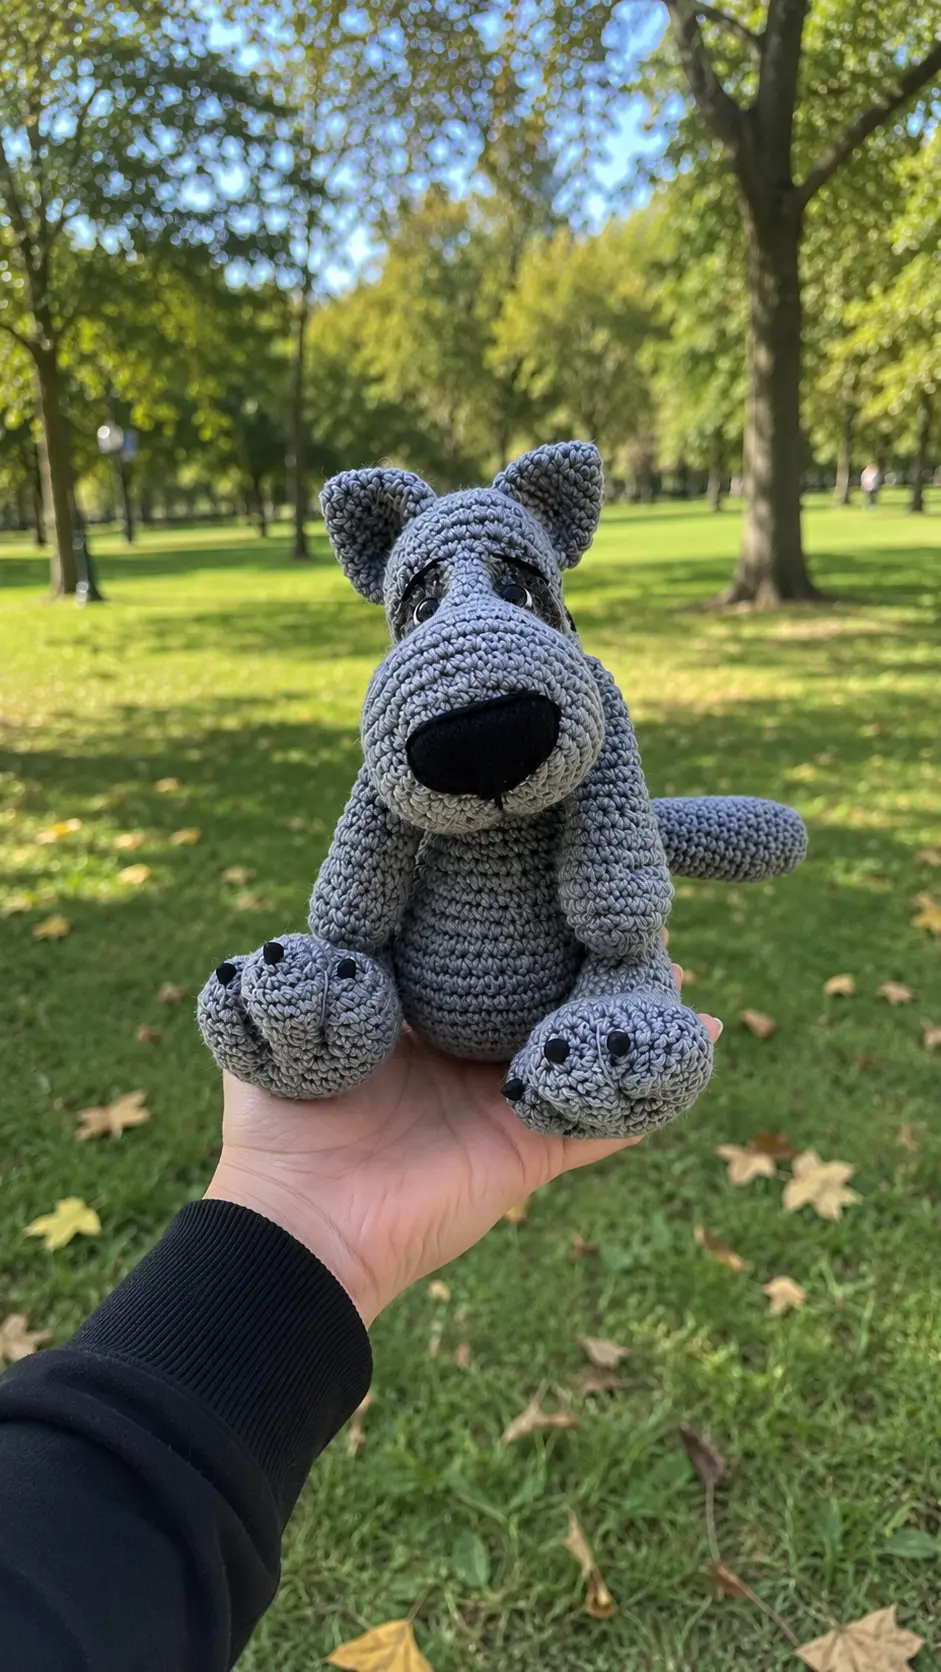
A few days later, I found myself thinking about that curious little face again. I had some classic gray yarn on hand, so I decided to see if I could capture a bit of that woodland character with my crochet hook. The pointed ears were what really brought the project together. Once I added the little muzzle and facial details, my pile of gray stitches suddenly looked like a tiny wolf with a personality of its own.
There is so much to love about this Free Amigurumi Pattern Little Grey Wolf, especially if woodland animals are your favorite things to crochet. I like keeping the colors natural, but a snowy white wolf, a darker charcoal version, or even a playful fantasy color would be just as charming. Mine ended up tucked between a little fox and bear on the bookshelf, where he looks like the newest member of a tiny crocheted forest family.
Materials Needed
- Gray yarn
- Black felt or embroidery thread for nose and claws
- Safety eyes or dark yarn for eyes
- Fiberfill stuffing
- Crochet hook matching your yarn size
- Yarn needle and scissors
Abbreviations
- sc = single crochet
- ch = chain
- inc = increase (2 sc in one stitch)
- dec = decrease (crochet 2 sc together)
Pattern Instructions
Head:
- 1. With gray yarn, ch 2 and join into a ring (or magic ring). Work 6 sc, continue crocheting in a circle (6)
- 2. (inc) x6 (12)
- 3. (inc, 1 sc) x6 (18)
- 4. (inc, 2 sc) x6 (24)
- 5. (inc, 3 sc) x6 (30)
- 6. (inc, 4 sc) x6 (36)
- 7. (inc, 5 sc) x6 (42)
- 8-12. 42 sc (5 rounds)
- 13. (dec, 5 sc) x6 (36)
- 14. 36 sc
- 15. (dec, 4 sc) x6 (30)
- 16. 30 sc
- 17. (inc, 4 sc) x6 (36)
- 18. inc, 1 sc, inc, 33 sc (38)
- 19. inc, 3 sc, inc, 33 sc (40)
- 20. 40 sc
- 21. 3 sc, inc, inc, 3 sc, 32 sc (42)
- 22. 42 sc
- 23. (dec, 5 sc) x6 (36)
- 24. (dec, 4 sc) x6 (30)
- 25. (dec, 3 sc) x6 (24)
- 26. (dec, 2 sc) x6 (18)
- 27. (dec, 1 sc) x6 (12)
- 28. (dec) x6
- Step. Pull tight, fasten off, and weave in the end.
Body:
- 1. With gray yarn, ch 2 and join into a ring. Work 6 sc, continue crocheting in a circle (6)
- 2. (inc) x6 (12)
- 3. (inc, 1 sc) x6 (18)
- 4. (inc, 2 sc) x6 (24)
- 5. (inc, 3 sc) x6 (30)
- 6. (inc, 4 sc) x6 (36)
- 7. (inc, 5 sc) x6 (42)
- 8-14. 42 sc (7 rounds)
- 15. (dec, 5 sc) x6 (36)
- 16. 36 sc
- 17. (dec) x4, 28 sc (32)
- 18. 32 sc, start stuffing
- 19. (dec, 14 sc) x2 (30)
- 20. (dec, 3 sc) x6 (24)
- 21-23. 24 sc
- 24. (dec, 4 sc) x4 (20)
- 25-27. 20 sc (3 rounds)
- 28. (dec, 3 sc) x4 (16)
- 29-30. 16 sc
- Step. Fasten off, leaving a tail for sewing the head.
Arms:
- 1. With gray yarn, ch 2 and join into a ring. Work 6 sc, continue crocheting in a circle (6)
- 2. (inc) x6 (12)
- 3. (inc, 1 sc) x6 (18)
- 4. (inc, 2 sc) x6 (24)
- 5-7. 24 sc
- 8. (dec, 1 sc) x8 (16)
- 9-18. 16 sc (10 rounds)
- 19. (dec, 1 sc) x8 (8)
- Step. Decreases, fasten off, leaving a tail for sewing.
Legs:
- 1. With gray yarn, ch 2 and join into a ring. Work 6 sc, continue crocheting in a circle (6)
- 2. (inc) x6 (12)
- 3. (inc, 1 sc) x6 (18)
- 4-16. 18 sc (13 rounds). Stuff, leave a tail for sewing.
Feet:
- 1. With gray yarn, ch 2 and join into a ring. Work 6 sc, continue crocheting in a circle (6)
- 2. (inc) x6 (12)
- 3. (inc, 1 sc) x6 (18)
- 4. (inc, 2 sc) x6 (24)
- 5. (inc, 11 sc) x2 (26)
- 6. (inc, 12 sc) x2 (28)
- 7-11. 28 sc
- 12. (dec, 12 sc) x2 (26)
- 13. (dec, 11 sc) x2 (24)
- 14. (dec, 10 sc) x2 (22)
- 15. (dec, 1 sc) x7, 1 sc (15)
- 16. (dec, 1 sc) x5 (10)
- 17. (dec) x5
- Step. Pull tight and close the round.
Tail:
- 1. With gray yarn, ch 2 and join into a ring. Work 6 sc, continue crocheting in a circle (6)
- 2. (inc) x6 (12)
- 3. (inc, 1 sc) x6 (18)
- 4. 18 sc
- 5. dec, 16 sc (17)
- 6. 17 sc
- 7. dec, 15 sc (16)
- 8. 16 sc
- 8. dec, 14 sc (15)
- 9. 15 sc
- 10. dec, 13 sc (14)
- 11. 14 sc
- 12. dec, 12 sc (13)
- 13-15. 13 sc (3 rounds)
- 16. dec, 11 sc (12)
- 17-19. 12 sc (3 rounds)
- 20. dec, 10 sc (11)
- 21-23. 11 sc
- 24. dec, 9 sc (10)
- 25. 10 sc
- Step. Fasten off, leaving a tail for sewing.
Ears:
- 1. With gray yarn, ch 2 and join into a ring. Work 4 sc, continue crocheting in a circle (4)
- 2. inc, 3 sc (5)
- 3. inc, 4 sc (6)
- 4. (inc, 1 sc) x3 (9)
- 5. 9 sc
- 6. (inc, 2 sc) x3 (12)
- 7. 12 sc
- 8. (inc, 5 sc) x2 (14)
- 9. 14 sc
- Step. Fasten off, leaving a tail for sewing.
Tips for Success
- Stuff the muzzle firmly: Fill the nose and muzzle area tightly with fiberfill to give the head its distinct shape before finishing the increases in the mid-section.
- Use stitch markers: Working in continuous rounds can make it easy to lose track, so mark the first stitch of every round.
- Embroider facial features early: Attach safety eyes and sew on the black felt nose or nose embroidery before fully closing up the head piece.
- Attach feet securely to legs: Sew the elongated feet at a natural angle onto the leg poles so your wolf can sit in a cozy position.
- Add claw details: Use a bit of black yarn or embroidery thread to stitch three small claw marks on the tips of the feet for extra character.
Frequently Asked Questions
- What weight yarn works best for this project?Worsted weight or DK yarn works wonderfully with a matching 2.5 mm to 3.5 mm hook to keep the stitches tight.
- How do I prevent stuffing from showing through?Use a hook size slightly smaller than recommended on your yarn label to achieve neat, firm stitches.
- Do I need to stuff the ears?No, leaving the ears unstuffed helps them lay flat and maintain their pointed triangular shape naturally.
- How is the tail attached?Position the tail on the lower back of the body, sewing it firmly along the base so it points slightly upward or wraps around the side.
- Is this pattern suitable for beginners?Yes, as long as you know basic amigurumi stitches like single crochet, increases, and decreases, this pattern is very straightforward.
Conclusion
Projects like this small wolf are so rewarding to make, especially when you watch their funny, expressive faces take shape. Whether you are stitching one up to sit on a cozy shelf or making a sweet friend for a loved one, this doll is sure to bring a smile. I hope you enjoy spending a peaceful afternoon with your hook and yarn using this Free Amigurumi Pattern Little Grey Wolf!


Leave a Comment