

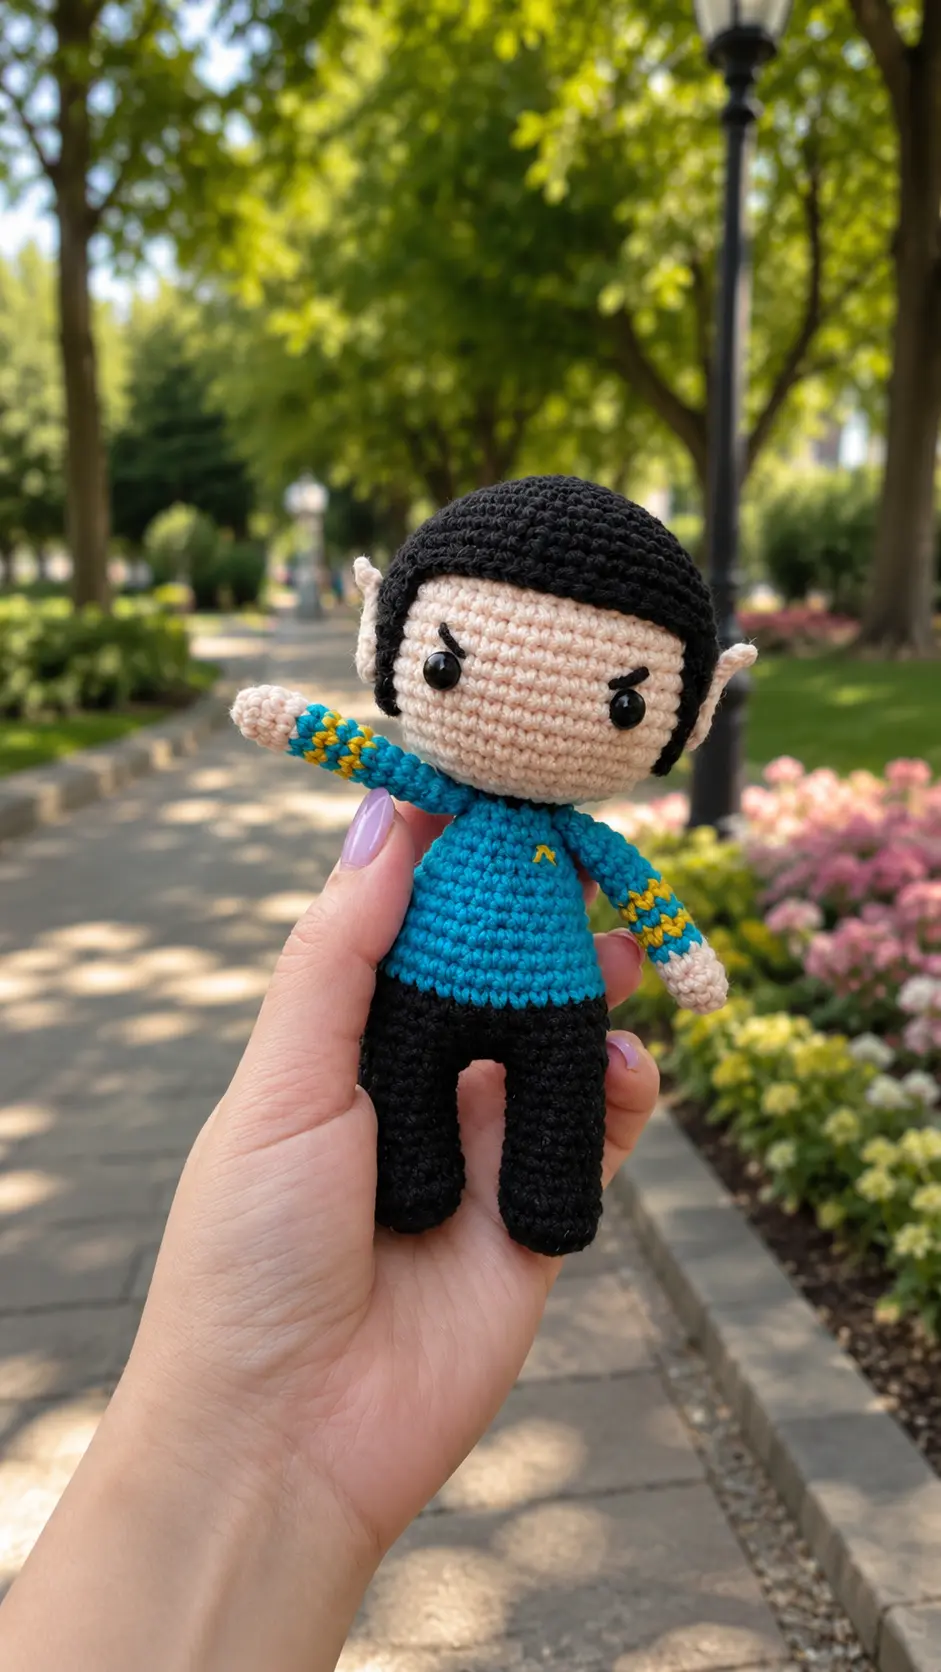
Last month, my husband and I were wandering through a neighborhood flea market when we came across a table filled with old science fiction books, vintage DVDs, and collectible figures. The seller was chatting with another customer about their favorite classic TV characters, and I couldn’t help smiling when I spotted a small Spock figurine tucked between the books. It brought back memories of watching reruns years ago, and before we left, I found myself thinking how fun it would be to crochet my own version.
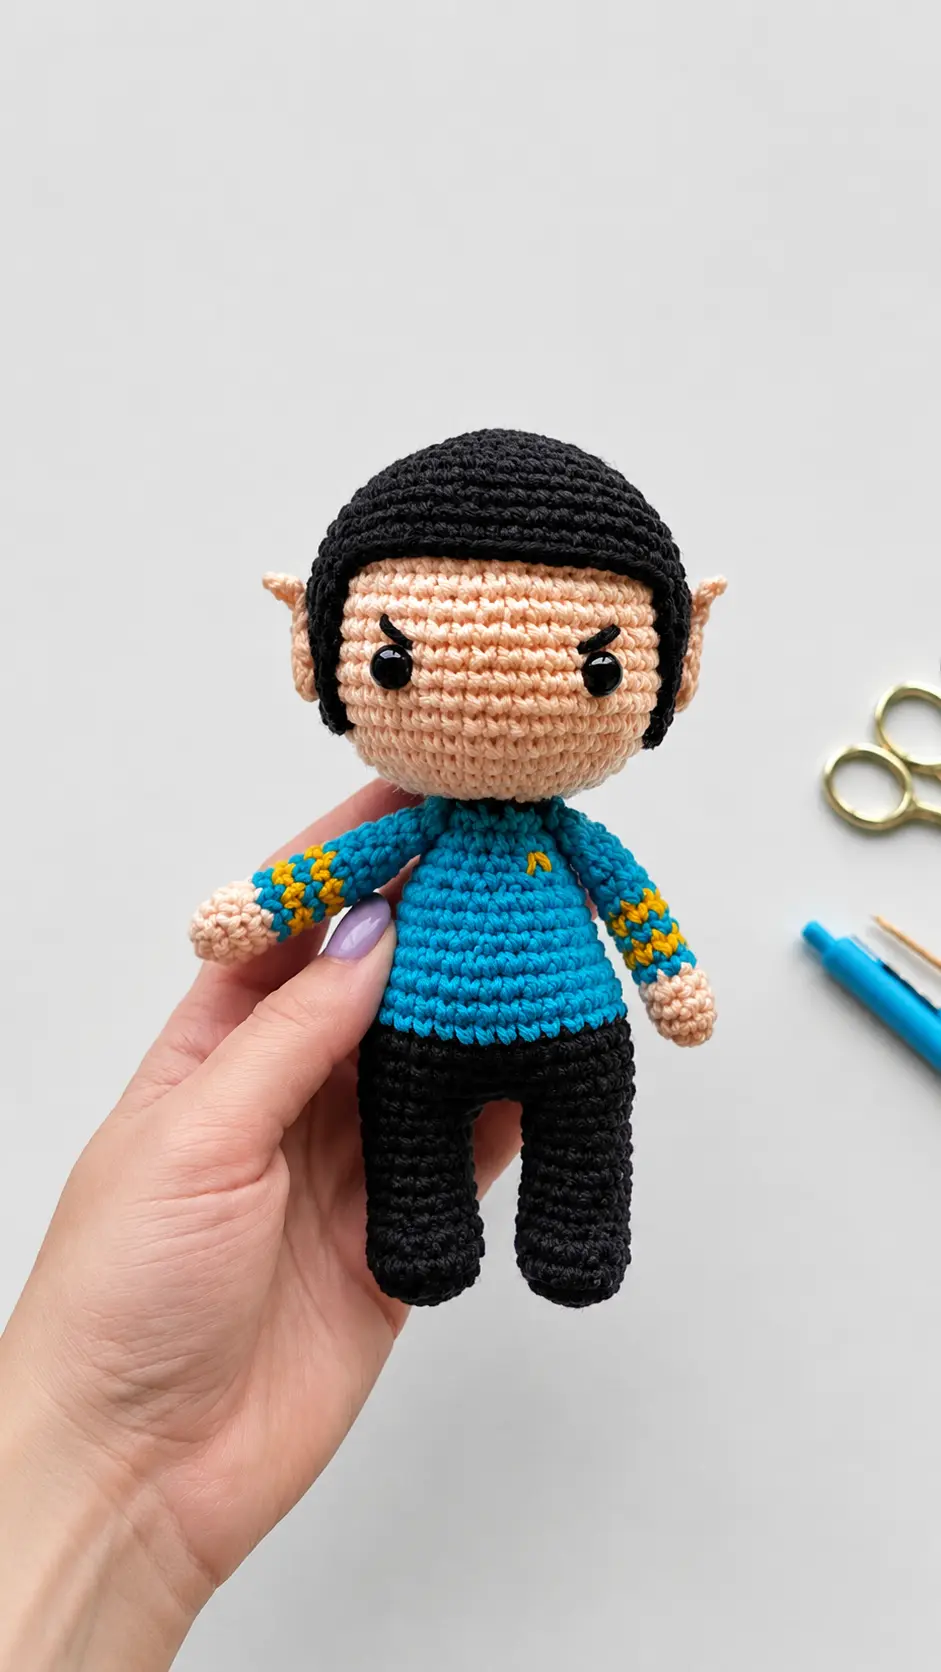
That evening, after dinner was finished and the house had finally quieted down, I headed into my craft room to see what I had in my yarn stash. I found just enough light blue, yellow, black, and beige cotton yarn to make it work. With a cup of coffee beside me and an old movie playing in the background, I started crocheting. The pointed ears, tiny uniform, and simple facial details slowly came together, and by the end of the night I had a little Spock doll sitting on my desk.
If you’re looking for a fun character project that you can finish over a relaxing afternoon, you’ll love this Free Amigurumi Pattern Spock Doll. It’s an enjoyable pattern with plenty of charming details, making it perfect for science fiction fans and amigurumi lovers alike. Whether you’re crocheting it as a unique handmade gift or adding it to your own collection, this little doll is sure to stand out. Grab your favorite hook, gather your yarn, and let’s bring this iconic character to life one stitch at a time.
Materials Needed
- Crochet hook 2.00 mm
- Yarn YarnArt Jeans (55% cotton, 45% acrylic, 160m/50g)
- Yarn colors: light blue #33, black #53, yellow #35, and beige #73
- Black safety eyes 7 mm
- Tapestry needle for sewing parts
- Fiberfill stuffing
- Scissors
- Stitch marker or contrast thread
When using the specified materials, the size of the finished toy is about 15 cm.
Finished Size
About 15 cm in height when using the recommended yarn weight and hook size.
Pattern Notes
- Creating this toy takes approximately 2 to 3 hours.
- Every part starts with an amigurumi ring (magic ring).
- Work in a continuous spiral, which means do NOT make a sl st at the end of the round unless stated otherwise.
- To keep track of the beginning of the round, use a stitch marker. Insert the marker into the last stitch of the round.
- Crochet the toy tightly enough so that when the fabric stretches, there are no holes where stuffing could show through. If your stitches are loose, try using a smaller crochet hook size.
Abbreviations
- MR – magic ring
- sc – single crochet
- ch – chain
- sl st – slip stitch
- inc – increase (2 sc in one stitch)
- dec – decrease (2 sc crocheted together)
- dc – double crochet
- hdc – half double crochet
- (…) x n – repeat n times
Pattern Instructions
Arms (make 2)
Beige color.
- 6 sc in MR (6)
- (2 sc, inc) x 2 (8) 3-4. 8 sc (8)
Continue with light blue color.
- 8 sc (8)
Continue with yellow color.
- 8 sc (8)
Continue with light blue color.
- 8 sc (8)
Continue with yellow color.
- 8 sc (8)
Continue with light blue color.
9-14. 8 sc (8)
Do not stuff. This way the arm will not stick out too much after sewing to the body. Fold the detail in half and crochet 4 sc across both sides. Leave a long tail for sewing.
First Leg
Stuff legs, body, and head firmly as you go. Start with black color.
- 6 sc in MR (6)
- 6 inc (12)
- (1 sc, inc) x 6 (18)
- 18 sc (18)
- 6 sc, 4 dec, 4 sc (14)
- 6 sc, 2 dec, 4 sc (12) 7-10. 12 sc (12)
- In this round, crochet only 11 sc. Fasten off and hide the yarn end.
Second Leg and Body
Start with black color.
- 6 sc in MR (6)
- 6 inc (12)
- (1 sc, inc) x 6 (18)
- 18 sc (18)
- 6 sc, 4 dec, 4 sc (14)
- 6 sc, 2 dec, 4 sc (12) 7-10. 12 sc (12)
- 12 sc (12). Crochet 5 additional sc. Place marker in the last stitch.
Stuff the details. Next, join the legs.
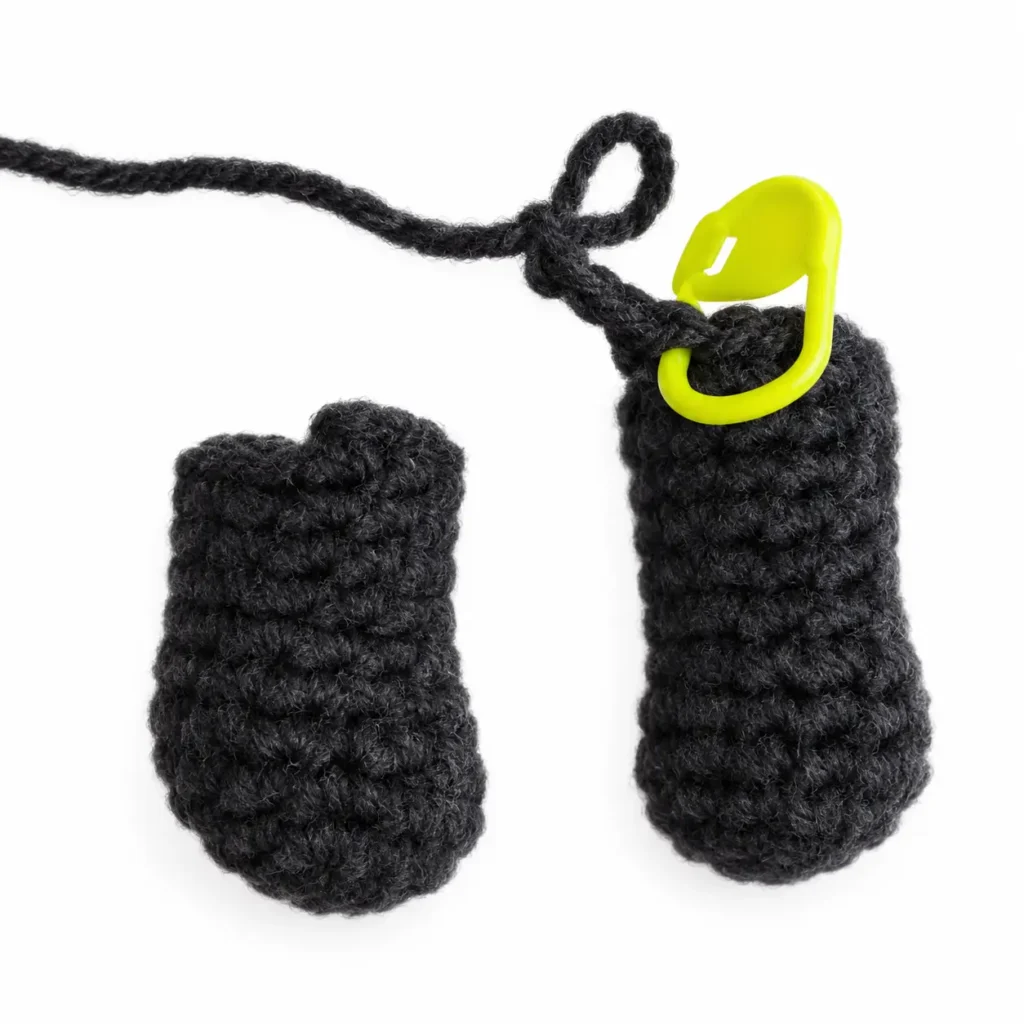
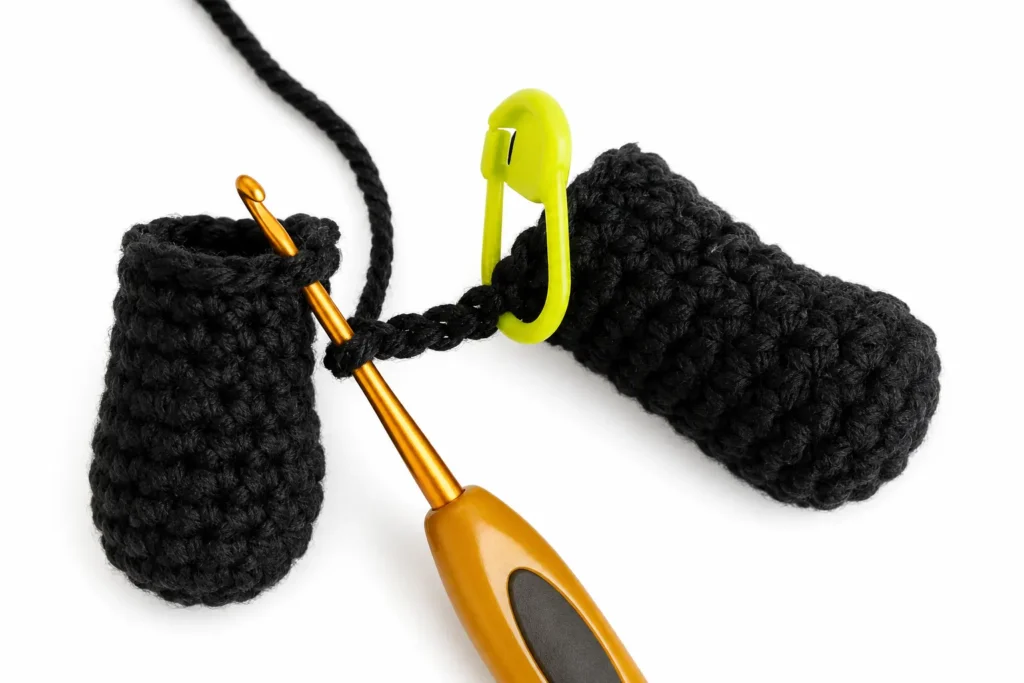
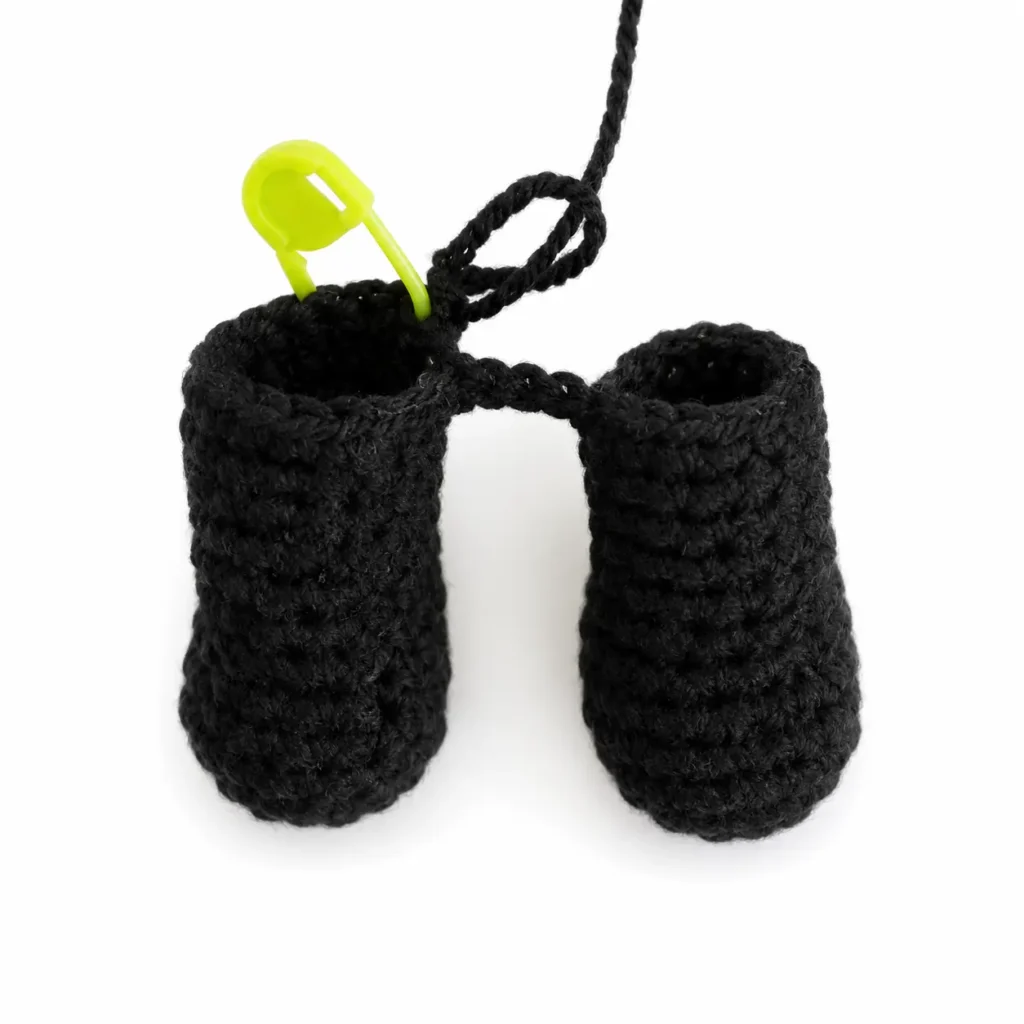
- 3 ch, 12 sc, 3 sc along 3 ch, 12 sc (30)
- 9 sc, inc, 14 sc, inc, 5 sc (32) *Increases should be on the sides of the toy. 14-16. 32 sc (32)
Continue with light blue color.
17-18. 32 sc (32) 19. 9 sc, dec, 14 sc, dec, 5 sc (30) 20. 30 sc (30) 21. (3 sc, dec) x 6 (24) 22-23. 24 sc (24) 24. (2 sc, dec) x 6 (18) 25-26. 18 sc (18) 27. (1 sc, dec) x 6 (12)
Continue with black color.
- 12 sc (12) Stuff the body.
Continue with beige color.
- (1 sc, inc) x 6 (18)
- 18 inc (36)
- (5 sc, inc) x 6 (42)
- (6 sc, inc) x 6 (48) 33-42. 48 sc (10 rounds) (48)
- (6 sc, dec) x 6 (42)
- (5 sc, dec) x 6 (36)
- (4 sc, dec) x 6 (30)
Insert safety eyes between rounds 36 and 37, with a distance of 9 stitches between them.
- (3 sc, dec) x 6 (24)
Stuff the detail.
- (2 sc, dec) x 6 (18)
- (1 sc, dec) x 6 (12)
- 6 dec
Finish crocheting. Fasten off, pull the hole closed with a needle, and cut the thread.
Hair
Black color.
- 6 sc in MR (6)
- 6 inc (12)
- (1 sc, inc) x 6 (18)
- (2 sc, inc) x 6 (24)
- (3 sc, inc) x 6 (30)
- (4 sc, inc) x 6 (36)
- (5 sc, inc) x 6 (42)
- (6 sc, inc) x 6 (48)
- (15 sc, inc) x 3 (51) 10-12. 51 sc (51)
- ch, TURN, 36 sc (36)
- ch, TURN, 36 sc (36)
- ch, TURN, 36 sc (36)
- ch, TURN, dec, 32 sc, dec (34)
- ch, TURN, dec, 30 sc, dec (32)
- ch, TURN, 32 sc (32)
- ch, TURN, dec, 28 sc, dec (30)
- ch, TURN, dec, 26 sc, dec (28)
Finish crocheting. Leave a long tail for sewing.
Ear 1
Beige color.
- 7 ch, starting from the 2nd chain from hook, 3 sl st, 1 sc, 1 hdc, (3 dc in ONE stitch), TURN, 1 sc. Leave a tail for sewing.
Ear 2
Beige color.
- 7 ch, starting from the 2nd chain from hook, (3 dc in ONE stitch), 1 hdc, 1 sc, 3 sl st. Leave a tail for sewing.
Assembly
Sew the arms symmetrically to the body. Sew the hair piece onto the head. Sew the ears on the sides of the hair piece. Using black thread, embroider the eyebrows. Using yellow thread, embroider an inverted checkmark emblem on the chest.
Tips for Success
- Keep your tension consistent: Working with a 2.00 mm hook creates firm stitches so the polyester fiberfill will not peek through the body.
- Stuff in small steps: Add fiberfill in small clumps into the feet and legs as you work up, ensuring the limbs hold their shape without bulges.
- Align the leg join: Double check that your extra stitches on the second leg place your join chains evenly in the center so the feet face straight forward.
- Secure the safety eyes: Double check your eye placement between rounds 36 and 37 before snapping the backings on tightly.
- Pin the hair before sewing: Use sewing pins to secure the hair cap in place around the head so it stays centered while you sew it down.
- Embroider details gently: Use a light touch when stitching the eyebrows and chest emblem so you do not pull the yarn too tight into the stitches.
Frequently Asked Questions
What hook size works best for this doll pattern?
A 2.00 mm crochet hook is ideal for working with standard cotton blend yarn to maintain tight stitches.
Do I need to stuff the arms?
No, leaving the arms unstuffed helps them lay flat against the sides of the body after sewing.
Can I use acrylic yarn instead of cotton blend yarn?
Yes, you can use acrylic yarn of similar weight, but keep in mind your doll size might vary slightly.
How do I join the legs evenly?
Make sure to adjust the final stitches on the second leg so the 3 joining chain stitches set the feet straight.
Is this project suitable for beginner crocheters?
Yes, as long as you know basic amigurumi techniques like magic rings, single crochet, increases, and decreases, this project is simple to complete.
Conclusion
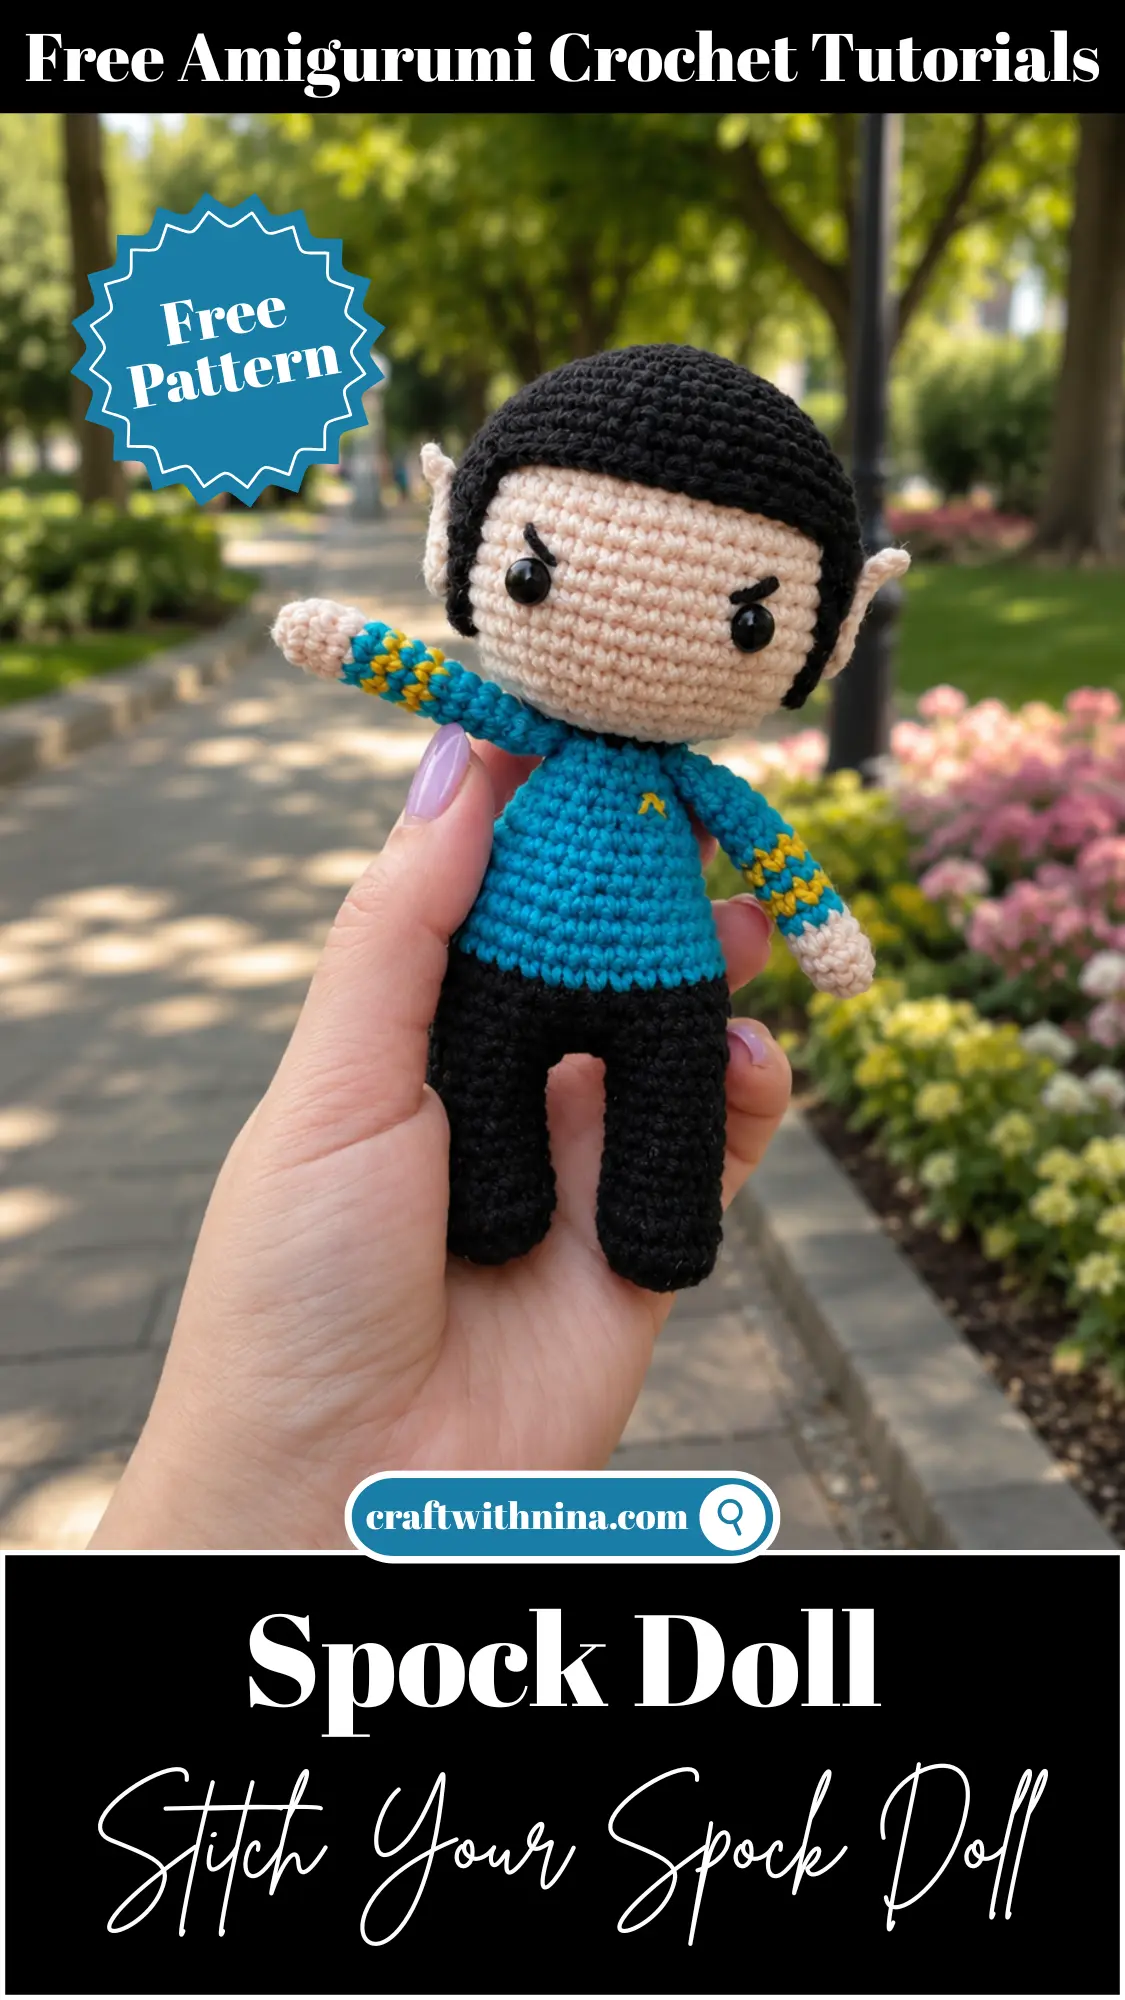
I hope you enjoy creating your own cute figure with this Free Amigurumi Pattern Spock Doll. Small character designs are so delightful to work on, especially when you can finish them in just a single afternoon sitting. Grab your hook, pick out your favorite shades, and have a wonderful time crocheting!


Leave a Comment