

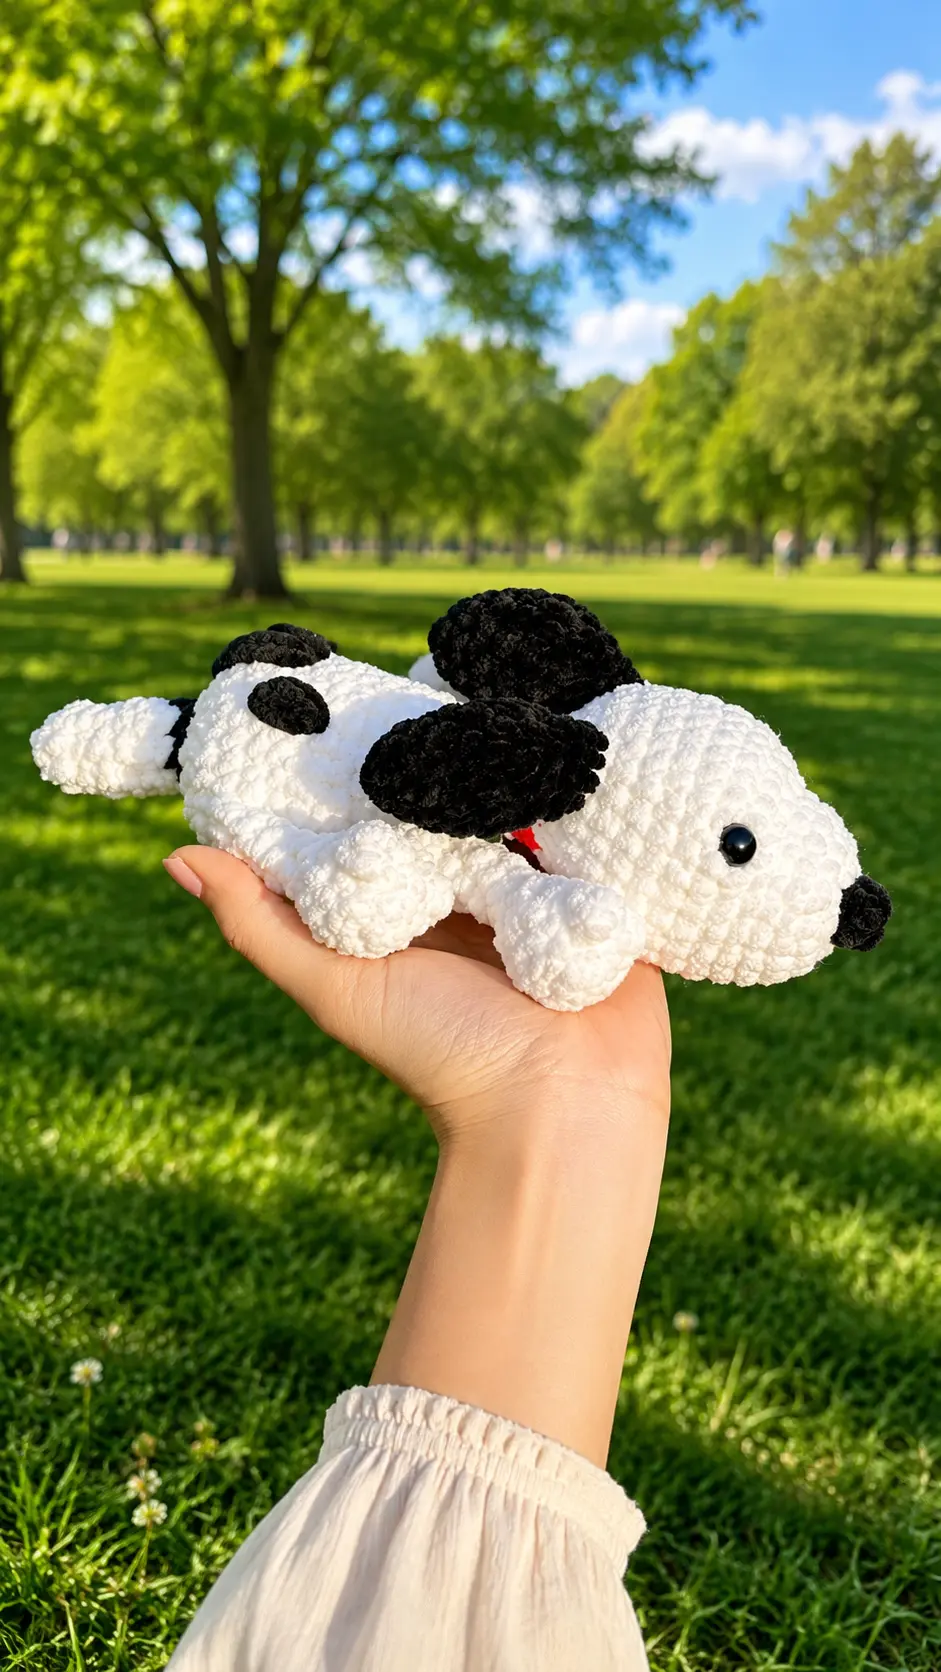
I was organizing my craft room shelf yesterday afternoon, shuffling through bins of extra yarn skeins, when I pulled out a couple of super soft plush skeins in black and white. They had been sitting there since my last big project, just begging to be turned into something cozy. I sat right down at my work table with a warm cup of tea, grabbed my favorite hook, and decided to stitch up a classic floppy dog plushie. It felt so nice to spend a quiet afternoon crafting with no rush at all.
This Free Amigurumi Pattern Snoopy Plush is such a fun, rewarding project to make. Working with thick plush yarn makes it extra soft, and because the ears, arms, and legs are crocheted directly into the body as you go, there is very little sewing required at the end. It is a wonderful pattern whether you are making a nostalgic gift for a friend, crafting a cute addition to your living room decor, or stocking up your handmade market tables. Grab your hook and softest yarn, and let us get right into the pattern instructions together.
Materials Needed
Material estimations are based on a 4.5mm hook and premier parfait chunky yarn
- Size 6 plush yarn (Black, White & Red)
- 4.5mm hook (or your preferred size)
- Yarn Needle
- Scissors
- Polyester stuffing/filling
- Stitch marker
- Safety eyes (recommend 12-18mm)
Abbreviations
- MR – Magic ring
- CH – Chain
- SC – Single Crochet
- ST – Stitch
- Sl St – Slip stitch
- INC – Increase stitch
- DEC – Decrease stitch (I highly recommend using the invisible decrease method)
- HDC – Half Double Crochet
- (…)x8 – Repeat this pattern the number of requested times
- (x) – Number of stitches in a row
- FLO – Front loop only
- BLO – Back loop only
- RND – Round
- FO – Fasten off
- CC – Change Color
- BOB – 5 ST Double Crochet Bobble Stitch
Pattern Instructions
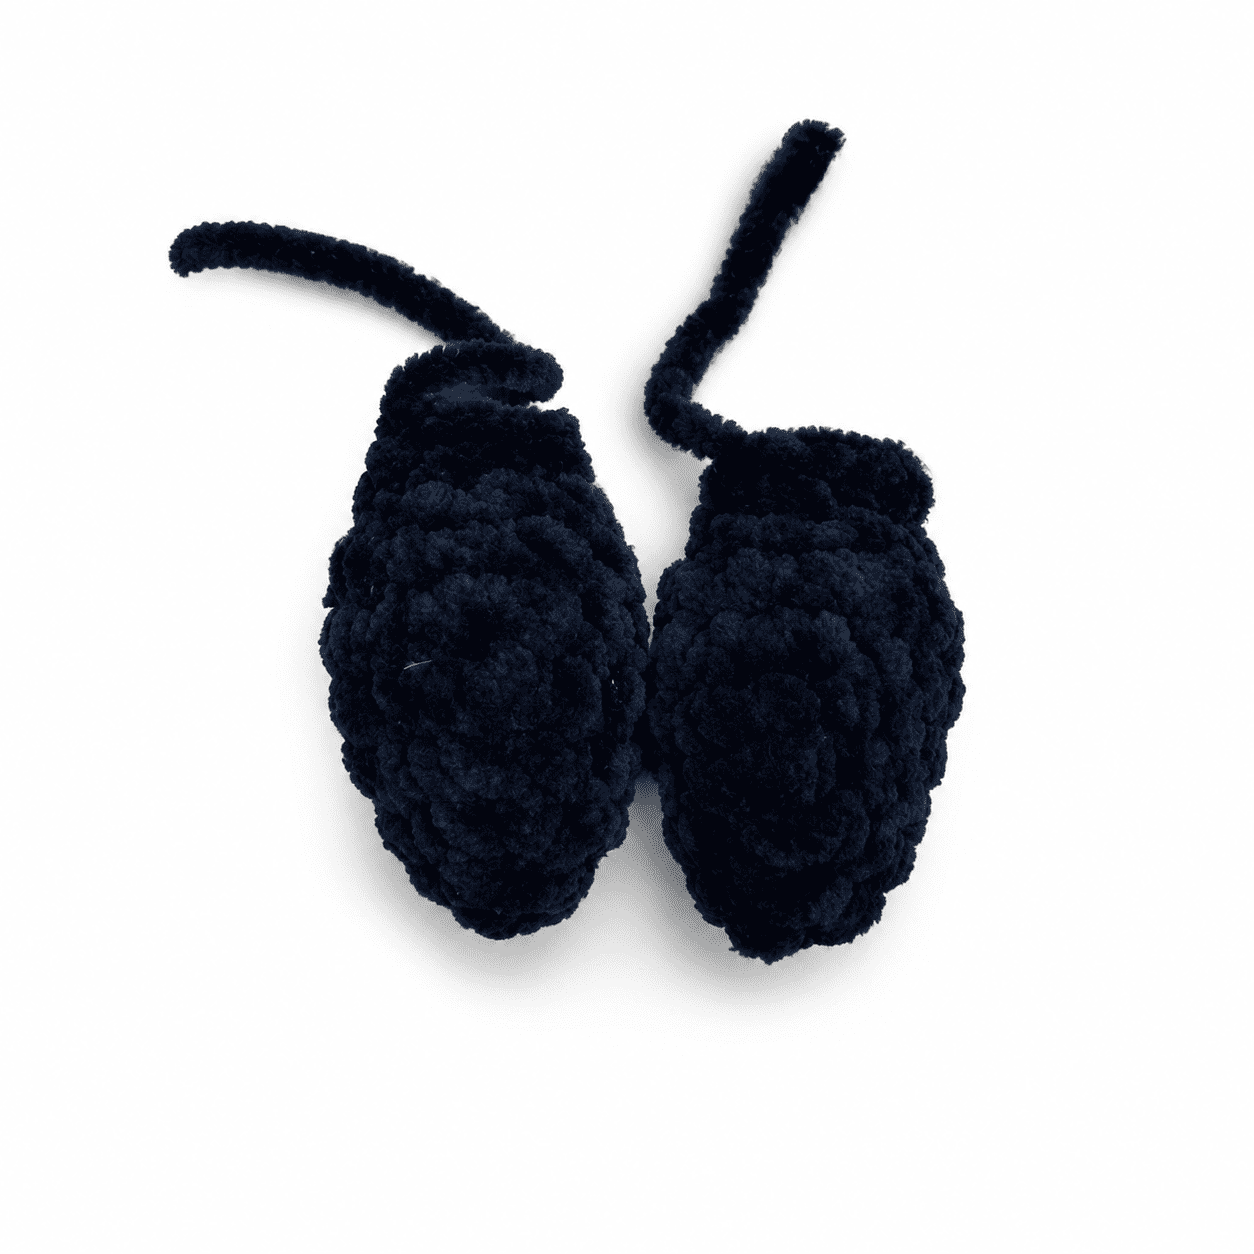
The Ears – Make 2
Use black yarn
R1: 6 SC into a MR (6)
R2: (SC, INC)x3 (9)
R3: SC around (9)
R4: (2 SC, INC)x3 (12)
R5-6: SC around (12) – 2 RNDS
R7: (2 SC, DEC)x3 (9)
Stuff ear lightly
R8: (SC, DEC)x3 (6)
Make 3 SC across the top to close and FO leaving a short tail. You will be crocheting the ears in later
Arms – Make 2
Use white yarn
R1: 6 SC in a MR (6)
R2: (INC)x6 (12)
R3: BLO 3 SC, (BOB, 1 SC)x3, 3 SC (12)
R4: SC around (12)
R5: (DEC)x6 (6)
Stuff the foot and then continue
R6-11: SC around (6) – 6 RNDS
Make 3 SC across the top to close. Ensure you are on the side of the foot when closing. FO and leave a short tail. You will be crocheting them in later.
Legs – Make 2
Use white yarn
Note*: the legs are essentially the same as the arms but just one round shorter
R1: 6 SC in a MR (6)
R2: (INC)x6 (12)
R3: BLO 3 SC, (BOB, 1 SC)x3, 3 SC (12)
R4: SC around (12)
R5: (DEC)x6 (6)
Stuff the foot and then continue
R6-10: SC around (6) – 5 RNDS
Make 3 SC across the top to close. Ensure you are on the side of the foot when closing. FO and leave a short tail. You will be crocheting them in later.
Head & Body
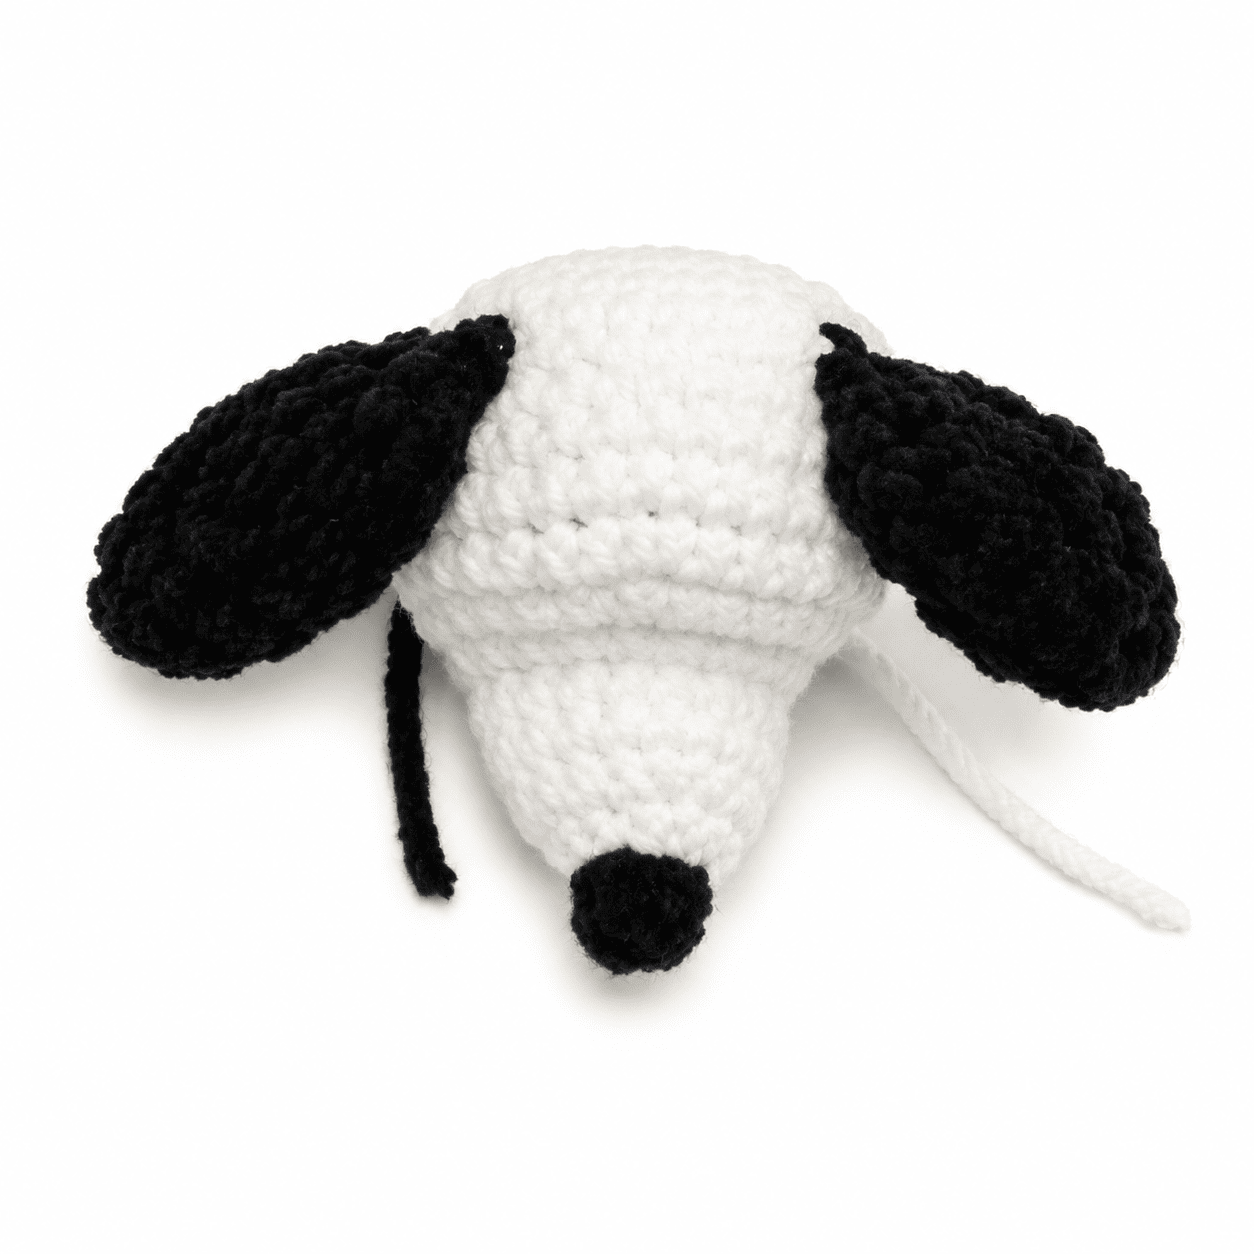
Start with black yarn
For the body you will be starting at the nose and working all the way to the end of the tail.
R1: 4 SC into a MR (4)
R2: SC around (4)
CC to White
R3: (3 SC into a ST)x4 (12)
R4: (SC, INC)x6 (18)
R5-6: SC around (18) – 2 RNDS
R7: 6 SC, 6 INC, 6 SC (24)
R8: 6 SC, (SC, INC)x6, 6 SC (30)
R9-13: SC around (30) – 5 RNDS
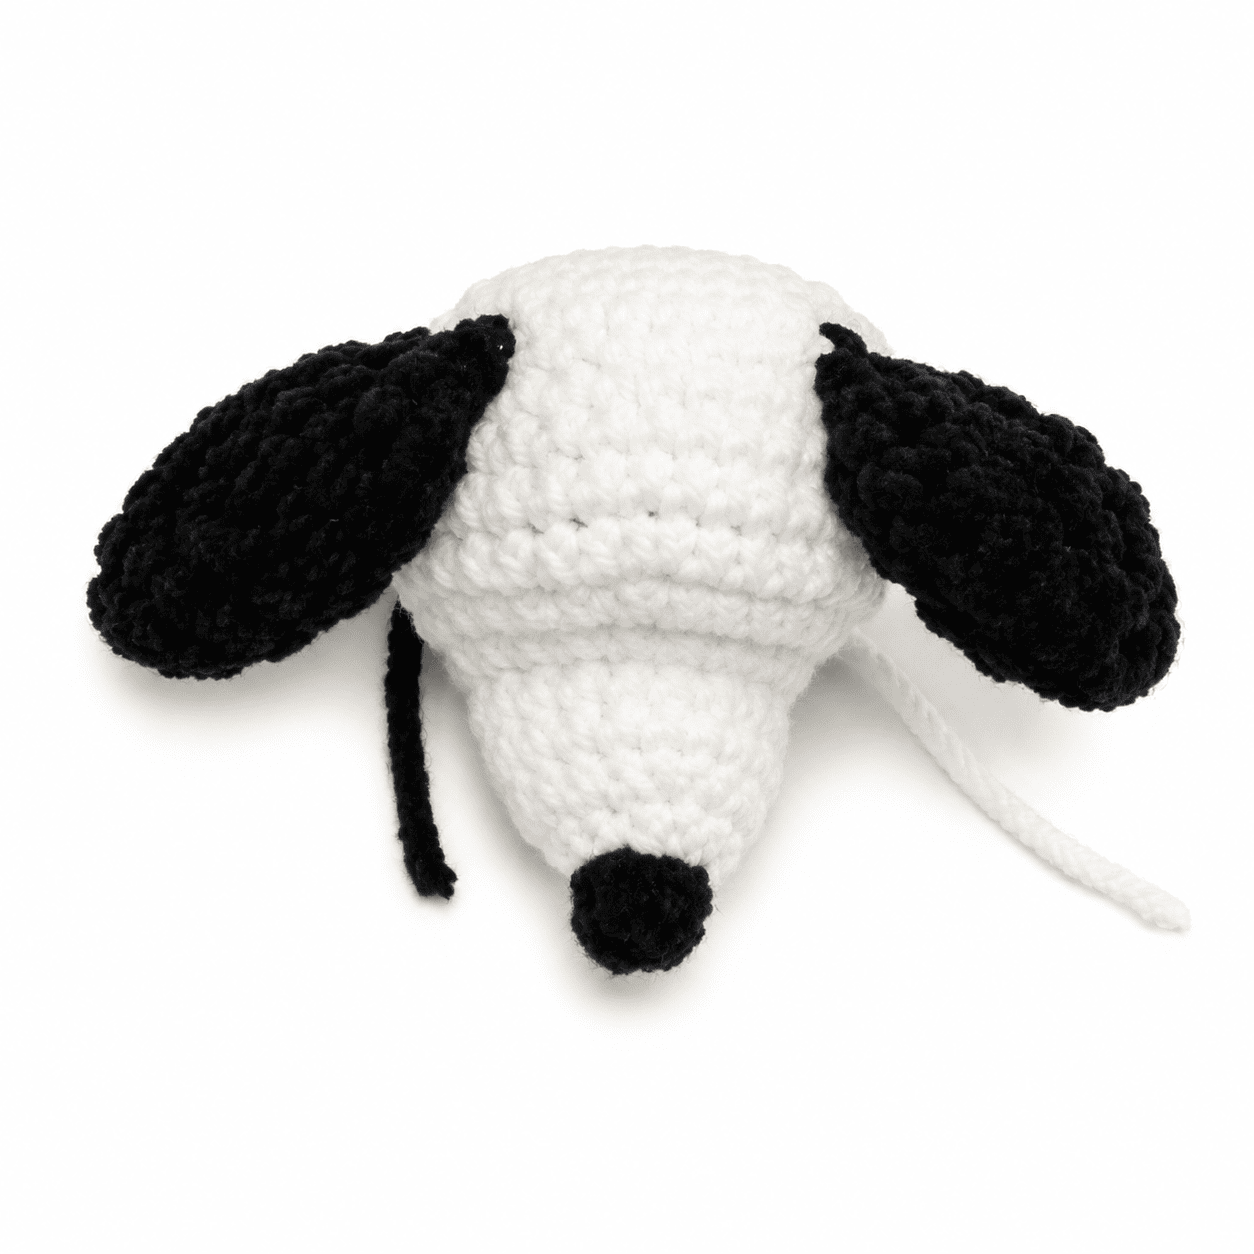
R14: 12 SC, 3 SC through an ear and body, 5 SC, 3 SC through an ear and body, 7 SC (30)
Note*: You may need to adjust the placement of the ears. make sure the nose is in the middle
Place safety eyes between RNDs 8 & 9 with about 7 visible sts apart.
R15: (SC,DEC)x10 (20)
Stuff the head and continue to stuff as you go
R16: (DEC)x10 (10)
CC to Red
R17-18: SC around (10) – 2 RNDS
CC to White
R19-20: SC around (10) – 2 RNDS
R21: (SC, INC)x5 (15)
R22: SC around (15)
R23: (2 SC, INC)x5 (20)
R24: SC around (20)
Stuff the neck and continue stuffing the body as you go
When crocheting the legs in, make sure the toes are pointed away from you. When laying down, his toes should be pointed up.
The arms should be almost directly under the body while the legs should be more towards the side of the body – adjust if needed (varies based on tension)
R25: 4 SC, 3 SC through arm & body, 3 SC, 3 SC through arm & body, 7 SC (20)
R26: (3SC,INC)x5 (25)
R27-29: SC around (25) – 3 RNDS
R30: (4 SC, INC)x5 (30)
R31: SC around (30)
R32: 6 SC, 3 SC through leg & body, 10 SC, 3 SC through leg & body, 8 SC (30)
R33: SC around (30)
R34: (2 SC, DEC)x7, DEC (22)
R35: (DEC)x11 (11)
CC to Black
R36: SC, (DEC)x5 (6)
R37: SC around (6)
Note*: You may need to adjust the placement of the arms and legs. They should both be centered on the bottom of the body.
CC to White and FO black
R38: INC, 4 SC, INC (8)
R39: 3 SC, DEC, 3 SC (7)
Note*: For the tail, the INCS should all be at the top and the DECs should be at the bottom – continue to adjust as need throughout
R40: SC around (7)
R41: INC, 2 SC, DEC, SC, INC (8)
R42: SC around (8)
Stuff tail and then continue
R43: (DEC)x4 (4)
FO and leave a short tail to close hole.
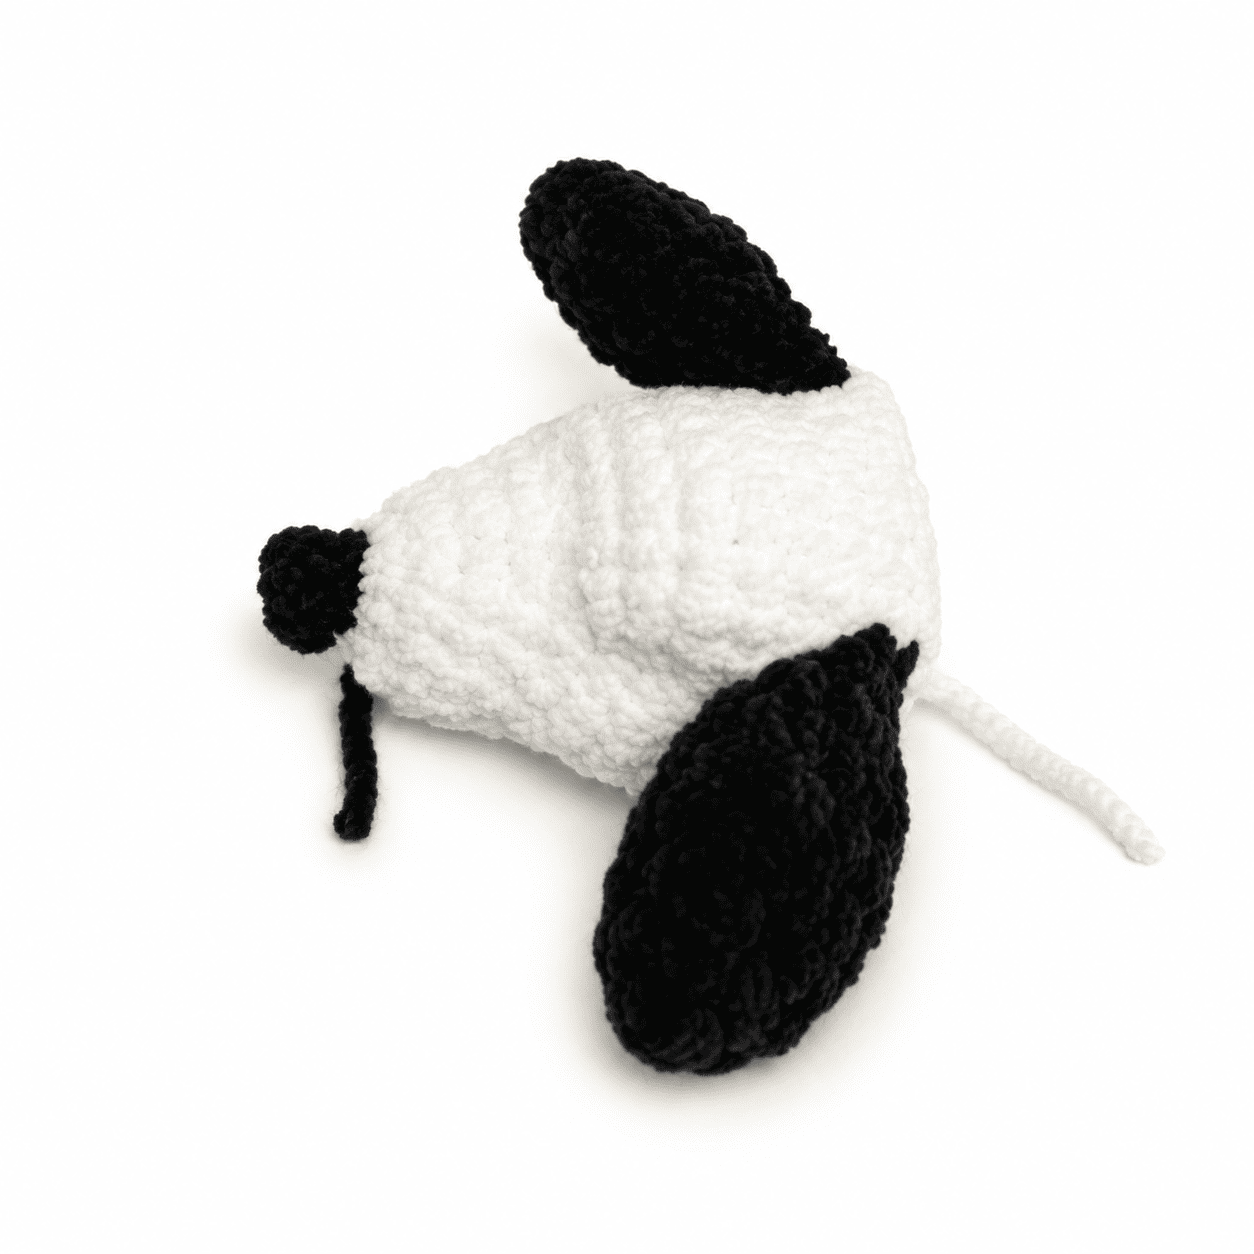
Snoopy’s Spots
Embroider one large spot and one small spot on snoopys back towards his tail.
Large spot: You should make 8-10 lines between the same two stitches. The stitches should be about 5-6 rows apart
Small spot: You should make 4-6 lines between the same two stitches. The stitches should be about 2-4 rows apart
When embroidering spots onto plushies, you will want to pull the yarn back and forth between 2 stitches. As you are going back and forth you will want to alternate which side you pull the yarn to in order to create an even circular shape.
Tips for Success
- Check limb positioning before stitching: Everyone’s crochet tension is slightly different, which can shift where rounds end. Make sure to double check that the arms, legs, and ears are centered properly on the body before completing the joining stitches.
- Keep bobble stitches pushed to the front: When making the paws on the arms and legs, use your finger to push the bobble stitches outward so the little toes pop out clearly on the front of the foot.
- Stuff the neck firmly: Adding plenty of stuffing to the neck area keeps the head upright and prevents it from flopping over after the body is completed.
- Alternate sides when embroidering spots: When stitching the black spots on the back, alternate which side you guide the plush yarn toward on each pass to help build a smooth, rounded circle.
- Use invisible decreases for plush yarn: Standard decreases can sometimes create small gaps in chunky chenille yarn. Stick to invisible decreases so your stuffing stays hidden inside.
Frequently Asked Questions
What hook size works best for this plushie?
A 4.5mm hook works wonderfully with size 6 plush yarn. It keeps the stitches nice and tight so the polyester stuffing does not poke through the fabric.
Do I need to sew the arms and legs on separately?
No, the arms, legs, and ears are crocheted directly into the body during the main rounds. You just make them ahead of time and join them right in as you go.
How do I close the top of the limbs before joining?
Fold the top opening flat and work single crochet stitches through both layers across the top. Make sure the toes are facing the correct direction before closing them.
What size safety eyes should I use?
Safety eyes between 12mm and 18mm look great on this pattern. Place them between rounds 8 and 9, keeping them about 7 visible stitches apart.
Can I make this pattern with regular worsted weight yarn?
Yes, you can use worsted weight yarn with a smaller hook like a 3.5mm. Keep in mind that your finished plushie will turn out much smaller than the chenille version.
Conclusion
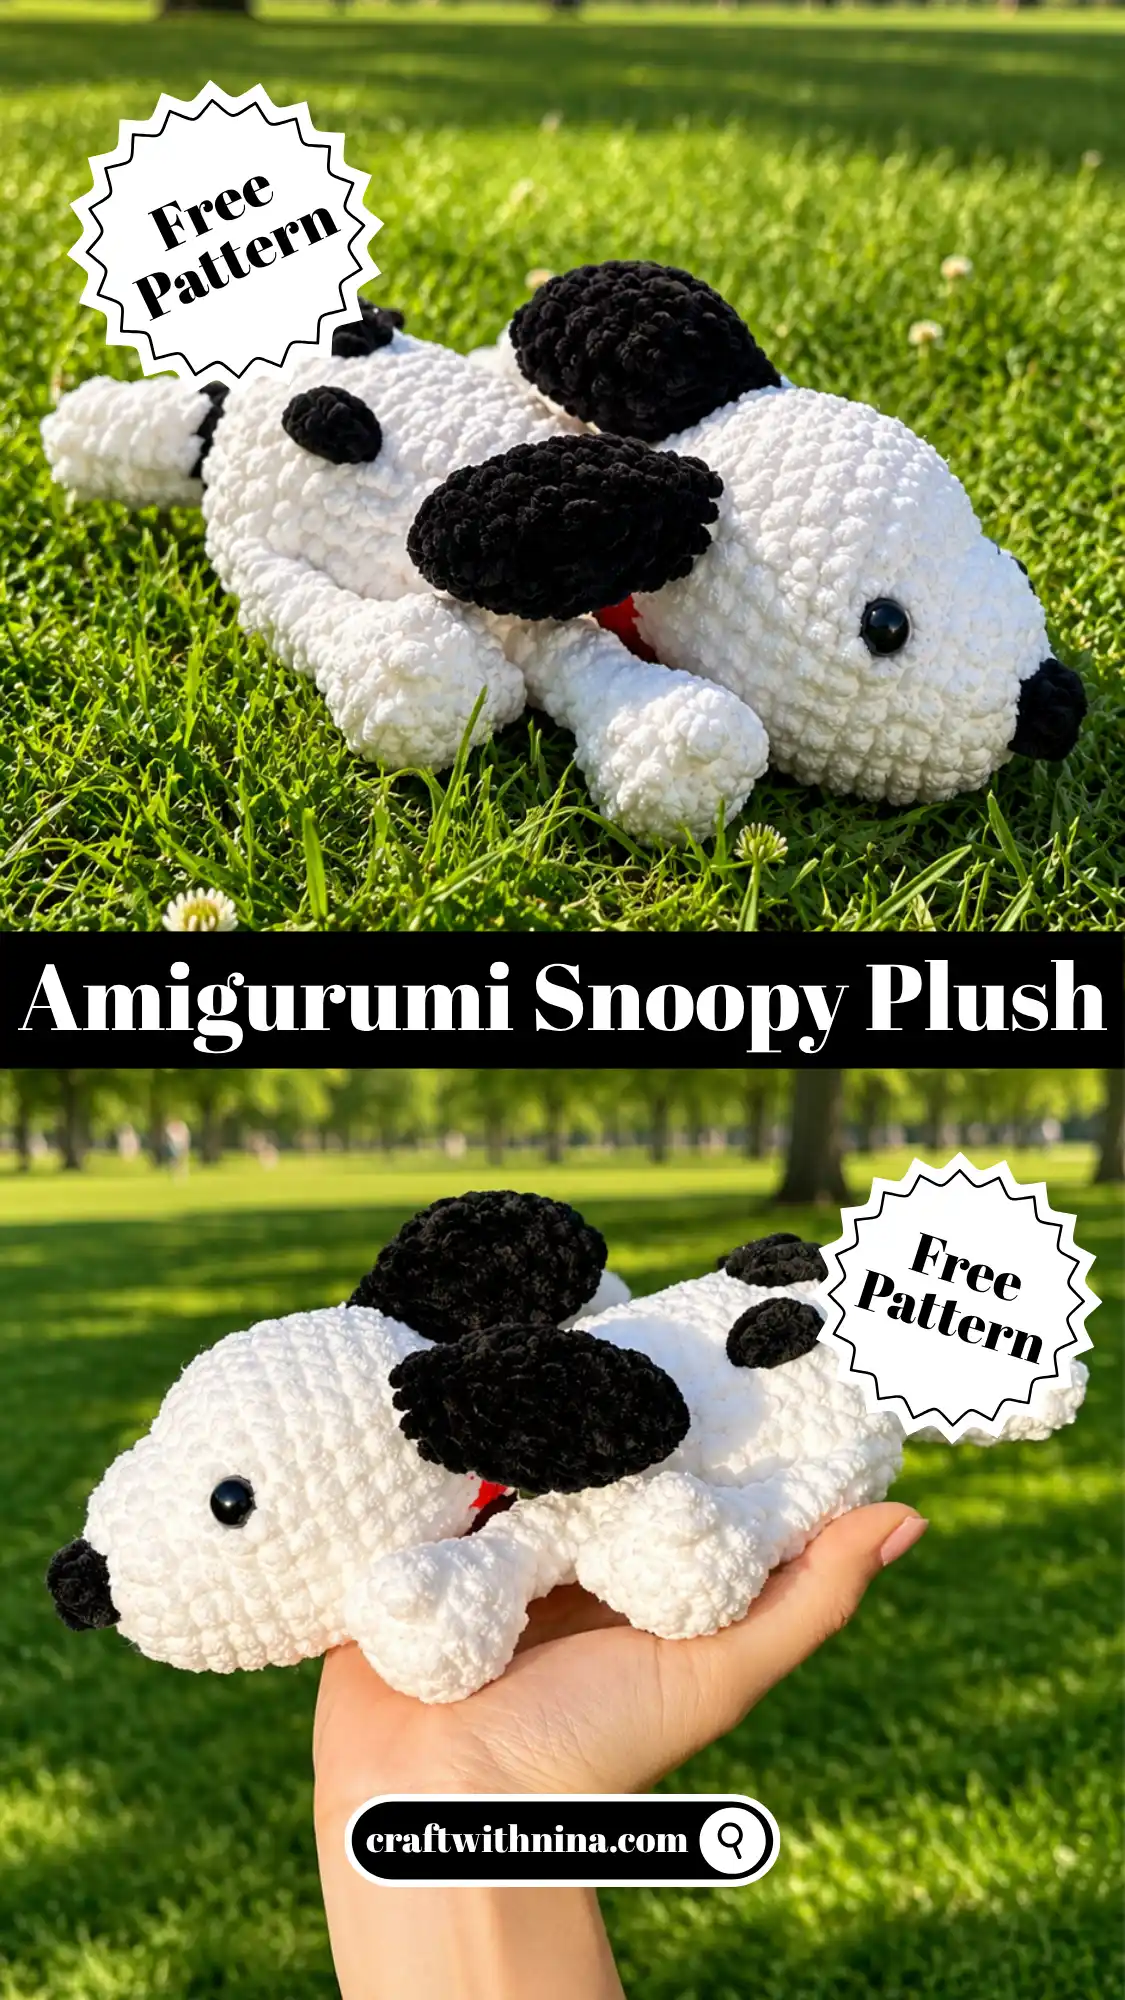
Making this charming dog plushie is such a cozy way to spend your crafting hours. It comes together so smoothly, and joining the pieces as you crochet makes the finishing process a total breeze. I hope you enjoy bringing this sweet little character to life as much as I did. Happy crocheting, and enjoy sharing your new Free Amigurumi Pattern Snoopy Plush with family and friends!


Leave a Comment