

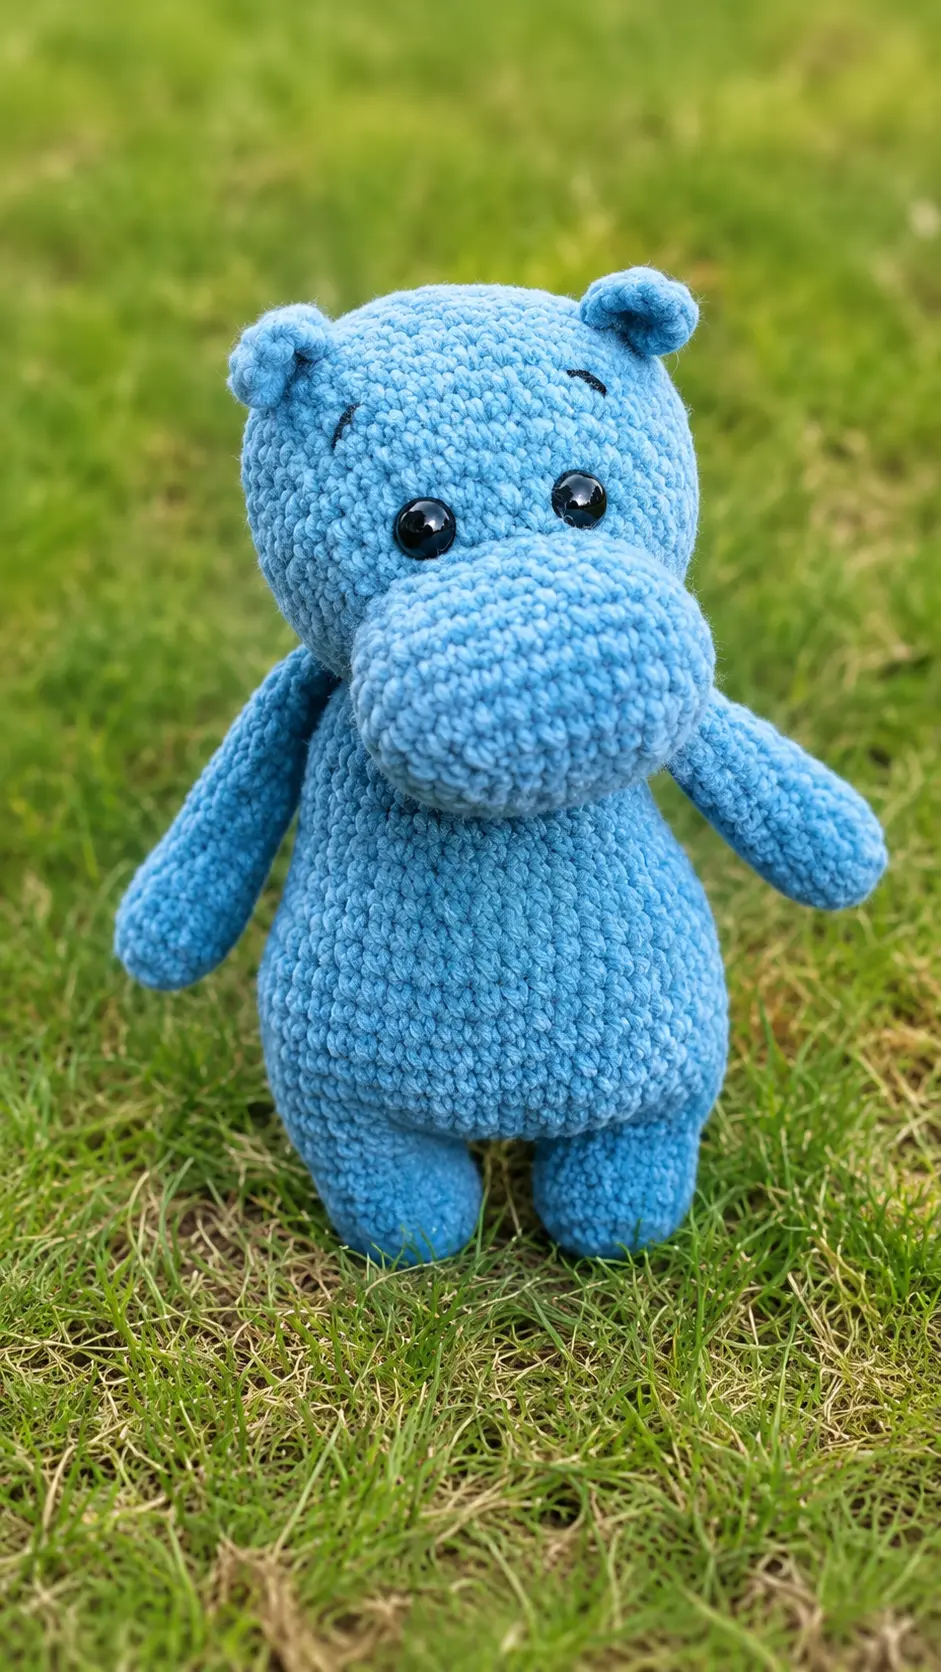
A couple of Saturdays ago, I stopped by a small gift shop after meeting my sister for lunch. They had a shelf full of handmade toys, and one little hippo plush caught my attention. It wasn’t anything fancy, but it had the sweetest round face and made both of us smile. As we walked back to the car, my sister looked at me and said, “You could definitely make one even cuter.”
That evening, after dinner was over and the kitchen was finally cleaned up, I couldn’t get that little hippo out of my mind. I looked through my yarn stash and found the perfect plush yarn in soft, calming colors. I settled into my favorite chair, turned on a movie I’d already seen a dozen times, and started crocheting. By the time the movie ended, the cutest chubby hippo was sitting beside me on the couch, and I knew it was a pattern I wanted to make again.
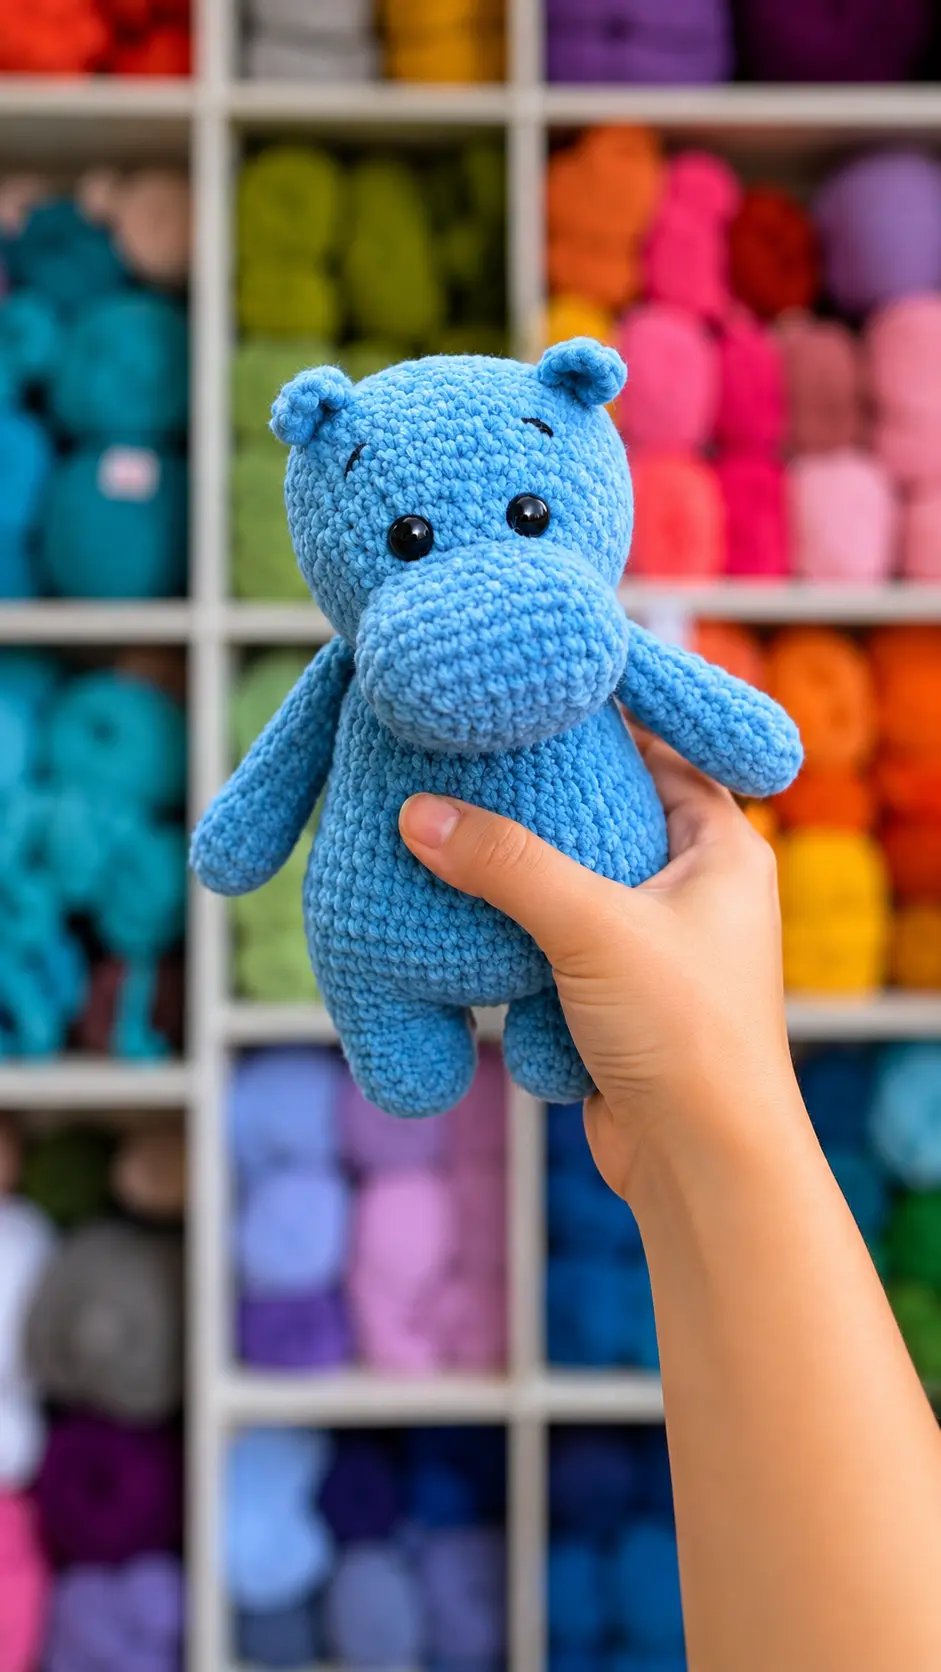
If you’re looking for a soft, cuddly project that’s both relaxing and fun to crochet, you’ll love this Free Amigurumi Pattern Plush Hippo Mondy Doll. It works up quickly with plush yarn and is perfect for making as a thoughtful handmade gift, a nursery decoration, or a cozy new addition to your amigurumi collection. Grab your favorite hook, get comfortable, and let’s crochet this adorable little hippo together.
Materials Needed
- Yarn
- Crochet hook
- Tapestry needle
- Stuffing
- Scissors
- Embroidery thread
- Stitch marker
Finished Size
Finished size will vary depending on the yarn weight, hook size, and stitch tension used.
Abbreviations
- mr – magic ring
- sc – single crochet
- sl st – slip stitch
- ch – chain
- inc – increase
- dec – decrease
- st – stitch
- *()6 – repeat whatever is between the brackets the number of times stated
Pattern Instructions
HEAD
Round 1
Make 9 ch. Start from the 2nd ch from the hook and work on both sides: 7 sc, 3 sc in last st, turn: 8 sc (18)
Round 2
Inc, 6 sc, 3inc, 6 sc, 2inc (24)
Round 3
1 sc, Inc, 6 sc, (1 sc, inc)*3, 6 sc, (1 st, Inc)*2 (30)
Round 4
(4 sc, inc)*6 (36)
Round 5-6
36 sc (2 rows)
Round 7
(4 sc, dec)*6 (30)
Round 8
(3 sc, dec)*6 (24)
Round 9
24 sc
Round 10
(3 sc, inc)*6 (30)
Round 11
(4 sc, inc)*6 (36)
insert safety eyes between R10 and R11 at the distance of 4 sc from each other
Round 12
(5 sc, inc)*6 (42)
Round 13
(6 sc, inc)*6 (48)
Round 14-19
48 sc (6 rows)
Round 20
(6 sc, dec)*6 (42)
Round 21
(5 sc, dec)*6 (36)
Round 22
(4 sc, dec)*6 (30)
Round 23
(3 sc, dec)*6 (24)
Round 24
(2 sc, dec)*6 (18)
Add stuffing material
Round 25
(1 sc, dec)*6 (12)
Round 26
(dec)*6 (6)
Fasten off and cut the yarn.
ARMS – MAKE 2
Round 1
6 sc in mr
Round 2
Inc *6 (12)
Round 3-5
12 sc (3 rows)
Round 6
(2 sc, dec)*3 (9)
Round 7-16
9 sc (10 rows)
Stuff halfway with stuffing material. Fold the top opening flat and 4 sc through both sides. Fasten off and cut the yarn.
EARS – MAKE 2
Round 1
6 sc in mr
Round 2
(inc)*6 (12)
Fold the ear and make 1 or 2 sl st through both sides. Fasten off and leave a long tail for sewing.
LEGS (MAKE 2) + BODY
Round 1
6 sc in mr
Round 2
(inc)*6 (12)
Round 3-6
12 sc (4 rows)
Fasten off.
Crochet the second leg, do not fasten off. Chain 3 on the second leg and join with the first leg.
Stuff as you go.
12 sc on the first leg. 3 sc in 3 ch. 12 sc on the second leg. 3 sc on 3 ch (opposite side) (30)
Round 7
(4 sc, inc)*6 (36)
Round 8
(5 sc, inc)*6 (42)
Round 9
(6 sc, inc)*6 (48)
Round 10-15
48 sc (6 rows)
Round 16
(5 sc, dec)*6 (42)
Round 17-18
42 sc (2 rows)
Round 19
(5 sc, dec)*6 (36)
Round 20-21
36 sc (2 rows)
Round 22
(4 sc, dec)*6 (30)
Round 23-24
30 sc (2 rows)
Round 25
(3 sc, dec)*6 (24)
Round 26
24 sc
Round 27
5 sc, attach arm with 4 sc, 9 sc, attach the second arm with 4 sc, 2 sc (24)
Round 28
24 sc
Add stuffing material. Fasten off and leave a long tail for sewing
TAIL
Insert the hook on the back of the body between R 14 and R 15, make 6 ch. Make a yarn tassel on the end of the tail
SEW THE EARS ON THE HEAD
SEW THE HEAD TO THE BODY
Tips for Success
- Use a Stitch Marker: When working in continuous rounds, always place a stitch marker in the first stitch of each round so you never lose track of your spot.
- Stuff the Muzzle Firmly: Fill the snout and head sections evenly with fiberfill before closing Round 26 to help maintain that adorable rounded hippo shape.
- Align the Safety Eyes Carefully: Double check that your safety eyes are centered on the head between Rounds 10 and 11, spacing them exactly 4 stitches apart before securing the backings.
- Check Arm Placement: When working Round 27 of the body, make sure the arms align evenly with the sides of the legs so your plushie looks symmetrical.
- Keep Leg Chains Tight: When joining the two legs together with 3 chain stitches, keep your tension snug to avoid creating large gaps near the bottom of the body.
- Leave Long Sewing Tails: Always leave a generous yarn tail when fastening off pieces so you have plenty of yarn to sew the ears and head securely.
Frequently Asked Questions
What type of yarn works best for this hippo pattern?
You can use plush velvet or chenille yarn for a soft, squishy finish, but regular worsted weight acrylic or cotton yarn also works wonderfully.
How do I join the legs together for the body?
After finishing the second leg, do not cut your yarn. Make 3 chain stitches, then single crochet directly into the first leg to connect them and continue working in rounds.
Should I stuff the arms completely?
It is best to stuff the arms only halfway. Leaving the top portion unstuffed allows the arms to lay flat against the sides of the body when attached.
How do I attach the tail?
Simply insert your crochet hook between Rounds 14 and 15 on the back of the body, join your yarn, chain 6, and attach a tiny tassel of yarn at the tip.
Can I embroider the eyes instead of using safety eyes?
Yes, if you are making this project for a baby or young child, embroidering sleep eyes or small knots with black embroidery thread is a safe and sweet alternative.
Conclusion
I hope you enjoy creating your very own plush hippo as much as I did. Projects like this are so rewarding because they come together quickly and make such heartwarming keepsakes. Be sure to save this Free Amigurumi Pattern Plush Hippo Mondy Doll to your favorite crochet board so you can easily find it whenever you want to work on a sweet plushie. Grab your crochet hook, choose your favorite yarn shade, and enjoy every single stitch!


Leave a Comment