

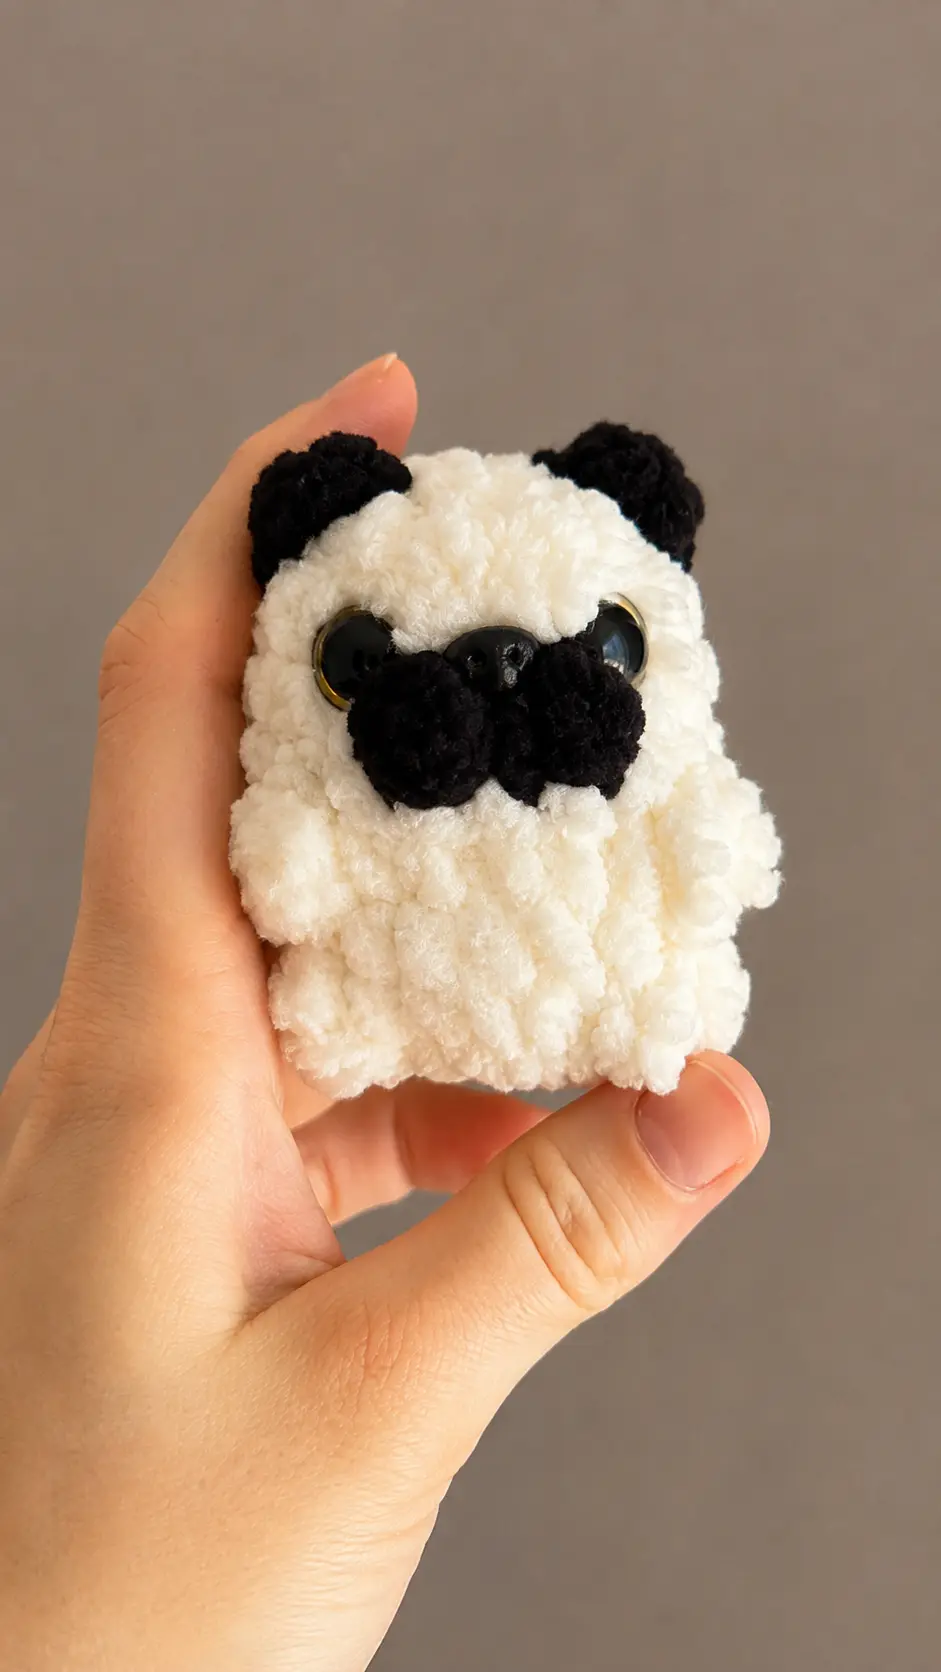
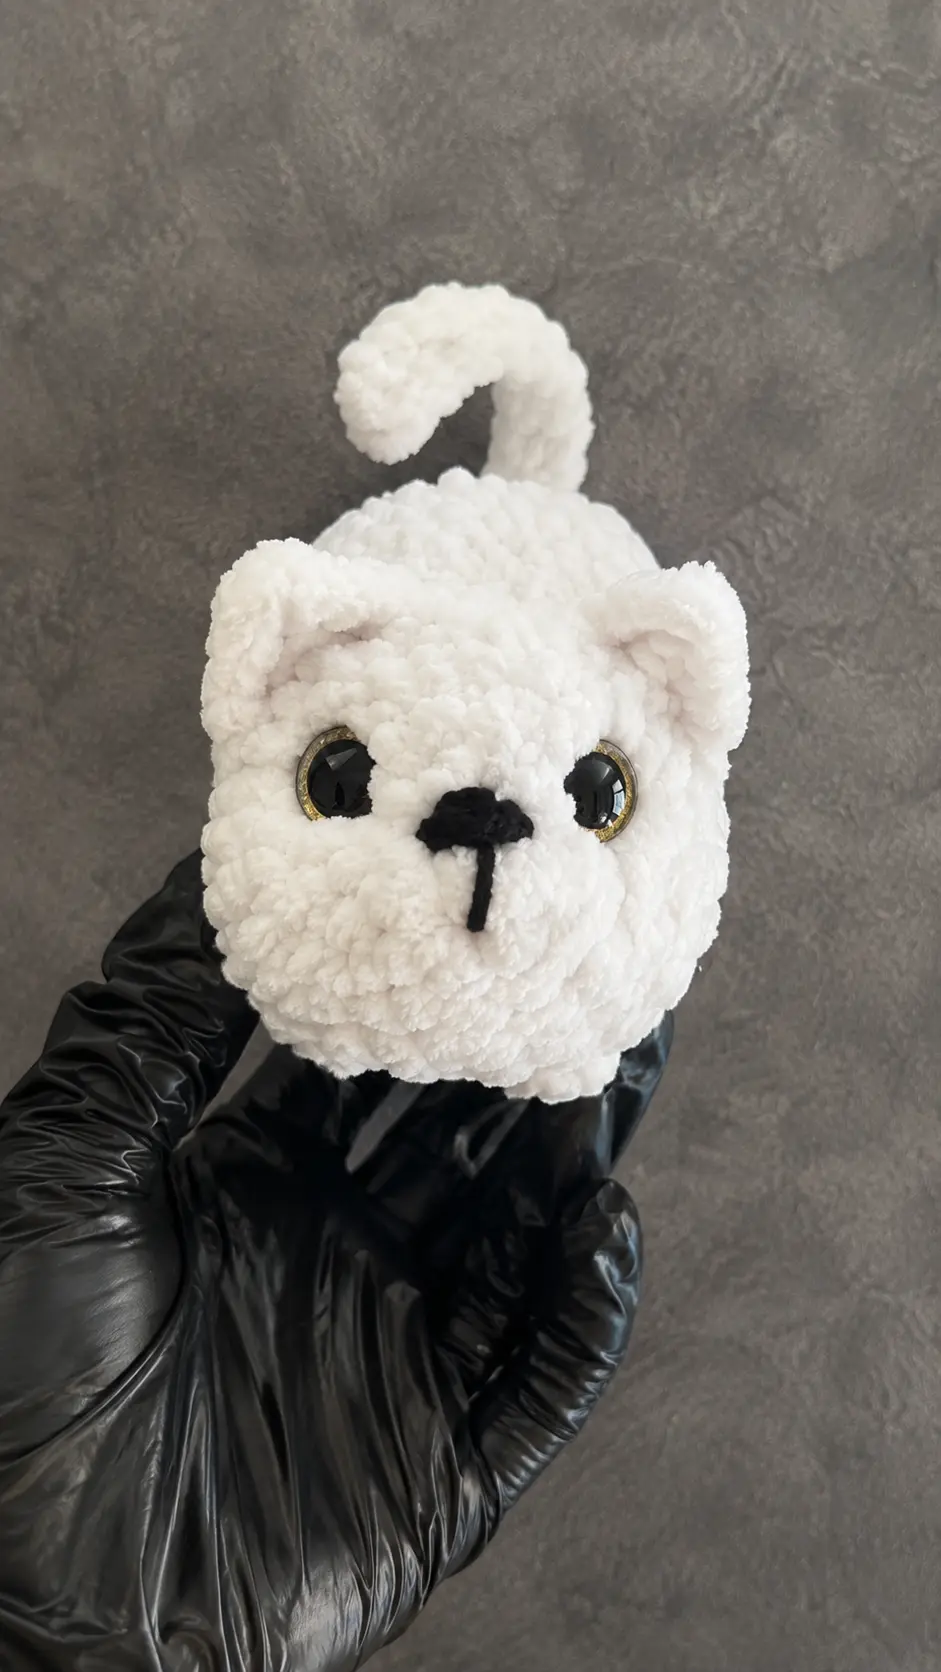
It was a chilly, quiet afternoon earlier today, and after finishing up my household chores, I decided to sit down near the living room window with a warm mug of tea. The cool sky outside made me want to reach for a soft, plush skein of yarn sitting in my stash. While looking through my craft basket, I felt inspired to create a classic, charming little animal that brings back cozy nostalgic memories. This Free Amigurumi Pattern Mini Pug Plush came together so nicely, row by row, and it makes such a sweet addition to any handmade toy collection or home display.
Materials Needed
- Alize Velluto yarn #60 (milk/cream) and #62 (black) (from this yarn the pug turns out to be about 9-10 cm) PDF
- Hook No. 4 PDF
- 12 mm eyes with sparkle and 12×9 mm nose PDF
- Stuffing PDF
- Needle for sewing parts and thread for sculpting PDF
- Scissors PDF
Finished Size
- Approximately 9-10 cm PDF
Abbreviations
- MR = magic ring PDF
- ch = chain PDF
- sc = single crochet PDF
- dc = double crochet PDF
- hdc = half double crochet PDF
- inc = increase PDF
- dec = decrease PDF
- sl st = slip stitch PDF
Pattern Notes
- THE PUG IS CROCHETED IN ONE SINGLE PIECE, EARS ARE CROCHETED IN THE PROCESS PDF
Pattern Instructions
Pug:
- Step. We start crocheting in milk color PDF
- Round 1. 9 sc in MR PDF
- Round 2. 9 inc (18) PDF
- Round 3. 18 sc (18) PDF
- Round 4. 11 sc, change thread to black, 2 dc cluster (2 dc with common top), sc, 2 dc cluster (2 dc with common top), change thread, 4 sc (18) PDF
- Step. We leave the body, crochet the ears. PDF
- Step. Insert the black thread from above between Round 1 and 2. PDF
- Step. 2 ch, hdc into the same stitch, sl st one row below. PDF
- Step. Pull the threads immediately to the wrong side, tie them together and cut. PDF
- Step. Crochet the same ear on the opposite side. PDF
- Step. Insert the nose into the sc between the bobbles/clusters. PDF
- Step. And insert the eyes on both sides of the bobbles/clusters in the same row as the nose. PDF
- Step. And continue crocheting the body. PDF
- Round 5. 18 sc (18) PDF
- Round 6. 9 sc, paw (2 dc cluster), 5 sc, paw, 2 sc (18) PDF
- Round 7. 18 sc (18) PDF
- Round 8. 9 sc, paw, 5 sc, paw, 2 sc (18) PDF
- Round 9. 9 dec (9) PDF
- Step. Stuff. PDF
- Step. Close the hole, hide the thread in the body. PDF
Tips for Success
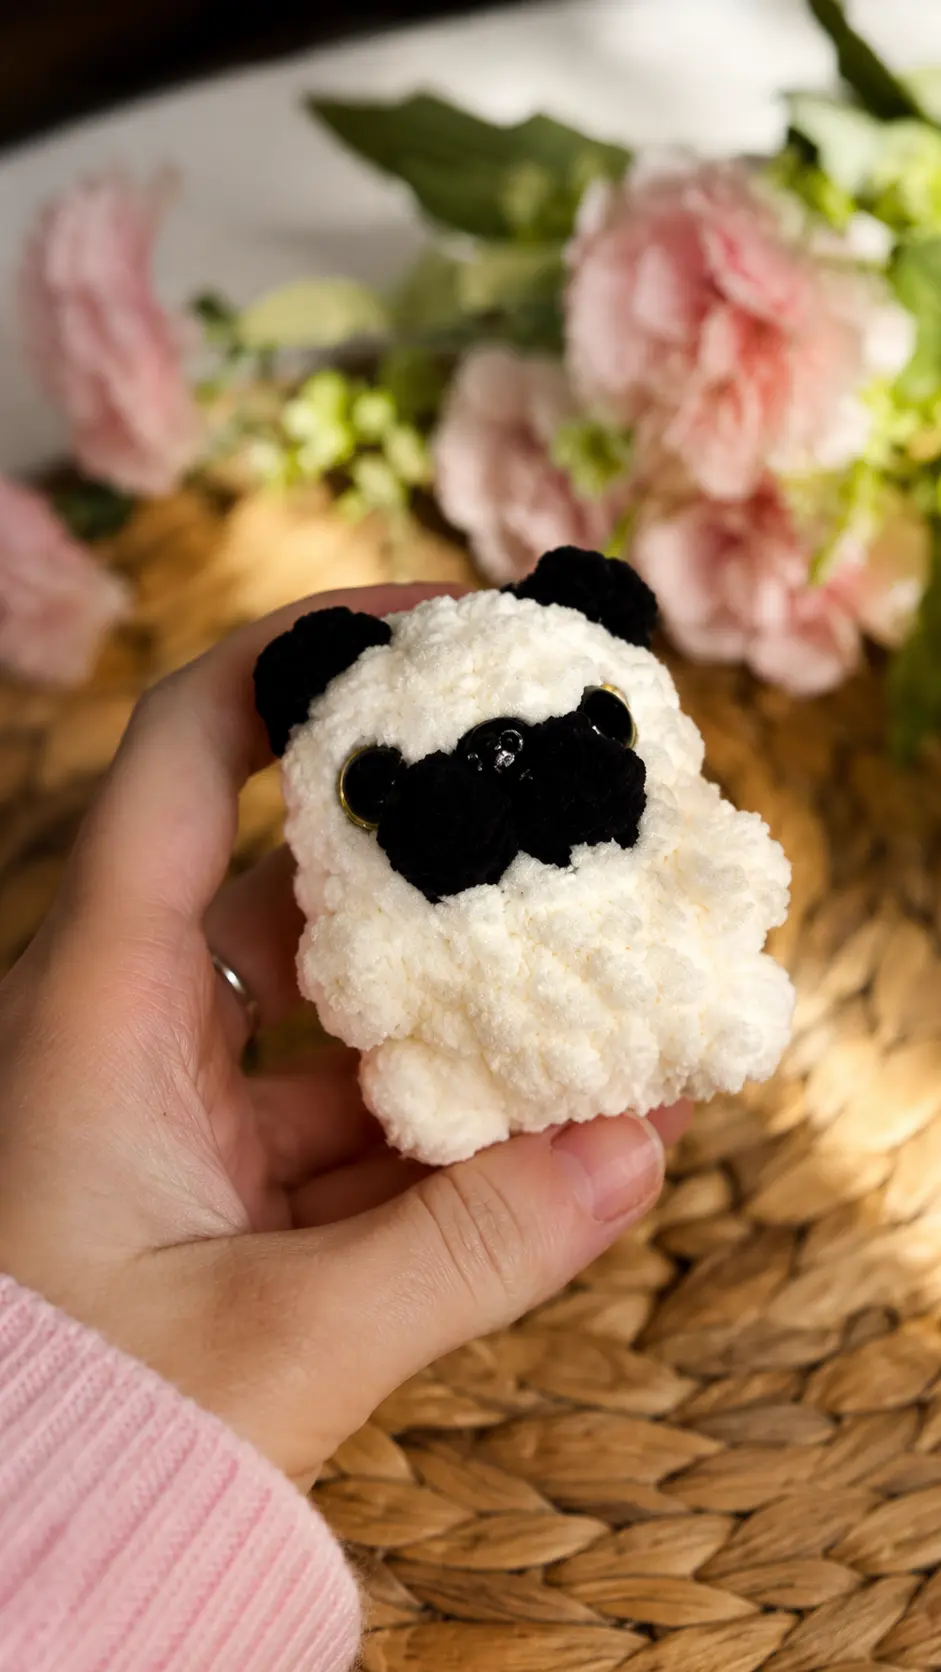
- Choose the right plush yarn: Chunky velvet or plush yarn like Alize Velluto creates that squishy, seamless look while keeping the pug compact and cute.
- Keep tension consistent when making clusters: When stitching the 2 dc clusters for the snout muzzle and paws, pull the loops firmly so the features stand out cleanly against the body.
- Secure safety eyes and nose early: Make sure to snap the washers onto the safety eyes and safety nose securely right after Round 4 before you move on to crocheting the rest of the body.
- Tie off ear threads tightly: Pull the tail ends of the ear yarn through to the inside of the head, knot them tightly together, and leave them safely inside where the stuffing will hide them.
- Stuff firmly for shape: Stuff the body gradually as you finish Round 9 so the pug maintains a plump, rounded form without stretching out the plush stitches.
Frequently Asked Questions
- Can I use standard worsted weight acrylic yarn for this pattern? Yes, you can use regular worsted weight yarn, but keep in mind that your finished pug will turn out significantly smaller than the plush version made with bulky velvet yarn.
- How are the ears attached to the body? The ears are worked directly onto the finished upper head area by surface crocheting between Rounds 1 and 2, which eliminates the need to sew separate ear pieces on later.
- What hook size works best for plush velvet yarn? A size 4.0 mm crochet hook works exceptionally well with plush yarn to maintain tight stitches so the fiberfill stuffing does not show through.
- Are the paws crocheted separately? No, the paws are created right into the body rounds using 2 dc cluster stitches, making the entire body a seamless, single-piece project.
- Is this project suitable for beginners? Yes, this is a very quick and simple project that only requires basic amigurumi skills, color changing, and cluster stitches.
Conclusion
Making small plush friends is such a sweet way to unwind during a peaceful afternoon at home. With no assembly or extra sewing needed, this little dog project comes together in just one sitting and brings a smile to anyone who sees it. I hope you have a wonderful time crafting your own soft pup using this Free Amigurumi Pattern Mini Pug Plush!


Leave a Comment