

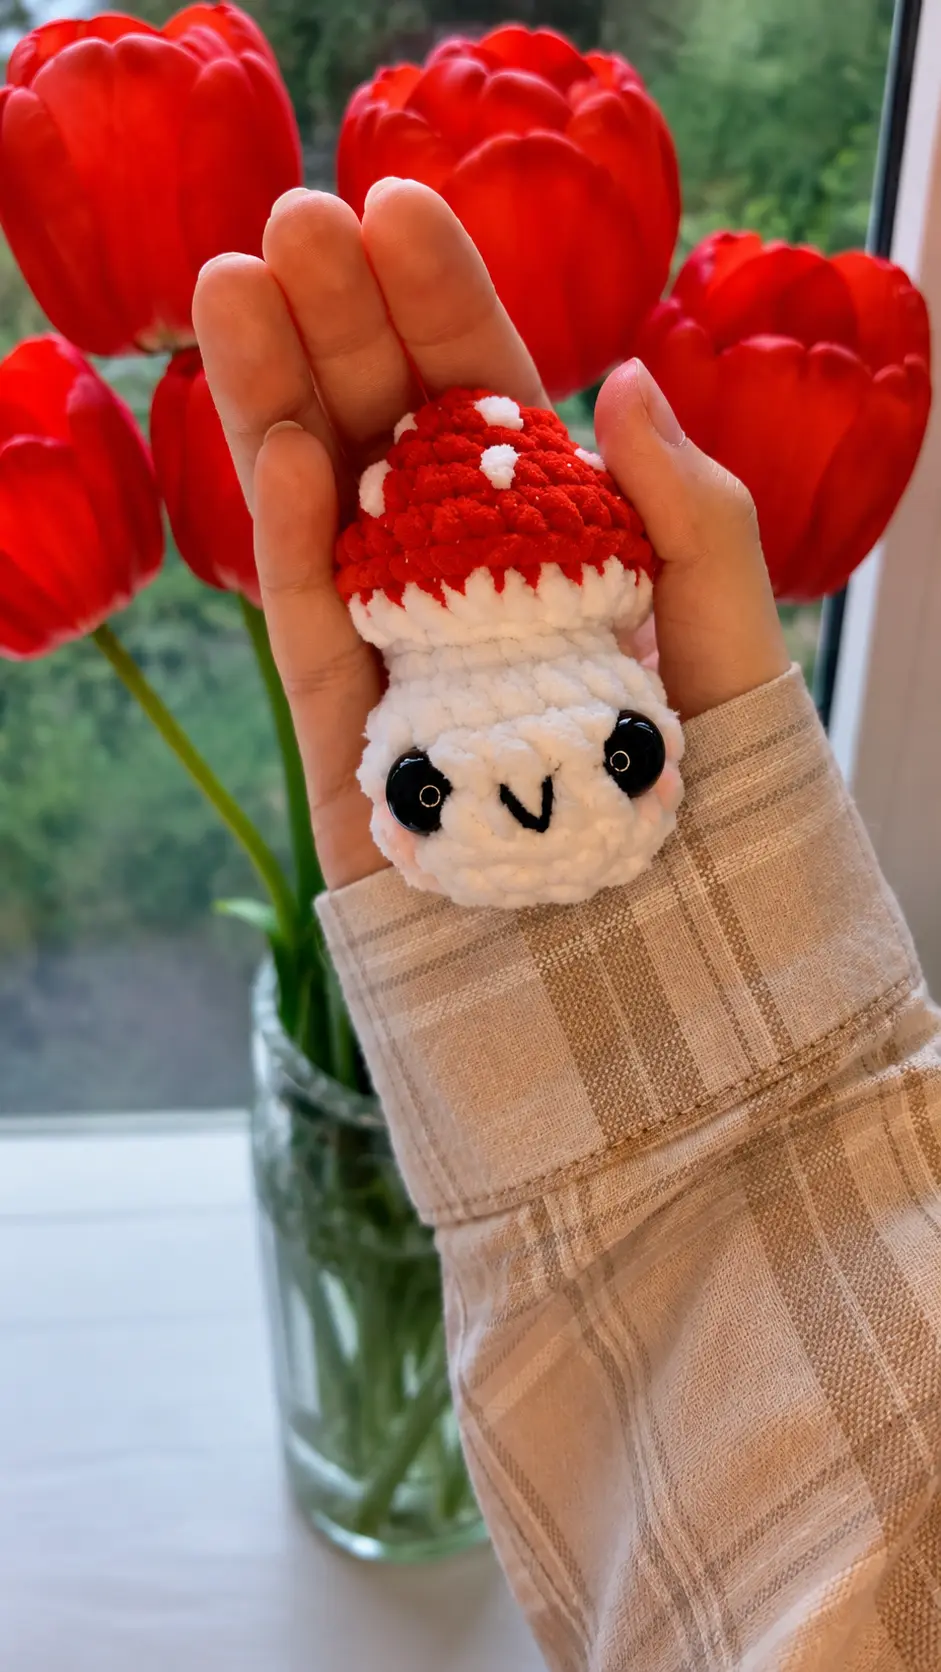
The idea for this little mushroom came from a Saturday morning walk through the park after several days of rain. Everything smelled fresh, the paths were still damp, and tiny mushrooms had popped up beneath the trees overnight. One little red-capped mushroom growing beside an old log caught my attention because it looked almost too perfect to be real. I stopped to take a picture, and my husband laughed when I told him it would probably end up inspiring another crochet project.
He was right. Later that weekend, I decided to make my own soft version with bright red and creamy white plush yarn. I kept the shape simple and worked most of it in one piece, which meant I didn’t have a pile of tiny parts waiting to be sewn together afterward. Once the little spots and final details were added, it had exactly the cheerful woodland look I had pictured during that walk.
This Free Amigurumi Pattern Little Mushroom Plush is especially nice when you’re in the mood to finish something without turning it into an all-day project. Its small size makes it perfect for those bits of plush yarn left from larger makes, and you certainly don’t have to stick with traditional mushroom colors. Try soft pink, warm brown, mustard yellow, or whatever happens to be hiding in your yarn basket. Mine found a home beside a little potted plant on the bookshelf, and somehow that tiny mushroom makes the whole corner feel a bit more cheerful.
Materials Needed
- Plush yarn 120 m in 100 grams (Wolans Bunny Baby) main (white) and any color for the mushroom “cap”
- Crochet hook 3 – 3.5 mm
- Scissors
- Needle with a large eye (optional)
- Black thin yarn for embroidering the smile
- Glue-on eyes or 12 mm safety eyes
- Hollofiber stuffing
- Glue (Moment gel) for gluing eyes
Abbreviations
- puff = 3 dc in one stitch and with one top (unless specified otherwise in the pattern)
- MR = magic ring
- sc = single crochet
- dec = decrease
- inc = increase
- sl st = slip stitch
- ch = chain
- FLO = front loop only
- BLO = back loop only
- dc = double crochet
- hdc = half double crochet
Pattern Instructions
Body
- Step. We start crocheting with the mushroom cap.
- Step. We start with red color!
- Round 1. 6 sc in MR (6)
- Round 2. (1 sc, inc)*3 (9)
- Round 3. (2 sc, inc)*3 (12)
- Round 4. (1 sc, inc)*6 (18)
- Round 5. (2 sc, inc)*6 (24)
- Step. Cut the thread of the additional color.
- Step. Change thread color to white.
- Step. The next round is worked in BLO!
- Round 6. BLO: (2 sc, dec)*6 (18)
- Round 7. 9 dec (9)
- Round 8. 9 inc (18)
- Round 9-11. 18 sc (18) (3 rounds)
- Step. Insert eyes between Round 10-11.
- Step. Stuff the toy.
- Step. The next round, just like Round 6, is worked in BLO.
- Round 12. 9 dec (9)
- Step. Work an additional 3 dec. Stuff a little more as needed.
- Step. Cut the thread and fasten off.
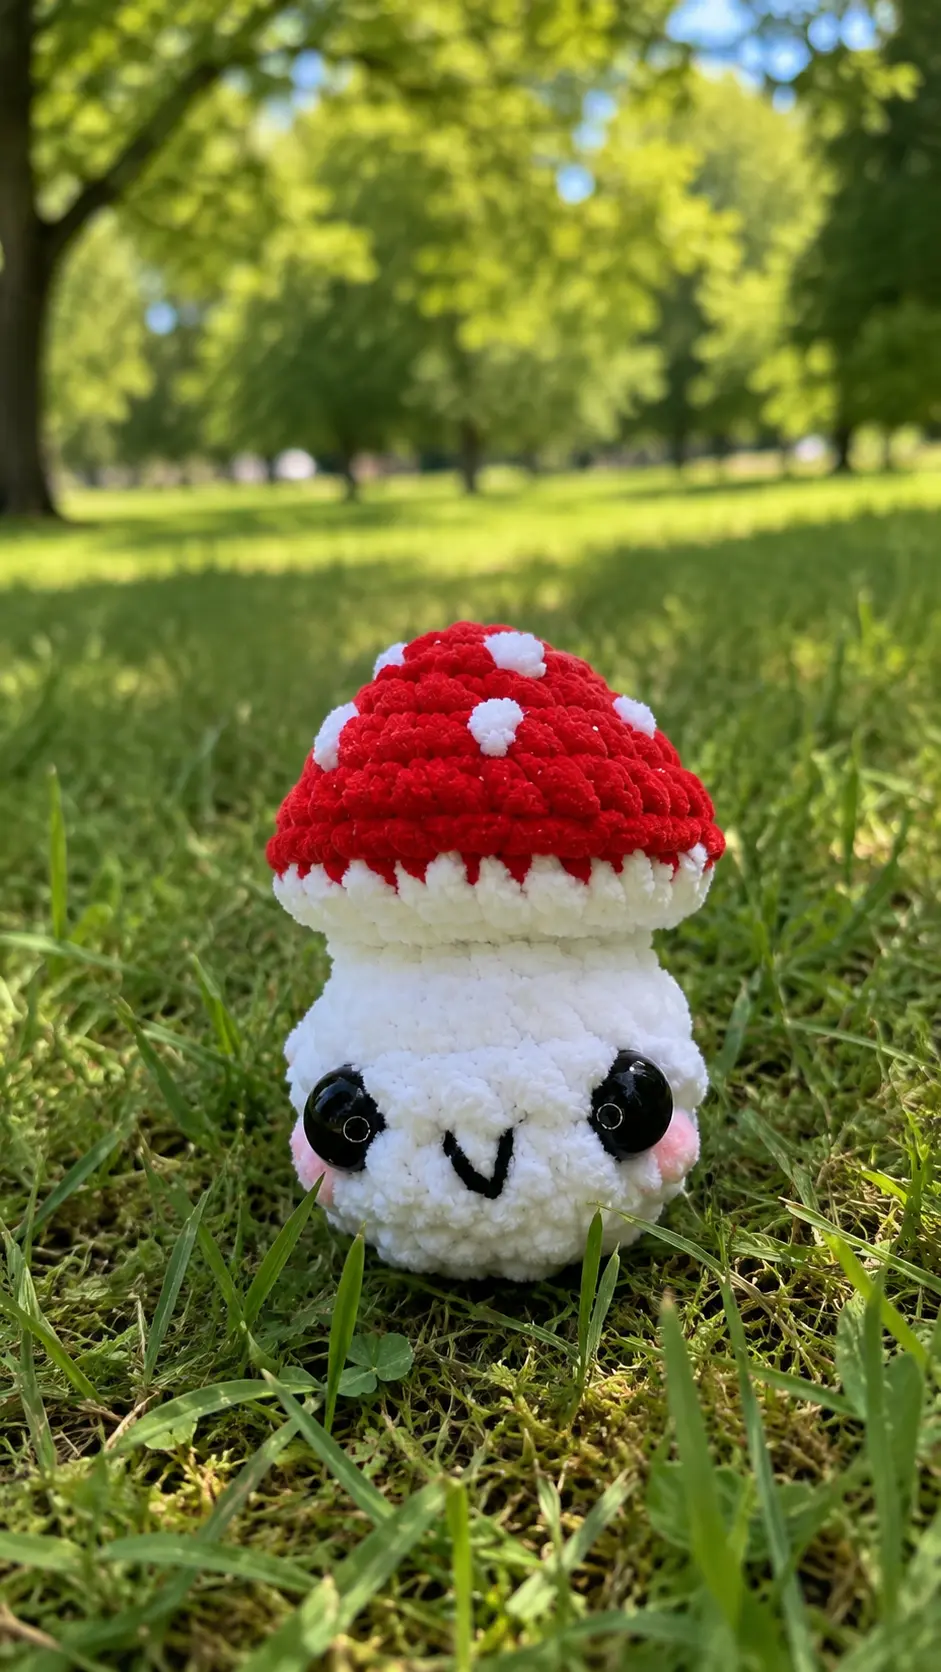
- Step. Embroider the mouth and cheeks on Round 11.
Tips for Success
- Count your stitches carefully on plush yarn: Velvet or plush yarns can hide stitches easily, so using a stitch marker at the beginning of each round ensures you maintain accurate stitch counts.
- Work back loops with intention: Round 6 and Round 12 are worked in the back loops only to help define the mushroom cap shape and the flat bottom base.
- Embroider French knots for spots: Use a bit of extra white plush yarn or standard white yarn to stitch tiny french knots onto the red cap to give it that charming mushroom look.
- Stuff the cap and base smoothly: Pack the fiberfill firmly into the top cap section before decreasing, then add a bit more stuffing to the base right before closing so it stands up nicely.
- Placement of safety eyes: Place your 12 mm safety eyes between Rounds 10 and 11 before closing up the bottom, making sure to align them centrally where you plan to embroider the mouth.
Frequently Asked Questions
- Can I make this project using standard acrylic yarn instead of plush yarn?Yes, you can use regular worsted weight or DK weight yarn with a matching hook, though your finished mushroom will turn out smaller and firmer than the plush version.
- What hook size works best for plush velvet yarn?A 3.0 mm to 3.5 mm crochet hook is ideal because it keeps the stitches snug, preventing any white fiberfill stuffing from showing through the gaps.
- Is the cap made separately and sewn to the base?No, this pattern is worked seamlessly in one piece from the top of the cap all the way down through the base.
- How do I attach glue-on eyes safely?If you choose glue-on eyes instead of safety eyes, wait until the entire body is finished and stuffed, then use a small dot of fabric gel glue to secure them on Round 10 or 11.
- Is this pattern suitable for crochet beginners?Yes, this project is simple, uses basic amigurumi techniques like increases and decreases, and comes together very quickly in one sitting.
Conclusion
Crafting small handmade toys is such a wonderful way to bring a little extra joy into your day and clear out your leftover yarn stash. This tiny project comes together so fast and makes a charming addition to any cozy space. I hope you have a delightful time stitching your own plush friend using this Free Amigurumi Pattern Little Mushroom Plush!


Leave a Comment