

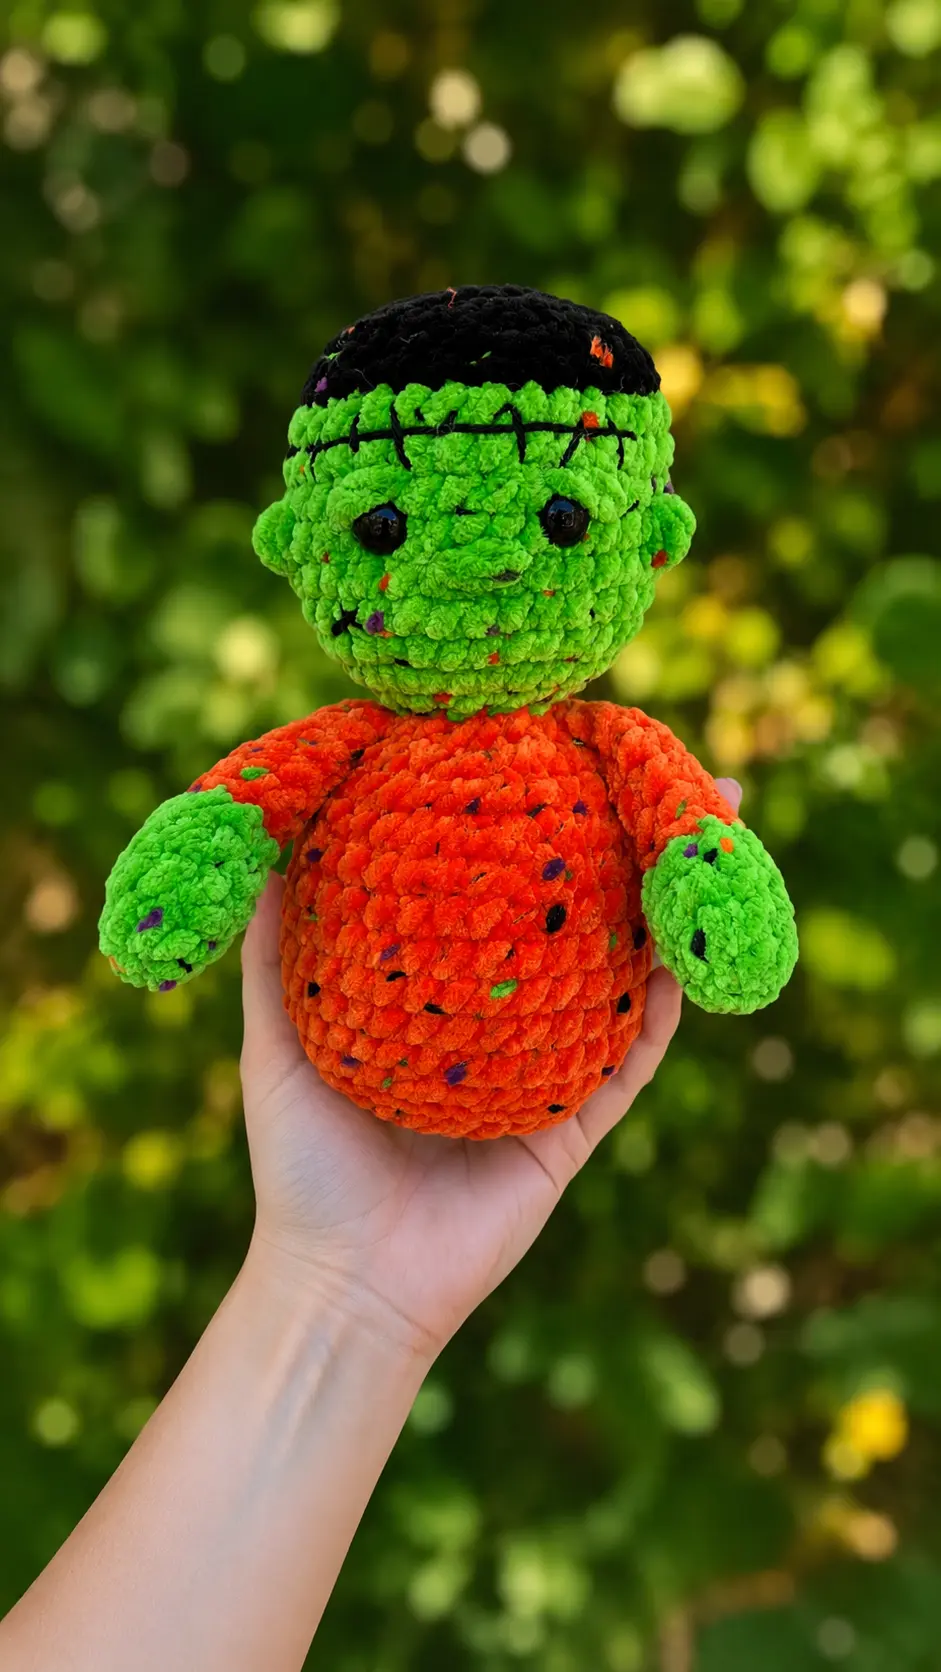
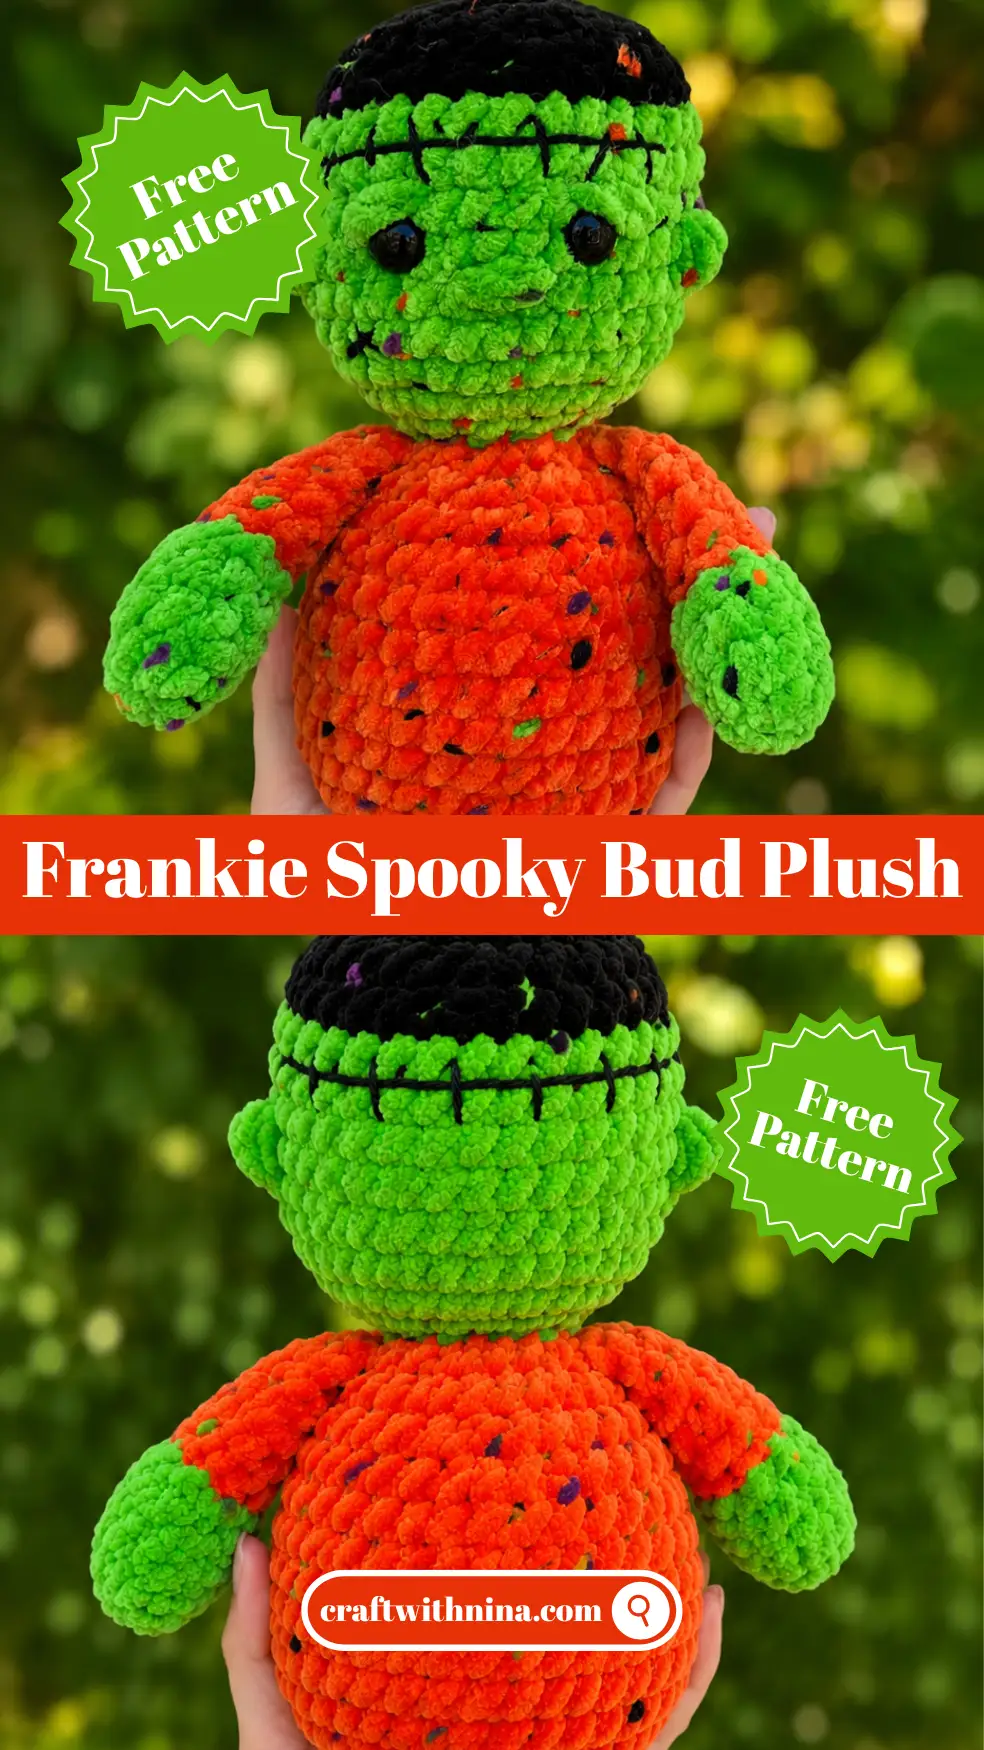
There is nothing quite like a quiet weekend afternoon at home to finally sort through my yarn stash. Yesterday, while tidying up my craft corner and stacking soft skeins, I stumbled across leftover plush yarn from last fall. It immediately put me in the mood to stitch up something festive and fun. I grabbed my hook, sat by the window with a fresh cup of tea, and started working on this adorable spooky project. If you love quick Halloween makes, you are going to adore this Free Amigurumi Pattern Frankie Spooky Bud Plush. It comes together so nicely, and that plush chenille texture makes it extra cozy to hold. It is the perfect little project to bring a smile to your face while keeping your hands busy on a cozy afternoon.
Materials Needed
To make Frankie, you’re going to need chenille or blanket yarn in 3 different colors:
- (C1) Body, (C2) Skin, (C3) Hair
- Black cotton or acrylic yarn for embroidery
- 1 pair of 12 mm safety eyes
- Stuffing, yarn needle, scissors, stitch marker
- Plastic pellets or a piece of cardboard and glue
- Hook size of choice, I recommend 5.5 mm for chenille yarn and 6 mm for blanket yarn
Finished Size
- Frankie measures approximately 18 cm (7 in) with recommended hook size and chenille yarn. Finished size may vary.
Abbreviations
- Rnd: Round
- MR: Magic Ring
- st: Stitch
- FO: Fasten Off
- sc: Single Crochet
- inc: Increase
- dec: Invisible Decrease
- slst: Slip Stitch
- BLO: Back Loops Only
- FLO: Front Loops Only
Pattern Instructions
Arms (x2)
Start with skin color.
Rnd 1) 6 sc in a MR (6)
Rnd 2) (1 inc, 1 sc)x3 (9)
Rnd 3) 9 sc (9)
Rnd 4) 7 sc, 1 dec (8)
Change to body color, FO skin color
Rnd 5) 8 slst (8)
Rnd 6) BLO 8 sc (8)
Stuff the hand only
Rnds 7-9) 8 sc (8) [3 Rnds]
Rnd 10) Flatten the arm and crochet through both sides: 4 sc (4)
FO leaving a tail for sewing.
Body & Head
Start with body color.
Rnd 1) 6 sc in a MR (6)
Rnd 2) 6 inc (12)
Rnd 3) (1 sc, 1 inc) x6 (18)
Rnd 4) (2 sc, 1 inc) x6 (24)
Rnd 5) (2 sc, 1 inc)x8 (32)
Rnd 6) BLO 32 sc (32)
Rnds 7-12) 32 sc (32) [6 Rnds]
If you’re not stuffing the bottom with pellets, cut a round piece of cardboard of approximately the same diameter as the base of the body. Apply glue on one side and place it inside the body.
Rnd 13) (2 sc, 1 dec)x8 (24)
Rnd 14) 24 sc (24)
Rnd 15) (2 sc, 1 dec)x6 (18) Stuff the body
Rnd 16) (1 sc, 1 dec)x6 (12)
Change to skin color, FO body color
Rnd 17) BLO 12 sc (12)
Rnd 18) FLO 12 inc (24)
Rnd 19) (2 sc, 1 inc)x6 (30)
Rnds 20-26) 30 sc (30) [7 Rnds]
Insert safety eyes between Rnds 23-24, leave 4 free st spaces in the middle. Insert plastic pellets at the bottom.
Change to hair color, FO skin color
Rnd 27) 30 slst (30)
Rnd 28) BLO 30 sc (30)
Rnd 29) (3 sc, 1 dec) x6 (24) Stuff the head
Rnd 30) (2 sc, 1 dec)x6 (18)
Rnd 31) (1 sc, 1 dec) x6 (12)
Rnd 32) 6 dec (6)
FO leaving a tail. Using your yarn needle, go thorugh the FL of the last 6 sts and pull yarn to close the last Rnd.
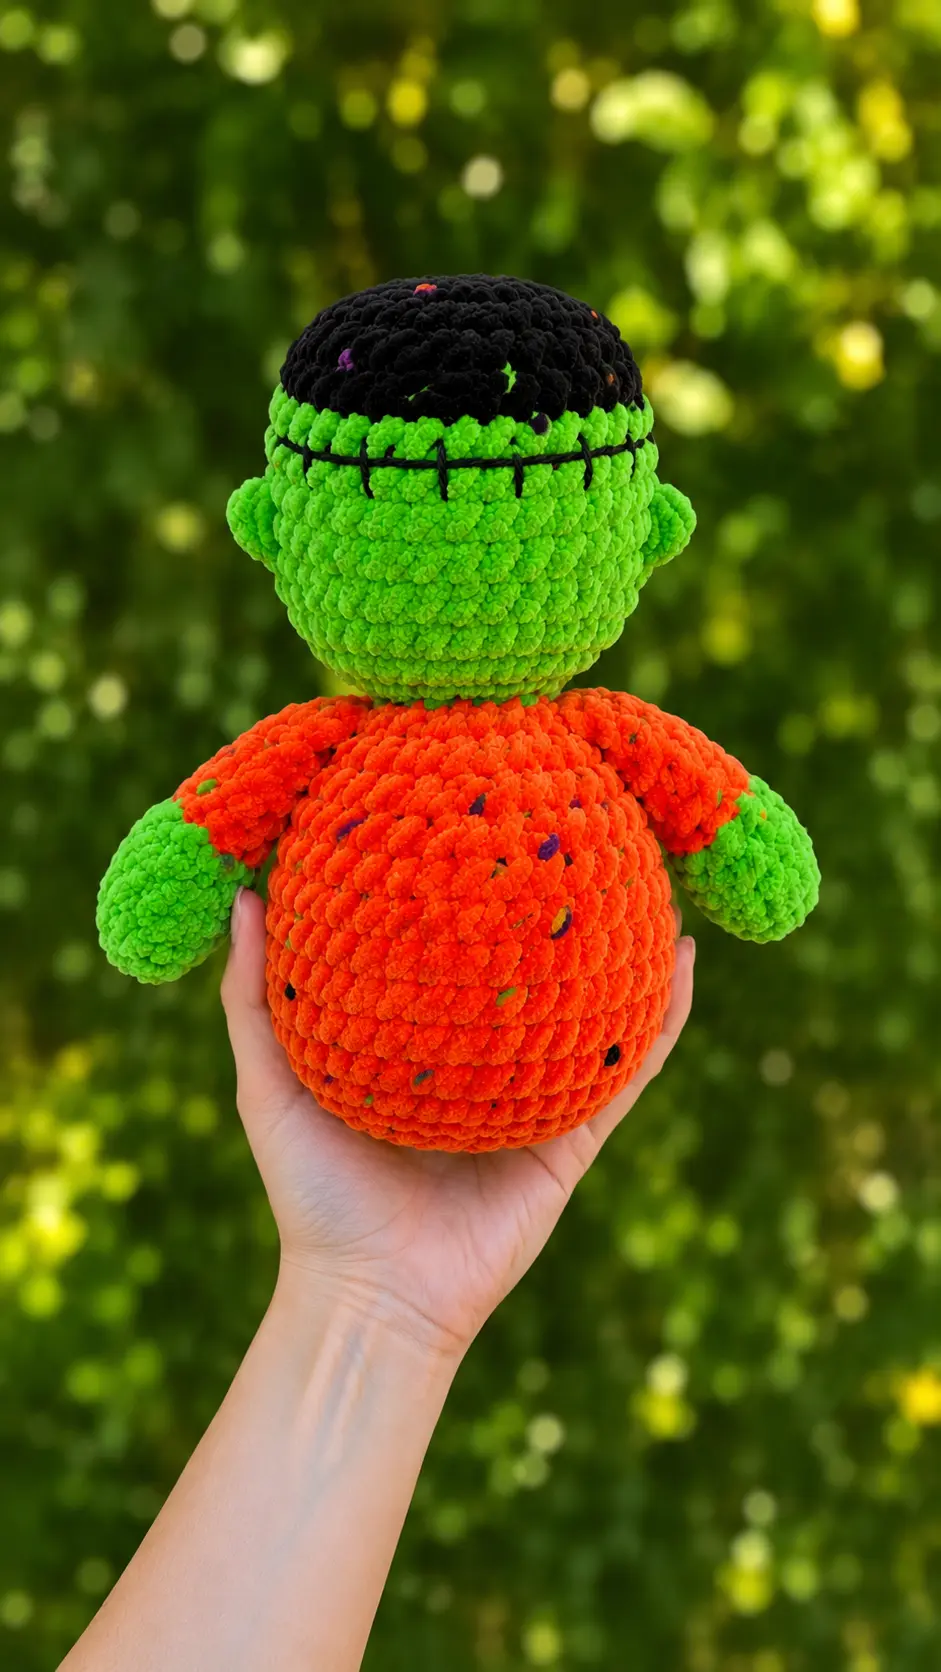
Ears
Insert hook vertically between Rnds 22-23 and 23-24, about 3 sts farther from the eye.
Pull up a loop and work all the following sts in the same st of the head: 1 slst, 2 sc, 1 slst
FO and tie a knot with beginning and end tails. Hide tails inside the head. Repeat on the other side.
Assembly
Sew the arms diagonally on the sides of the body between Rnds 14-16.
Embroidery
Embroider a nose horizontally 1 Rnd below the eyes in the space of 2 sts. Go over the sts 3-4 times.
Embroider sts on the forehead with cotton yarn: make one large line between Rnds 25-26, from ear to ear. Embroider little diagonal lines along the thread.
You can also add smaller scars on the face.
Tips for Success
- Use a stitch marker: When working in continuous rounds, it is easy to lose track of your starting point. Place a stitch marker in the first stitch of every round.
- Keep your tension firm: Plush and chenille yarns can be stretchy. Keep your stitches snug to ensure the fiberfill stuffing does not show through the stitches.
- Flatten the base: Using plastic pellets or a cardboard disc inside the bottom makes a huge difference in helping your finished plush sit flat on display shelves.
- Opt for cotton embroidery thread: Using thin cotton yarn or embroidery floss for the scar details gives a sharp, clean contrast against the thick plush yarn.
- Secure your safety eyes carefully: Make sure your safety eye backings are firmly snapped into place before stuffing the head completely.
Frequently Asked Questions
Can I use regular acrylic yarn instead of chenille yarn?
Yes, you can use worsted weight acrylic yarn. Keep in mind that your finished project will turn out smaller, so you will need to downsize your hook to about a 3.5 mm or 4.0 mm.
How do I stop plush yarn from shedding while crocheting?
Try working with a relaxed hand and avoid pulling too tight when working your magic ring. Burning the end of the chenille yarn lightly with a lighter can also seal the fibers.
Is this pattern suitable for complete beginners?
This project is great for confident beginners. It uses basic stitches like single crochet, increases, and decreases, though working with plush yarn can take a bit of practice.
How can I make sure the head stays upright?
Stuff the neck area firmly. Ensuring the cardboard insert or plastic pellets are settled evenly at the bottom also provides a stable base for the head.
Can I make this as a toy for small children?
The pattern is intended for decorative purposes. If making it for young children, embroider the eyes instead of using plastic safety eyes to avoid choking hazards.
Conclusion
I hope you have as much fun making this little guy as I did. Projects like this are such a wonderful way to use up extra yarn in your craft room and add a personal, handmade touch to your seasonal decor. If you enjoyed this Free Amigurumi Pattern Frankie Spooky Bud Plush, be sure to share your finished creation with fellow crafters. Happy crocheting, and enjoy every stitch!


Leave a Comment