

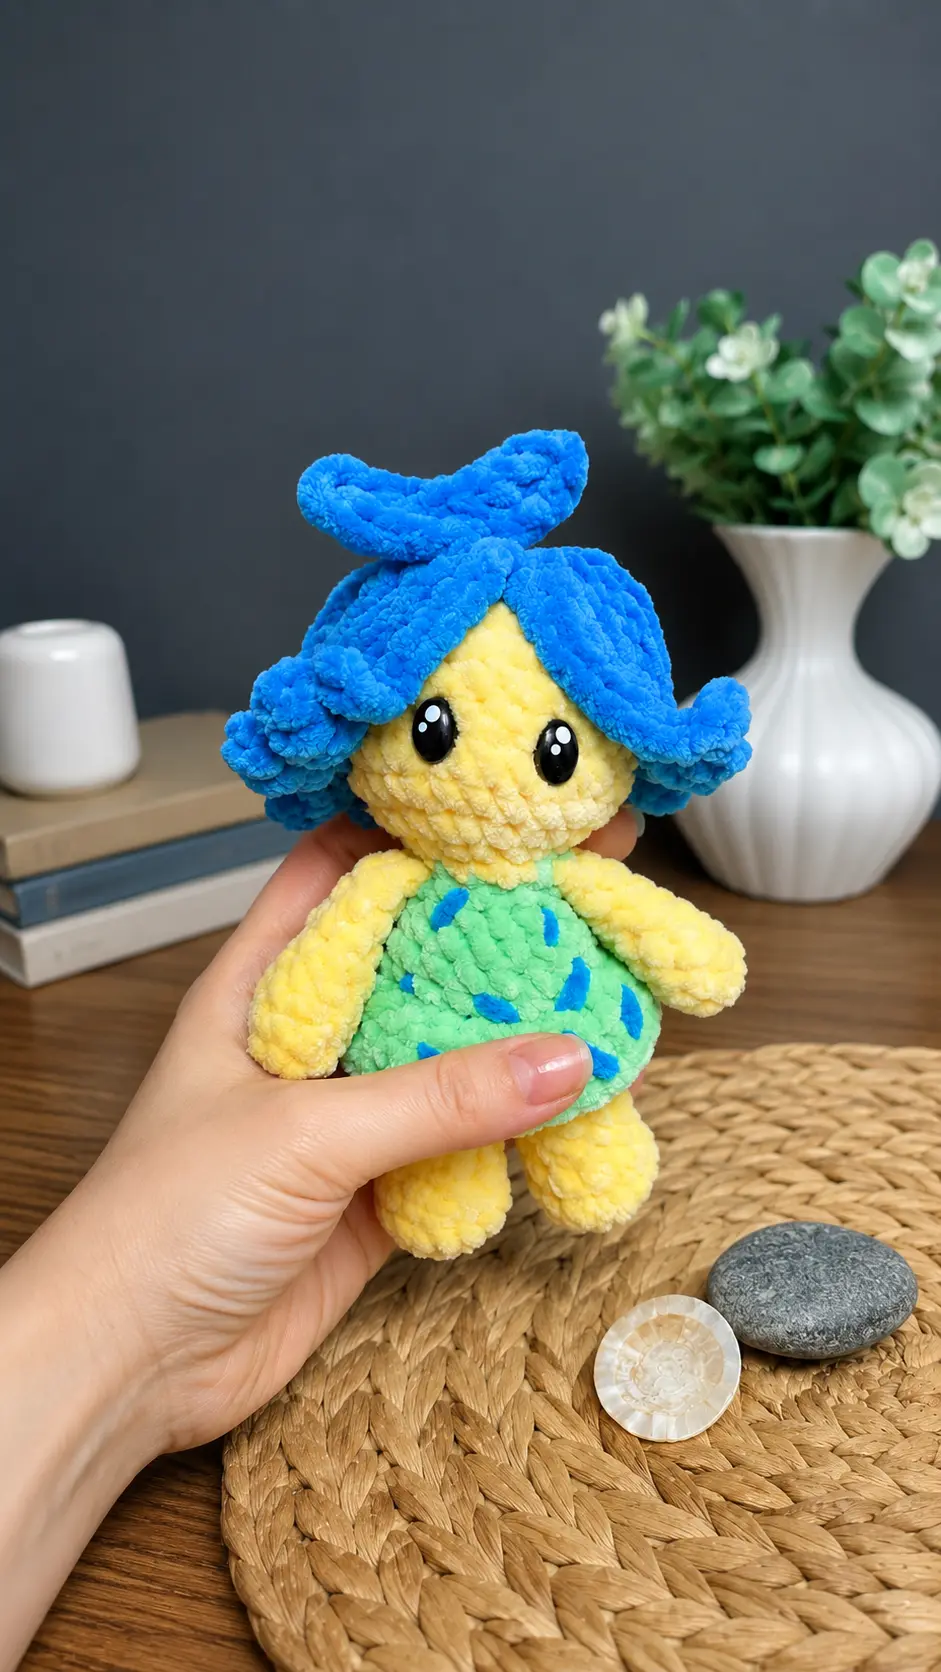
A few days ago, I stopped by my local craft store because I only needed one skein of white yarn. You know how that goes—I walked in for one thing and ended up wandering through every aisle. The shelf full of plush chenille yarn caught my eye, especially the bright yellow, green, and blue colors. I couldn’t resist picking up a few skeins, even though I didn’t have a project in mind yet.
When I got home, I spread the yarn out on my kitchen table while I finished my coffee. The colors were so cheerful that I started playing around with a few ideas, and before long, a cute little doll began to take shape. By the end of the afternoon, I was smiling at the sweetest plush sitting beside my crochet basket.
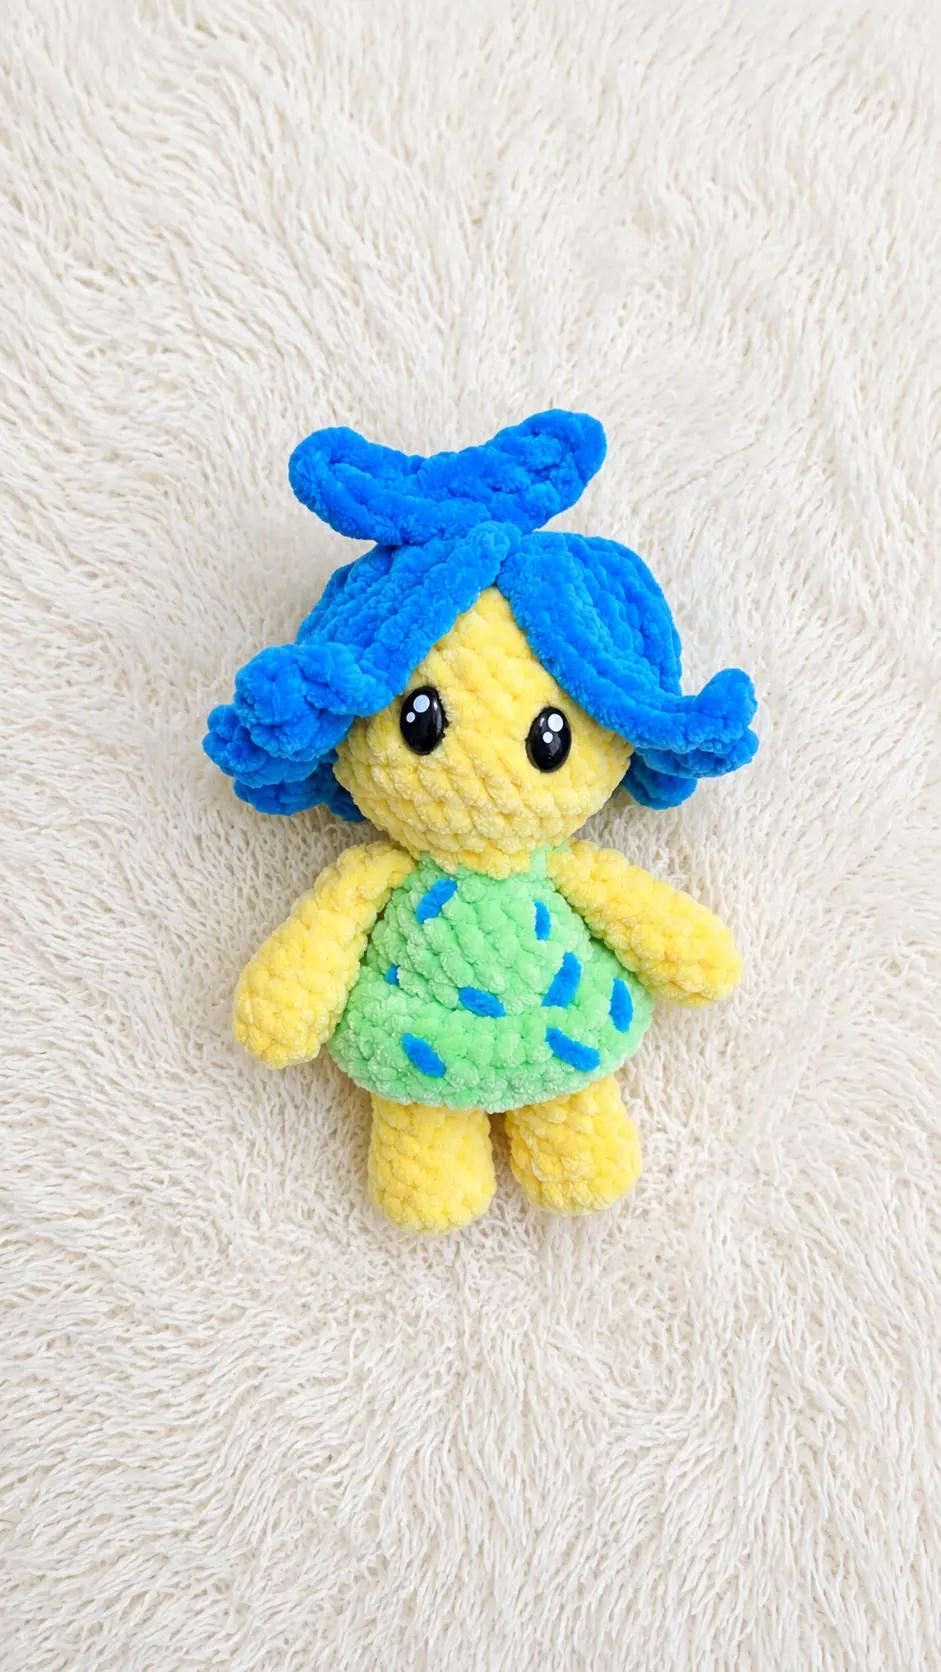
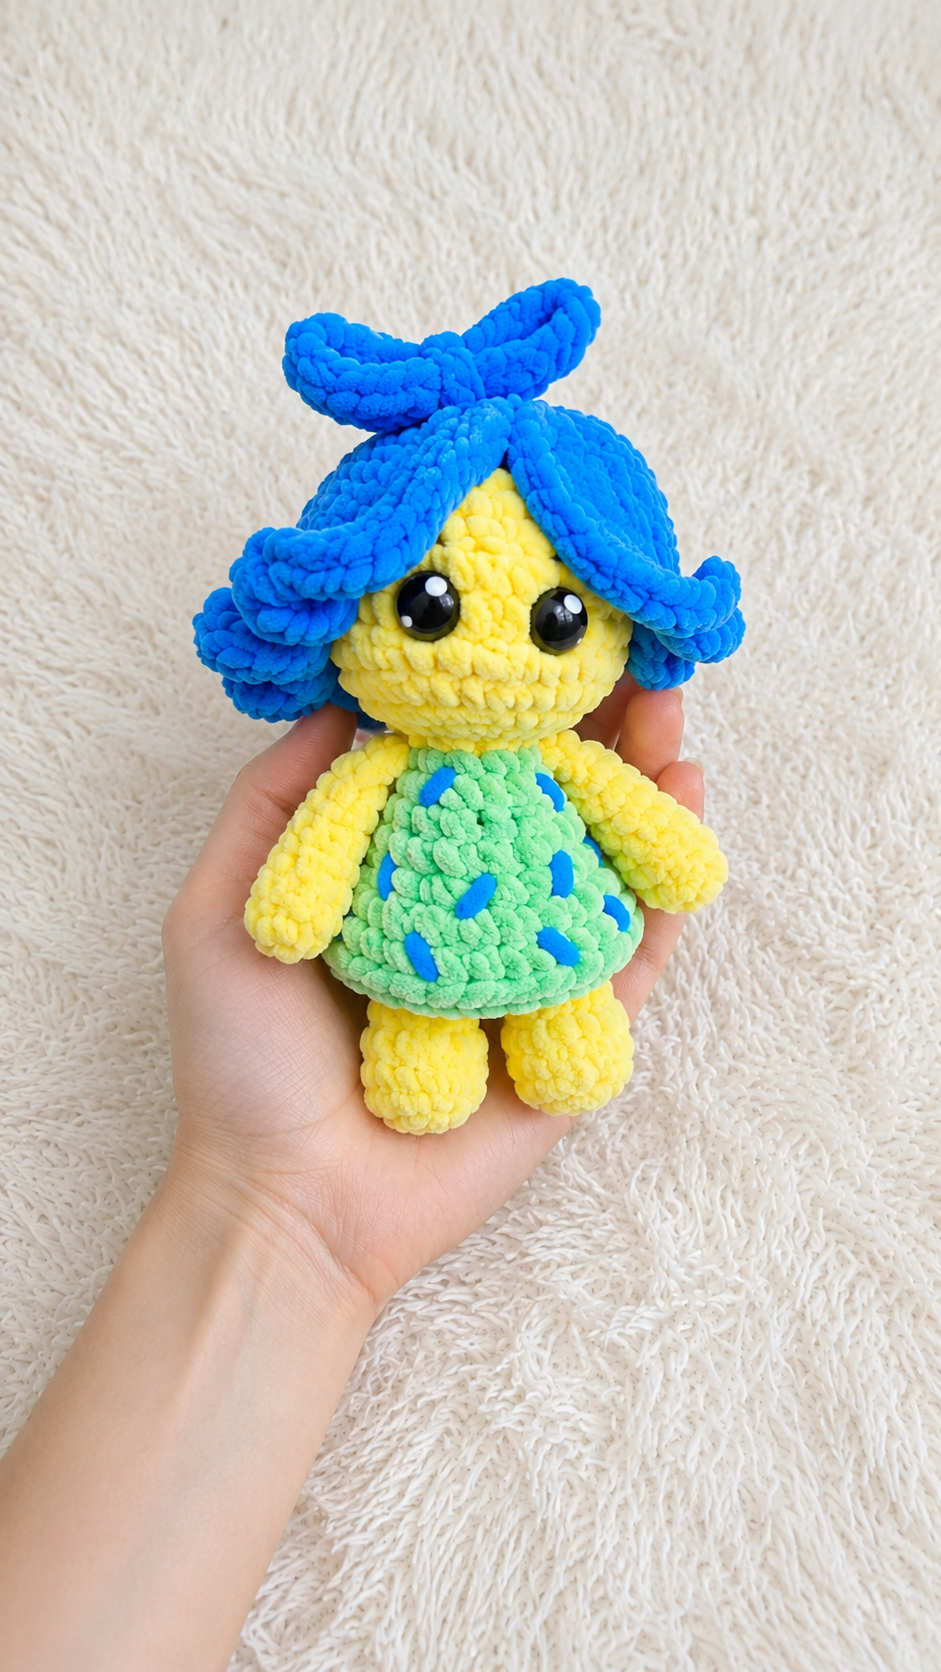
This Free Amigurumi Pattern Cute Ms Glee Doll is the result of that unexpected trip to the craft store. It is a soft, adorable, low-sew project that works up quickly with chunky chenille yarn. Whether you are making it for a child, a friend, or simply because you enjoy collecting cute handmade dolls, this pattern is a fun and relaxing one to crochet. Grab your favorite hook, get comfortable, and let’s make this charming little plush together.
Materials Needed
- Yarn (I used a 4.5mm crochet hook w/ Premier Parfait Chunky yarn in key lime, sunshine, & blue.)
- Crochet Hook
- Polyfil
- Stitch Marker
- Scissors
- Darning Needle
- Safety Eyes
Introduction to the Pattern
This FREE pattern is Low-Sew and all limbs will be crocheted into the round as indicated in the pattern. The Hair cap will be what you need to sew onto the plush.
Thank You!
Abbreviations
- BIO: Back Loop Only
- MR: Magic Ring
- SC: Single Crochet
- CH: Chain
- SI St.: Slip Stitch
- FLO: Front Loop Only
- INC: Increase
- DEC: Decrease
- R: Round
- F/O: Fasten Off
- HDC: Half-Double Crochet
- HDC INC: Half-Double Crochet Increase
Pattern Instructions
Arms (Make 2):
In Main Body Color (Yellow)
R1.) 6SC in MR (6)
Stuff arms up to R6.
R2.) (2SC, INC)x2 (8)
R3-4.) SC Around (8) [2 Total]
R5.) (2SC, DEC)x2 (6)
R6.) SC Around (6)
R7.) DEC, 4SC (5)
R8.) SC Around (5)
Fold in half & SC 2 across
SI St. & F/O.
Cut & leave a short tail
Legs (Make 2):
In Main Body Color (Yellow)
R1.) 8SC in MR (8)
R2.) (3SC, INC)x2 (10)
R3.) HDC INCx4, 6SC (14)
R4.) DECx4, 6SC (10)
Stuff Legs as you go.
R5.) (3SC, DEC)x2 (8)
R6-8.) SC Around (8) [3 Total]
SI St. & F/O for the first leg. Leave a short tail.
DO NOT cut yarn on 2nd leg, instead continue to R9!
R9.) 7SC, leave 1SC unworked
Body:
You will now join both legs.
Stuff body as you go.
R10.) CH 1 (this will now be the start of the new R), Attach 1st leg with a SC, complete 7SC more around leg 1 (8 total), SC into the CH, 8SC in 2nd leg (17)
R11.) (INC in CH, 8SC)x2 (20)
R12.) SC around (20)
CC to DRESS color (Green)
R13.) 6SC, DEC, 8SC, DEC, 2SC (18)
R14.) BLO: 6SC, DEC, 7SC, DEC, SC (16)
R15.) SC Around (16)
R16.) (6SC, DEC)x2 (14)
R17.) (5SC, DEC)x2 (12)
R18.) SC, DEC, 2SC, (2SC / ARM), DEC, SC, (2SC / ARM) (10)
Body Cont.:
Stuff body as you go.
CC to Body Color
R19.) BLO: SC Around (10)
R20.) (INC)x10 (20)
R21.) (3SC, INC)x5 (25)
R22.) (INC, 4SC)x5 (30)
R23.) SC Around (30)
Place Eyes between R23-24, aprox 3 st. apart.
R24.) (3SC, DEC)x6 (24)
R25.) SC Around (24)
R26.) (6SC, DEC)x3 (21)
R27.) (3SC, DEC)x4, SC (17)
R28.) (SC, DEC)x5, 2SC (12)
R29.) (DEC)x6 (6)
SI St. F/O & Weave in ends.
Adding the Skirt:
Be sure to turn your body upside down, I started in the back…
Use FLO of R13, SI St. & CH 1
- (HDC INC, HDC)x9 (27)
- HDC Around (27)
- SI St. Around (27)
SI St. & F/O weave in ends
Don’t forget to embroider little blue fireworks on Ms. Glee’s dress!
Hair Cap:
R1.) 8SC in MR (8)
R2.) (INC)x8 (16)
R3.) (SC & CH9, SC8 down CH spaces, SC back into the original St.)x16
SI St. F/O & leave a long tail to sew onto the head
Disclaimer: I only sewed the top of the hair cap to Ms. Glee, I used gorilla glue to attach each individual hair strand.
Hair Tuft:
CH3
Ch 5, Along the CH, 4SC
CH3, Along the CH 2SC
Sl St. back into original CH.
Sl St. F/O
Attach between R2-3, closer to the left side & weave in ends.
You’re All Done!
Tips for Success
- Master the low sew attachment: Pay close attention during Round 18 of the body instructions. This is where you will crochet the arms directly onto the doll torso to minimize sewing later.
- Keep your stitches tight: When using soft, chunky chenille style yarn, working with a slightly smaller hook helps prevent the white polyfil stuffing from showing through your stitches.
- Weave in color changes securely: Since this pattern switches between a yellow body and a green dress, carry your yarn neatly on the inside and tie secure knots before clipping your ends.
- Felt or fabric glue alternative: If you prefer not to sew down all sixteen hair strands from the hair cap, use a dab of clear fabric glue or flexible craft glue to hold each strand flat against the head.
- Embroider before stuffing tightly: Adding the little blue firework details on the green dress is much easier to do right after completing the dress rows, or before the upper body becomes completely packed with stuffing.
Frequently Asked Questions
What does the “2SC / ARM” instruction mean in Round 18?
This means you will hold the flattened top edge of the arm piece together with the next stitches of the body, crocheting through both the arm layers and the body layer simultaneously for 2 single crochets to attach it securely without sewing.
Can I use plastic safety eyes if this doll is for a toddler?
While safety eyes are standard for amigurumi items, they can still become a choking hazard for babies or very young children. For children under three, it is always safest to embroider the eyes using black yarn or embroidery floss.
Why do I need to flip the body upside down to add the skirt?
Flipping the doll upside down allows your half double crochet stitches to face outward correctly. Working into the leftover front loops of Round 13 ensures the skirt flares naturally away from the main legs and hips.
How do I make the hair strands curl less?
The hair strands are made by chaining and working single crochets back down the chain. If they curl up too tightly, you can gently press them flat with your fingers while applying a tiny bit of glue to secure them down to the head.
What is the purpose of working in the Back Loops Only (BLO)?
Working in the back loops leaves the front loops unworked and exposed. In Round 14, this leaves an exterior ridge on the body, which gives you the perfect row of front loops to attach the skirt later on.
Conclusion
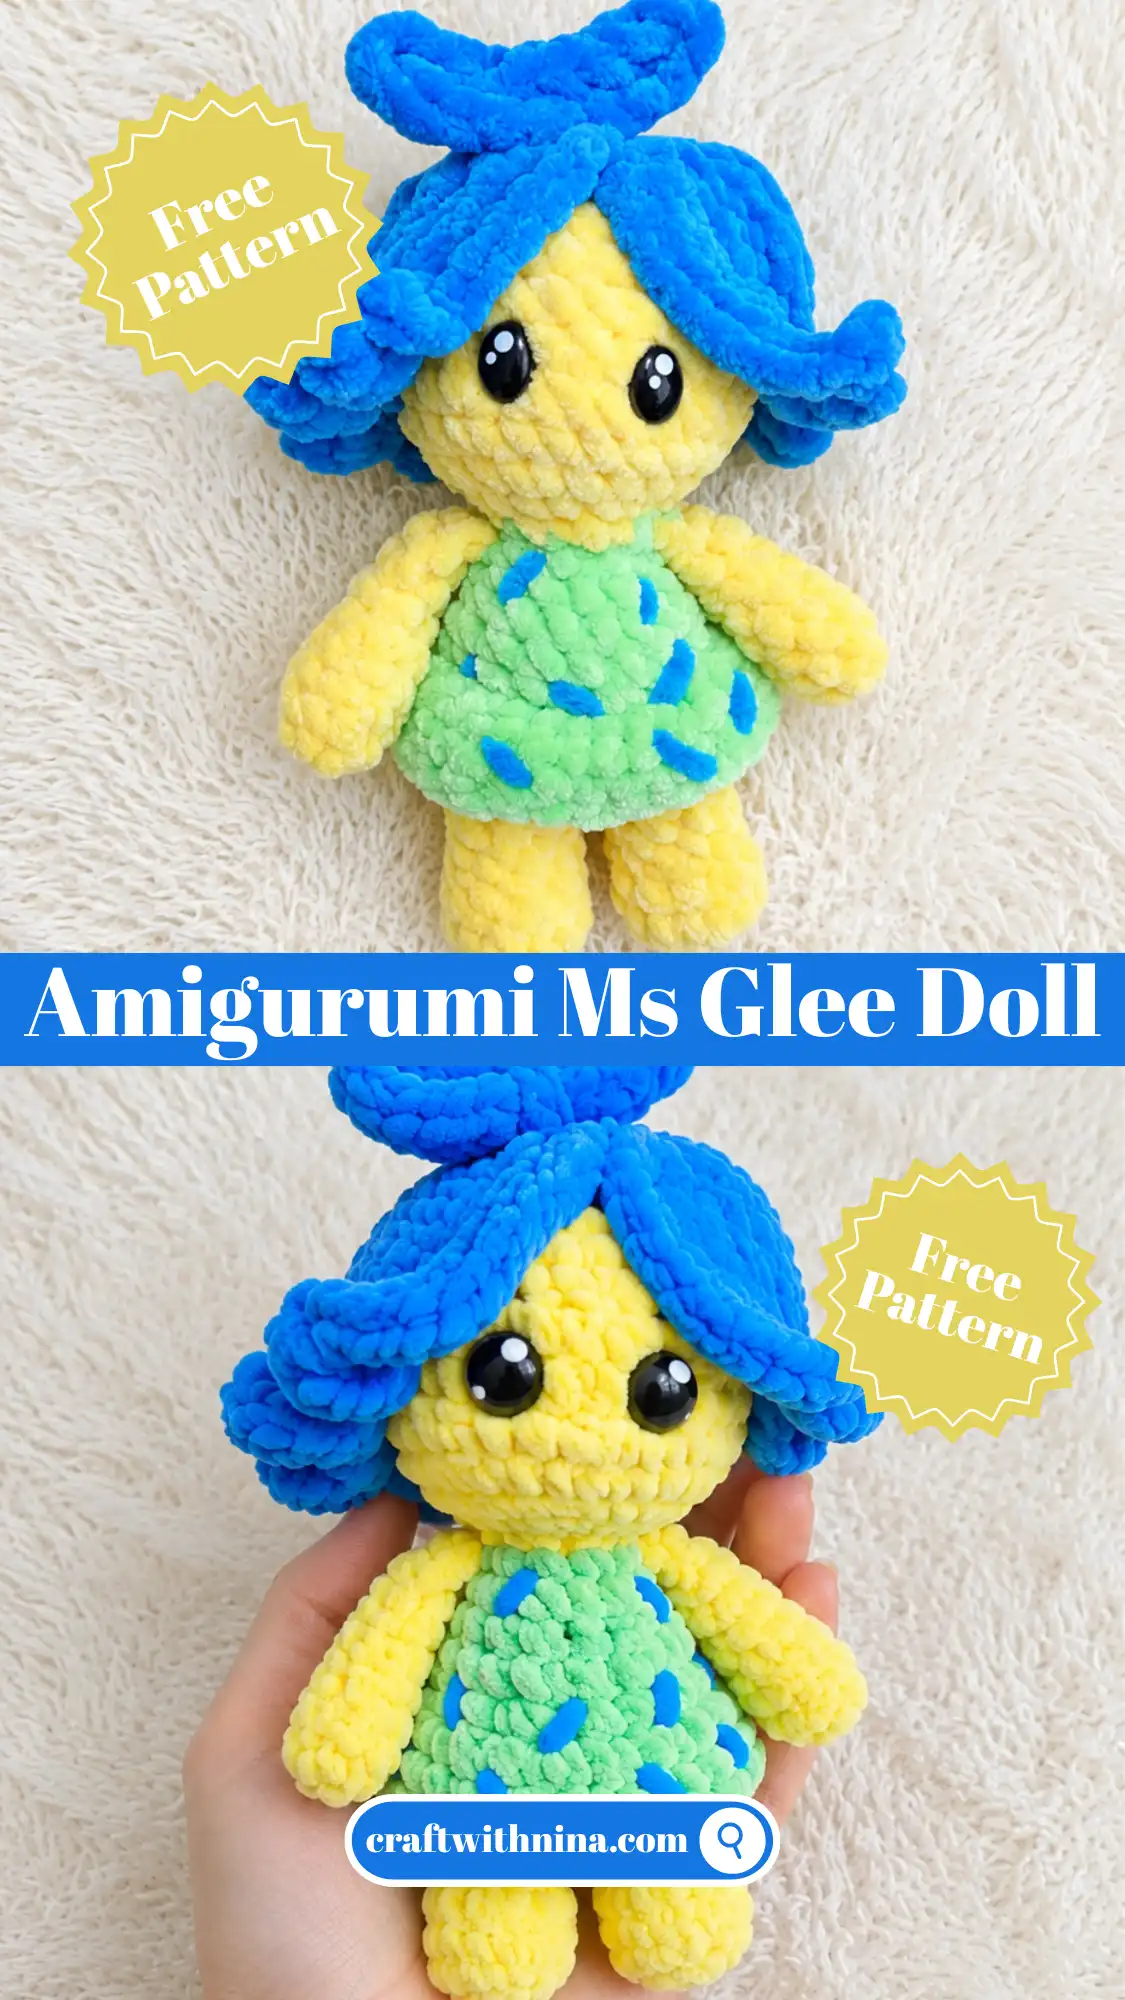
I hope you have as much fun making this little character as I did. Crafting with cheerful plush yarn is such a wonderful way to relax after a busy afternoon of cleaning, and this Free Amigurumi Pattern Cute Ms Glee Doll makes a beautifully bright addition to any amigurumi collection. Whether you keep her on your desk to bring a smile to your face or share her with a neighbor, she is sure to spread some cheer. Happy crocheting, friends!


Leave a Comment