

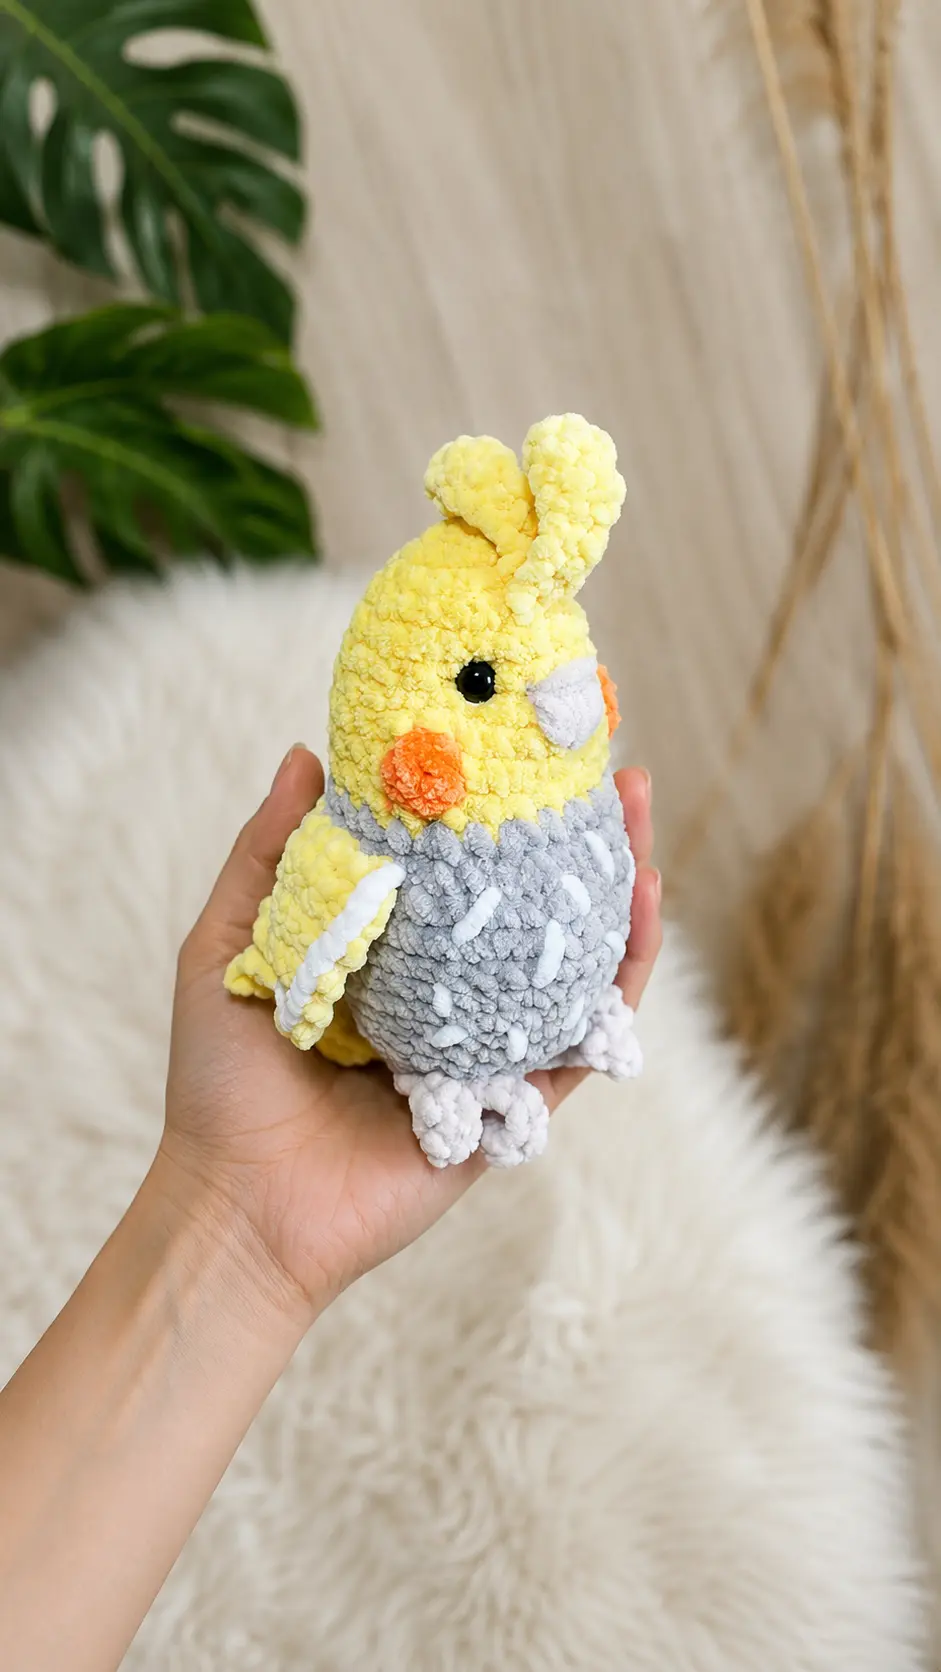
Yesterday afternoon, I finally spent some time organizing my yarn stash in the living room closet. After sorting through the bins, I found a few small balls of bright yellow and gray yarn sitting at the very bottom. They were leftover from a blanket project I finished last winter, and they were just too pretty to throw away. My neighbor recently adopted a sweet little pet bird, and looking at those colors immediately gave me a fun idea. I decided to sit down on the porch with a tall glass of iced tea and design something special.
This Free Amigurumi Pattern Crochet Cockatiel is the wonderful result of that quiet afternoon. It is a completely no-sew design, which means you will not have to worry about joining a dozen pieces together at the end. This makes it a quick and rewarding project to work up when you want to clear out your scrap yarn pile. Grab your favorite hook and let us get started on this cute little bird today.
Materials Needed
- 3 colors of yarn
- 4mm hook
- stuffing
- Safety eyes 8mm
- sewing needle for the beak
Finished Size
- Not specified in the original pattern details
Gauge
- Not specified in the original pattern details
Abbreviations
- R – Row
- Rnd – Round
- ch – chain
- hdc – half double crochet
- dc – double crochet
- st – stitch
- inc – increase
- dec – decrease
- slst – slip stitch
- F/O – fasten off
- BO – bobble stitch (4 loops on hook)
Pattern Instructions
Claws x2
R1: ch4, skip 1 ch, 3sc, ch5, 4sc, slst, ch5, 4sc, slst, ch3, slst in the 3rd sc-st of the row to make a loop
F/0
sc through the loop, to connect the claws to the body
Tail feathers x1
ch1 and turn after every R
R1: ch3, skip 1 ch, 2sc (2)
R2: 2inc (4)
R3-4: 4sc [2rows] (4)
R5: inc, 2sc, inc (6)
R6-7: 6sc [2rows] (6)
RB: skip 1, 3sc, skip 1, sc (4)
R9: 4sc (4)
R10: inc, 2sc, inc (6)
R11-12: 6sc [2rows] (6)
R13: skip 1, 3sc, skip 1. sc (4)
R14-15: 4sc [2rows] (4)
R16: skip 1, sc, skip 1, sc (2)
F/O and fold in half. Sc through R9 of the tail to connect it to the body.
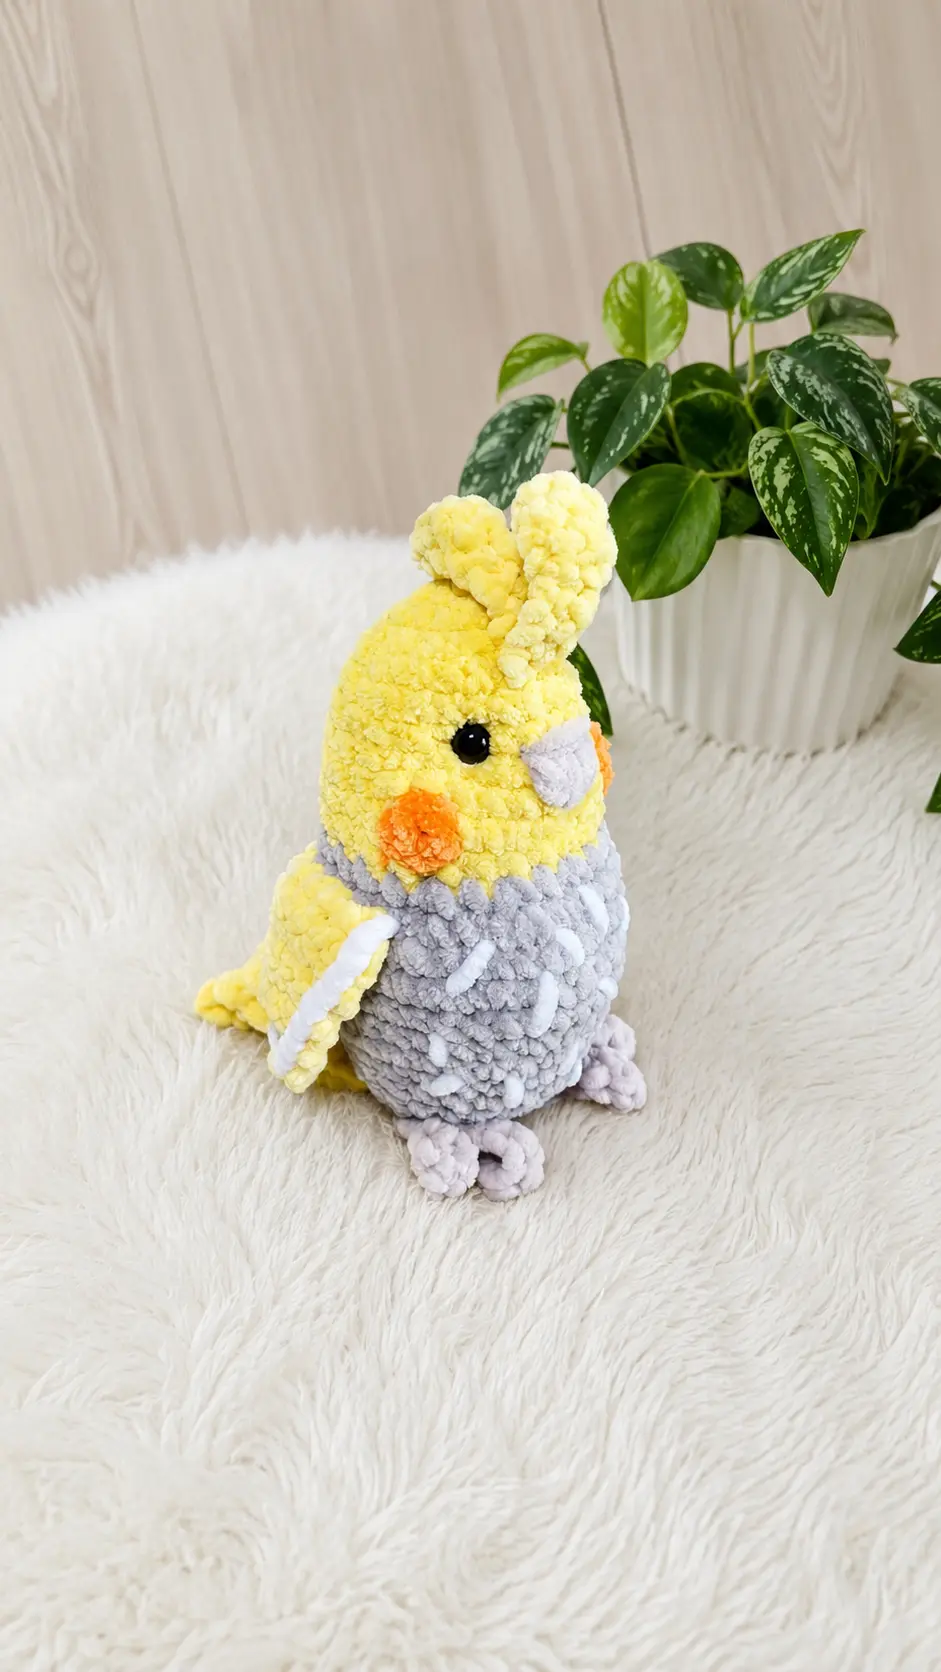
Wings x2
ch1 and turn after every R
R1: ch7, skip 1, 6sc (6)
R2: 5sc, inc (7)
R3: 7sc (7)
R4: skip 1, 5sc, inc (7)
R5: 7sc (7)
R6: skip 1, 5sc, inc (7)
R7: 5sc, skip 1, sc (6)
Re: skip 1, 4sc, inc (6)
R9: 2sc, skip 1, sc, skip 1, sc (4)
R10: skip 1, sc, skip 1, inc (3)
F/0
Head & Body
Start with yellow
Rnd1: 6sc in magic ring (6)
Rnd2: 6inc (12)
Rnd3: (sc, inc)x3, sc, *feather, inc (sc,inc)*2 (18)
Rnd4: (2sc,inc)x3, sc, *feather, sc, inc, (2sc,inc)x2 (24)
Rnd5-8: 24sc [4rnds] (24)
Rnd9: 9sc, BO, 8sc, BO, 5sc (24) (BO in pink)
Rnd10: 24sc (24)
Eyes btw. R6-7, 6 st appart
*feather: ch9, skip 2 ch, (hdc, 2dc, 2hdc, 2sc) on ch
Body continued
Change to gray
Rnd11: 10sc. (inc,sc)x4, 6sc (28)
Rnd12: 5sc, 6sc with wing, (inc, 2sc)x3, inc, sc, 6sc with wing (32)
Rnd13: (3sc.inc)x3, 12sc, (3sc,inc)x2 (37)
Rnd14: 15sc, (dec,2sc)x4, 6sc (33)
Rnd15: 33sc (33)
Rnd16: 15sc. (dec,sc)x4, 6sc (29)
Rnd17: 29sc (29)
Rnd18: 5sc, (2sc,dec)x5, 4sc (24)
Rnd19-22: 24sc [4nnds] (24)
Rnd23: 2sc, 4sc with tail, 7sc, 2sc with claw, 5sc, 2sc with claw, 2sc (24)
Stuff
Rnd24: (sc,dec)x8 (16)
Rnd25: dec x 8 (8)
F/O and close the hole
Embroider the beak between the eyes
Tips for Success
- Use a stitch marker: It is easy to lose track of your rounds when working in continuous spirals, so place a marker at the start of every round.
- Watch your tension on the wings: Keep your stitches even so that both wings end up the exact same size before you attach them.
- Keep the color changes clean: When switching from yellow to gray yarn, pull the new color through on the very last loop of the previous stitch.
- Stuff firmly before closing: Take your time to add stuffing right before finishing round 25 so that your cockatiel keeps a lovely, round shape.
- Secure the safety eyes tightly: Make sure the washers are snapped firmly into place on the inside of the head before you begin stuffing the toy.
Frequently Asked Questions
Can I use velvet or blanket yarn for this pattern?
Yes, you can use different types of yarn. Just remember to choose a larger hook size that matches your bulkier yarn to keep the stitches nice and tight.
What does the BO abbreviation mean?
The BO stands for a bobble stitch with four loops on your hook. This stitch is used to create the adorable pink cheeks on the sides of the bird’s head.
Is this bird project completely no-sew?
Yes, this design is built so that the wings, claws, and tail feathers are crocheted directly into the body pieces as you work up the rounds.
Where exactly should I place the safety eyes?
The safety eyes should be placed carefully between rounds 6 and 7, making sure to leave exactly 6 stitches of space between them.
How do I finish the beak at the end?
You will use a sewing needle and a small piece of contrast yarn to embroider a simple triangle shape right between the eyes after the body is finished.
Conclusion
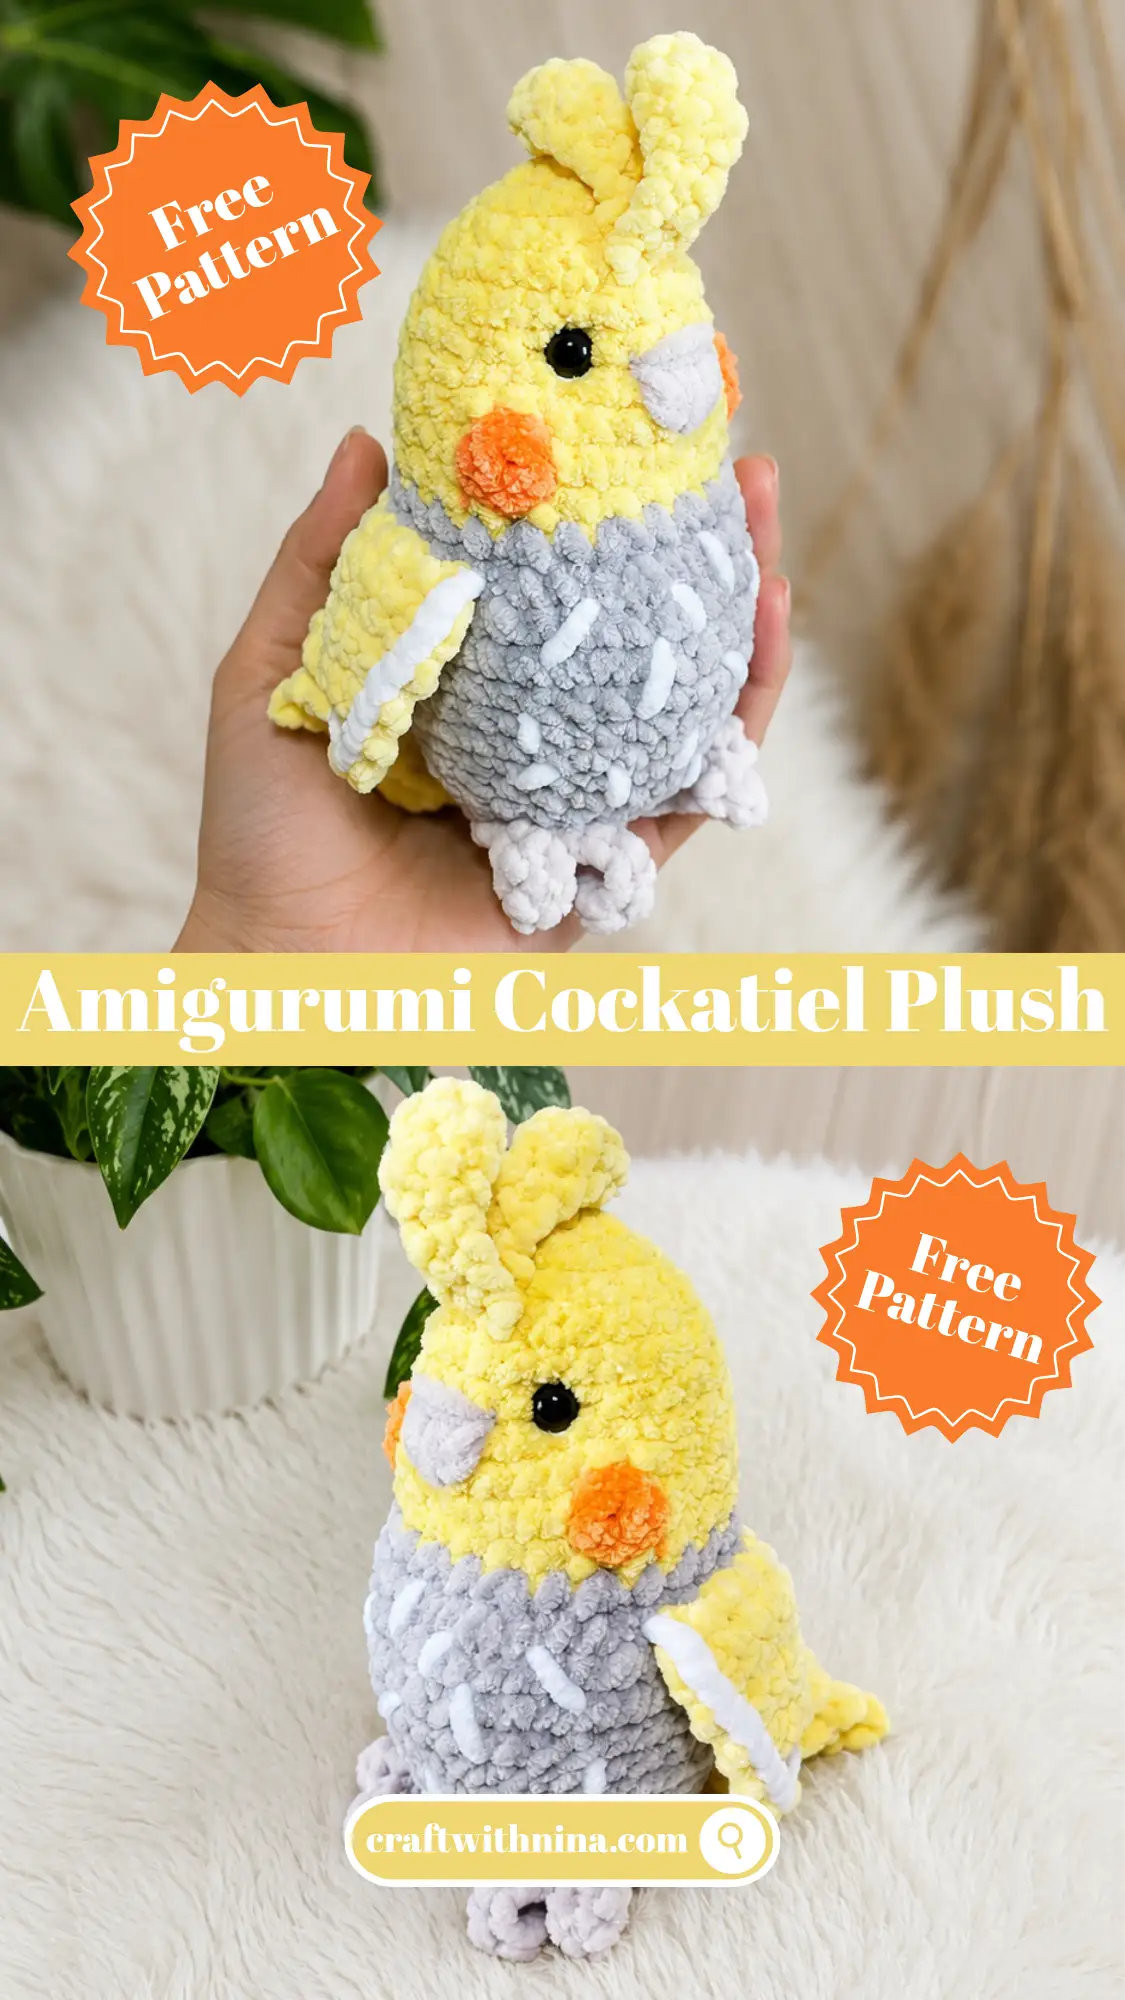
Crocheting this sweet little bird is such a peaceful way to spend an afternoon. I hope you enjoy using this Free Amigurumi Pattern Crochet Cockatiel to create your own cute plushie. Whether you are making it to brighten up a shelf in your home or as a kind gift for a friend in your neighborhood, it is sure to bring a smile. Please leave a comment below to let me know how your bird turned out. Happy crocheting, friends.


Leave a Comment