

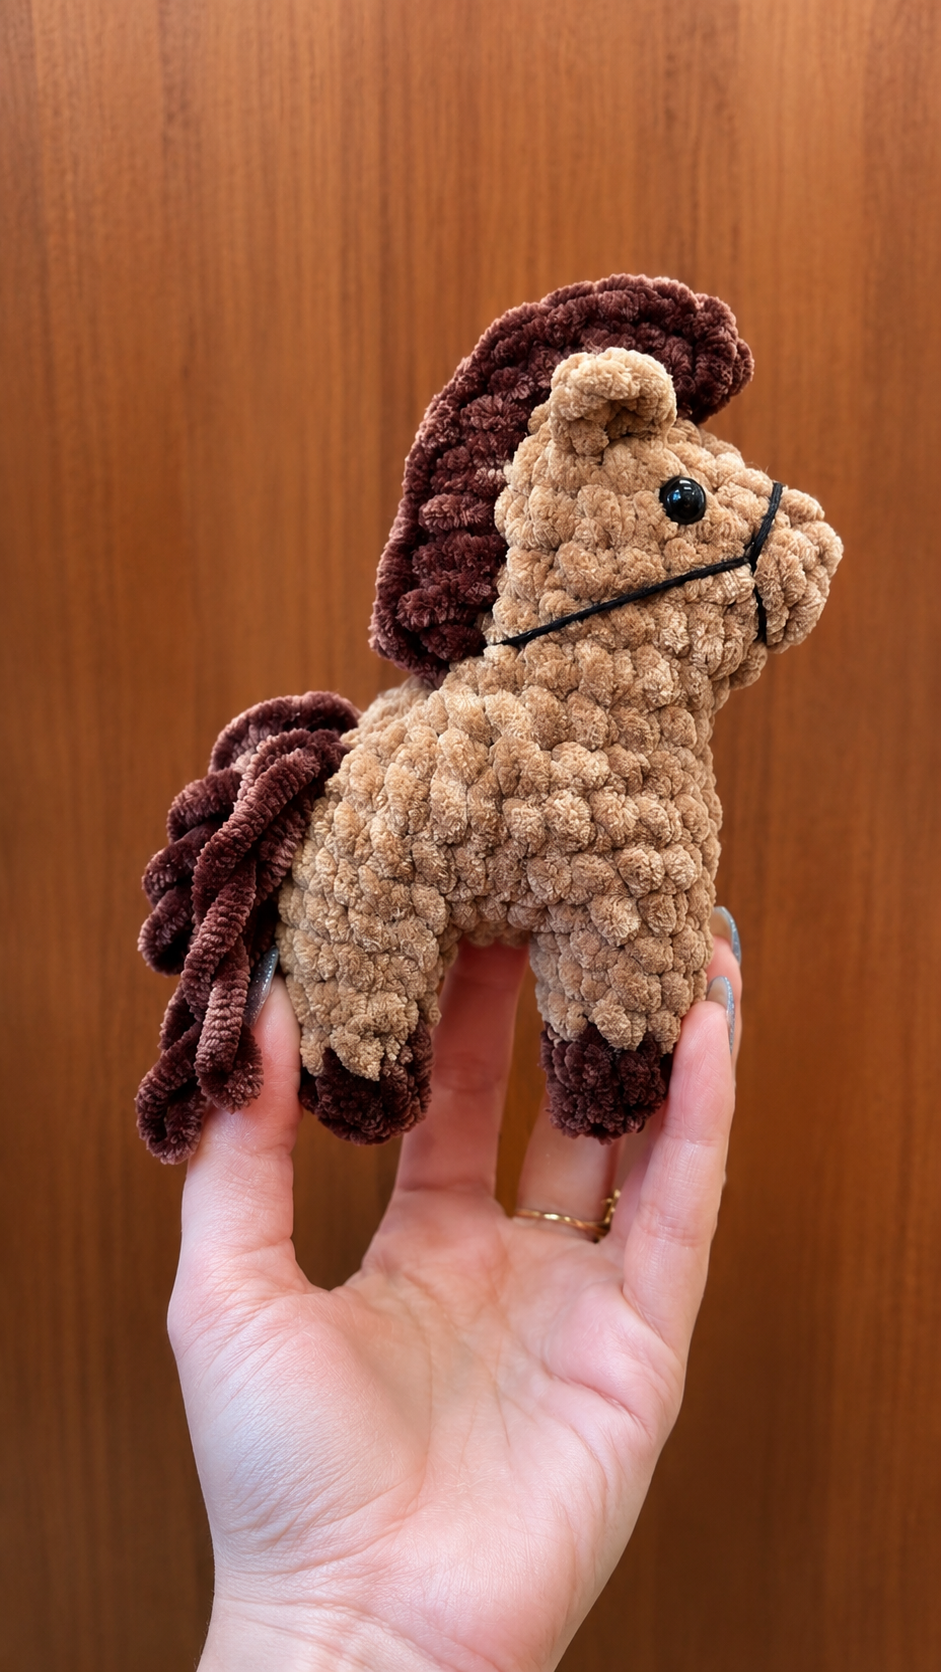
Last Saturday, I stopped at a local farm stand to pick up fresh eggs and homemade honey. Just beyond the parking area was a small fenced pasture with two miniature horses grazing in the afternoon sun. I wandered over for a closer look, and one curious little horse walked right up to the fence, gently nudging my hand as if we’d known each other for years. I must have stood there smiling for ten minutes while families walked by taking pictures.
When I got home, I couldn’t stop thinking about that sweet little face. Instead of turning on the television, I headed straight to my craft room and searched for the right yarn. A couple of leftover skeins of chocolate brown and warm gray plush yarn were exactly what I needed. I settled into my favorite chair, put on some old country music, and started crocheting. By the end of the evening, I had a tiny plush horse sitting beside me that reminded me of that unexpected moment at the farm.
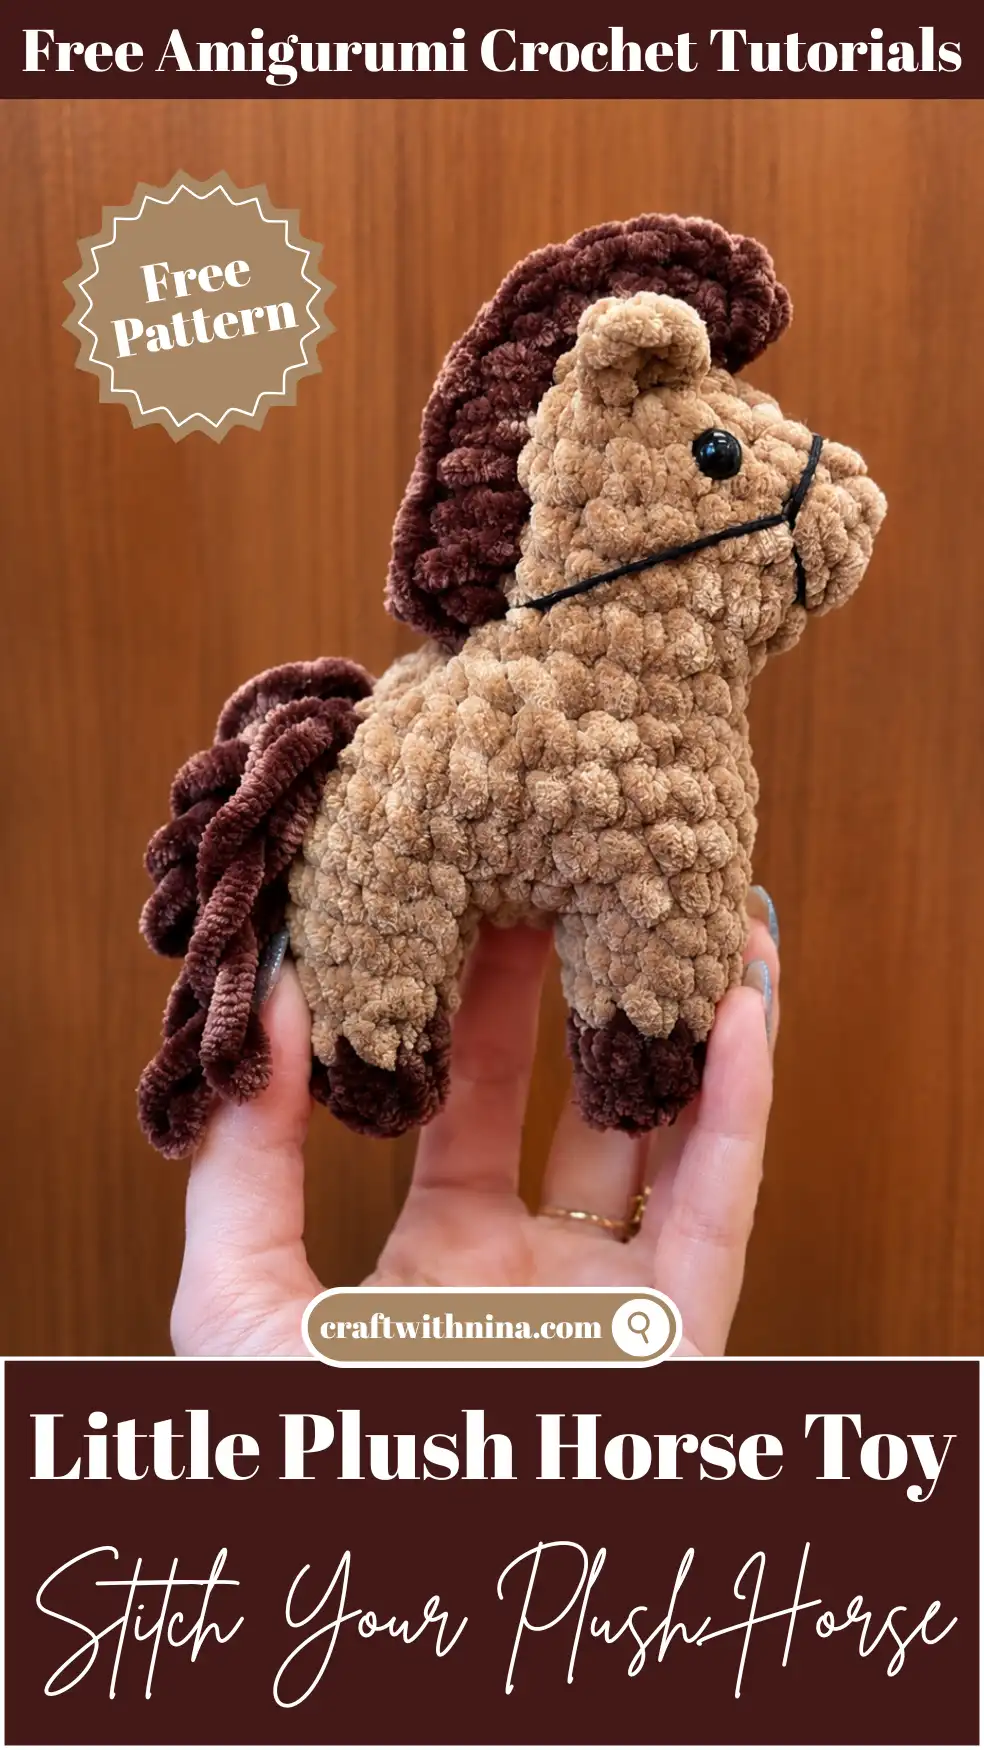
Today, I’m excited to share this Free Amigurumi Pattern Little Plush Horse Toy with you. It’s a quick, cozy project that captures all the charm of those gentle little horses. Whether you’re making it for a horse lover, creating a handmade gift, or adding another adorable animal to your amigurumi collection, this little plush is sure to become a favorite. Grab your softest yarn, pick up your favorite hook, and let’s crochet this sweet little horse together.
Materials Needed
- Plush yarn in 2 colors (100g/120m)
- 3.75 mm crochet hook
- Fiberfill stuffing
- Tapestry needle for closing stitches in the final round
- Stitch marker
- 8 mm glue-on safety eyes
Finished Size
When made with the suggested plush yarn and hook size, this little horse stands approximately 5 to 6 inches tall.
Abbreviations
- sc – single crochet
- inc – increase
- dec – decrease
- ch – chain stitch
- hdc – half double crochet
- sl st – slip stitch
Pattern Instructions
Legs
Start crocheting with dark brown color
- 6 sc in magic ring (6)
- 6 sc change to main color.
- 6 sc
- (sc, inc) x 3 (9)
- 9 sc (9)
On the first leg fasten off and cut the yarn. On the second leg make a shift stitch, ch 3, and join to the first leg.
Body
Start crocheting the Body:
- 9 sc along the leg, 3 sc along the ch, 9 sc along the second leg, 3 sc along the ch (24) 7-8) 24 sc (2 rounds)
- (2 sc, dec) x 6 (18)
- (sc, dec) x 3, (2 sc, inc) x 3 (18)
- (dec) x 3, 12 sc (15)
- dec over 3 sc, 4 sc, (inc) x 4, 4 sc (17)
- dec, 6 sc, 4 hdc, 5 sc (16)
- 7 sc, (hdc dec) x 2, 5 sc (14)
- 5 sc, (dec) x 3, 3 sc (11)
- 3 sc, (dec) x 3, 2 sc (8)
- 3-4 dec. Fasten off, cut the yarn, using a needle close the remaining stitches.
Tail
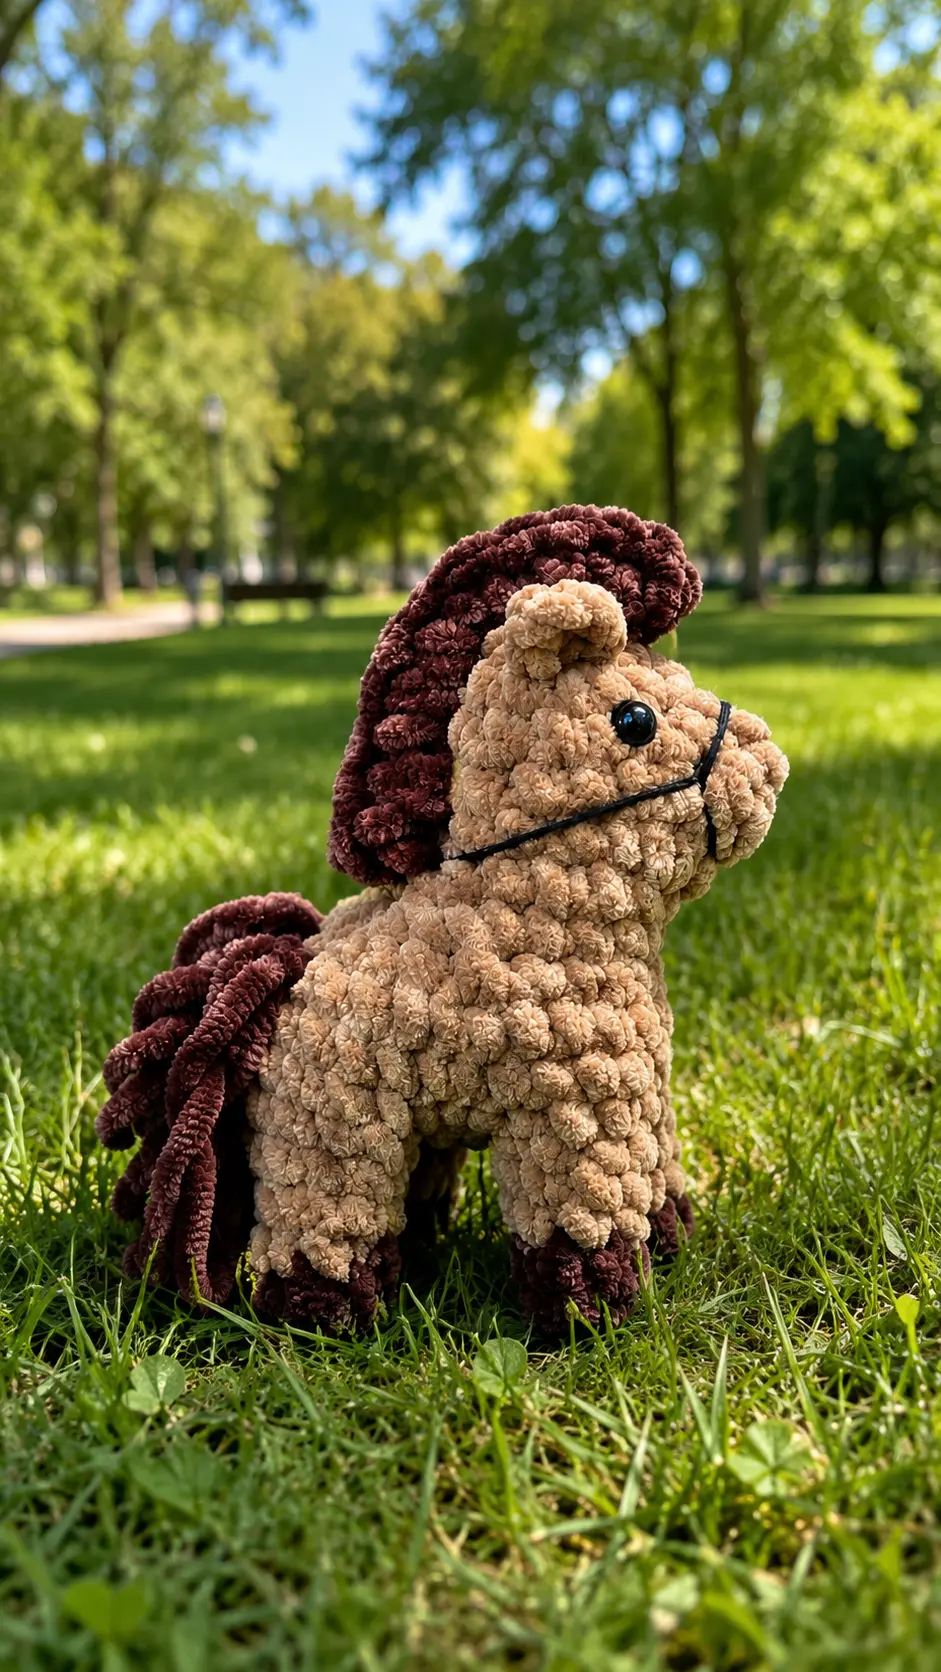
Crochet in rounds 9-10 with dark brown color using loop stitches, 6-8 stitches.
Mane
Crochet with dark brown color, attach yarn in round 16 at the front in the center of the muzzle, ch 2, hdc in the same stitch, next two stitches hdc inc, then 5 hdc, ch 2 and sl st in the last round of hdc, fasten off, cut the yarn, hide ends.
Ears
In round 16 on the sides of the muzzle attach yarn, ch 3, in 3rd stitch from hook hdc and in adjacent stitch sl st. Cut the yarn, fasten off, hide ends.
Glue on the eyes, decorate as desired. Our horse is ready.
Tips for Success
- Work with lightweight tension: When using plush velvet yarn, keep your hands relaxed so the thick yarn moves smoothly over your hook without catching.
- Stuff firmly as you go: Add small pieces of fiberfill stuffing into the legs and lower body before reaching the narrower neck and head rounds.
- Use a sharp tapestry needle: Closing plush stitches at the top of the head works best with a blunt or sharp tapestry needle that glides through bulky chenille.
- Locate stitch loops carefully: Plush yarn can hide loop openings, so use your fingers to feel for the tops of stitches if they are hard to see visually.
- Secure glue-on eyes well: Place a generous dab of craft glue or hot glue onto the back of the eyes and press firmly into the plush fiber so they stay locked in place.
- Tailor the mane placement: Pin the mane in a straight line down the back of the neck before stitching to make sure it looks neat and balanced.
Frequently Asked Questions
What kind of yarn works best for this horse pattern?
Any plush or chenille bulky yarn (100g/120m weight) works wonderfully. It creates a soft, velvety texture that hides minor stitching imperfections.
Can I use regular worsted weight acrylic yarn instead?
Yes, you can use medium worsted weight yarn, but keep in mind that your finished horse will be much smaller. You will also want to switch to a 2.5 mm or 3.0 mm crochet hook.
How do I join the two legs together?
After finishing round 5 on the second leg, chain 3, then insert your hook directly into any stitch on the first leg to make your first single crochet stitch of round 6.
Are glue-on eyes safe for small children?
Glue-on eyes are best for decorative items or toys for older kids. If you are making this plush horse for a baby or toddler, consider embroidering the eyes with black yarn instead.
How do I prevent plush yarn from shedding while working?
To stop plush yarn from fraying at the cut ends, tie a small knot right at the tip of the tail or gently melt the very end of synthetic chenille with a lighter before weaving it in.
Conclusion
Making this Free Amigurumi Pattern Little Plush Horse Toy is a delightful way to spend a quiet afternoon craft session. I hope you enjoy creating your own plush little pony to display in your home or share with someone you love. Happy crocheting!


Leave a Comment