

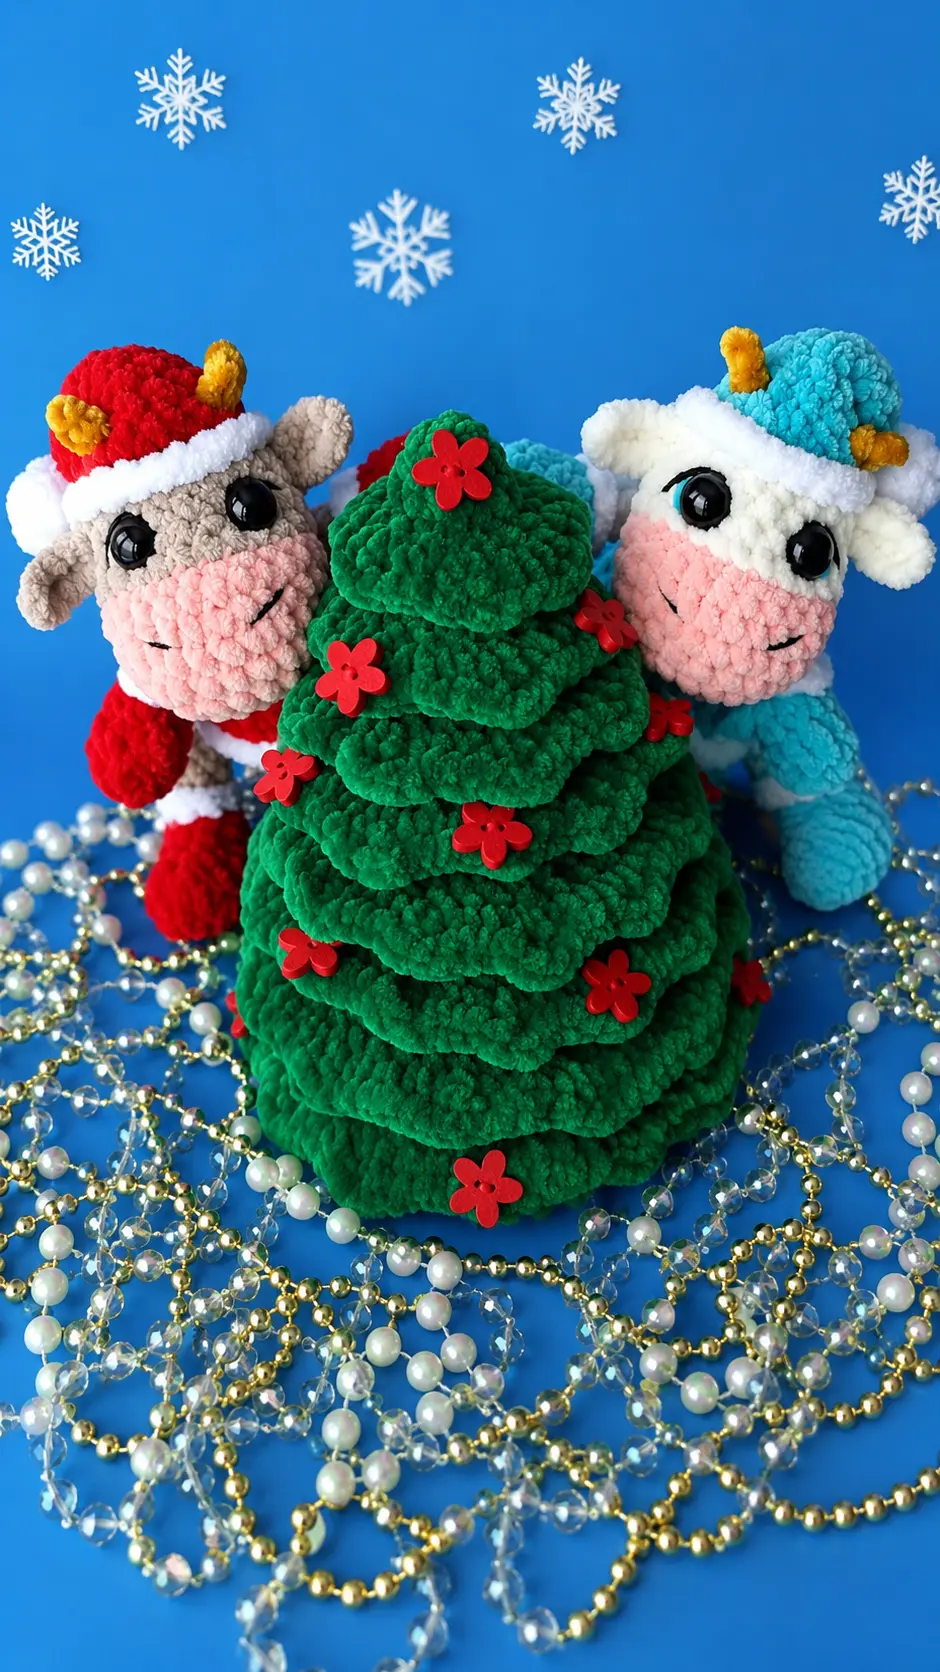
The inspiration for this one came while I was helping my sister get her house ready for Christmas. We had spent most of the morning moving decorations around, only to realize that one little corner of her living room still looked completely bare. She jokingly pointed at the empty shelf and said, “You crochet everything else—make something for that spot.” I laughed, but on the drive home I was already thinking about what I could make.
A rich green yarn felt just right for the idea, especially with all the traditional Christmas colors we’d been surrounded by that morning. What surprised me most as I worked was how much character the texture added. I kept stopping to turn the piece around in my hands because every few rows seemed to change its shape and give it a little more personality.
That’s what I enjoyed most about this Free Amigurumi Pattern. It doesn’t need lots of complicated extras to feel festive—the texture and simple handmade details do most of the work. I can imagine making a few in slightly different shades of green and grouping them together on a mantel or entryway table. Mine, however, already has somewhere to go. I think my sister’s empty shelf has waited long enough.
Materials Needed
- Green yarn
- Crochet hook
- Plastic circle (for shaping the base of the tree)
- Fiberfill stuffing
- Beads or small buttons for decoration
- Yarn needle
- Scissors
Abbreviations
- mr = magic ring
- sc = single crochet
- inc = increase (2 sc in one stitch)
- dec = decrease (crochet 2 sc together)
- dc = double crochet
- blo = back loop only
- flo = front loop only
Pattern Instructions
Base of the Christmas Tree
Worked in continuous spiral rounds.
- Round 1. 8 sc in mr (8)
- Round 2. 8 inc (16)
- Round 3. (1 sc, 1 inc)*8 times (24)
- Round 4. (2 sc, 1 inc)*8 times (32)
- Round 5. (3 sc, 1 inc)*8 times (40)
- Round 6. (4 sc, 1 inc)*8 times (48)
- Round 7. (5 sc, 1 inc)*8 times (56)
- Round 8. 56 sc in blo of previous round (56)
- Round 9-10. 56 sc (56) (2 rounds)
- Round 11. 56 sc in blo of previous round (56)
- Round 12. 56 sc (56)
- Insert a plastic circle of appropriate diameter to shape the base of the Christmas tree.
- Round 13. (5 sc, 1 dec)*8 times (48)
- Round 14. 48 sc in blo of previous round (48)
- Round 15. 48 sc (48)
- Round 16. (6 sc, 1 dec)*6 times (42)
- Round 17. 42 sc in blo of previous round (42)
- Round 18. 42 sc (42)
- Round 19. (5 sc, 1 dec)*6 times (36)
- Round 20. 36 sc in blo of previous round (36)
- Round 21. 36 sc (36)
- Round 22. (4 sc, 1 dec)*6 times (30)
- Stuff the toy as you go.
- Round 23. 30 sc in blo of previous round (30)
- Round 24. 30 sc (30)
- Round 25. (3 sc, 1 dec)*6 times (24)
- Round 26. 24 sc in blo of previous round (24)
- Round 27. 24 sc (24)
- Round 28. (2 sc, 1 dec)*6 times (18)
- Round 29. 18 sc in blo of previous round (18)
- Round 30. 18 sc (18)
- Round 31. (1 sc, 1 dec)*6 times (12)
- Round 32. 12 sc in blo of previous round (12)
- Round 33. 12 sc (12)
- Round 34. 6 dec (6)
- Cut yarn, fasten off, pull the hole closed, hide the yarn end.
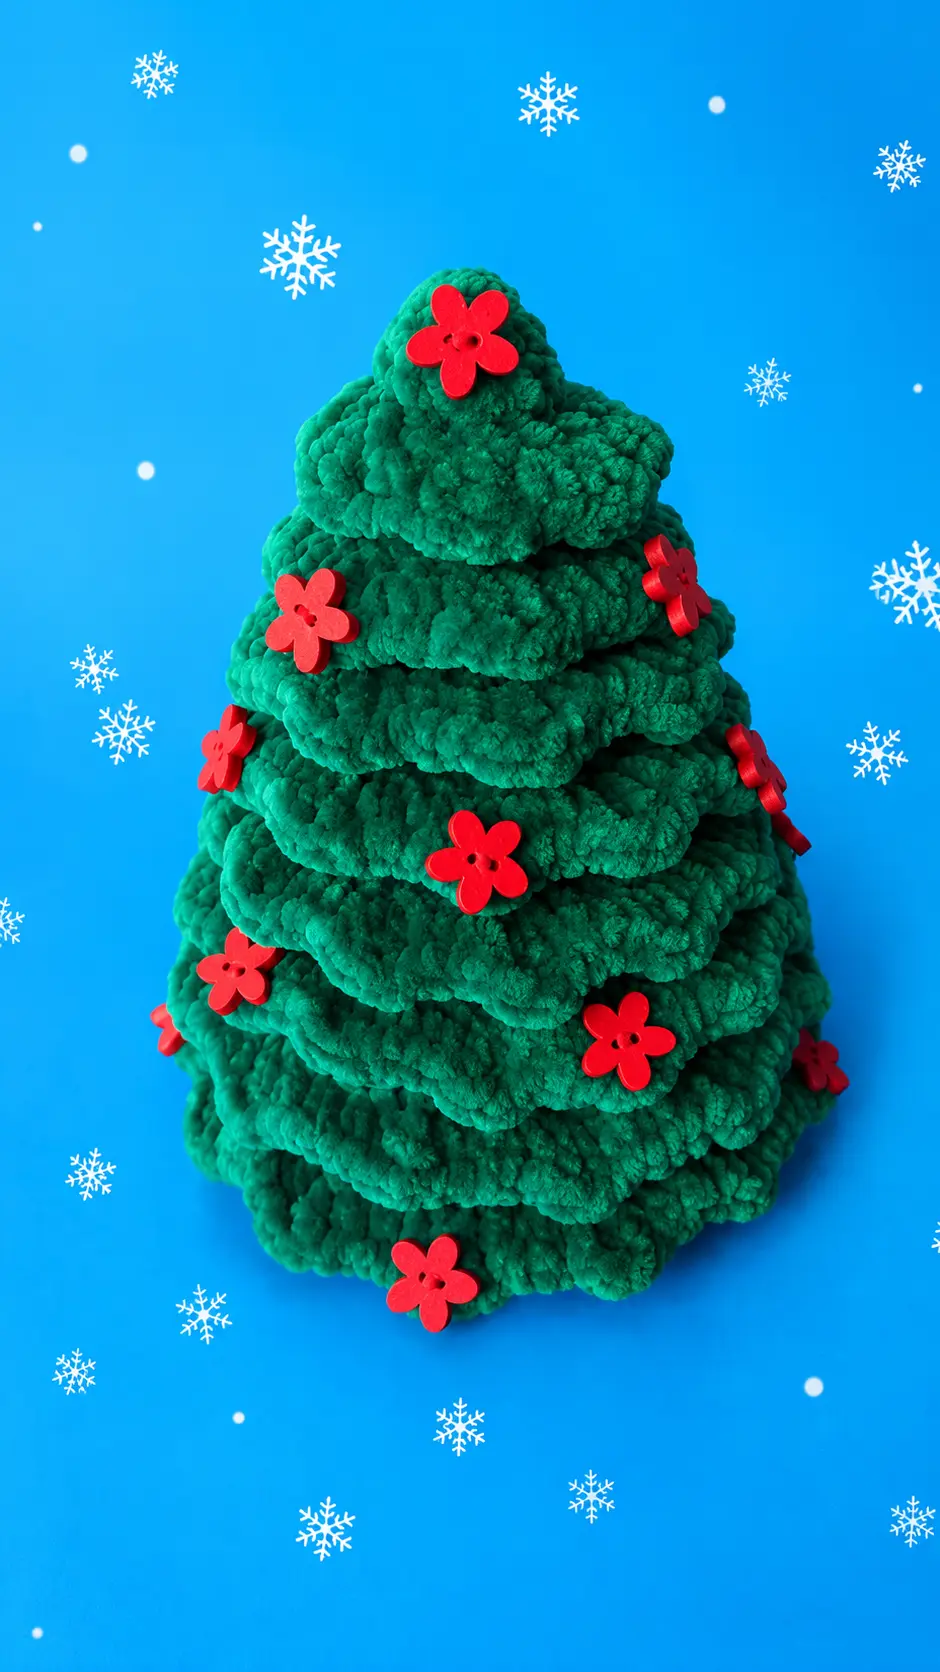
Crown of the Christmas Tree
The crown of the Christmas tree is crocheted in the form of ruffles that are not connected to each other, so at the end of each ruffle cut the yarn, fasten off and hide the end.
We crochet the ruffles by positioning the base with the top towards yourself, starting with the bottom ruffle:
- In front loops of round 10:
- 1. 56 sc (56)
- 2. (3 inc from sc, 1 inc from dc)*14 times (112)
- In front loops of round 13:
- 1. 48 sc (48)
- 2. (3 inc from sc, 1 inc from dc)*12 times (96)
- In front loops of round 16:
- 1. 42 sc (42)
- 2. (2 inc from sc, 1 inc from dc)*14 times (84)
- In front loops of round 19:
- 1. 36 sc (36)
- 2. (2 inc from sc, 1 inc from dc)*12 times (72)
- In front loops of round 22:
- 1. 30 sc (30)
- 2. (2 inc from sc, 1 inc from dc)*10 times (60)
- In front loops of round 25:
- 1. 24 sc (24)
- 2. (2 inc from sc, 1 inc from dc)*8 times (48)
- In front loops of round 28:
- 1. 18 sc (18)
- 2. (2 inc from sc, 1 inc from dc)*6 times (36)
- In front loops of round 31:
- 1. 12 sc (12)
- 2. (2 inc from sc, 1 inc from dc)*4 times (24)
The Christmas tree can be decorated with beads or buttons.
Tips for Success
- Use a sturdy plastic insert: For the base, cut a small circle out of a clean plastic container lid or heavy plastic canvas to ensure the tree sits flat on tables and shelves.
- Keep your tension consistent: Maintaining a firm tension prevents fiberfill from showing through the stitches, giving the tree structure a solid, neat finish.
- Work the ruffles from bottom to top: Holding the tree upside down with the tip pointed toward you makes it much easier to work into the unworked front loops.
- Weave ends securely: Since each ruffle requires cutting and fastening off the yarn, use a yarn needle to hide the ends inside the main body of the tree.
- Get creative with decorations: Use colorful wooden buttons, shiny beads, or small sequins to give your finished piece a unique and personal look.
Frequently Asked Questions
- What type of yarn works best for this project? A standard acrylic or cotton yarn in sport or worsted weight works wonderfully for this pattern. Cotton gives great stitch definition, while acrylic makes it soft.
- Why do I need a plastic insert for the base? The plastic insert helps the flat base maintain its round shape when stuffed, allowing your tree to stand straight without wobbling.
- How do I attach the buttons or beads? You can sew them directly onto the ruffles using matching thread and a sewing needle, or stitch them on with yarn ends before fully stuffing the tree.
- Can I make this tree larger or smaller? Yes, you can easily change the size by using a thicker yarn with a larger hook, or a thinner yarn with a smaller hook.
- Is this project suitable for a beginner? If you know how to work in back loops and front loops, this pattern is very approachable. It is a fantastic project for practicing textured techniques.
Conclusion
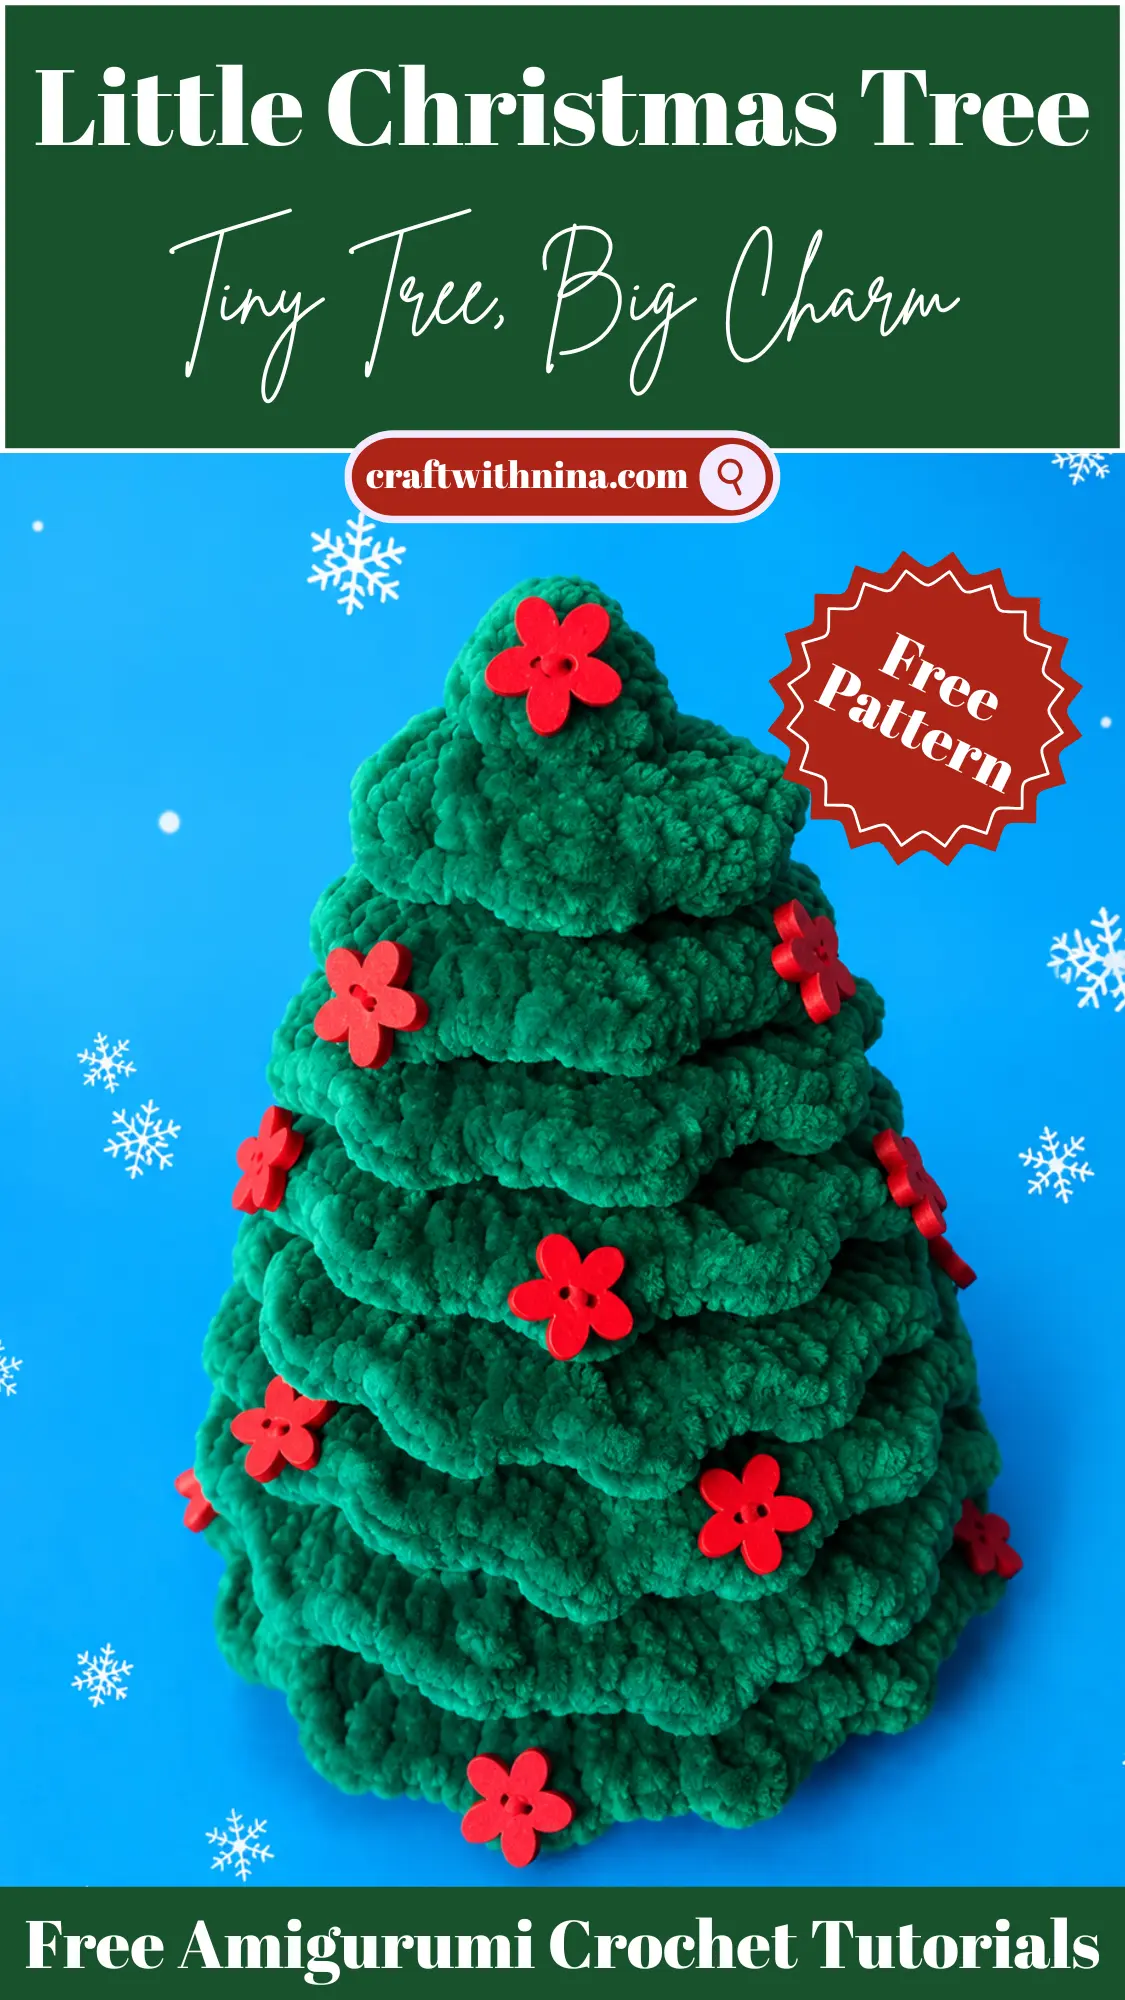
I hope you enjoyed working through this Free Amigurumi Pattern as much as I did. Projects like this are such a joy to stitch up, and they add a warm, handmade touch to any room. Decorating it with colorful buttons or beads is a wonderful way to bring out your own personal style. Happy crocheting!


Leave a Comment