

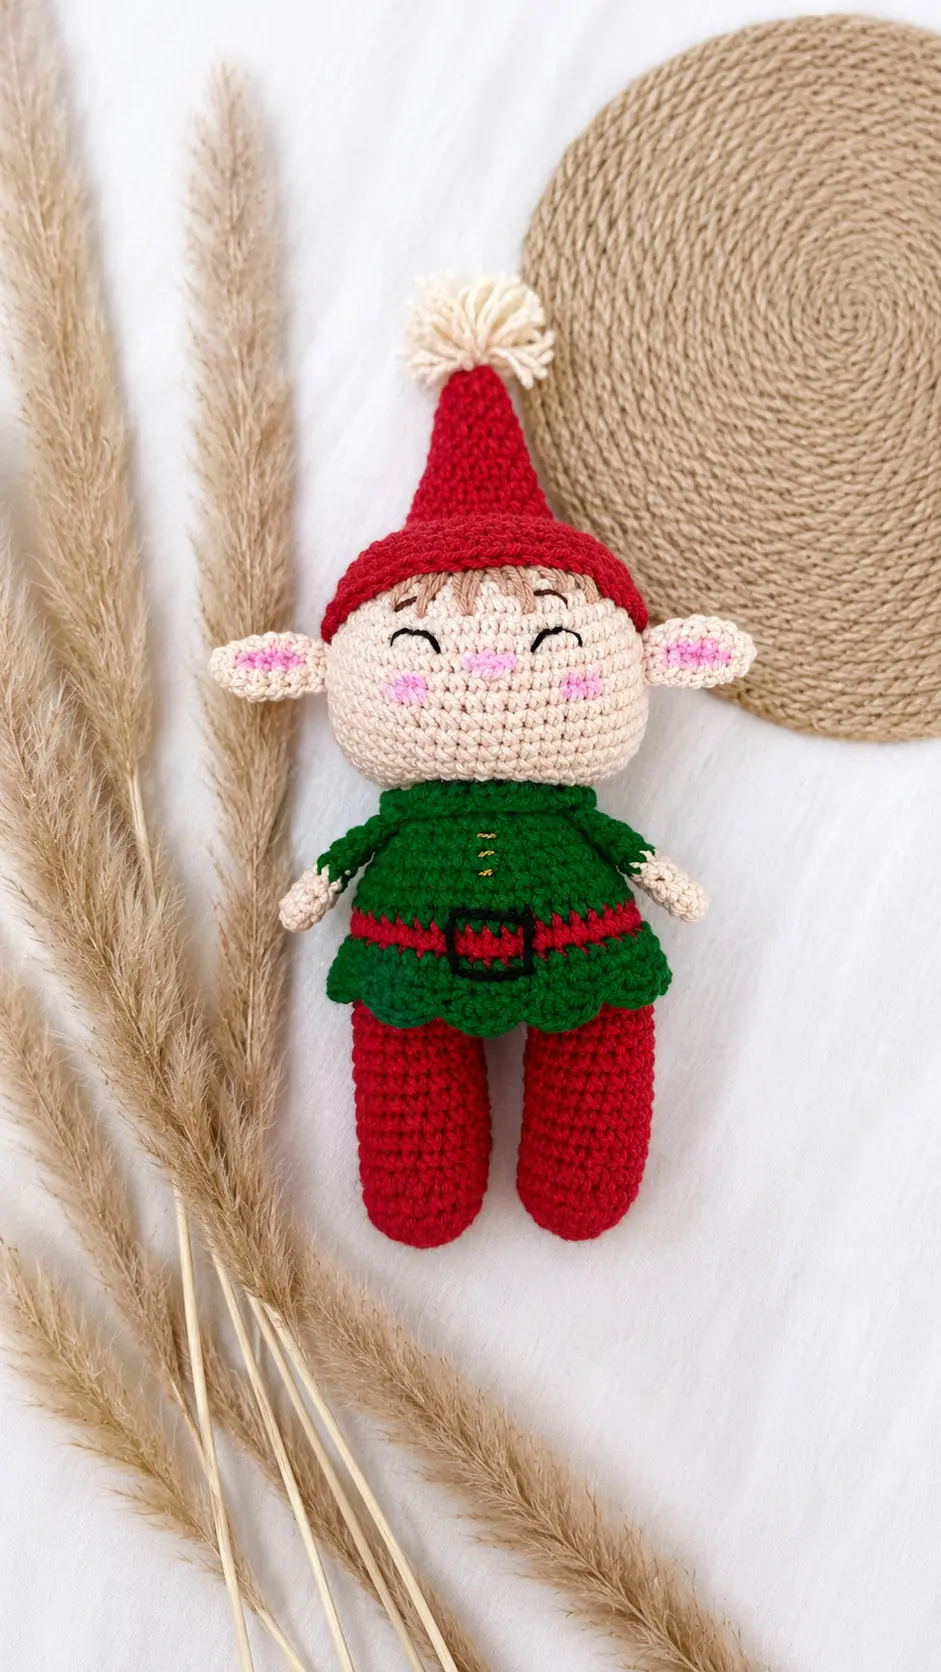
Every December, my sister and I have a little tradition of spending one afternoon downtown looking at the Christmas window displays. We don’t usually buy much—we grab something warm to drink, wander through the shops, and judge which store has done the best decorating. Last year, one window had a whole miniature workshop filled with tiny elves wrapping presents. One of them had a crooked red hat and striped stockings, and my sister pointed at it and said, “That one looks like he’s already tired of Christmas.” I laughed about it the rest of the afternoon.
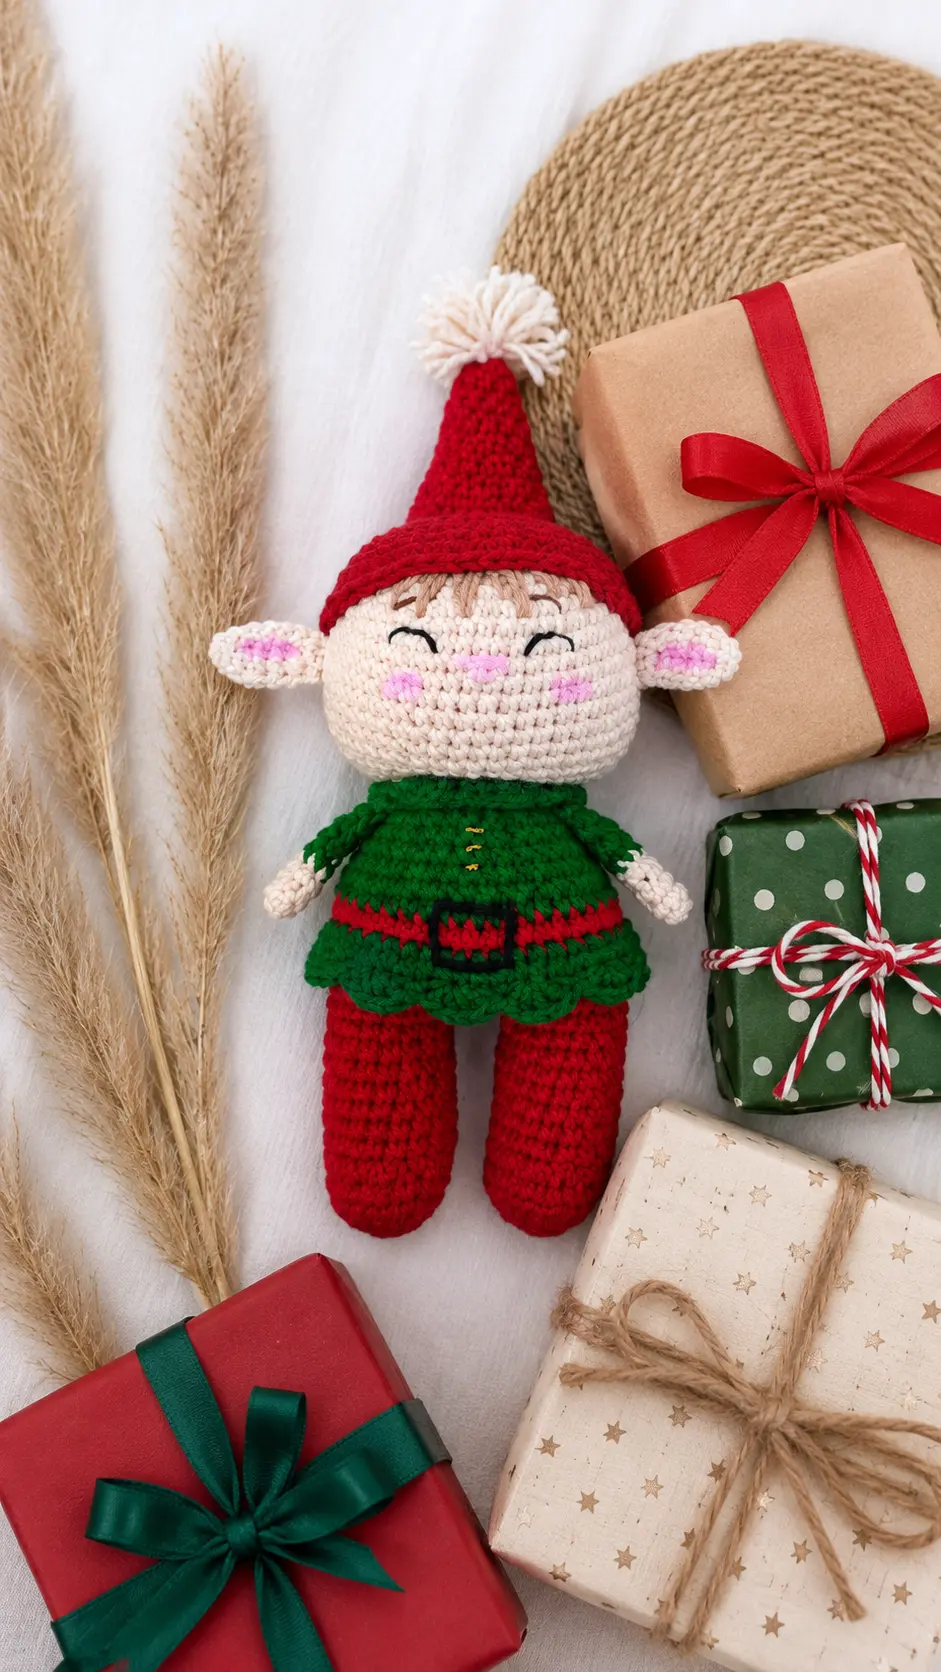
A few days later, I decided that tired little elf deserved a crochet cousin. I chose deep green and bright red yarn, added a warm beige for the face, and started figuring out the details as I went. The hat gave me a little trouble at first, but once the face and outfit were finished, the doll suddenly had that mischievous Christmas personality I was hoping for.
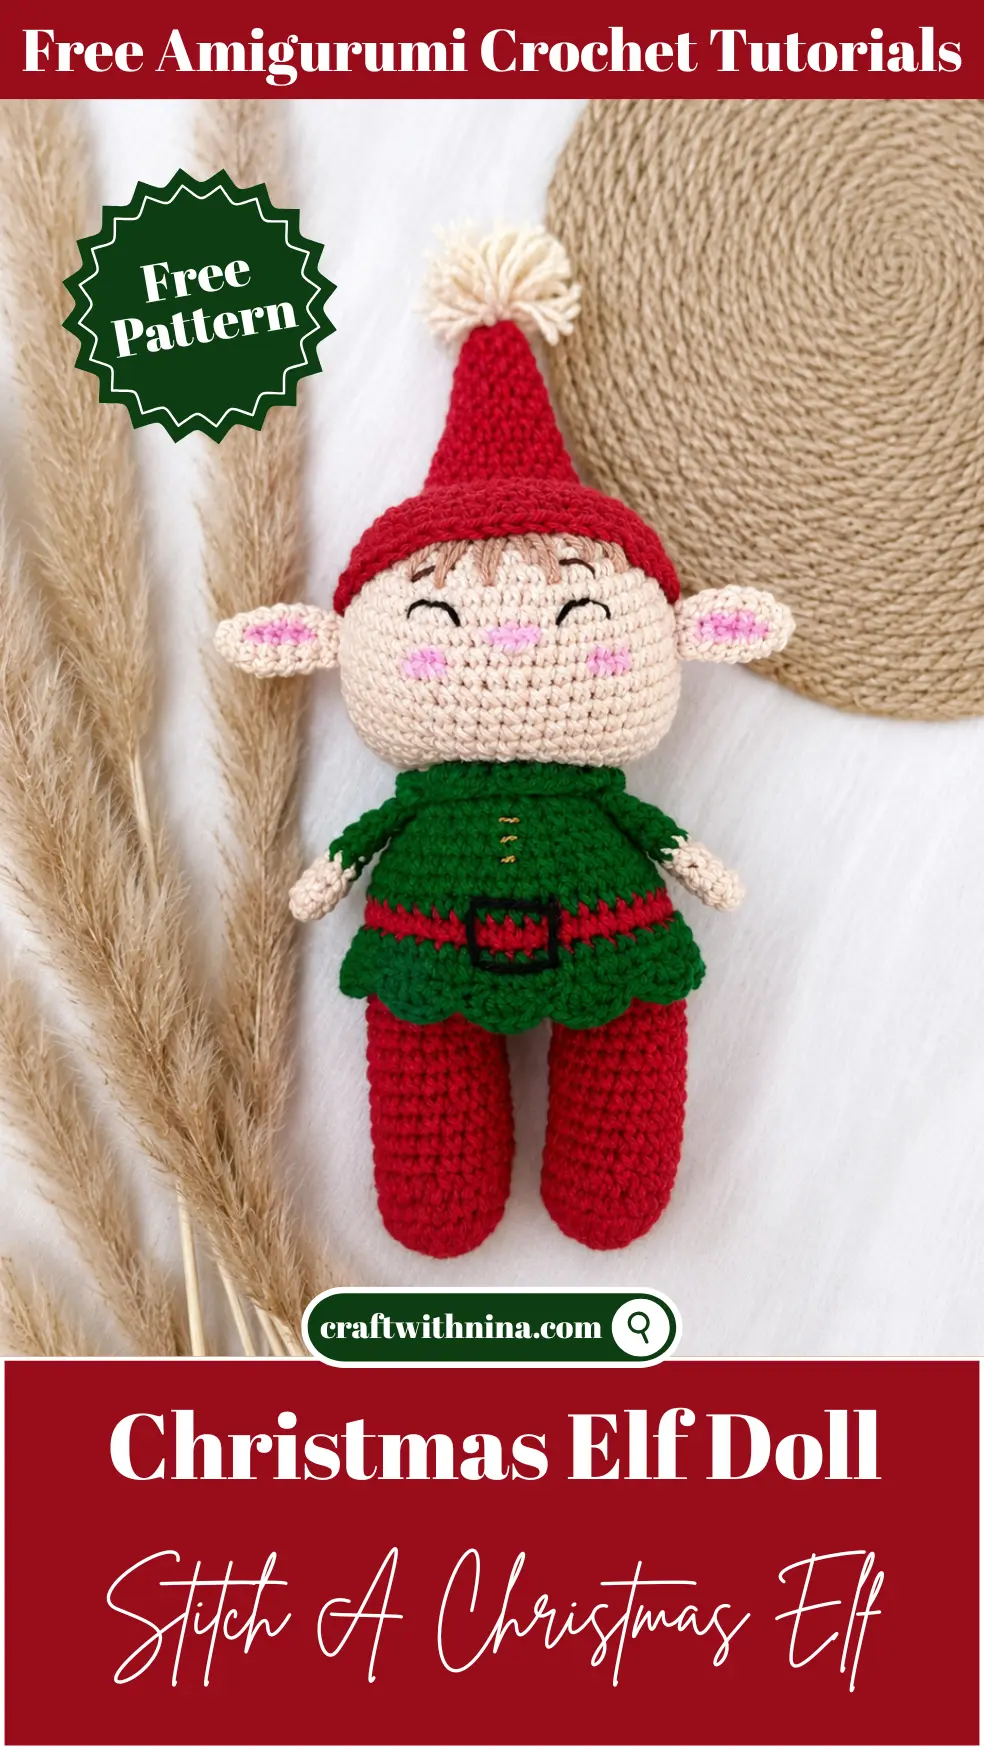
This Free Amigurumi Pattern Christmas Elf Doll is especially fun because you don’t have to make every elf look exactly alike. Change the hat, swap the traditional colors, add stripes, or use leftover yarn for tiny accessories. I think a few of them grouped beneath the Christmas tree would look adorable, but one little elf tucked between books or sitting on a mantel has plenty of charm all by itself.
Materials Needed
- YarnArt Jeans 26 (red)
- YarnArt Jeans 03 (flesh)
- YarnArt Jeans any color for clothes
- Black thread for eyes
- Acrylic powder or eye shadow for face tinting
- Gold thread for decorating clothes (optional)
- Scissors
- Crochet hook size 2.5 mm
Abbreviations
- mr = magic ring
- ch = chain
- sc = single crochet
- sl st = slip stitch
- inc = increase (2 sc in one stitch)
- dec = decrease (crochet 2 sc together)
- hdc = half double crochet
- dc = double crochet
- blo = back loop only
- flo = front loop only
Pattern Instructions
Head:
- Step: In flesh-colored yarn:
- 1. 6 sc in mr
- 2. 6 inc (12)
- 3. (1 sc, inc) x6 (18)
- 4. (2 sc, inc) x6 (24)
- 5. (3 sc, inc) x6 (30)
- 6. (4 sc, inc) x6 (36)
- 7. (5 sc, inc) x6 (42)
- 8. (6 sc, inc) x6 (48)
- 9. 48 – 9 rounds
- 10. (6 sc, dec) x6 (42)
- 11. (5 sc, dec) x6 (36)
- 12. (4 sc, dec) x6 (30)
- 13. (3 sc, dec) x6 (24)
- Step: Leave a thread for sewing.
- Step: Eyes between rounds 12 and 13 at a distance of 7 sc.
Ears (2 parts):
- 1. 6 sc in mr
- 2. 6 sc
- 3. (1 sc, inc) x3 (9)
- 4. 9 sc – 2 rounds
- 5. (1 sc, dec) x3 (6)
- 6. 3 sc through both sides
- Step: Leave a thread for sewing.
Legs (2 parts):
- Step: In red yarn:
- 1. 6 sc in mr
- 2. 6 inc (12)
- 3. (1 sc, inc) x6 (18)
- 4. (2 sc, inc) x6 (24)
- 5. For back loops only 24 sc
- 6. 6 dec, 12 sc (18)
- 7. 18 sc – 6 rounds
- Step: On one leg, cut the thread and fasten off; on the second, continue:
- Step: From the leg, 3 ch and in a circle:
- 1. 18 along 1st leg, 3 along ch, 18 along second leg, 3 sc (42)
- 2. 42 sc – 5 rounds
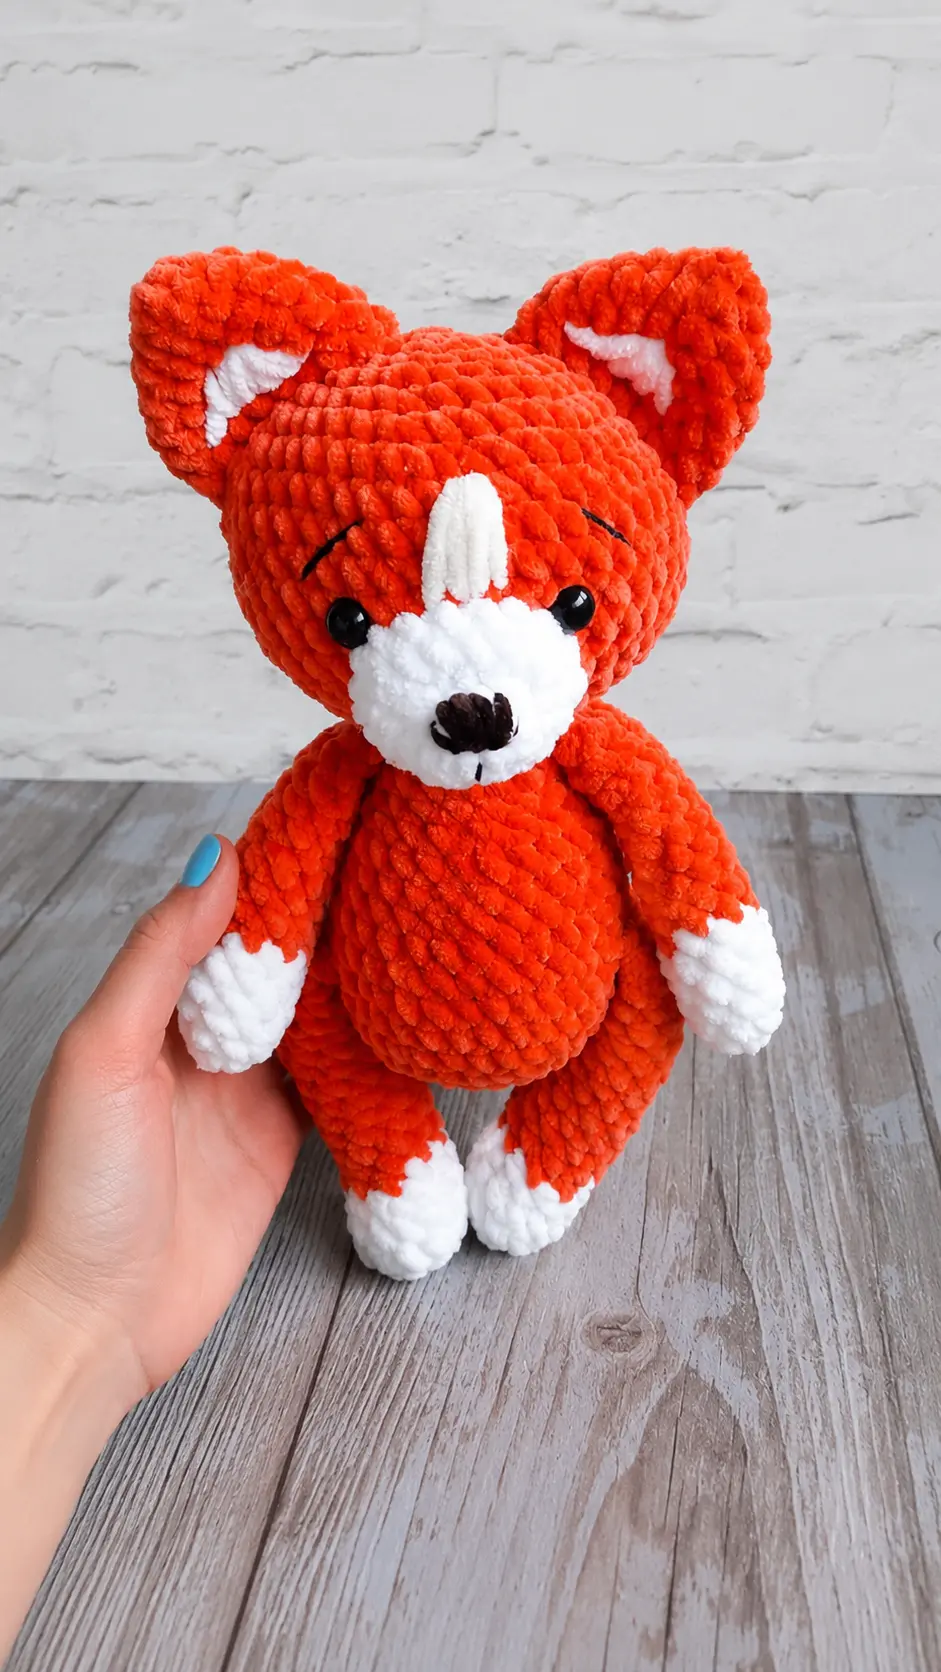
- 3. 42 for back loops (if you want a dress like the orange elf, then here you need to change color and crochet a round for both loops)
- 4. Change color to clothes color: 42 sc for both loops (if dress, then blo)
- 5. (5 sc, dec) x6 (36)
- 6. 36 sc
- 7. (4 sc, dec) x6 (30)
- 8. 30 sc
- 9. (3 sc, dec) x6 (24)
- 10. 24 sc
- Step: Next we crochet the collar for the front loops:
- Step: In the second from the hook (we always crochet through 1 stitch and for the front loops) 4 dc in one stitch for the front half-loop, sl st, 4 dc in one stitch, sl st and so on to the end.
- Step: We crochet a skirt:
- 1. For the front loops on the pants 42 sc
- 2. 42 sc for both loops
- Step: Pattern: In the second from hook (we always crochet through 1 stitch, but for both half-loops) 4 dc in one stitch for the front half-loop, sl st, 4 dc in one stitch, sl st and so on to the end.
Cap (I will describe 2 cap options):
- Step: First cap option:
- 1. 6 sc in mr
- 2. 6 sc – 2 rounds
- 3. (1 sc, inc) x3 (9)
- 4. 9 sc – 3 rounds
- 5. (2 sc, inc) x3 (12)
- 6. 12 – 3 rounds
- 7. (3 sc, inc) x3 (15)
- 8. 15 – 3 rounds
- 9. (4 sc, inc) x3 (18)
- 10. 18 sc – 2 rounds
- 11. (5 sc, inc) x3 (21)
- 12. 21 sc
- 13. (6 sc, inc) x3 (24)
- 14. (7 sc, inc) x3 (27)
- 15. (8 sc, inc) x3 (30)
- 16. (4 sc, inc) x6 (36)
- 17. 36
- 18. (5 sc, inc) x6 (42)
- 19. (6 sc, inc) x6 (48)
- 20. (7 sc, inc) x6 (54)
- 21. 54 sc
- Step: Leave a thread for sewing.
- Step: Second option (We crochet HDC):
- 1. 6 sc in mr
- 2. 6 hdc
- 3. (1 hdc, inc) x3 (9)
- 4. 9 hdc
- 5. (2 hdc, inc) x3 (12)
- 6. 12 hdc
- 7. (3 hdc, inc) x3 (15)
- 8. 15 hdc
- 9. (4 hdc, inc) x3 (18)
- 10. 18 hdc
- 11. (2 hdc, inc) x6 (24)
- 12. (3 hdc, inc) x6 (30)
- 13. (4 hdc, inc) x6 (36)
- 14. (5 hdc, inc) x6 (42)
- 15. (6 hdc, inc) x6 (48)
- 16. 48
- Step: Leave a thread for sewing.
Arms:
- Step: Start in flesh color:
- 1. 6 sc in mr
- 2. 6 sc – 3 rounds
- 3. 6 sc – 4 rounds of clothes color
- 4. 3 sc through both sides
- Step: Leave a thread for sewing.
Assembly:
- 1. Sew the head to the body by the back loops of the body
- 2. Make a small eye indentation
- 3. Style the hair
- 4. Sew on the cap
- 5. Sew on the ears
- 6. Sew on the arms
- Step: Your Elf is ready!
Tips for Success
- Stuffing the legs and body firmness: Fill the feet and legs firmly as you join them to help your doll stand or sit nicely without slouching.
- Adding facial detail: Gently apply blush or acrylic powder to the cheek area with a soft brush before adding embroidered eyes for a warm, cozy expression.
- Working the collar shells: When working the shell pattern for the collar, ensure your slip stitches stay loose so the neckline does not pucker.
- Cap selection: Choose option one for a slightly taller, stiffer elf hat, or option two made with half double crochets for a softer, quicker finish.
- Securing the pointed ears: Position the pointed ears slightly below the hat line on either side of the head, sewing them flat against the sides so they stick out just enough.
Frequently Asked Questions
- What hook size is ideal for YarnArt Jeans yarn?A 2.5 mm crochet hook creates tight, neat single crochet stitches that prevent fiberfill stuffing from peeking through the fabric.
- How do I join the legs together smoothly?After finishing the second leg, chain 3, then single crochet straight into the first available stitch of the first leg to keep the round count aligned.
- Can I use safety eyes instead of embroidered eyes?Yes, 6 mm or 8 mm safety eyes work wonderfully. Insert them between rounds 12 and 13, spaced 7 stitches apart, before closing up the head.
- How is the hair attached to the doll?You can attach short yarn strands around the forehead line using a fringe knotting technique before sewing the long elf cap firmly in place.
- Is this project suitable for holiday decorating?This elf pattern makes an adorable mantel display piece, tree ornament, or sweet holiday shelf sitter that adds instant cheer to your space.
Conclusion
Making small handmade dolls always fills my heart with so much warmth, especially when working on cheerful projects like this one. Watching a sweet little character come together stitch by stitch is such a relaxing way to spend your afternoon. I hope you enjoy every round of bringing this festive project to life with your own favorite colors. Grab your hook, pick out your yarn, and enjoy creating with this Free Amigurumi Pattern Christmas Elf Doll!


Leave a Comment