

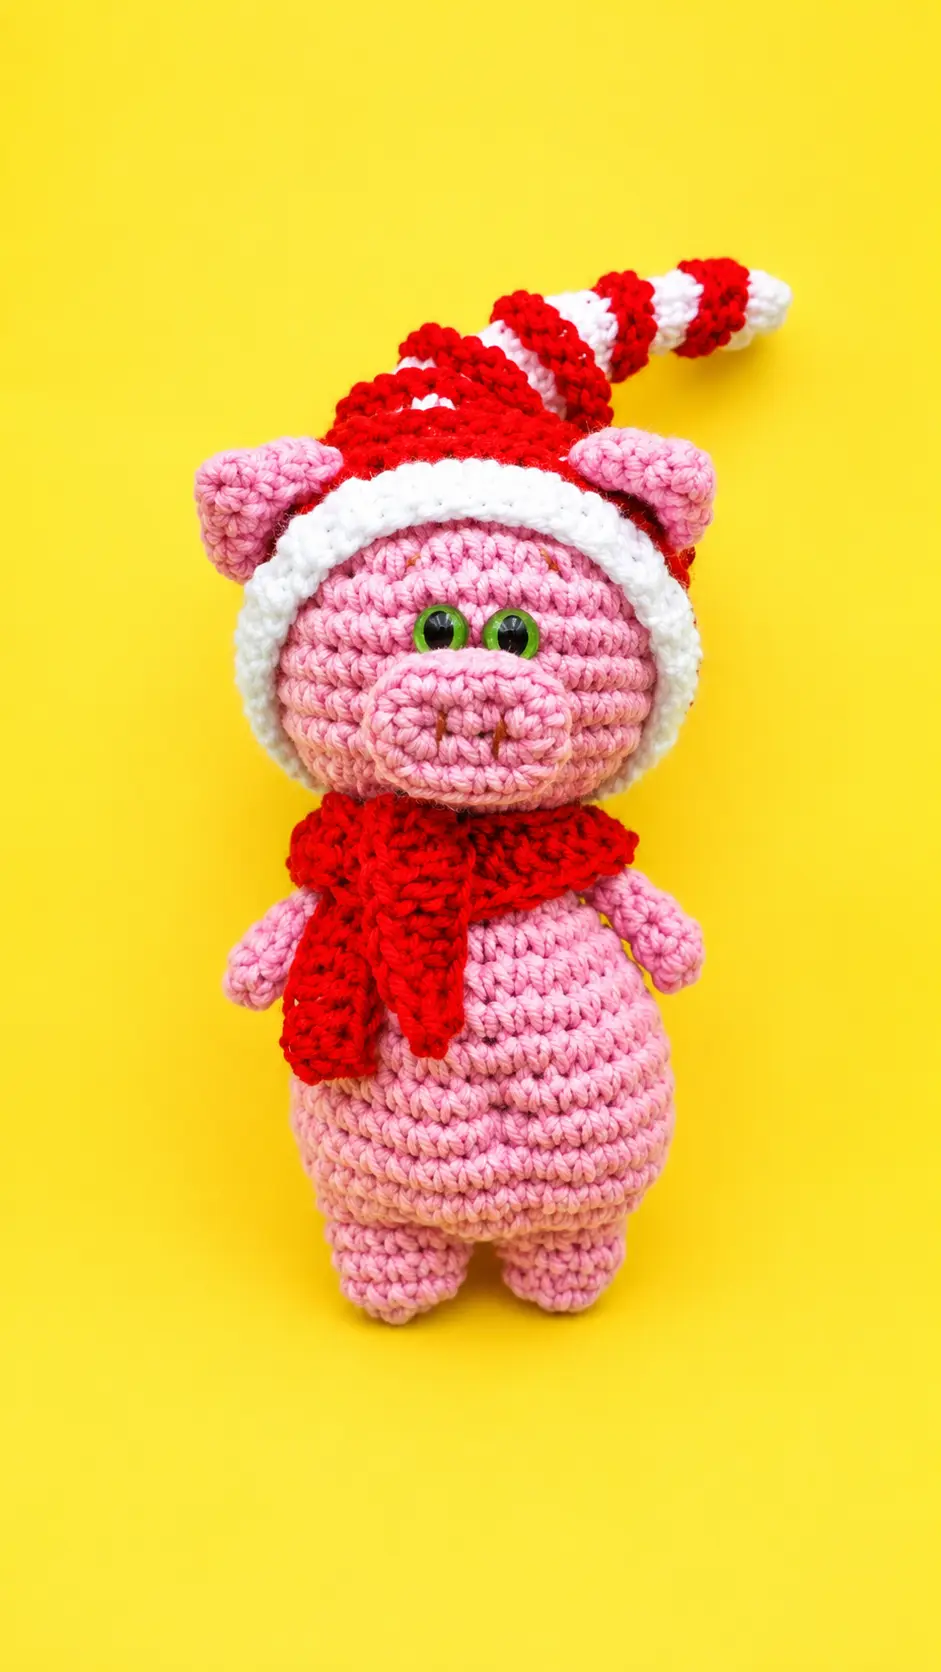
The idea for this little pig started during a New Year’s lunch at my sister’s house. She always puts a few funny decorations around the table, and this time she had a tiny pink pig beside the napkins. Someone mentioned that pigs are considered a symbol of good luck in some New Year traditions, and that was all it took to get my crochet brain working. Before dessert was even served, I was already imagining how cute one would look made from soft yarn.
The following day, I found some light pink yarn and started playing around with the shape. The little snout came first, followed by those tiny ears, and once I added the festive red and white details, the whole character suddenly came together. I ended up leaving it on the kitchen shelf because it looked far too cheerful to pack away with the rest of the decorations.
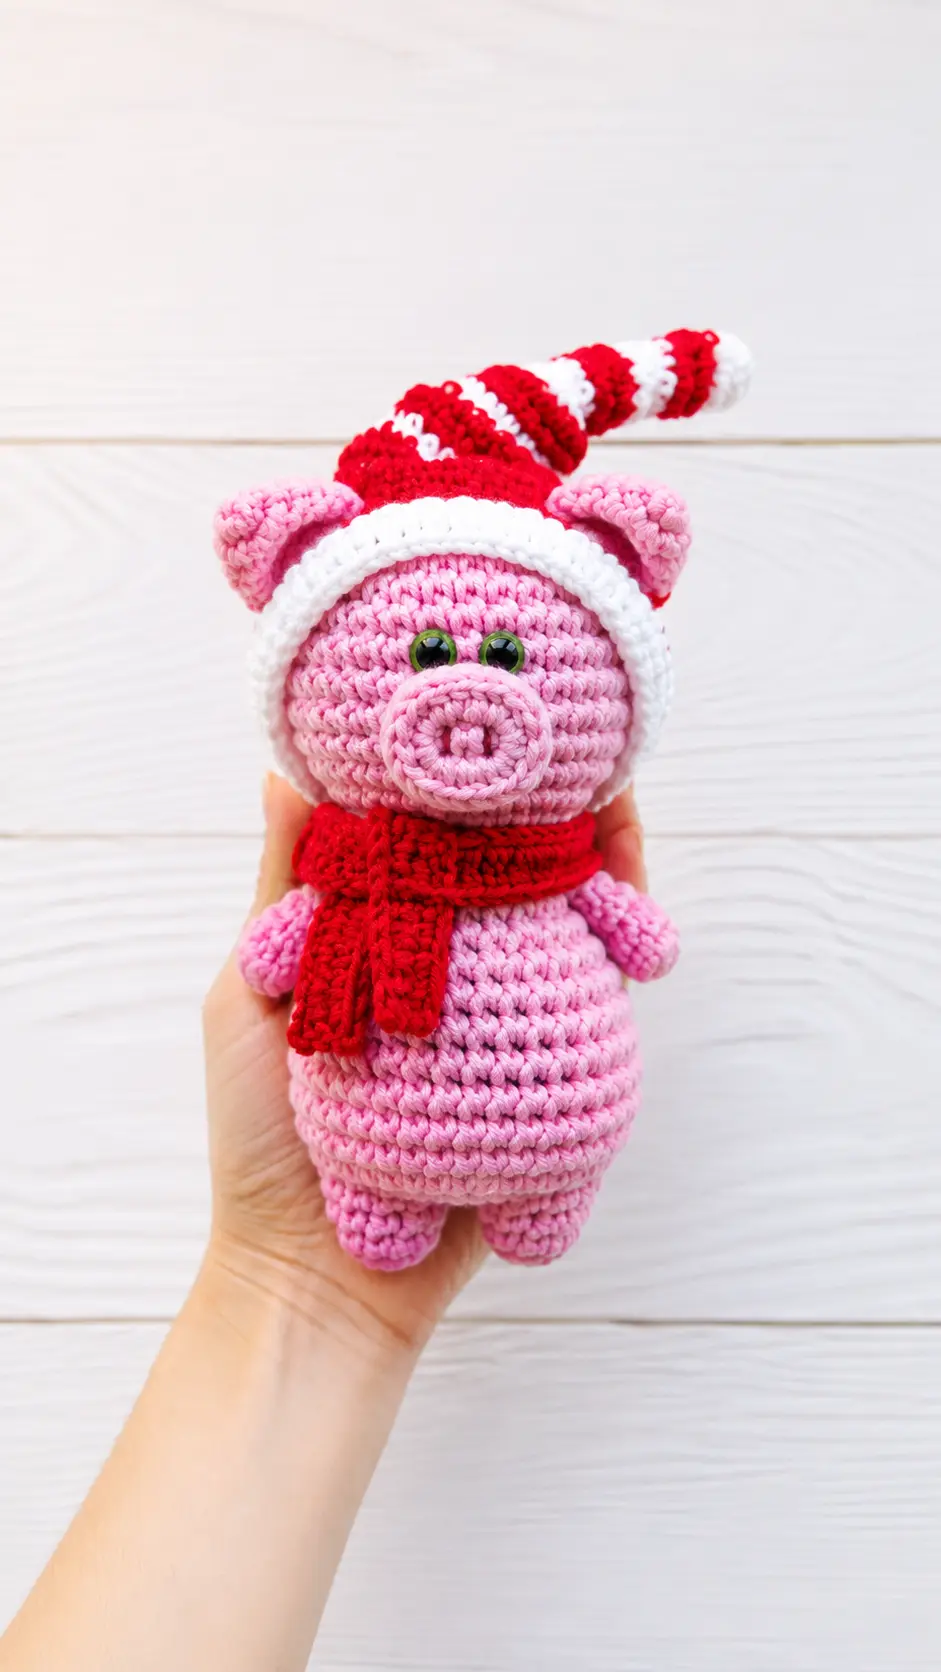
This Free Amigurumi Pattern Pig New Year Doll has that playful holiday feel without needing lots of complicated details. I especially love how easily you can change the accessories or colors to give your pig a completely different personality. Make one as a little New Year keepsake, tuck it into a gift for someone special, or simply let this cheerful piggy claim a spot among your seasonal decorations. Sometimes a small, silly project is exactly what you need to start the year with a smile.
Materials Needed
- YarnArt JEANS yarn in pink for body
- YarnArt JEANS yarn in red and white for hat and scarf
- 8 mm safety eyes
- Brown embroidery floss for eyebrows and nostrils
- Crochet hook size 2.5 mm
- Knitting needles size 2.5 mm
- Fiberfill stuffing
Abbreviations
- ch = chain
- sc = single crochet
- dec = decrease
- inc = increase
- mr = magic ring
Pattern Instructions
Head:
- 1. 7 sc in mr (7)
- 2. (inc)*7 times (14)
- 3. (1 sc, inc)*7 times (21)
- 4. (2 sc, inc)*7 times (28)
- 5. (3 sc, inc)*7 times (35)
- 6. (4 sc, inc)*7 times (42)
- 7-11. (5 rounds) without changes 42 sc
- 12. (4 sc, dec)*7 times (35)
- 13. (3 sc, dec)*7 times (28)
- 14. (2 sc, dec)*7 times (21)
- 15. (1 sc, dec)*7 times (14)
- 16. 14 sc neck
Body:
- 17. (1 sc, inc)*7 times (21)
- 18. 21 sc
- 19. (2 sc, inc)*7 times (28)
- 20. 28 sc
- 21-22. (2 rounds) (3 sc, inc)*7 times (35)
- 23. (4 sc, inc)*7 times (42)
- 24-27. (4 rounds) 42 sc
- 28. (4 sc, dec)*7 times (35)
- 29. 11 sc, 7 dec, 10 sc (28)
Legs:
- 30. SKIP 14 sc, work the following 14 sc
- 31-32. 14 sc
- 33. dec*7 times (7)
- Step: Decreases until closed, pull tight, cut thread.
- Step: Work the second leg in the same way.
Arms:
- 1. 5 sc in mr (5)
- 2-6. (5 rounds) 5 sc
- Step: Work the second arm in the same way.
- Step: Sew to body at the level of rounds 17-18.
Ears:
- 1. 4 sc in mr (4)
- 2. 4 sc
- 3. (inc)*4 times (8)
- 4. (1 sc, inc)*4 times (12)
- 5-6. 12 sc
- 7. (1 sc, dec)*4 times (8)
- 8. 8 sc
- 9. Fold ear in half and work across both walls 4 sc.
- Step: Work second ear in the same way.
- Step: Sew at the level from round 3 to 5 of the head.
Tail:
- 1. Work a chain of 7 ch.
- 2. In each st 3 sc.
- Step: Sew the tail on, forming a belly button for the pig.
Nose:
- 1. Work 4 ch + 1 turning ch
- 2. Inc, 2 sc, 4 sc in the last stitch. Along the other side of the chain: 2 sc, inc (12)
- 3. 1 sc, inc, 2 sc, inc, 2 sc, inc, 2 sc, inc, 1 sc (16)
- 4. 16 sc back loop only
- 5. (2 sc, dec)*4 times (12)
- Step: Sew nose to head.
- Step: Sew safety eyes, embroider eyebrows and nostrils on the nose.
Scarf:
- Note: Knitted on needles.
- 1. Cast on 5 stitches.
- 2. Work in turning rows in garter stitch to desired length.
Cap “Buratino”:
- Note: Start knitting with white thread. Knit alternating red and white thread every 4 rows. At the same time knit white rows in stockinette stitch, and red rows in reverse stockinette stitch.
- 1. Cast on 50 stitches.
- 1-4. Ribbing 1*1
- Note: Change thread to red:
- 5-6. reverse stockinette stitch
- 7. 16 purl, bind off 5 purl, 8 purl, bind off 5 purl, 16 purl
- 8. 16 knit, cast on 5, 8 knit, cast on 5, 16 knit
- Note: Change thread to white.
- 9-12. stockinette stitch
- Note: And so on. Make even decreases along the edges. The more frequent the decreases, the shorter the cap and vice versa.
- Note: Example of a row with decreases:
- 9. edge st, dec, 44 knit, dec, edge st
Tips for Success
- Firm stuffing: Add fiberfill continuously while working through the body and head rounds to maintain a smooth shape without lumps.
- Neat eye placement: Attach the safety eyes securely before finishing the head decreases, aligning them relative to where the snout will sit.
- Curling the tail: Working three single crochet stitches into each chain stitch naturally forms a tight spiral for a perfect piggy tail.
- Symmetry on ears: Pin both ears onto rounds 3 through 5 of the head before stitching to make sure they are aligned evenly on both sides.
- Cap fit: When knitting the long elf-style cap, measure it against the head as you add decreases to ensure a cozy fit over the pig ears.
Frequently Asked Questions
- What hook size works best for this project?A 2.5 mm crochet hook paired with sport weight yarn like YarnArt JEANS gives tight stitches that hold stuffing well.
- Can I crochet the scarf instead of knitting it?Yes, if you prefer crochet, chain 6 stitches and work single crochet rows until the scarf reaches your desired length.
- How do I split the lower body to form the legs?At round 30, count across 14 stitches to form the first leg opening, then work in a continuous circle over those stitches.
- Where should the snout be attached?Center the snout on the lower half of the face, right below the safety eyes, and lightly stuff it before sewing it down.
- How do I make the nostril details?Use brown embroidery floss to stitch two vertical parallel lines onto the oval snout before or after sewing it to the head.
Conclusion
Creating cute handmade characters brings so much warmth and fun to the home. Working with classic cotton blend yarn makes every stitch enjoyable, and assembling the sweet little details like the curly tail and cozy knitted scarf is so satisfying. I hope you love crafting this sweet project as much as I did. Grab your favorite hook, pick out your favorite yarn colors, and enjoy making your very own free amigurumi pattern!


Leave a Comment