

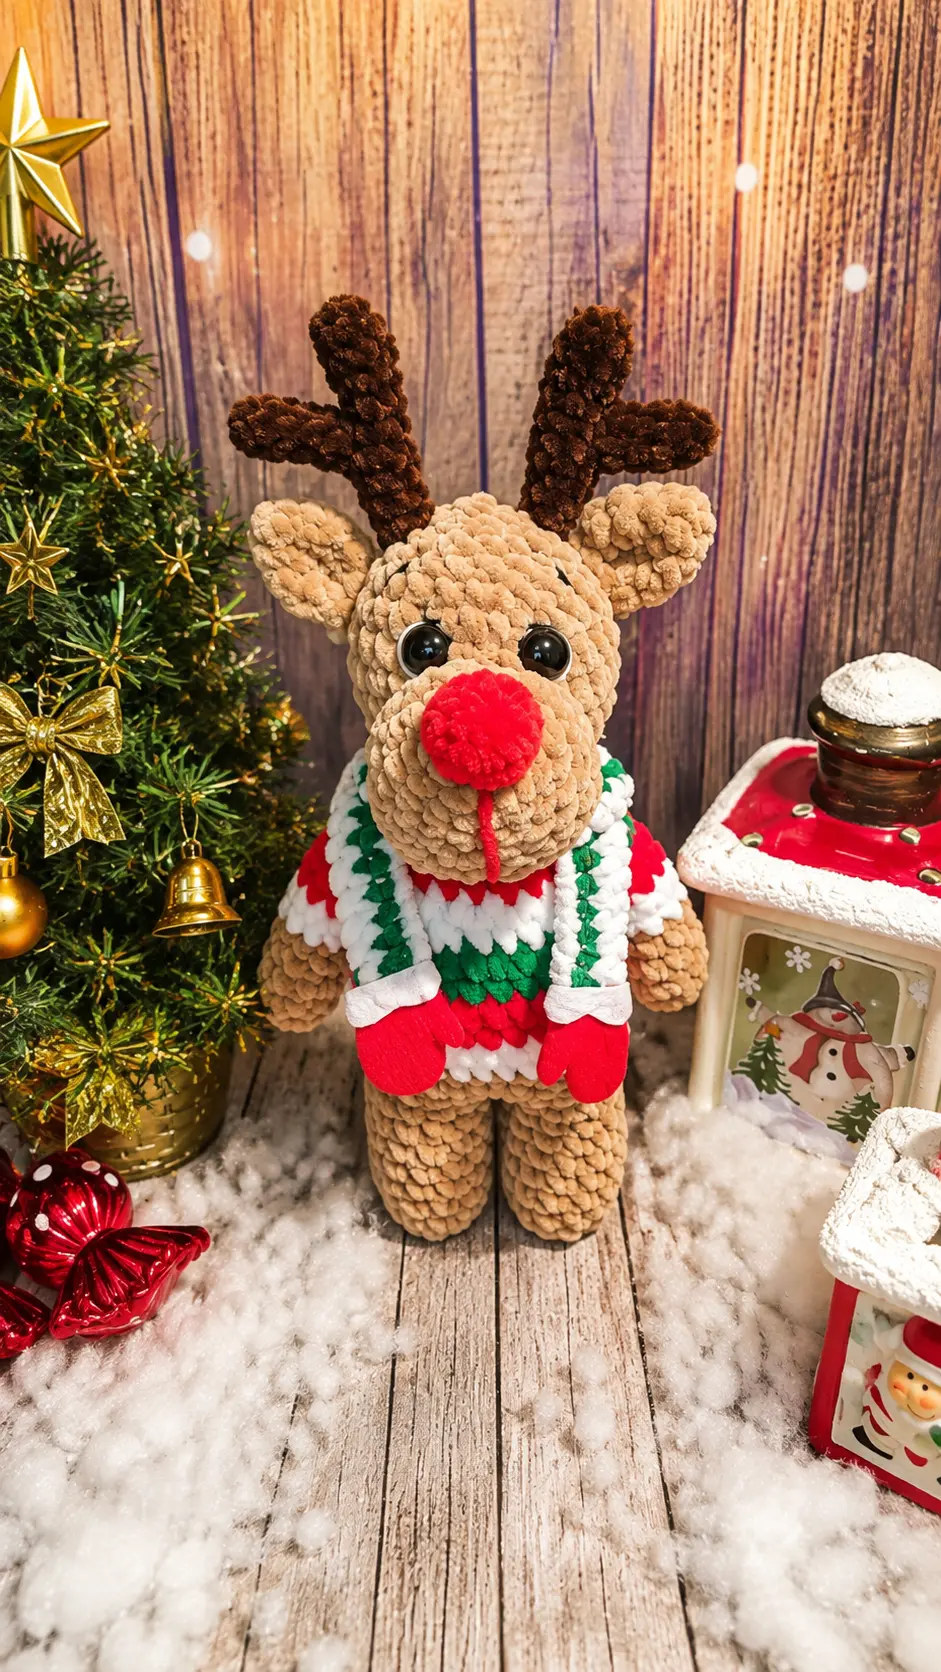
The idea for Rudi actually started while I was standing in line at the post office last December. A woman ahead of me was mailing Christmas packages, and one of the boxes had the cutest reindeer gift tag tied to the ribbon. It had a round red nose, tiny antlers, and a slightly crooked smile. I remember thinking that it would make an adorable crochet doll, so I snapped the idea into my mental list of projects to try when I had a free afternoon.
A few days later, I finally had the chance. I pulled together beige yarn for the body, a little red for that unmistakable nose, and some green and white for the festive details. The best moment came after attaching the antlers and adding the face. Until then, it was simply a collection of crocheted pieces, but suddenly there was this funny little reindeer looking back at me from the table.
That’s part of the charm of this Free Amigurumi Pattern Little Reindeer Rudi Doll. Rudi has all those familiar Christmas details without being complicated or overly fussy to make. His little antlers, bright nose, and festive touches give him plenty of character, and he’s just the right size to appear among your holiday decorations. I especially love the idea of making several with slightly different accessories—because a tiny handmade reindeer family scattered around the house sounds much more fun than making just one.
Materials Needed
- Beige, white, red, green, brown yarn
- Crochet hook (plus a smaller hook size for the horns)
- Safety eyes
- Felt for mittens
- Fiberfill stuffing
- Yarn needle and scissors
Abbreviations
- mr = magic ring
- ch = chain
- sc = single crochet
- inc = increase
- dec = decrease
- sl st = slip stitch
Pattern Instructions
Legs and body:
- Start with beige:
- 1. 6 sc in mr
- 2. 6 inc
- 3-9. 12 sc
- Assembly note: Join two legs with a slip stitch
- 10. Work 26 sc in beige (12 + one sl st st + 12 + again one sl st st = 26)
- 11-12. Change to white color and work two rounds 26 sc, then change to red color, but do not cut the white yarn.
- 13-14. 26 sc in red color, change to green
- 15-16. 26 sc in green color
- 17-18. 26 sc in white color
- 19. 1 sc, (6, dec)3, 1 sc (23) in red
- 20. 1 sc, (5, dec)3, 1 sc (20) in red color
- 21-22. 20 sc in green color
- 23. (3 sc, dec)4 (16) in white color
- 24. (2 sc, dec) 4 (12) in white color
- Assembly note: Continue working the head, take beige color
- 25. 12 inc (24)
- 26. (1, inc)12 (36)
- 27-30. 36 sc between rounds 29 and 30, insert eyes at a distance of 3-4 stitches
- 31. (4 sc, dec)6 (30)
- 32. (3 sc, dec)6 (24)
- 33. 24 sc
- 34. (2 sc, dec)6 (18)
- 35. (1 sc, dec)6 (12)
- 36. 6 dec, fasten off and cut thread
Muzzle: in beige color
- 1. 6 sc in mr (6)
- 2. 6 inc (12)
- 3. (1, inc)6 (18)
- 4. (2, inc)6 (24)
- 5-6. 24 sc
- 7. (4, dec)4 (20)
Nose: in red color
- 1. 6 sc in mr
- 2. 6 inc (12)
- 3. (2, dec)3 (9)
Ears: in beige color
- 1. 4 sc in mr
- 2. 4 inc (8)
- 3. (1, inc)4 (12)
- 4. (2, inc) 4 (16)
- 5. (3, inc)4 (20)
- 6. 20 sc
- 7. (3, dec)4 (16)
- Assembly note: Fold in half and sew edges together only at the bottom
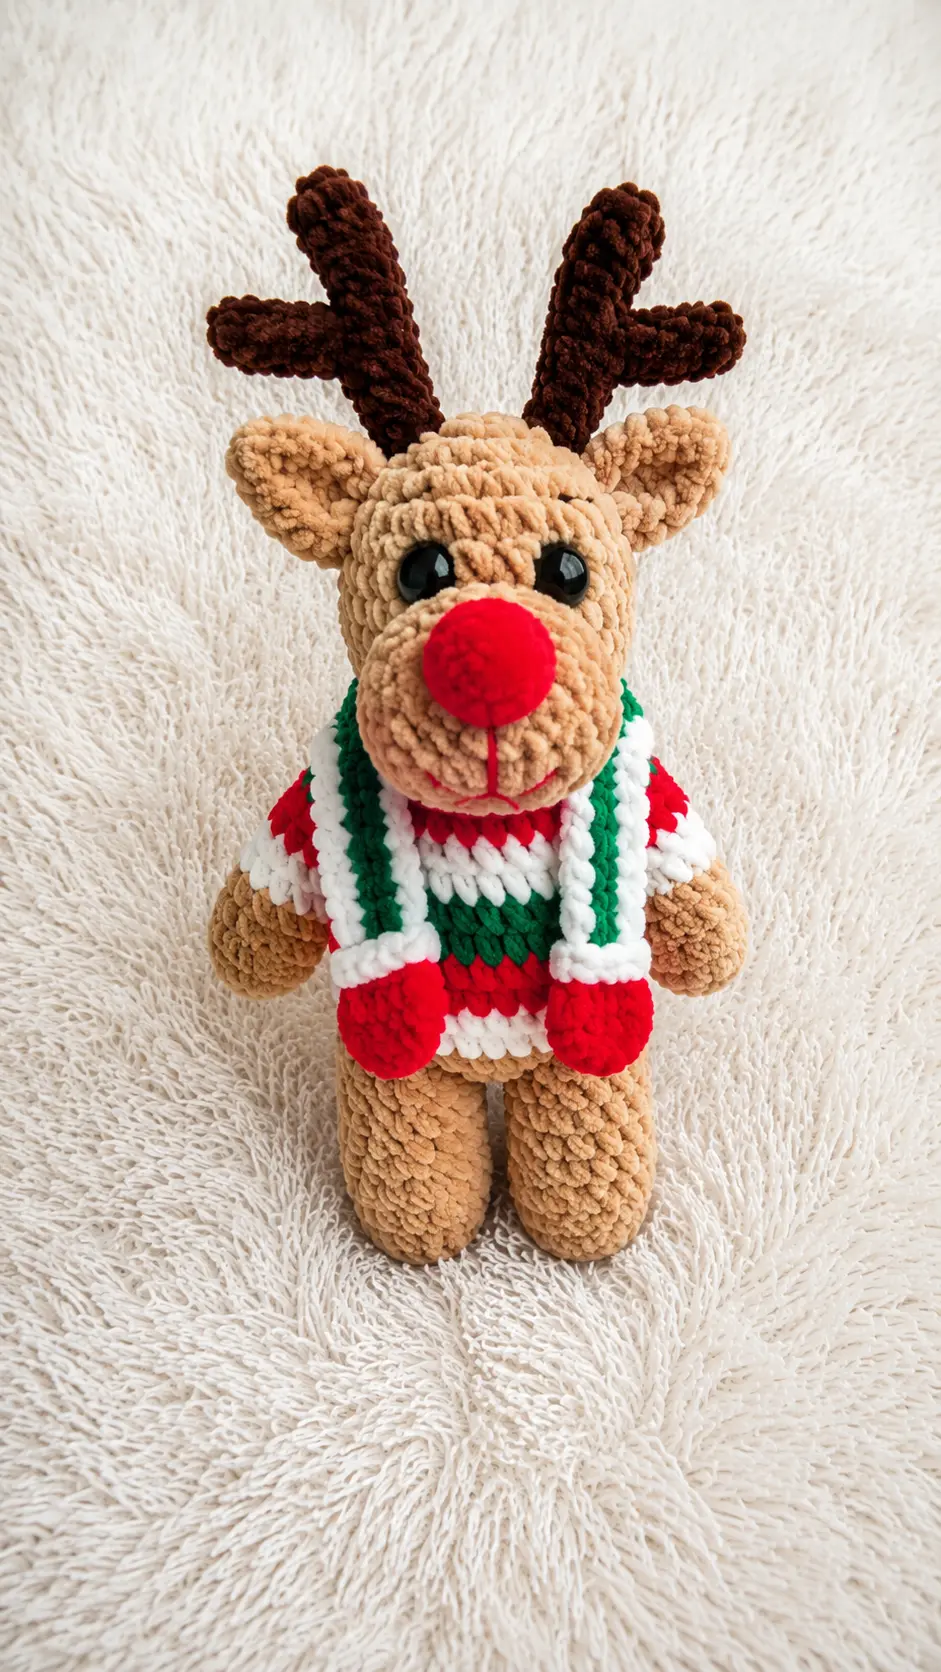
Horns: in brown color
- Assembly note: Take a hook smaller than used for everything else
- Assembly note: 2 parts:
- 1. 6 sc in mr
- 2-10. 6 sc
- Assembly note: 2 parts:
- 1. 6 sc in mr
- 2-5. 6 sc
- Assembly note: Sew the small parts in the middle on the sides to the large parts.
Arms:
- Start with beige color:
- Assembly note: Then every two rounds alternate colors (white/red/green)
- 1. 6 sc in mr (6)
- 2. (1, inc)3 (9)
- 3-12. 9 sc, after the 5th round change to white color and start alternating colors
- Assembly note: Fold arm in half and work across both sides 4 sc
Scarf:
- 1. Chain required number of ch and work in turning rows. Next, cut mittens out of felt and attach to the scarf.
Tips for Success
- Neat color changes: To keep the stripes crisp on the sweater and arms, finish the final pull-through of the last stitch in the previous color before switching to the new shade.
- Firm neck support: Since the body seamlessly transitions into the head, stuff the neck area firmly with fiberfill to prevent the head from drooping.
- Using a smaller hook for horns: Switching to a smaller hook for the antlers keeps the stitches tight and gives them enough structure to stand upright without needing wire.
- Attaching the muzzle: Stuff the muzzle lightly and pin it in place on the lower face before stitching to make sure it is centered right below the safety eyes.
- Felt accessories: When cutting the little mittens out of felt for the scarf, use sharp craft scissors and stitch them securely with matching embroidery thread.
Frequently Asked Questions
- How do I join the legs together without creating a gap?When making the joining slip stitch between the two legs, keep your tension snug. You can also use the yarn tail from your first leg to close up any tiny hole on the inside when weaving in the ends.
- Can I change the sweater colors on the body and arms?Yes, you can easily customize the sweater stripes with whatever yarn colors you have on hand or keep it a solid shade if you prefer not to change yarns frequently.
- What safety eye size works best for this project?Standard 8 mm or 10 mm plastic safety eyes fit nicely between rounds 29 and 30, placed about 3 to 4 stitches apart as directed in the pattern.
- How do I attach the small horn pieces to the main horn stem?Use a yarn needle to stitch the open end of the smaller 5-round piece to the side of the 10-round stem at a slight angle before sewing the completed antlers onto the head.
- Is it necessary to carry the white yarn inside the body?You do not have to carry it all the way through, but keeping it attached without cutting allows you to carry it up the inside of the work neatly across short color changes.
Conclusion
Projects like this bring so much cheer to the crafting basket, and seeing this cute festive figure come together is deeply satisfying. The striped details and felt accents give it a lovely handmade character that brightens up any corner of the room. I hope you take some quiet time to relax with your favorite yarn and enjoy every single stitch of this free amigurumi pattern!


Leave a Comment