

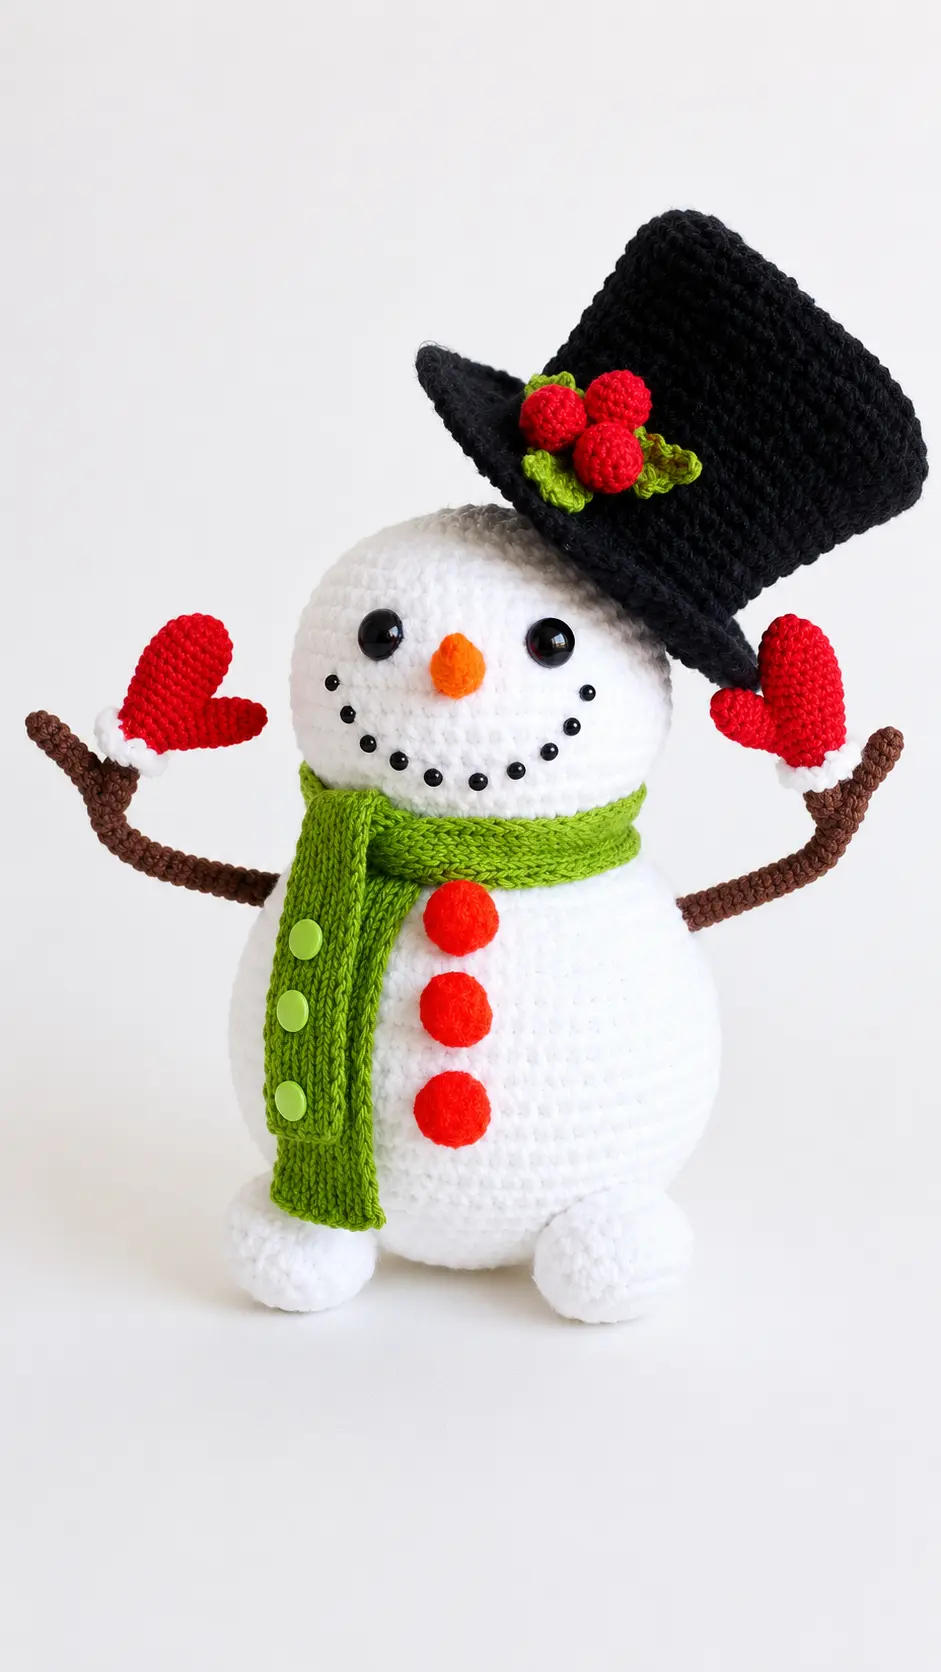
Every December, I have a habit of taking the long way through our neighborhood just to look at everyone’s Christmas decorations. Last winter, one house had a family of snowmen lined up beside the front steps, and the smallest one was wearing an oversized black top hat that kept slipping sideways in the wind. It looked so funny and cheerful that I pointed it out to my husband, and we were still laughing about it when we got home.
A few days later, I was working on another Christmas project when I remembered that little snowman. I had enough fluffy white yarn left for something small, so I decided to make my own version—complete with a proper top hat that wouldn’t blow away. The hat ended up being my favorite part because the moment I added it, this simple round snowman suddenly had a personality all his own.
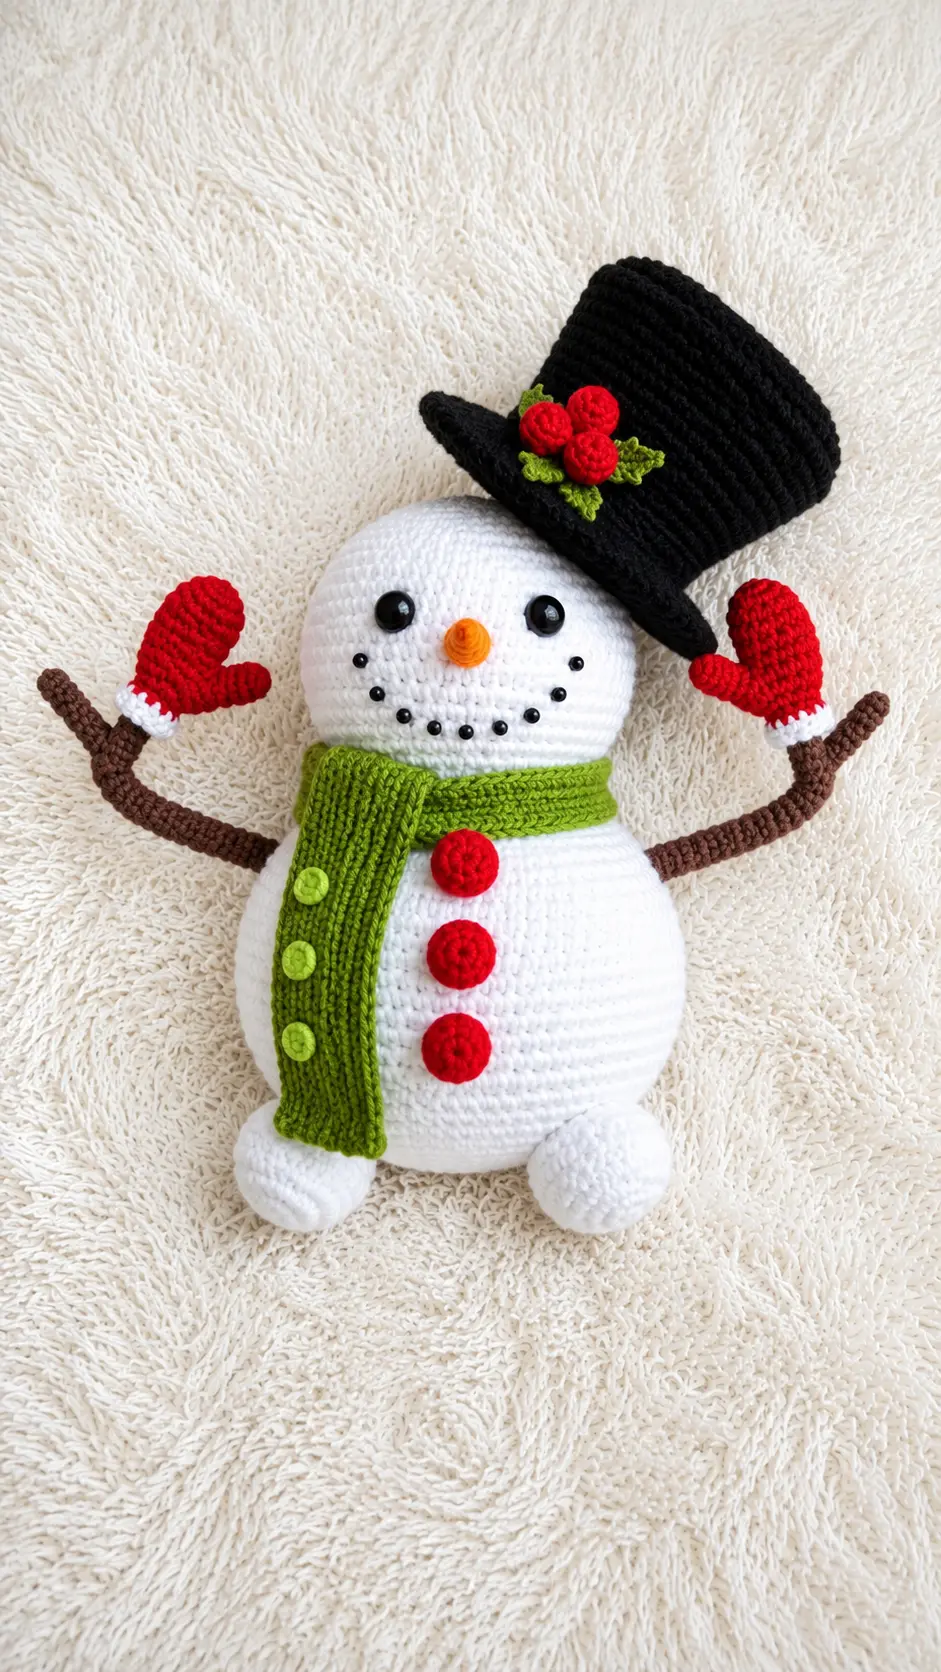
That’s what makes this Free Amigurumi Pattern Plush Snowman in a Top Hat such an enjoyable winter make. The fluffy body gives him that soft, snowy look, while the tall hat adds just the right amount of old-fashioned Christmas charm. I can picture him peeking out from a holiday centerpiece, sitting beside wrapped presents, or welcoming guests from an entryway shelf. You could even change the hatband and accessories to match your own Christmas colors and make each little snowman completely different.
Materials Needed
- Plush yarn Himalaya Dolphin baby in white (1 skein) and black (a little less than half a skein)
- Red, green, brown, and orange yarn (Yarnart Jeans used in original)
- Alize softy yarn in white for mitten cuffs
- Crochet hook size 4 mm for plush yarn, size 2 mm for semi-cotton yarn
- Wire for twig arms
- 14 mm safety eyes
- 5 mm eyes or beads for the smile
- 20 mm pompoms for decoration
- Buttons for the scarf
- Fiberfill stuffing
- Sewing needle
Finished Size
- Height is approximately 20 cm, or 28 cm with the top hat.
Abbreviations
- mr = magic ring
- ch = chain
- sc = single crochet
- hdc = half double crochet
- dc = double crochet
- inc = increase (work 2 stitches in one stitch)
- dec = decrease (work 2 stitches together)
- sl st = slip stitch
- blo = back loop only
- flo = front loop only
Pattern Instructions
Head and body:
- Note: Stuff as you go.
- 1. 6 sc in mr
- 2. (inc)*6 – 12
- 3. (1, inc)*6 – 18
- 4. (2, inc)*6 – 24
- 5. (3, inc)*6 – 30
- 6. (4, inc)*6 – 36
- 7. (5, inc)*6 – 42
- 8. (6, inc)*6 – 48
- 9. (7, inc)*6 – 54
- 10-17. 54 sc (8 rounds)
- 18. (7, dec)*6 – 48
- 19. (6, dec)*6 – 42
- 20. (5, dec)*6 – 36
- 21. (4, dec)*6 – 30
- 22. (3, dec)*6 – 24
- 23. 24 increases – 48
- 24. (2, inc)*16 – 64
- 25. 64 sc
- 26. (3, inc)*16 – 80
- 27-34. 80 sc (8 rounds)
- 35. (2, dec)* 20 – 60
- 36. (8, dec)*6 – 54
- 37. (7, dec)*6 – 48
- 38. (6, dec)*6 – 42
- 39. (5, dec)*6 – 36
- 40. (4, dec)*6 – 30
- 41. (3, dec)*6 – 24
- 42. (2, dec)*6 – 18
- 43. (1, dec)*6 – 12
- 44. (dec) – 6
- 45. Pull tight and fasten off thread.
Feet (2 pcs)
- Note: Optional. I made them for better stability.
- 1. 5 mr
- 2. (inc)*5 – 10
- 3. (inc)*10 – 20
- 4-5. 20 sc (2 rounds)
- 6. (dec)*10 – 10
- 7. (dec)*5 – 5
- 8. Pull tight and fasten off thread.
- Assembly note: Sew on at the very end, when the snowman is ready and you can determine the points of support.
Carrot nose.
- 1. Leave a long end of thread for sewing. ch 10, join into a ring with sl st
- 2-3. 10 sc (2 rounds)
- 4. dec, 8 sc – 7
- 5. dec, 7 sc – 6
- 6. dec, 6 sc – 5
- 7. dec, 5 sc – 4
- 8. dec, 4 sc – 3
- 9. dec, 3 sc – 2
- 10. pull tight and hide thread.
Twig arms (2 parts)
- Note: 1. 7 sc in mr
- Note: We crochet two parts like this, 10 and 4 cm.
- Note: Insert wire.
- Note: Sew the small part to the big part to make a branch
- Note: Insert the wire ends into the snowman and sew very tightly so that the branches hold firm and do not fall.
Mittens.
- 1. 6 sc in mr
- 2. (1 sc, inc)*3 – 9
- 3-5. 9 sc (3 rounds)
- Note: Fasten off thread and set part aside.
- 1. 6 sc in mr
- 2. (inc)*6 – 12
- 3. (3 sc, inc)*3 – 15
- 4-8. 15 sc (5 rounds)
- 9. Join with the first part and work 9 sc along it, then 15 sc along the second part – 24
- 10. (2 sc, dec)*6 – 18
- 11. 18 sc
- 12. (1 sc, dec)*6 – 12
- 13-14. 12 sc (2 rounds)
- 15. (12 sc)*2 – 24 out of Alize softy white color.
- Assembly note: Make a second mitten the same way.
Cylinder.
- 1. 6 sc in mr
- 2. (inc)*6 – 12
- 3. (1, inc)*6 – 18
- 4. (2, inc)*6 – 24
- 5. (3, inc)*6 – 30
- 6. (4, inc)*6 – 36
- 7. (5, inc)*6 – 42
- 8. (6, inc)*6 – 48
- 9. (7, inc)*6 – 54
- 10. (8, inc)*6 – 60
- 11. 60 sc blo
- 12. (13, dec)*4 – 56
- 13-14. 56 sc (2 rounds)
- 15. (12, dec)*4 – 52
- 16-17. 52 sc (2 rounds)
- 18. (11, dec)*4 – 48
- 19-20. 48 sc (2 rounds)
- 21. 48 sc flo
- 22. (5, inc)*8 – 56
- 23. (6, inc)*8 – 64
- 24. (7, inc)*8 – 72
- 25. 72 sc
Berries (3 pcs)
- 1. 5 in mr
- 2. (inc)*5 – 10
- 3. (1, inc)*5 – 15
- 4. 15 sc
- 5. (1, dec)*5 – 10
- 6. (dec)*5 – 5
- 7. Leave thread for sewing.
Leaves (3 pcs)
- 1. ch 12, from 2nd st: 2 sc, 1 hdc, 1 dc, (dc, hdc, ch 3, sl st in first ch, dc)-in one st, hdc, (dc, hdc, ch 3, sl st in first ch, dc)-in one st, dc, hdc, 2 sc, all the same along the other side. Leave thread for sewing.
- Assembly note: Sew leaves together in a triangle shape.
- Assembly note: Sew berries in the middle of the leaves and sew the whole flower to the cylinder.
Scarf
- 1. On knitting needles cast on 11 stitches and knit ribbed (1 k, 1 p) to your desired length.
Assembly and facial design:
- Step 1: Eyes are sewn between rounds 10 and 11 at a distance of about 7 ch.
- Step 2: Nose is sewn one round lower.
- Step 3: Embroider a smile out of beads.
- Step 4: Sew buttons onto the scarf.
- Step 5: Glue pompoms onto the belly.
- Step 6: Now, if needed, you can sew on the feet.
- Step 7: Snowman is ready!
Tips for Success
- Firm stuffing: Use small pieces of fiberfill to stuff the main body continuously as you crochet, ensuring the plump lower body holds its shape without stretching the plush yarn.
- Adding wire stability: Wrap crafting tape around the ends of the wire before inserting them into the plush body to keep the sharp edges from poking through the yarn.
- Creating a neat hat brim: When working round 11 back loop only and round 21 front loop only on the cylinder, keep your tension even so the top hat maintains a sharp, upright structure.
- Securing facial features: Threading small beads with fine sewing thread lets you position each smile bead precisely between stitches for a sweet expression.
- Foot placement: Wait until the full body, hat, and arms are completely finished before attaching the feet so you can test where the project balances best on a flat surface.
Frequently Asked Questions
- What hook size works best for the plush yarn?A 4 mm crochet hook is ideal for standard plush yarn like Himalaya Dolphin Baby, as it keeps stitches tight enough to hold fiberfill stuffing securely inside.
- Can I crochet the scarf instead of knitting it?Yes, if you do not knit, you can crochet a small scarf by chaining 5 stitches and working back and forth in single crochet or half double crochet until it reaches your preferred length.
- How do I attach the twig arms securely?Bend the wire ends inside the body into small loops so they cannot pull out, then use matching yarn to stitch tightly around the base of each arm branch.
- Do I have to add the optional feet?No, the feet are completely optional. The plush body has a flat base that can stand on its own, but the feet provide extra balance and character.
- How can I keep the cylinder hat stiff so it stays upright?You can stuff the top of the cylinder lightly with fiberfill, or insert a round piece of plastic canvas inside the top disc and base before attaching it to the head.
Conclusion
Creating cute handmade winter characters brings so much warmth and fun to the home. Working with cozy plush yarn makes every stitch enjoyable, and assembling the sweet little details like the mitten cuffs and leaf accents is so satisfying. I hope you love crafting this sweet project as much as I did. Grab your favorite hook, pick out your favorite yarn colors, and enjoy making your very own free amigurumi pattern!


Leave a Comment