

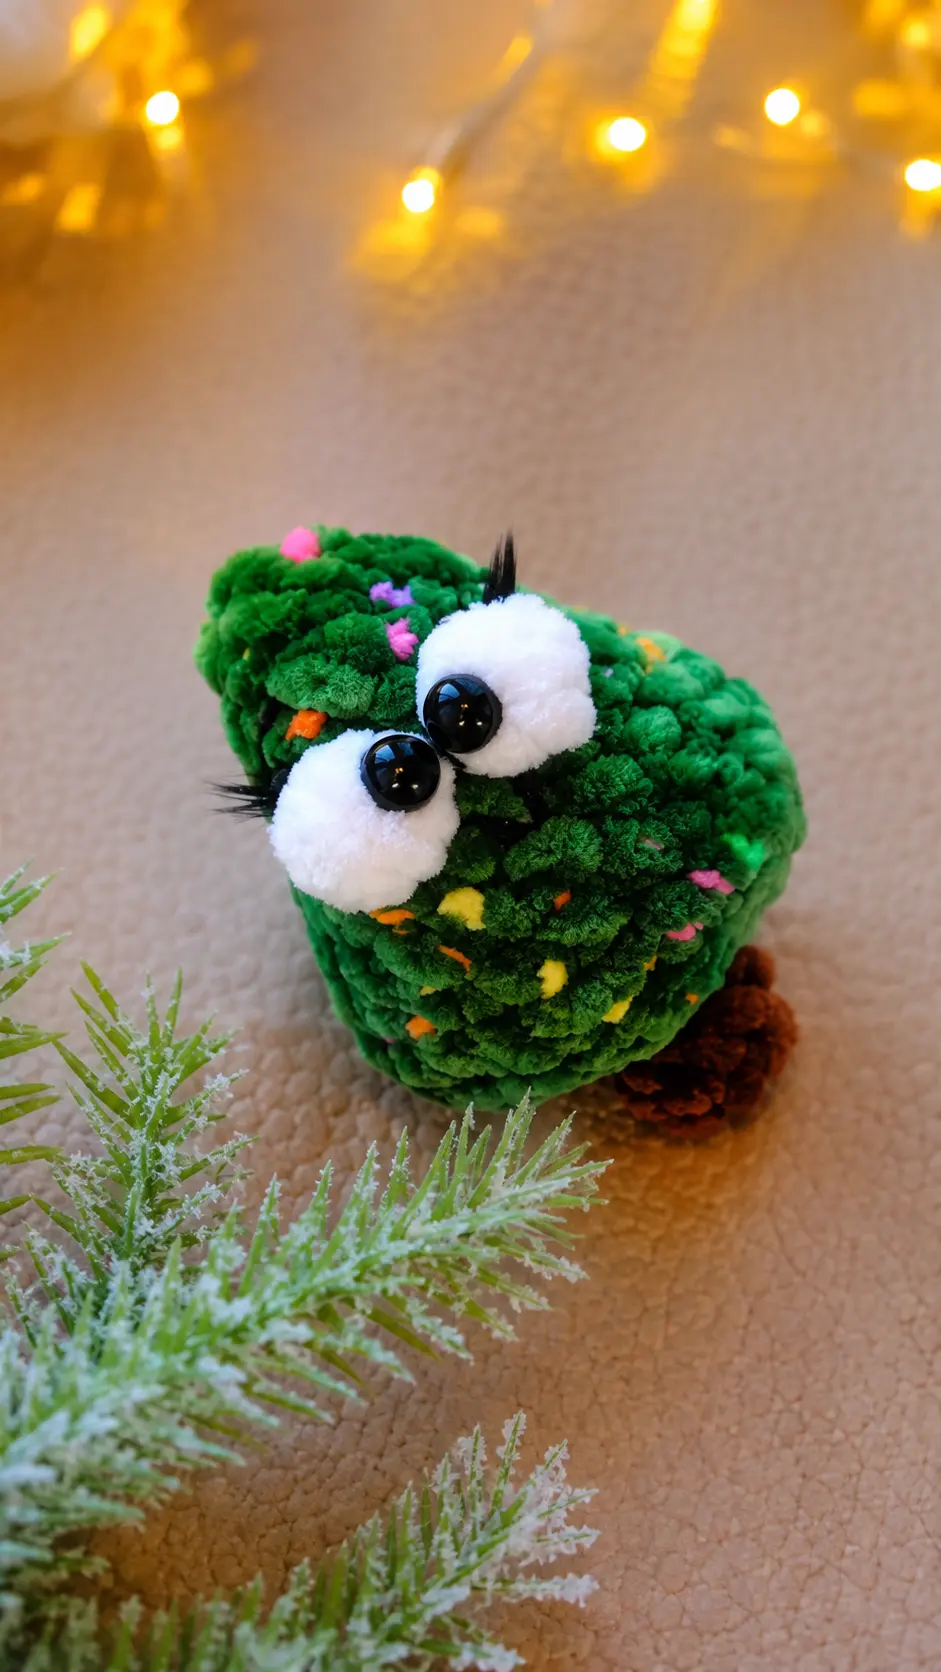
Last December, I spent an afternoon helping my friend decorate her Christmas tree. As we unpacked the ornaments, we found a tiny handmade tree decoration that her grandmother had sewn many years ago. It wasn’t the fanciest ornament on the tree, but it was the one everyone wanted to hear the story about. We both agreed that handmade holiday decorations have a way of making a home feel extra special.
When I got home that evening, I was still thinking about that little ornament. I went into my craft room, looked through my yarn stash, and found a soft skein of forest green plush yarn that had been waiting for the perfect project. I switched on the Christmas playlist, settled into my favorite chair, and started crocheting. Before long, a cheerful little Christmas tree with a tiny trunk and the sweetest face was sitting beside me, ready to join the holiday decorations.
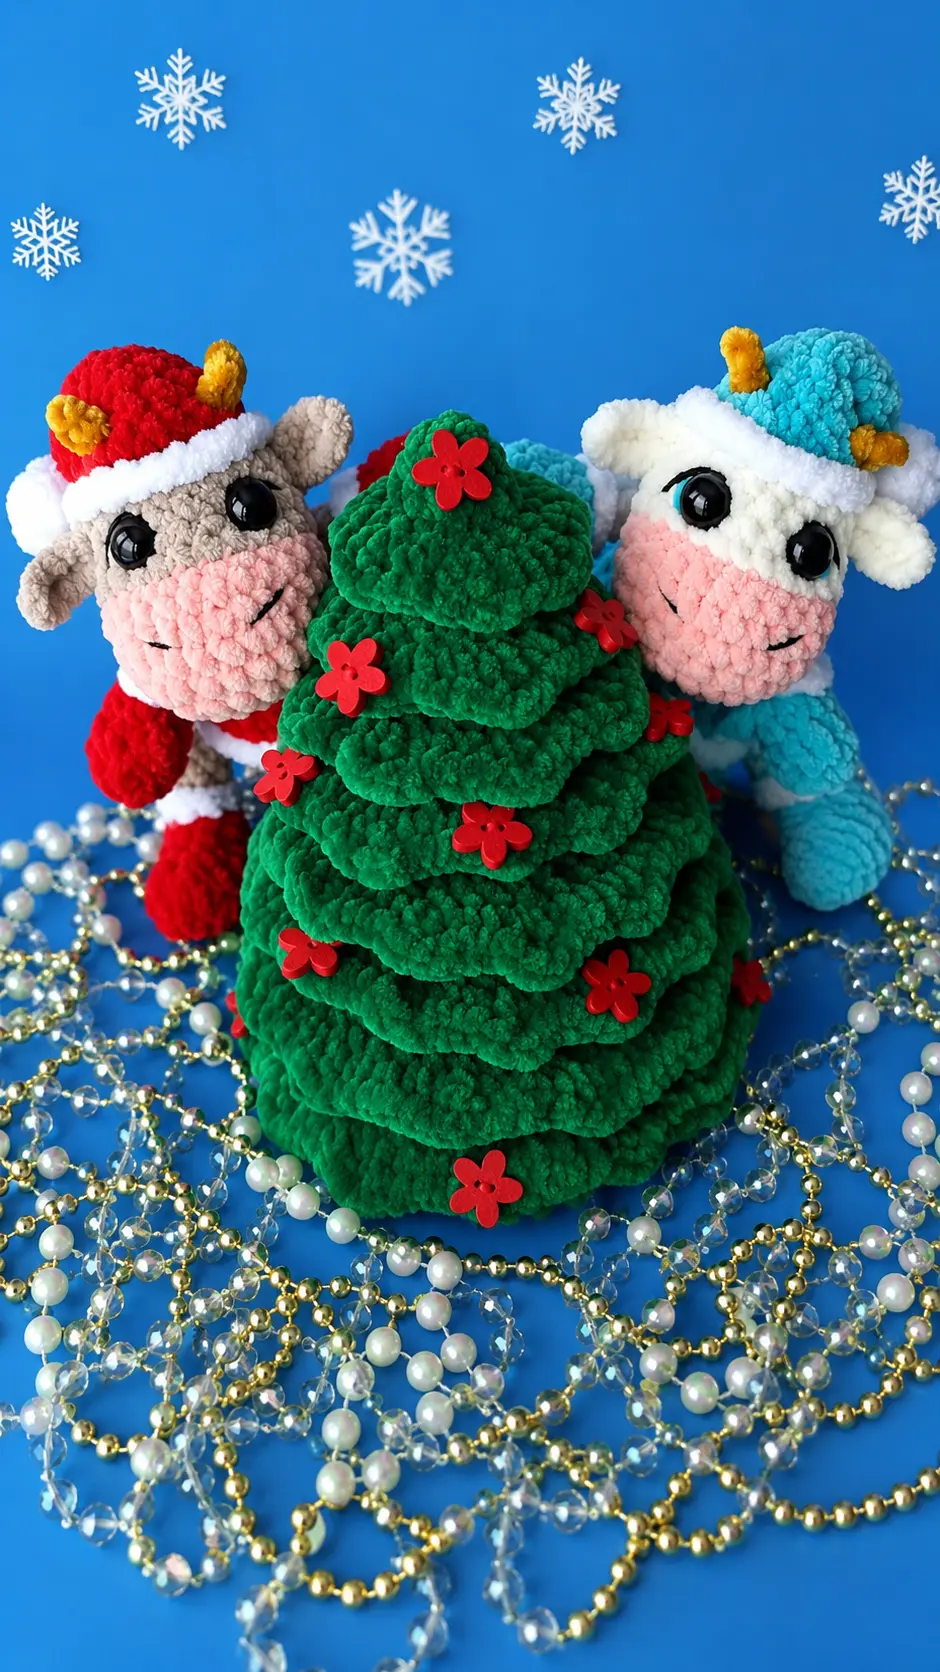
This Free Amigurumi Pattern Little Christmas Tree Plush is a wonderful project for adding a handmade touch to the festive season. It works up quickly, making it easy to crochet several in different shades of green for gifts, ornaments, table decorations, or holiday market displays. Whether you’re decorating your own home or surprising someone with a handmade keepsake, this little tree is sure to spread plenty of Christmas cheer, one stitch at a time.
Materials Needed
- Plush yarn in green, white, and brown colors 100 g/120 m (Wolans Bunny Baby 01, 40, 26 colors were used). Himalaya Dolphin Festival color 60 is also recommended for a decorated tree effect.
- Glue-on eyes 8 mm or 10 mm.
- Fiberfill stuffing.
- Crochet hook 3 mm – 3.5 mm (Clover 3.25 mm was used).
- Scissors.
- Glue for eyes and eyelashes (Moment Gel was used).
- Wide-eye needle for cinching the opening.
- Eyelashes (small piece, optional).
- Thin black thread for embroidering the smile.
- Long needle for sculpting.
- Strong thread for sculpting (lavsan thread was used).
Finished Size
The finished item when using the specified materials should be about 5-6 cm (without hat).
Abbreviations
- sc = single crochet
- hdc = half double crochet
- dc = double crochet
- Bobble = puff stitch (4 hdc with one top in one stitch)
- ch = chain
- MR = magic ring
- BLO = back loop only
- FLO = front loop only
- inc = increase
- dec = decrease
Pattern Instructions
We start crocheting the body from bottom to top. We start with brown yarn.
- 1) 6 sc in MR (6)
- 2) BLO: 6 sc (6)
- 3) 6 sc (6)
Change yarn to green, cut the brown yarn.
- 4) FLO: 6 inc (12)
- 5) (1 sc, inc)*6 (18)
- 6) (3 sc, inc)*4, 1 sc, inc (23)
- 7) BLO: 23 sc (23)
- 8) (2 sc, dec)*5, 3 sc (18)
- 9-10) 18 sc (18) (2 rounds)
- 11) (1 sc, dec)*2, Bobble, dec, Bobble, dec, (1 sc, dec)*2 (12)
- 12-13) 12 sc (12) (2 rounds)
Stuff. And make sculpting according to your preference (optional).
- 13) 6 dec (6)
Cut the thread and cinch the opening.
Assembly and Details
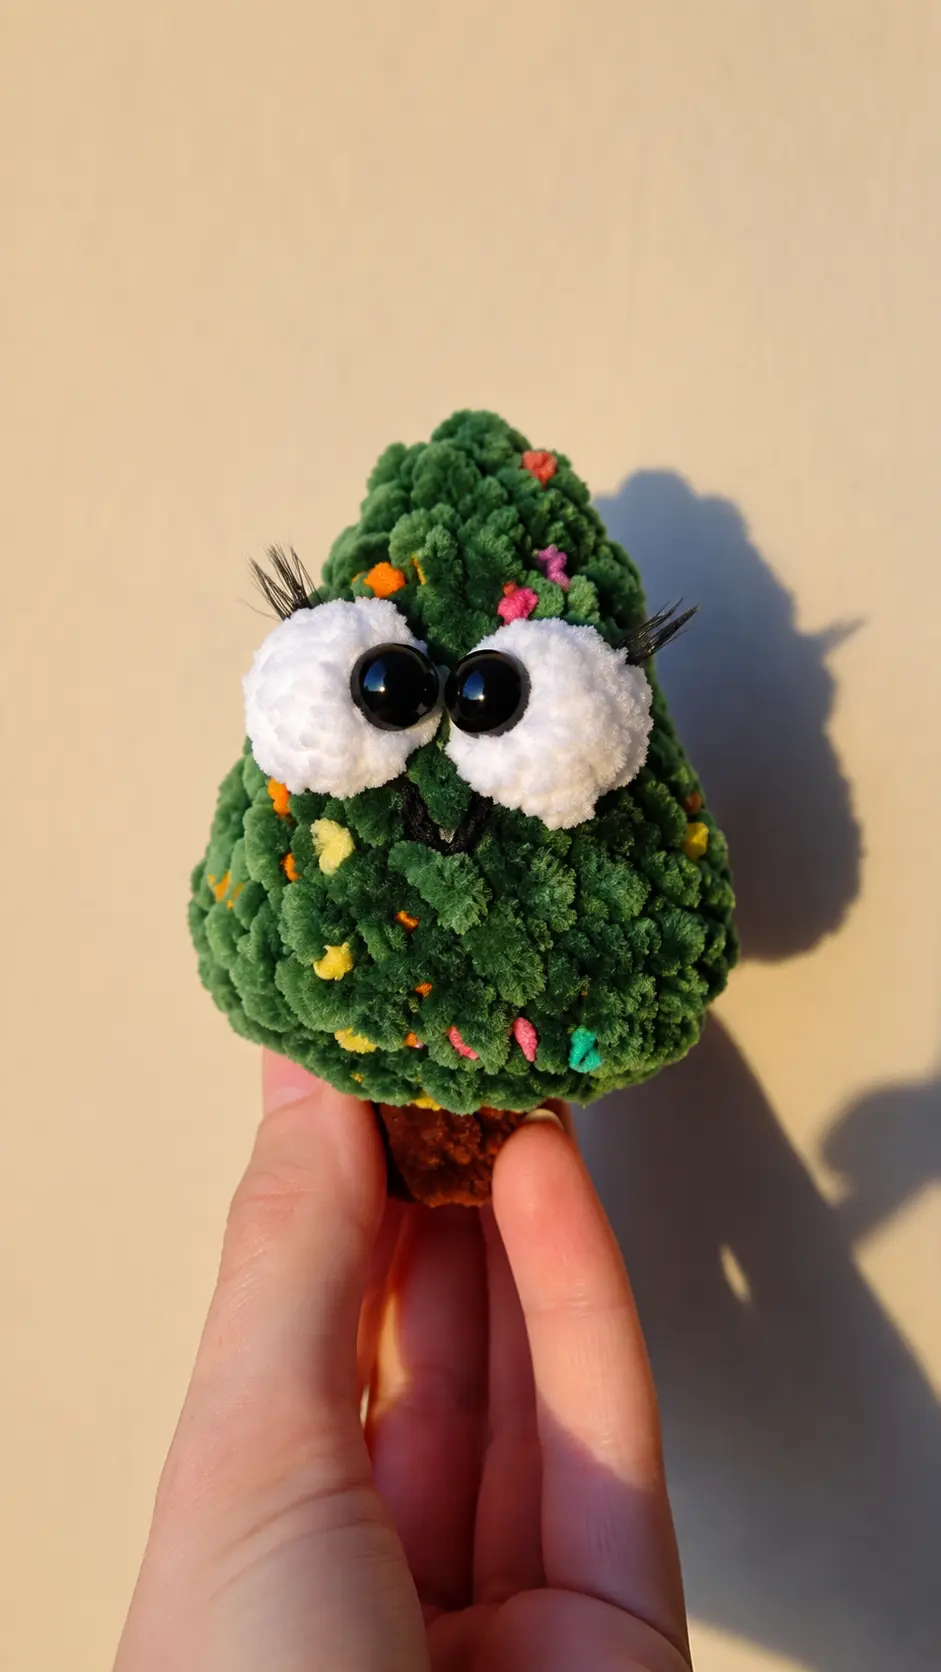
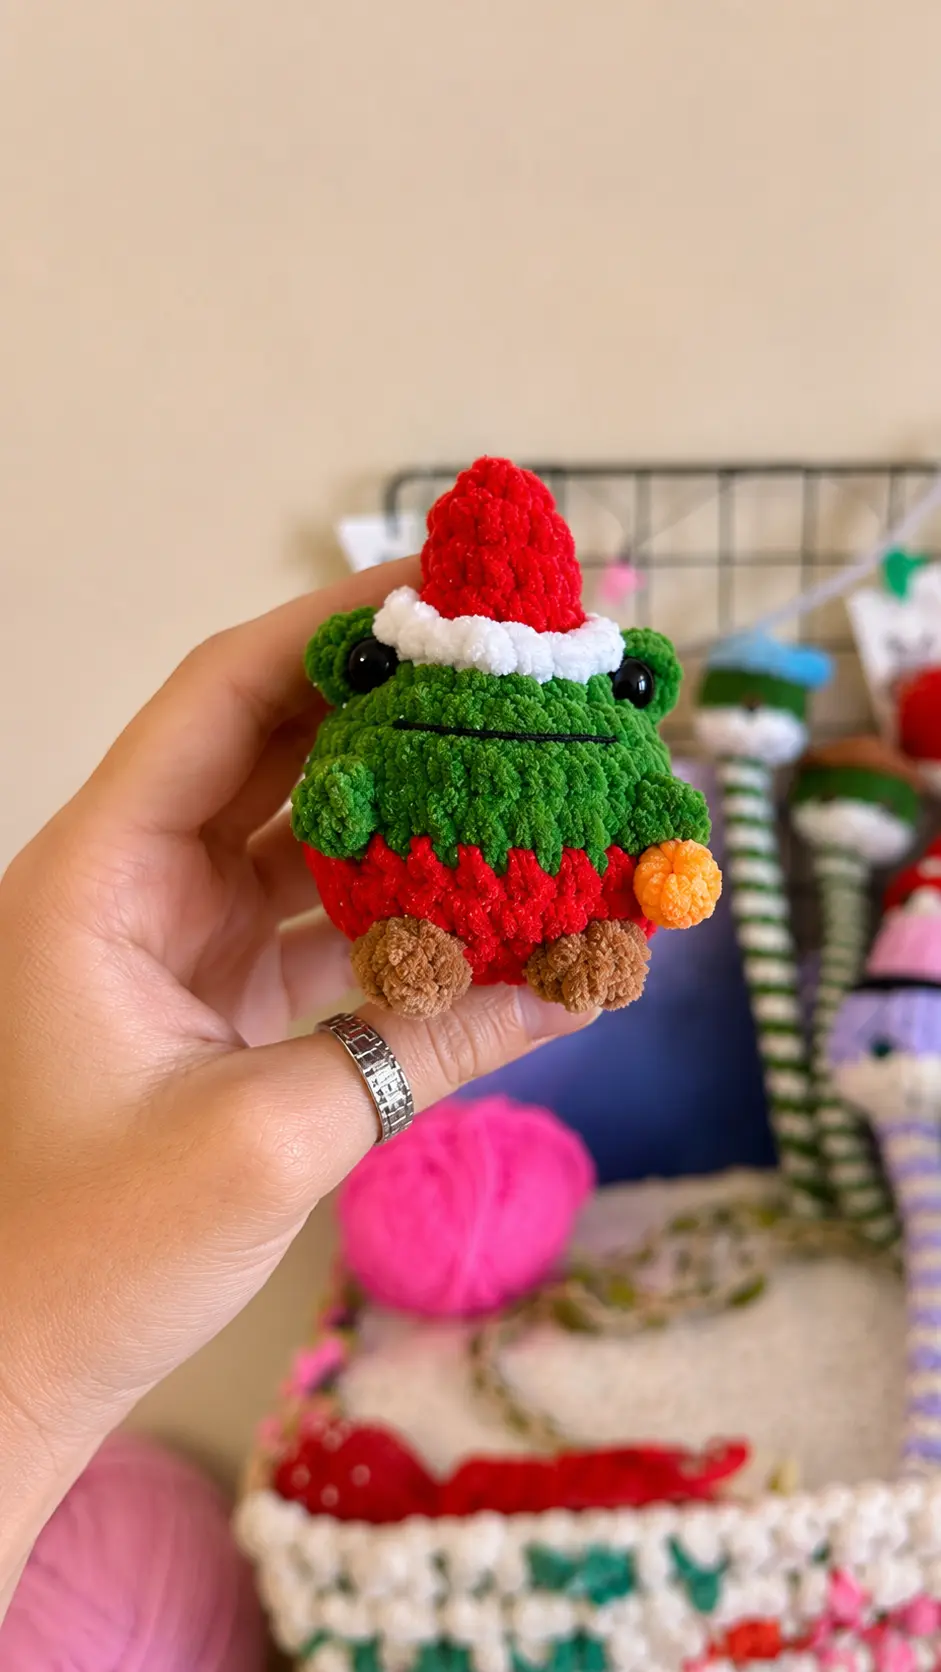
Glue eyes onto the white Bobbles. If there is a hole between them (the white Bobbles), carefully tighten it with a thin thread. If you have a cap, sew it on and glue eyelashes. Decorate the Christmas tree with anything you want. Embroider a smile with thin black thread.
Your Little Christmas Tree is ready!
Tips for Success
- Keep yarn tension firm: Plush yarn stretches easily, so keep a consistent tension to prevent stuffing from showing through your stitches.
- Mark loop rounds carefully: Round 4 uses front loops only and round 7 uses back loops only, so work slowly to catch the correct loops on the tree base.
- Stuff before final decreases: Fill the body evenly with fiberfill right after finishing round 12 so the shape stays firm and upright.
- Use fabric glue for eyes: Secure safety or craft eyes onto the plush white eye bases using strong glue to make sure they hold tightly.
- Add personal holiday decorations: Use colorful thread, tiny beads, or glitter yarn to decorate the tree body for a festive holiday finish.
Frequently Asked Questions
What type of yarn works best for this Christmas tree?
Super bulky plush or chenille yarn works best to give the little tree its soft, rounded appearance and texture.
Can I use safety eyes instead of glue-on eyes?
Yes, you can insert standard safety eyes into the white bobble stitches before stuffing the head and closing up the top.
How big does this finished plush turn out?
When made with plush yarn and a 3.25 mm hook, the finished tree measures around 5 to 6 cm tall.
Is this pattern suitable for beginners?
Yes, the project is short and simple, making it great for crocheters who know basic stitches like single crochet and working in loops.
Do I need to sew the trunk on separately?
No, the trunk and tree body are crocheted continuously in one piece from the bottom up.
Conclusion
Creating this sweet festive decoration is such a joyful way to spend a quiet afternoon with your yarn craft. This Free Amigurumi Pattern Little Christmas Tree Plush brings a warm, cheerful touch to your holiday setup and makes a delightful handmade gift for loved ones. I hope you have so much fun crocheting a whole forest of these cute plush trees!


Leave a Comment