

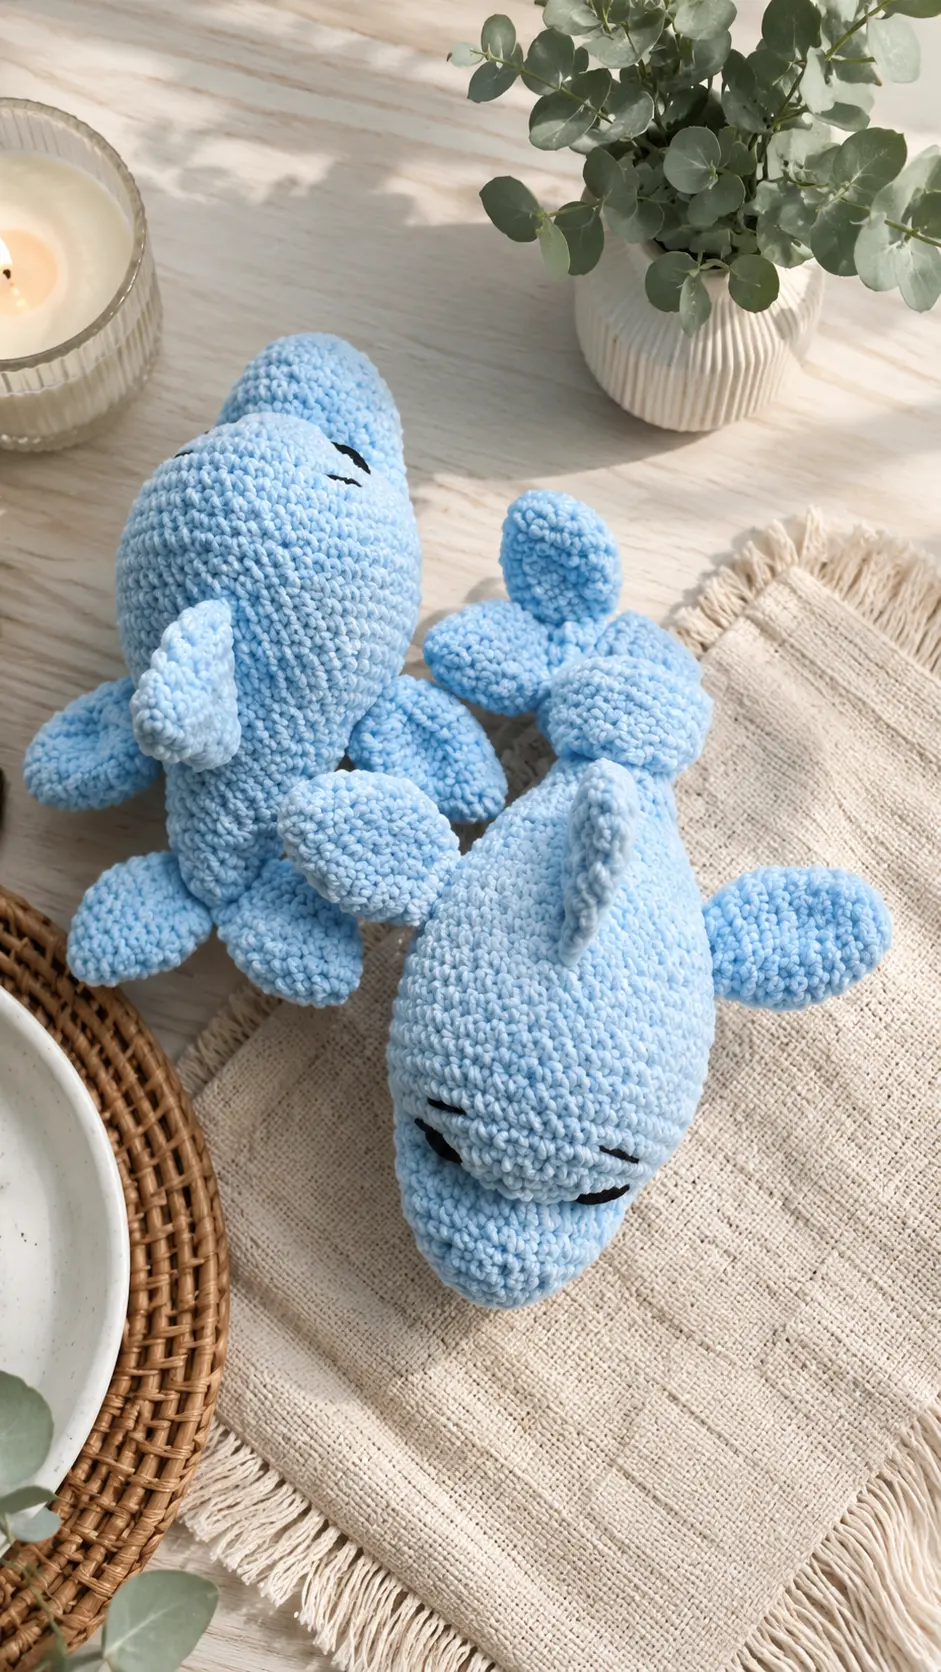
There’s a little shelf in my living room where I keep some of my favorite finished projects. My son used to walk past it every morning before school and just sort of glance at it without saying much. One day I added a small stuffed elephant I had just finished, and he stopped, picked it up, and said “Mom, you should make a giraffe next.” Just like that, out of nowhere.
I laughed and told him I’d look for a pattern. I found this one not long after, and I have to say, it sat in my downloads folder for about two weeks before I finally started it on a rainy Saturday afternoon. I made myself a big cup of coffee, turned on something quiet in the background, and just dove in. The chenille yarn felt so soft in my hands, and before I knew it, those chubby little legs were done and I was already smiling.
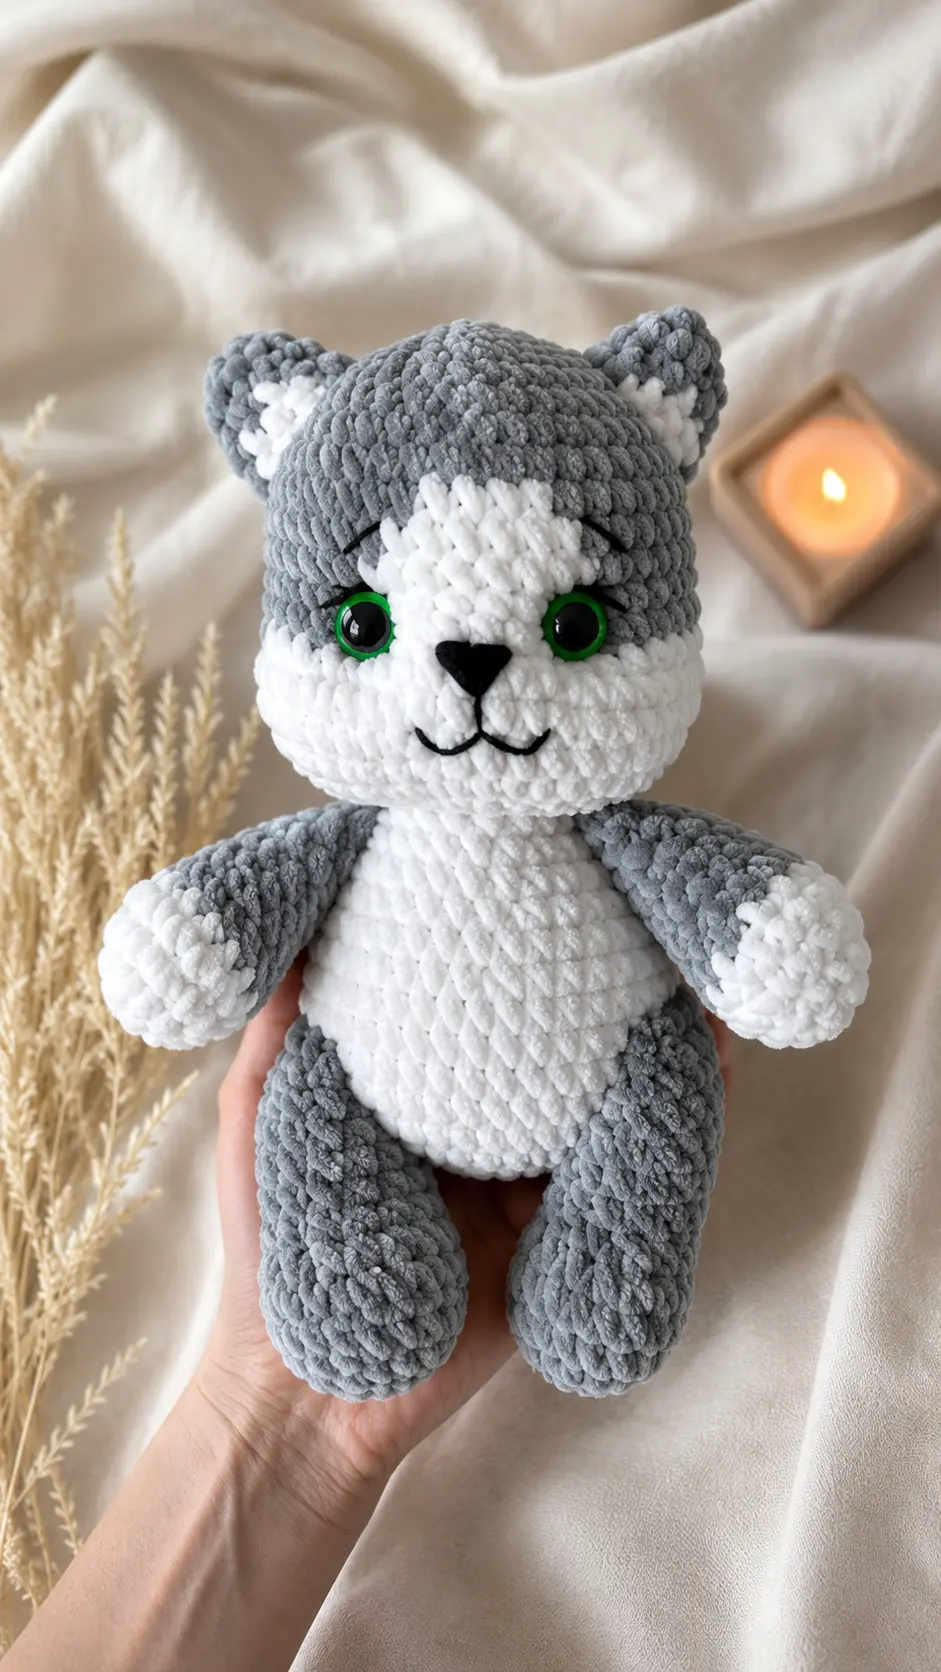
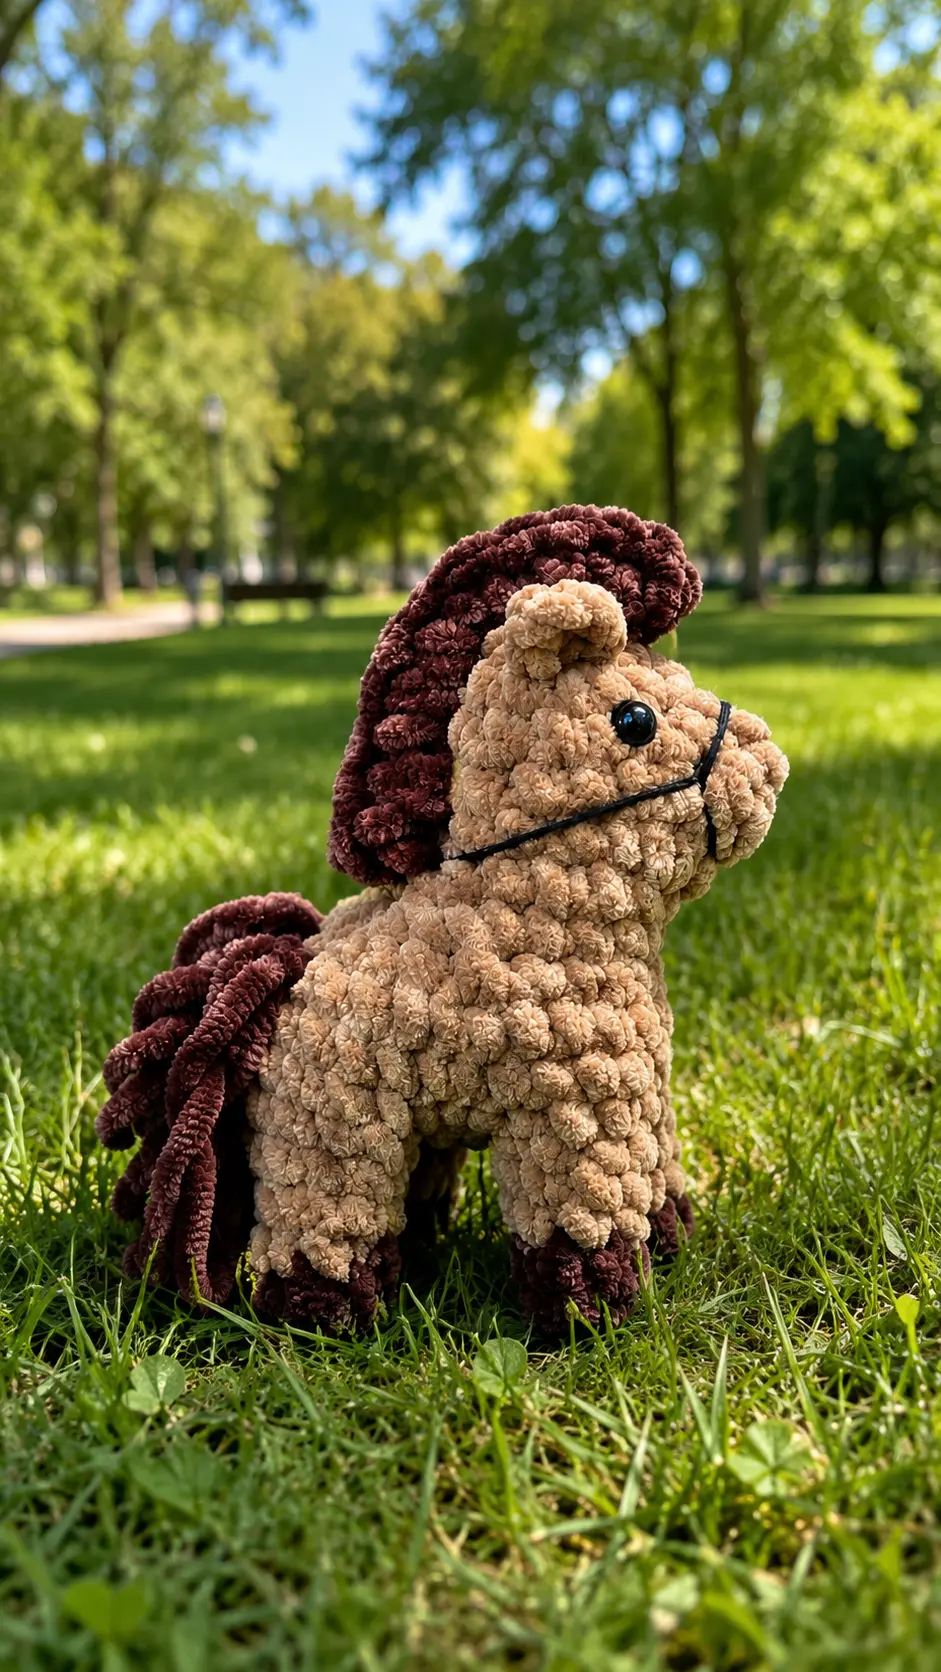
If you’ve been looking for a crochet giraffe amigurumi pattern that’s fun to make and gives you a plush, huggable result, this is the one to try. It’s approachable, it works up faster than you might expect, and the finished giraffe is genuinely sweet.
What You’ll Need
- Chenille yarn (or any yarn of your choice)
- 3.5mm hook (or any hook fitting your yarn)
- Fiber filling
- Black and white cotton yarn
- Needle for sewing
- Scissors
- Stitch marker
- Safety eyes (18mm recommended)
Abbreviations
- MR: magic ring
- CH: chain
- SC: single crochet
- SLST: Slip-stitch
- HDC: Half double crochet
- HDC INC: half double crochet increase
- DC: double crochet
- DC INC: double crochet increase
- INC: increase
- DEC: invisible decrease
- FO: fasten off
- FLO: Front loop only
- BLO: Back loop only
- [X,y]: Work the instructions in the same stitch – used on ears
- (XY): total number of stitches at the end of the round
Pattern Instructions
Head
In Main Color
Chain 7. Start from 2nd ch from the hook.
- R1: inc, 4sc, 4sc in the last ch, on the other side of the chain 4sc, inc (16)
- R2: inc, 5sc, (1sc, inc) x 2, 4sc, inc, 1sc (20)
- R3: 2sc, inc, 4sc, (2sc, inc) x 2, 6sc, inc (24)
- R4-5: 24sc (2 rounds) (24)
- R6: 3sc, FLO 7inc, 14sc (31)
- R7: 3sc, (1sc, inc) x 7, 14sc (38)
- R8-9: 38sc (2 rounds) (38)
- R10: (17sc, dec) x 2 (36)
The increases should be in the center. Depending on your tension you can adjust it by adding or removing sc before the increases.
Insert the safety eyes between round 6-7 with 5inc in between. Stuff the muzzle firmly and the head as you go.
- R11: (4sc, dec) x 6 (30)
- R12: (3sc, dec) x 6 (24)
- R13: (2sc, dec) x 6 (18)
- R14: (1sc, dec) x 6 (12)
- R15: dec x 6 (6)
FO and leave a tail to close the hole using the FLO of round 15.
Body
In Main Color Stuff as you go.
- R1: MR 8sc
- R2: inc x 8 (16)
- R3: (inc, sc) x 8 (24)
- R4: (2sc, inc) x 8 (32)
- R5-9: 32sc (5 rounds) (32)
- R10: (2sc, dec) x 8 (24)
- R11-12: 24sc (2 rounds) (24)
- R13: (1sc, dec) x 8 (16)
- R14-15: 16sc (2 rounds) (16)
FO and leave a tail to sew the head.

Arms x 2
Start with Contrast Color
- R1: MR 6sc
- R2: inc x 6 (12)
- R3: (1sc, inc) x 6 (18)
- R4: (1sc, dec) x 6 (12)
-Stuff the hoof-
- R5: (2sc, dec) x 3 (9) – Color change to Main Color –
- R6-10: 9sc (5 rounds) (9)
Do not overstuff. Fold in half and do 4sc through both sides. Leave a long tail to sew.
Legs x 2
In Contrast Color
- R1: MR 6sc
- R2: inc, hdc inc, 2dc inc, hdc inc, inc (12)
- R3: 1sc, inc, hdc, hdc inc, dc, 2dc inc, dc, hdc inc, hdc, inc, sc (18)
- R4: BLO 18sc (18)
- R5: (2sc, dec) x 4, 2sc (14)
-Color change to Main Color-
- R6-8: 14sc (3 rounds) (14)
Stuff and FO. Leave a long tail to sew.
Ossicones x 2
In Contrast Color
- R1: MR 4sc
- R2: (1sc, inc) x 2 (6)
- R3: 6sc (6)
- R4: (1sc, dec) x 2 (4)
-Color change to Main Color-
- R5-6: 4sc (2 rounds) (4)
Do not stuff. FO and leave a long tail to sew.
Ears x 2
In Main Color
- R1: MR 6sc
- R2: 2inc, [1hdc, 1dc], [1dc, 1hdc], 2inc (12)
Fold in half and do 2 slst through both sides. FO and leave a long tail to sew.
Assembly
- Sew the ossicones between R10 and R11 4sc apart.
- Sew the ears 3sc to the side of the ossicones, 2 rounds away from the eyes.
- Sew the head to the body, between R6 and R10 of the head.
- Sew the arms to the body between R10 and R13.
- Sew the legs between R5 and R8 with 6sc in between.
Tail
Attach the yarn on the centre of the back between R4 and R5 and chain 5. Then sc back in to the chain and slst where you have attached the yarn.
Face Shaping
For the face shaping: Insert the needle in point 1, come out through point 2, insert the needle in point 3 and come out through point 4. Then insert the needle through point 5 and come out through point 6 – one stitch to the side of point 1. Pull the tail until you reach your desired result and fasten off.
For the muzzle shaping: Insert the needle through point A, come out through point B, insert the needle in point C and come out through point D – one stitch to the side of point A. Pull the tail until you reach your desired result and fasten off.
Details
For the spots: Cut a piece of yarn in contrast color (50cm/20inch) and make some spots on the back and on the belly of the giraffe.
Cut a piece of yarn (about 20cm/8inch long) in contrast color and fold it in three. Pull a loop up in the last stitch of the tail and pull the loose ends through that loop, then pull tight. With a scissors trim the ends. I recommend you to burn it lightly with a lighter, so the ends don’t shed.
For the eyes details: Cut a tail of the white cotton yarn and embroider the sclera. Then cut a tail of the black cotton yarn and embroider the eyelid/eyelashes and eyebrows.

Tips for Success
Chenille yarn makes a big difference. This pattern was made with chenille yarn, and it gives Ginny that ultra-soft, velvety feel that makes the finished giraffe so huggable. If you’ve never worked with chenille before, just know the stitches can be harder to see. Go slowly and use a good light.
Don’t overstuff the arms. The pattern specifically says not to overstuff the arms, and it’s worth paying attention to. Overstuffed arms can make assembly awkward and affect how the finished giraffe sits.
Get the muzzle stuffed firmly before you close up. The muzzle starts with a flat chain foundation and needs to be stuffed well to hold its shape. The face shaping technique works best when there’s a solid, firm base underneath.
Use a stitch marker from the very first round. With chenille yarn especially, it can be really easy to lose track of where your rounds begin and end. A stitch marker will save you a lot of counting and frustration.
Take your time with the face embroidery. The eye details, the lashes, the eyebrows, these are the finishing touches that make Ginny look so expressive and sweet. Use your cotton yarn slowly and don’t rush it. It’s okay to undo and redo this part until it looks just right to you.
Frequently Asked Questions
Is this pattern suitable for beginners? It’s best for someone who already knows basic amigurumi stitches, including magic rings, increases, decreases, and working in continuous rounds. The face shaping and color changes add a little extra complexity, but the steps are clearly explained.
What does “ossicones” mean? Ossicones are the horn-like bumps on top of a giraffe’s head. In the pattern, they’re small separate pieces you crochet and sew on after completing the head.
Can I use regular acrylic yarn instead of chenille? Yes, absolutely. The finished size and texture will be a bit different, but the pattern will still work. Just use a hook size that matches your yarn weight.
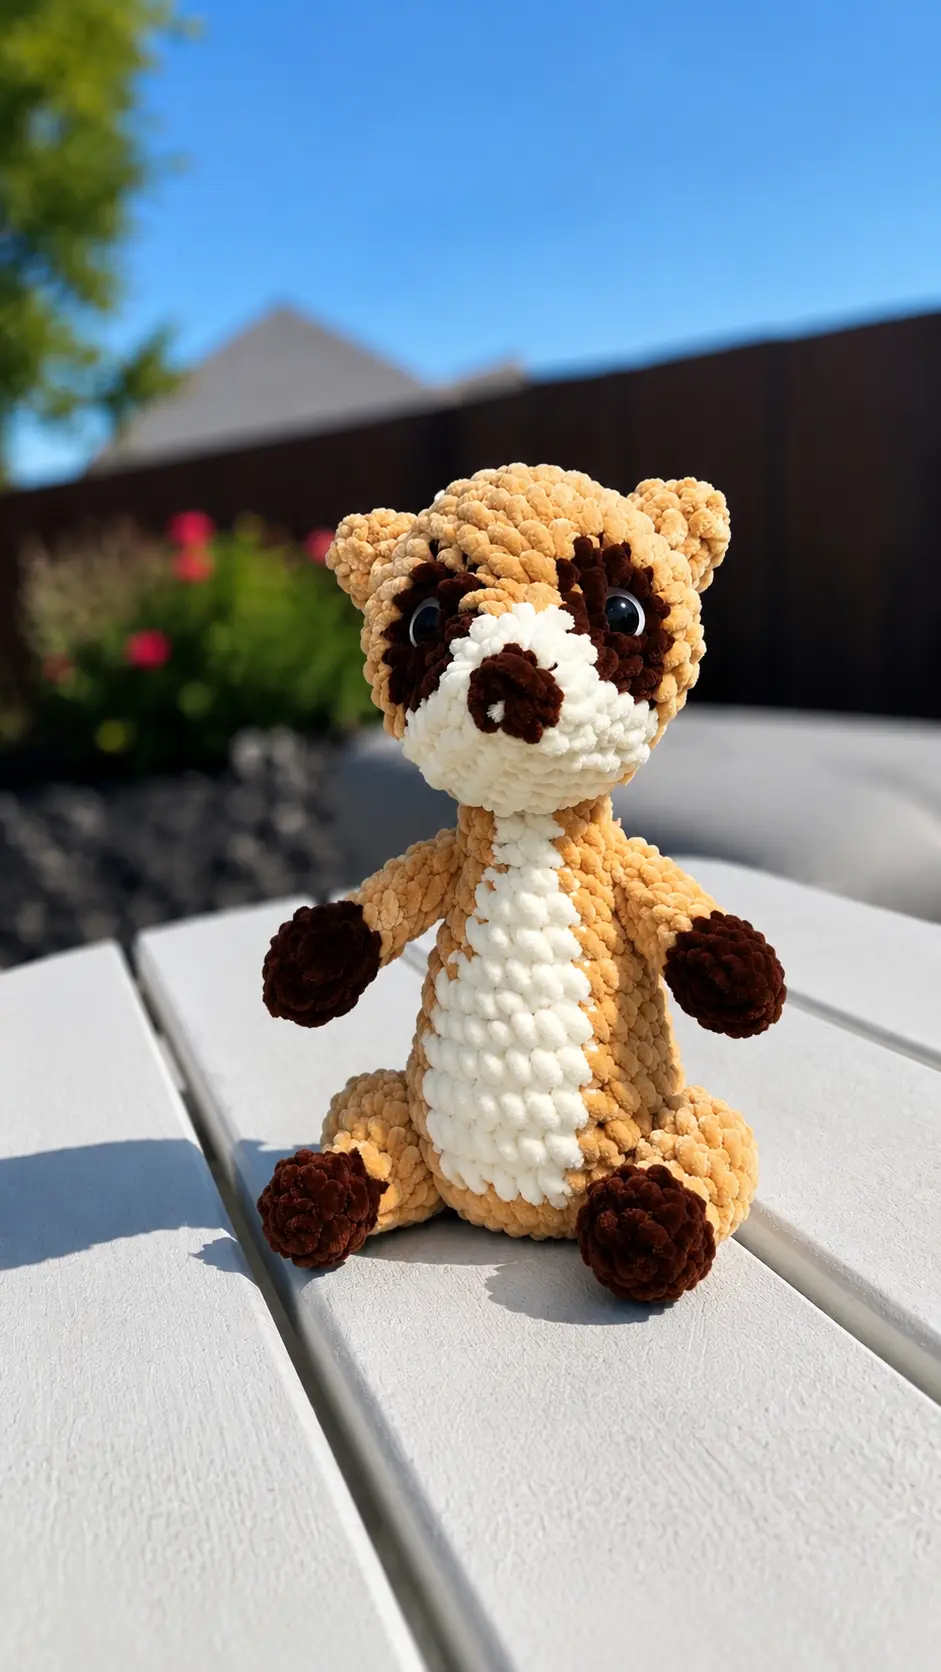
How big does the finished giraffe come out? The finished size will depend on your yarn and hook, but with chenille yarn and a 3.5mm hook you can expect a nice, soft, palm-sized to small toy-sized plush.
Can I sell finished giraffes made from this pattern? Yes, finished products made using this pattern may be sold. Just be sure to credit the original pattern designer when you list or share your work.

Conclusion
My son picked up the finished giraffe and turned it over in his hands for a good minute. He didn’t say a whole lot, just gave me one of those small nods that means he was impressed. That was more than enough for me.
This crochet giraffe amigurumi pattern is one of those projects that feels genuinely satisfying from start to finish. The color changes between the contrast and main color give it such a realistic, charming look. The face shaping technique is something a little different, and it results in the most expressive little face. I loved every part of making Ginny, and I hope you do too.


Leave a Comment