

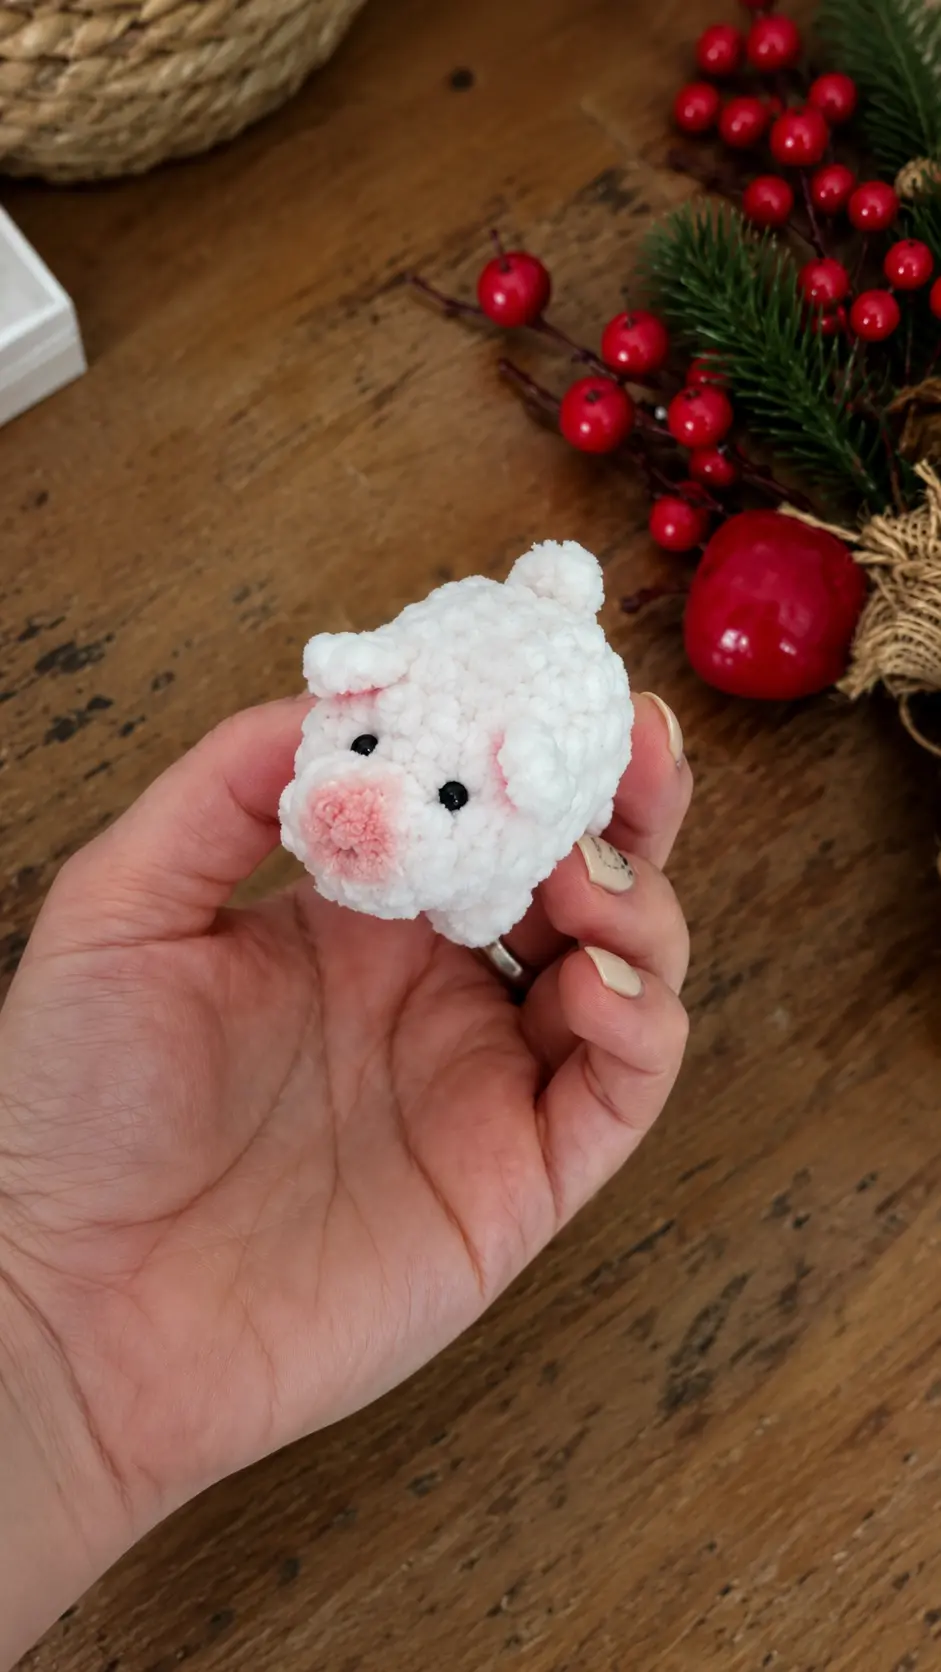
A couple of days ago, after finishing up the dinner dishes and tidying the kitchen counter, I poured myself a warm cup of herbal tea and settled onto the couch with my craft basket. The evening was quiet, making it a lovely time to work on something simple before heading to bed. I noticed a soft, fluffy skein of velvet yarn sitting on top of my collection and decided to stitch up a tiny friend. Working on this Free Amigurumi Pattern Little Pig Plush was such a comforting, quick project that took less than an hour to finish. It turned out so sweet, squishy, and small enough to sit right in the palm of your hand.
Materials Needed
- Required yarn (YarnArt DOLCE)
- Crochet hook (3.5-4)
- Fiberfill stuffing
- Eyes (half beads)
- Dry pastel, eye shadow (for tinting)
Finished Size
- Length 5.5 cm, height 3-3.5 cm
Abbreviations
- ch = chain
- sl st = slip stitch
- sc = single crochet
- inc = increase
- dec = decrease
- dc = double crochet
- hdc = half double crochet
- 2ch, 6sc = chain 2, work 6sc into the second chain from hook
- = … = number of sc at the end of the round
Pattern Notes
- Skill level: Easy
Pattern Instructions
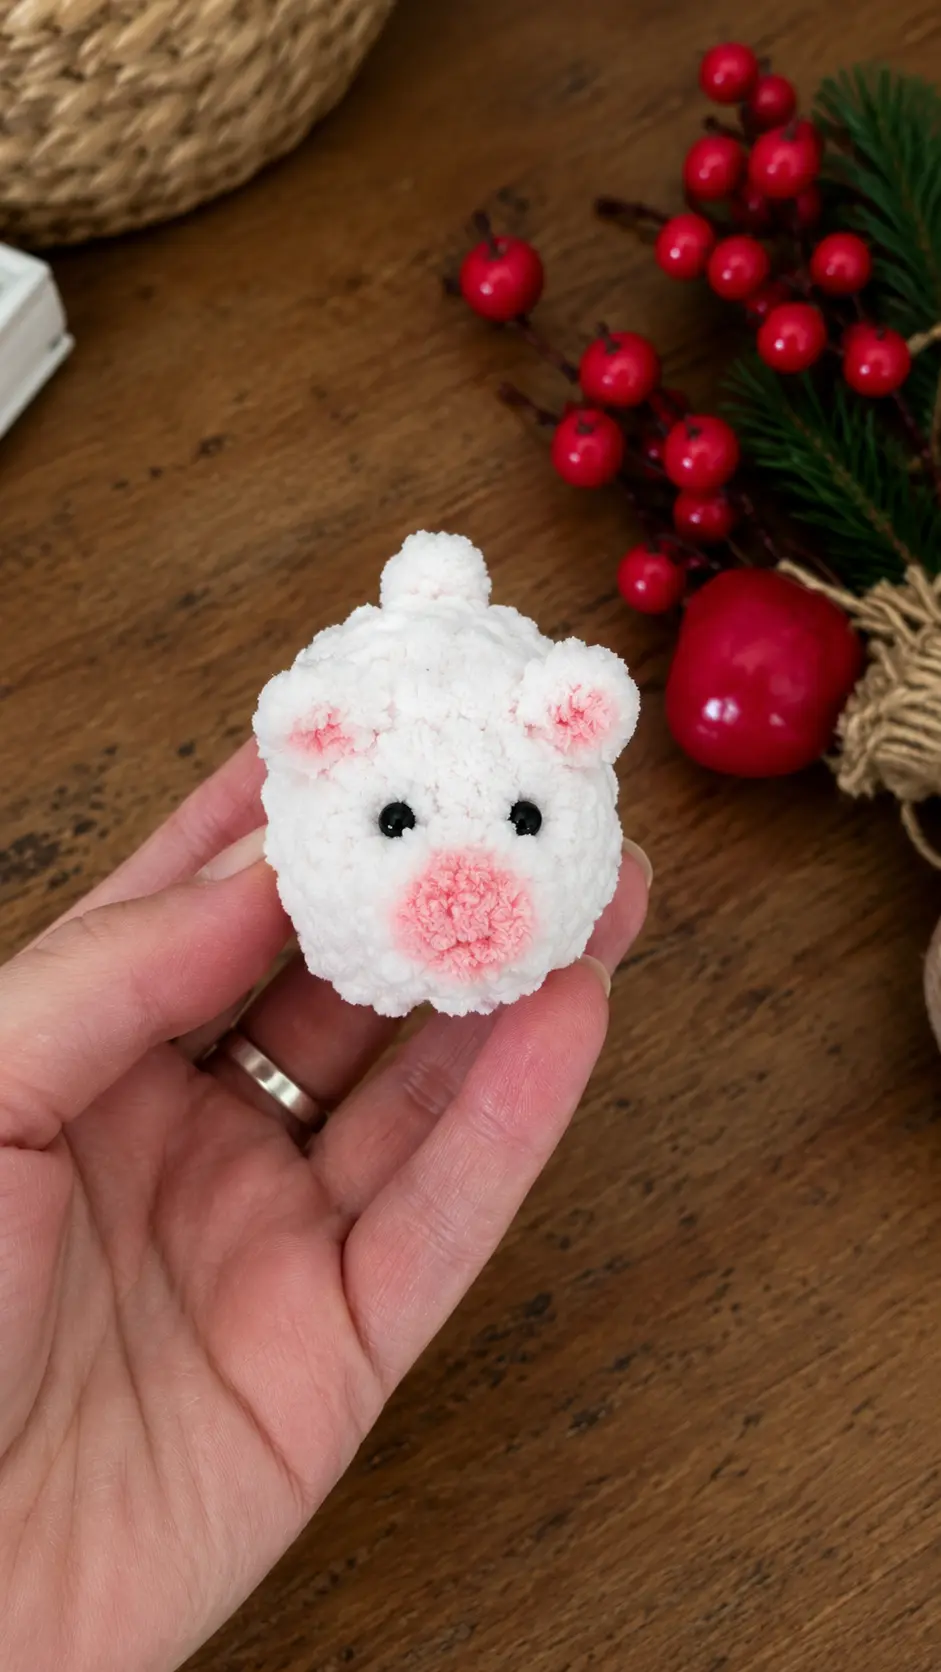
- Round 1. 2 ch, 8 sc
- Round 2. 8 sc
- Round 3. 8 inc = 16 sc
- Round 4. 4 sc, then ear, cast on 3 ch, sl st into base, 4 sc, then ear 3 ch, sl st into base, 4 sc, then leg 3 dc cluster (3 dc with one top), 2 sc, leg 3 dc cluster (3 dc with one top).
- Round 5-7. 16 sc
- Round 8. 13 sc, leg 3 dc cluster (3 dc with one top), 2 sc, leg 3 dc cluster (3 dc with one top) = 16 sc
- Round 9. 6 sc, tail 2 ch, sl st into base, 10 sc = 16 sc
- Round 10. 8 dec = 8 sc. You can finish at this stage or continue:
- Round 11. 2 dec = 6 sc. Fasten off thread, cut, pull hole tight, hide thread in canvas.
- Step. Optionally make a simple sculpting (under snout, eye, under snout).
- Step. Glue eyes. Tint ears and snout. Done! Cute mini pig is ready!
Tips for Success
- Count your stitches carefully: Plush yarn like YarnArt DOLCE is wonderfully soft, but it can make individual stitches harder to see. Use a locking stitch marker at the beginning of each round so you never lose your place.
- Keep tension firm: When working with bulky chenille or velvet yarn, keep your hook tension snug to prevent the fiberfill stuffing from poking through between stitches.
- Stuff gradually before closing: Fill the body with small pieces of fiberfill around Round 8 and Round 9. Packing the stuffing in slowly helps maintain the smooth, rounded body shape.
- Pinch the clusters outward: When you complete the 3 dc cluster stitches for the legs, push them gently outward toward the right side of the fabric so the little pig’s paws pop out prominently.
- Apply pastel shading gently: Use a soft makeup brush or cotton swab to dab a touch of pink dry pastel inside the ears and on the tip of the snout for a delicate blush finish.
Frequently Asked Questions
- Can I use standard worsted weight acrylic yarn for this pattern?Yes, you can use regular worsted weight yarn with a 3.0 mm or 3.25 mm hook. Keep in mind that the finished piglet will turn out even smaller than the plush version.
- How are the ears, legs, and tail attached?Every feature is crocheted seamlessly directly into the rounds as you go, so there is no extra sewing required to attach the limbs, ears, or tail.
- What type of glue works best for attaching the half-bead eyes?A small drop of fabric gel glue or clear craft glue works wonderfully for securing flat-backed half-bead eyes onto plush chenille yarn.
- How do I do the facial sculpting under the snout?Pass a needle with matching yarn through the bottom of the face to the eye area, pull gently to pull the features inward slightly, and knot it securely under the snout to create depth.
- Is this project suitable for beginner crocheters?Yes, this project is rated as an easy level, making it a quick and rewarding project for beginners who know basic stitches like single crochet and chain stitches.
Conclusion
Making tiny plush toys is one of the most delightful ways to spend a quiet hour of crafting at home. Since this little piglet requires no sewing of individual parts, it comes together effortlessly and brings so much charm to any small space or desk display. I hope you enjoy every stitch while trying out this Free Amigurumi Pattern Little Pig Plush!


Leave a Comment