

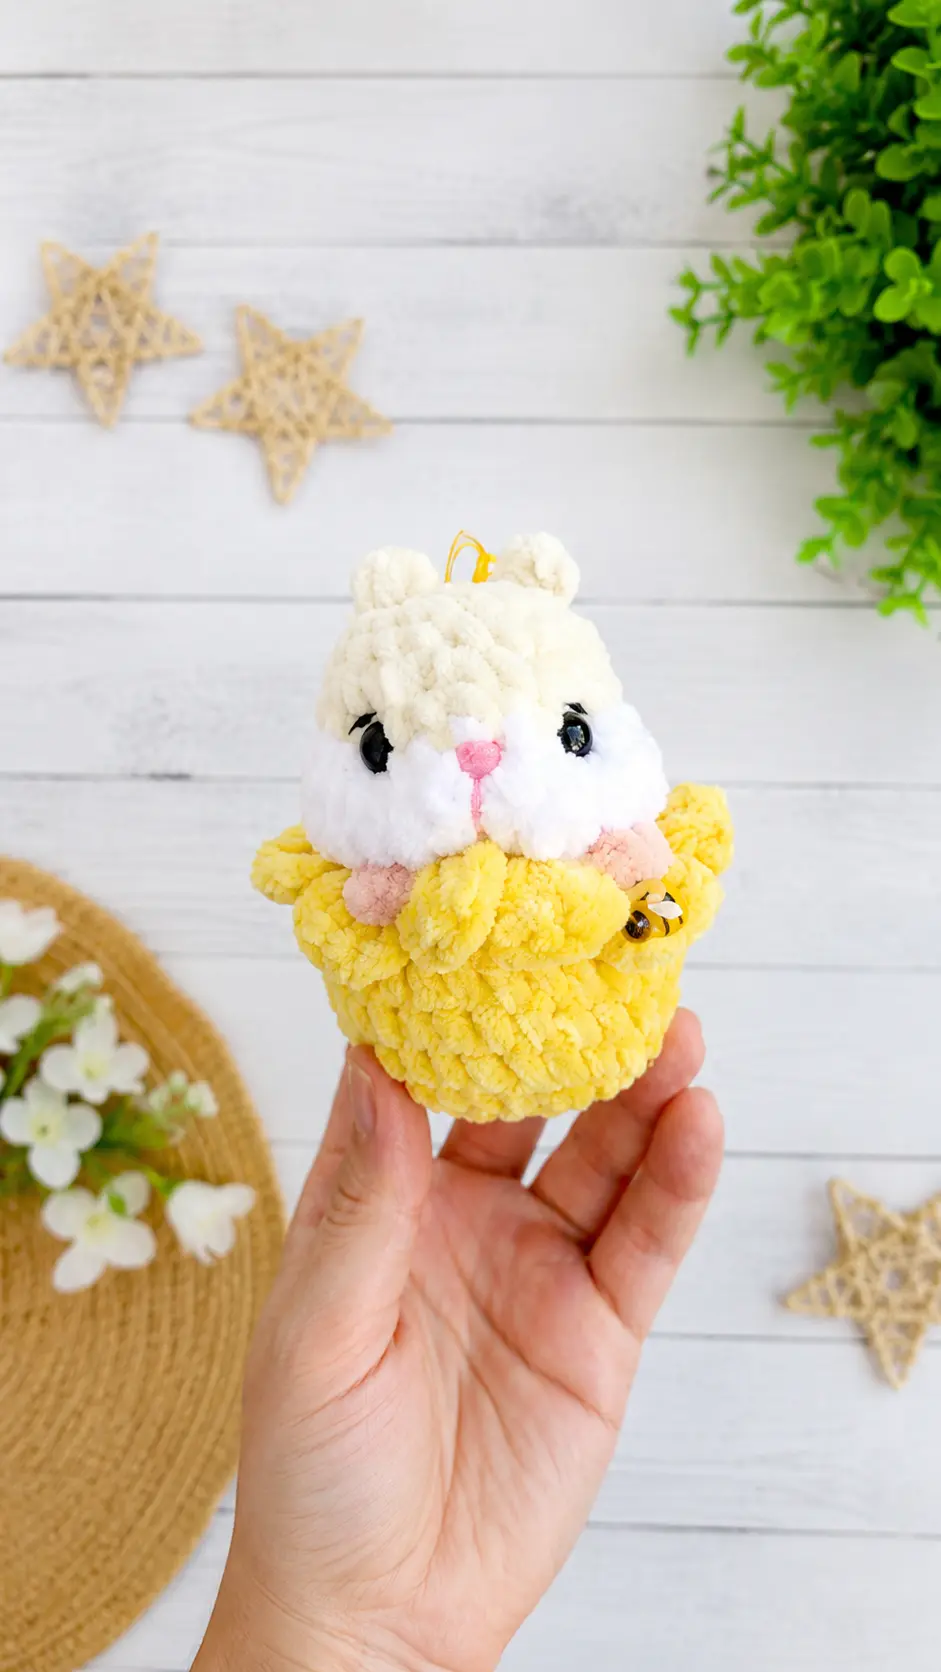
This morning was so quiet and peaceful that I decided to take my hot cup of coffee out to the back porch to watch the birds before starting my day. The sun was warm, and the breeze brought over the soft scent of spring blooms from my garden beds. Sitting out there made me think about how much I enjoy making tiny, sweet plushies that bring a little extra cheer into our home. When I came back inside to my craft room, I pulled out some leftover plush yarn and worked up this adorable creation. It came together so quickly, and seeing his cute chubby face peeking out from the petals brought a big smile to my face. Today I am so excited to share this Free Amigurumi Pattern Little Hamster in a Flower with you so you can stitch up your own darling little keychain or desk buddy!
Materials Needed
- Himalaya Velvet or Dolphin plush yarn in milk, white, beige, and yellow
- Thin pink yarn for the nose
- Thin black yarn for the eyebrows
- 10 mm safety eyes
- Keychain attachment
- Fiberfill stuffing
Finished Size
When using the specified yarn, the finished hamster in a flower stands approximately 10 to 11 cm tall.
Abbreviations
- MR – magic ring
- sc – single crochet
- inc – increase
- dec – decrease
- ch – chain
- dc – double crochet
- hdc – half double crochet
- sl st – slip stitch
- FLO – front loop only
Pattern Instructions
1. FLOWER
With yellow yarn
1r. – 7 stitches in magic ring 2r. – (increase)*7 times (14sc) 3r. – (1sc, increase)*7 times (21sc) 4r. – (2sc, increase)*7 times (28sc) 5r.-8r. – 28sc (4 rounds) 9r. – (2sc, decrease)*7 times (21sc)
Next we crochet the flower petals IN FRONT LOOPS ONLY:
10r. – ((sl st + 2ch + 3dc + 2ch + sl st) into one stitch + sl st in the next stitch)*10 times
This way, 10 petals are formed.
Cut the yarn, fasten off, hide inside.
2. HEAD
With milk yarn
1r. – 6 stitches in magic ring 2r. – (increase)*6 times (12sc) 3r. – (1sc, increase)*6 times (18sc) 4r. – 18sc (1 round) 5r. – (2sc, increase)*6 times (24sc) 6r. – 24sc (1 round)
With white yarn
7r. – 6sc + 3 increases + 6sc + 3 increases + 6sc (30sc) 8r. – 30sc (1 round) 9r. – (13sc, decrease)*2 times (28sc) 10r. – (2sc, decrease)*7 times (21sc)
Cut the yarn, fasten off, hide inside.
Insert 10mm eyes after the 6th round (above the increases of the 7th round), between the stems of the eyes 8sc.
Sew the head to the flower using the stitches of the head and the back loops of the last round of the flower.
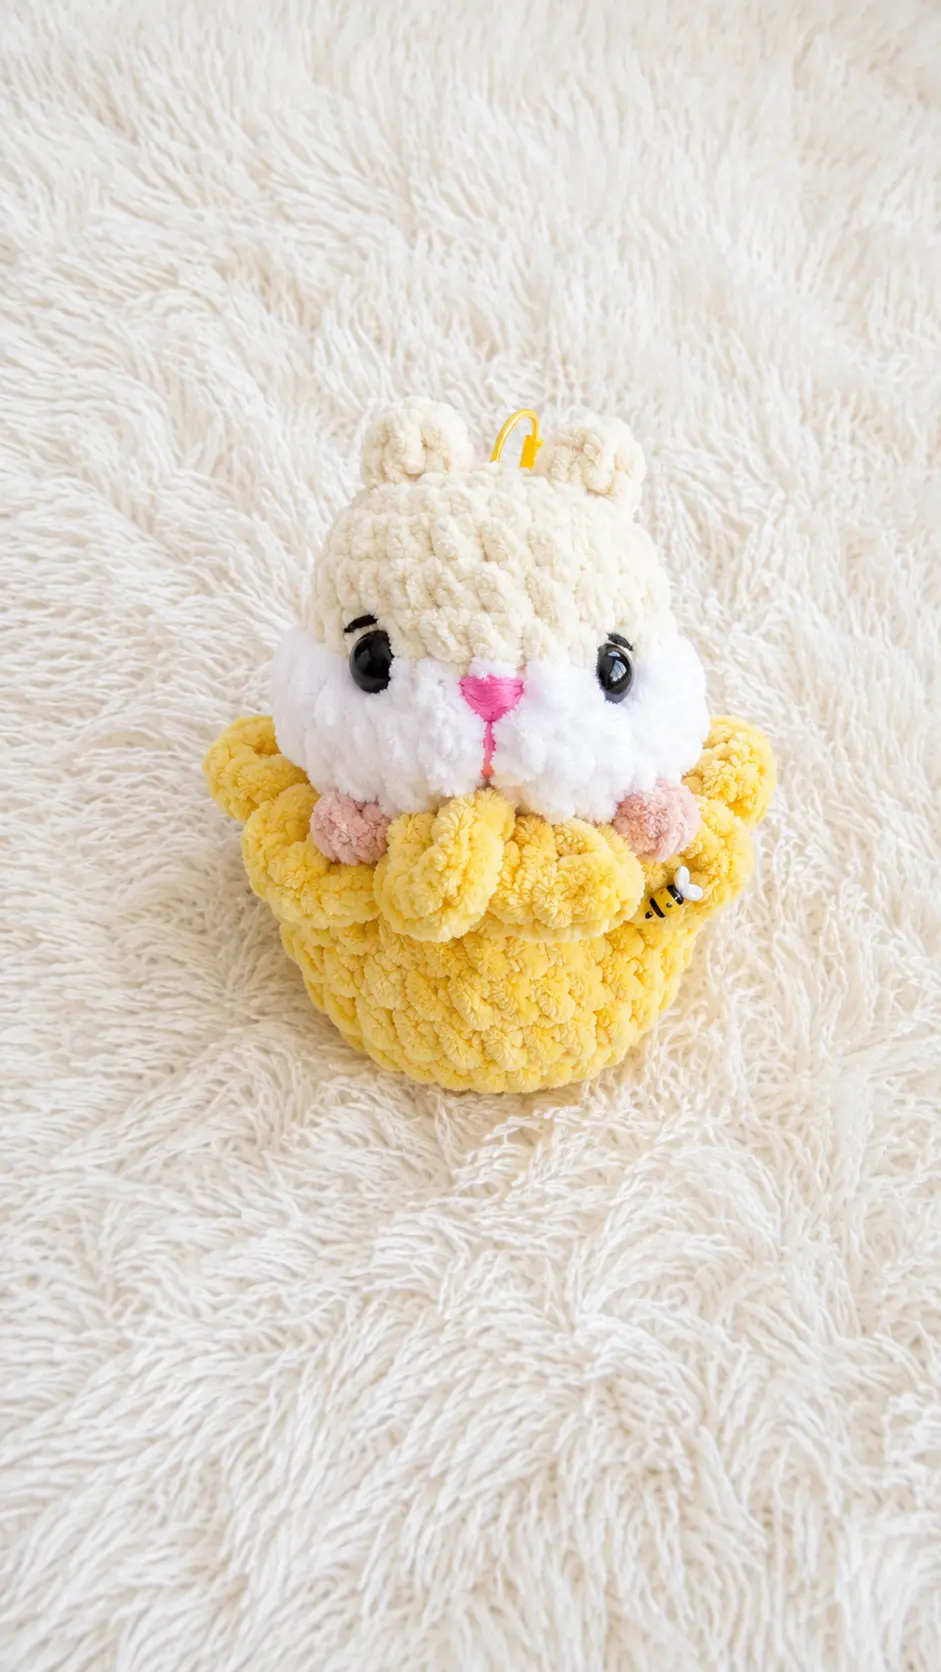
3. EARS AND PAWS
Ears and paws are crocheted identically, only ears with milk yarn, and paws with beige yarn.
At the beginning leave 10cm of thread. Chain 3. In the first chain stitch work 1 half double crochet. Cut the yarn, leave 10cm.
Sew ears onto the head, and paws under the cheeks between the head and the flower. Fix the threads left at the beginning and hide inside.
Embroider the nose and eyebrows.
Sculpting (sculpt the face). NOT STRONGLY!
Sculpting:
- From the right eye to the right paw and back.
- From the left eye to the left paw and back.
- From the right eye to the left eye and back.
Attach the keychain holder.
Enjoy the result!
Tips for Success
- Count your stitches on the petals: When making the petal shell stitches in round 10, double check that you are working into the front loops only so the back loops stay clear for sewing.
- Keep facial needle sculpting gentle: When pulling the yarn between the eyes and paws, apply light pressure. Pulling too tight can misshape the plush yarn and pull the safety eyes out of alignment.
- Stuff the head firmly before closing: Plush velvet yarn is soft and flexible, so add enough fiberfill stuffing so the cheeks stay plump and round after stitching.
- Mark your color changes: Use a stitch marker at the end of round 6 so your transition to white yarn on round 7 lines up evenly for the cheek increases.
- Secure yarn tails inside: Velvet yarn can sometimes fray at the ends. Tie secure double knots on your inner yarn tails before tucking them into the fiberfill stuffing.
- Position safety eyes before stuffing: Double check that your 10 mm eyes are placed right above the round 7 increases and spaced 8 stitches apart before snapping the back washers on.
Frequently Asked Questions
What type of yarn is best for this hamster amigurumi?
Bulky velvet or plush yarn, like Himalaya Velvet or YarnArt Dolphin Baby, works best. It gives the hamster its sweet, soft texture and chubby look.
Can I make this hamster without the keychain?
Yes, you can leave off the keychain attachment completely. The little hamster in a flower sits up nicely on its own and makes a wonderful desk decoration or shelf accent.
How do I attach the head to the flower cleanly?
Align the bottom opening of the head with the back loops left over from round 9 of the flower. Use a strong tapestry needle and matching yarn to stitch through both loops for a secure hold.
What hook size should I use with plush yarn?
A 3.5 mm to 4.0 mm crochet hook works great with velvet yarn for this pattern. It keeps the stitches tight enough so the fiberfill stuffing does not show through.
Is this pattern suitable for beginners?
Yes, this project is very beginner friendly. It uses simple stitches like single crochet, half double crochet, and double crochet, along with basic shaping techniques.
Conclusion
I hope you have so much fun making this Free Amigurumi Pattern Little Hamster in a Flower! It is such a delightful, quick project to work on during a quiet afternoon, and the finished hamster makes the sweetest little handmade keepsake. Happy crocheting!


Leave a Comment