

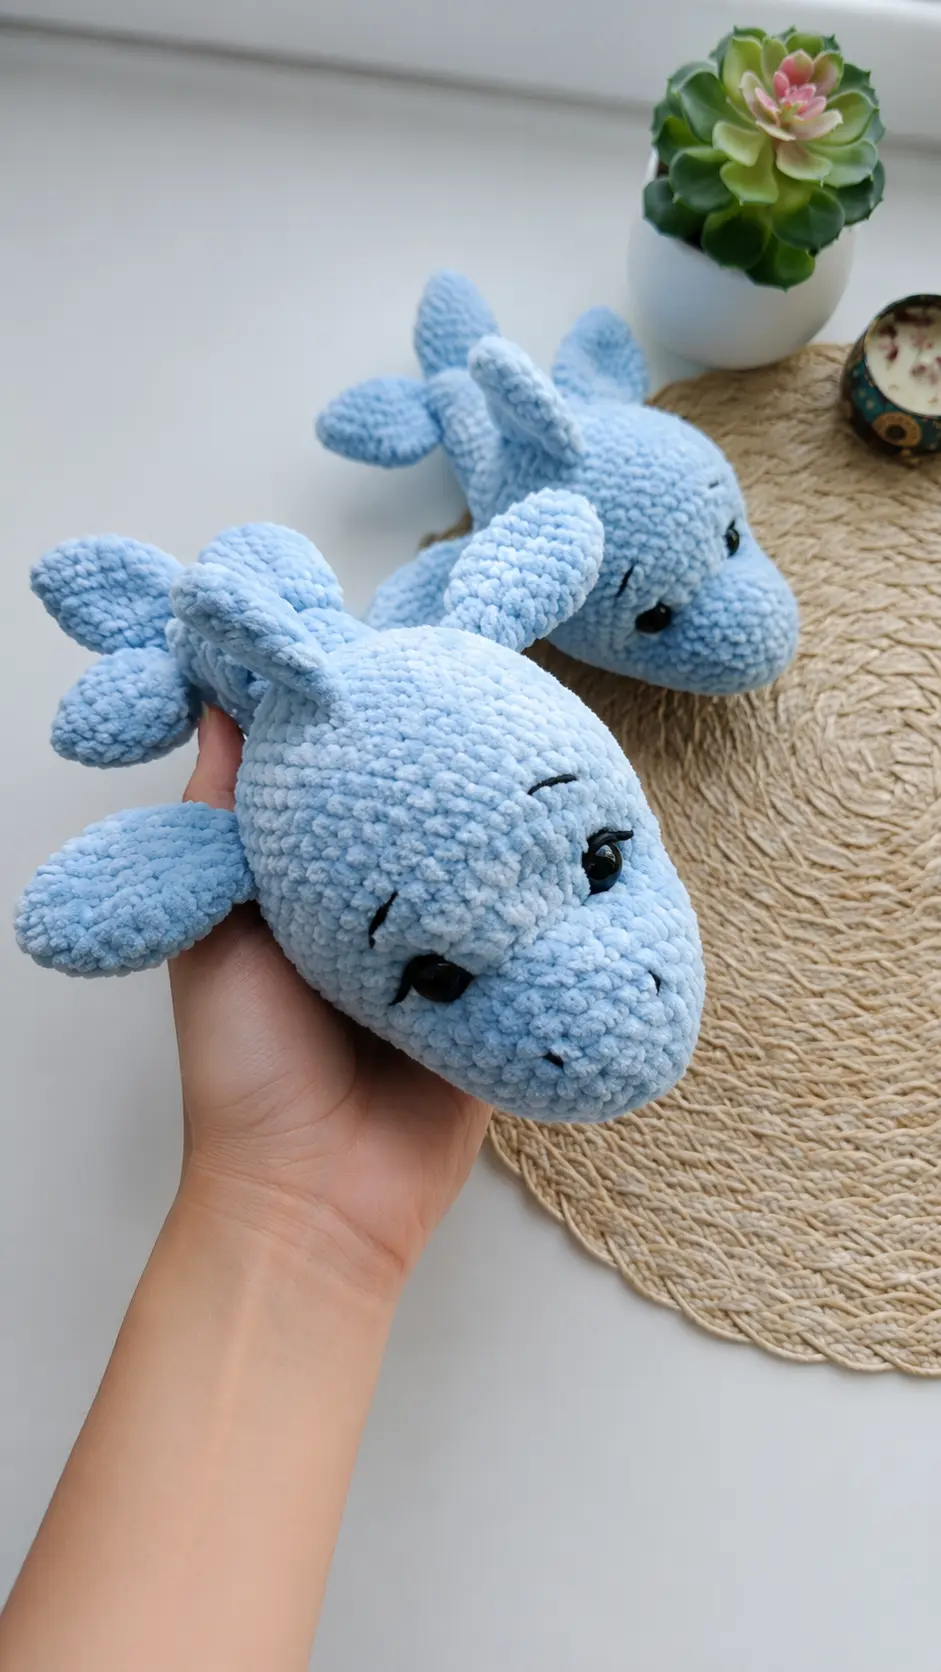
A few weeks ago, my sister and I spent the afternoon walking along the boardwalk after having lunch by the beach. We stopped for a while to watch the waves, and there were a few dolphins swimming farther out in the water. Every now and then one would jump high enough for everyone on the shore to notice, and you could hear little kids pointing and getting excited. It was one of those simple afternoons that stayed in my mind long after we got home.
That evening, I couldn’t stop thinking about those playful dolphins. After cleaning up the kitchen, I went into my craft room to see what yarn I had that would remind me of the ocean. A soft skein of light blue plush velvet yarn was waiting on the shelf, and it felt like the perfect choice. I settled into my favorite chair, turned on some quiet music, and started crocheting. By the end of the evening, a cuddly little dolphin was resting in my hands, bringing back memories of that relaxing day by the water.
Materials Needed
- Plush yarn LaVita yarn Velur
- 5010 (light blue) – main color 1 skein
- Yarn YarnArt Jeans for details
- 75 (light blue) for sculpting,
- 53 (black) for eyebrows and eyelashes
- Black plain safety eyes 14 mm
- Crochet hook 3.5 mm
- Fiberfill stuffing
- Scissors
- Long tapestry needle
- Lighter for securing safety eye backings
- Stitch markers or contrast thread to keep track of the start of the round
Finished Size
The size of the toy depends on the thickness of your yarn and hook, as well as the density of your stuffing. With firm stuffing, the yarn stretches and the toy may change in size. Therefore, pay attention so that the part takes on a beautiful desired shape.
Abbreviations
- MR – magic ring
- ch – chain stitch
- sc – single crochet
- inc – increase
- dec – decrease
- sl st – slip stitch
- hdc – half double crochet
Pattern Instructions
Head and Body Option 1
- 6 sc in MR
- 6 inc (12)
- (1 sc, inc) * 6 (18)
- 18 sc
- 1 sc, inc, (2 sc, inc) * 5, 1 sc (24)
- 24 sc
- (3 sc, inc) * 6 (30) 8-9. 2 rounds of 30 sc
- 11 sc, 1 hdc, 6 inc from hdc, 1 hdc, 11 sc (36)
- 11 sc, 1 hdc, (1 hdc, inc from hdc) * 6, 1 hdc, 11 sc (42)
- 3 sc, inc, (6 sc, inc) * 5, 3 sc (48) 13-17. 5 rounds of 48 sc
Insert safety eyes in round 10 between the increase and the half double crochet at a distance of 8 stitches. Stuff the toy as you go. Stuff the nose tightly and try to keep the shape rounded!
- (10 sc, dec) * 4 (44) 19-21. 3 rounds of 44 sc
- (9 sc, dec) * 4 (40) 23-24. 2 rounds of 40 sc
- 8 sc, (2 sc, dec) * 6, 8 sc (34)
- 11 sc, (1 sc, dec) * 4, 11 sc (30) 27-28. 2 rounds of 30 sc
- (3 sc, dec) * 6 (24)
- 1 sc, dec, (2 sc, dec) * 6, 1 sc (18) 31-33. 3 rounds of 18 sc
- dec, 3 sc, 5 sl st (not tight), 3 sc, dec, sc, dec (15)
- 15 sc
- dec, 4 sc, dec, 4 sc, dec, 1 sc (12) 37-38. 2 rounds of 12 sc
- 6 dec (6). Close opening. Fasten off and hide yarn end.
Body Option 2 (Knot)
Work rounds 1 to 36 without changes. 37-56. 20 rounds of 12 hdc. Do not stuff here, because we will tie the hdc section in a knot. 56-57. 2 rounds of 12 sc. Cut yarn, leaving enough to finish crocheting, and after cutting, tie a knot. Add stuffing tightly into the tail’s sc section. 58. 6 dec. Pull opening closed. Fasten off and cut yarn. Hide yarn end inside the toy.
Lip
- 6 sc in MR
- 6 inc (12). Fasten off yarn and, if desired, leave a long tail for sewing.
We begin crocheting the fins. Do not stuff them!
Tail Fins (2 details)
- 6 sc in MR
- (1 sc, inc) * 3 (9)
- (2 sc, inc) * 3 (12)
- 12 sc
- (3 sc, inc) * 3 (15) 6-7. 2 rounds of 15 sc
- (3 sc, dec) * 3 (12)
- (2 sc, dec) * 3 (9). Crochet across both sides 4 sc. Fasten off yarn and, if desired, leave a long tail for sewing.
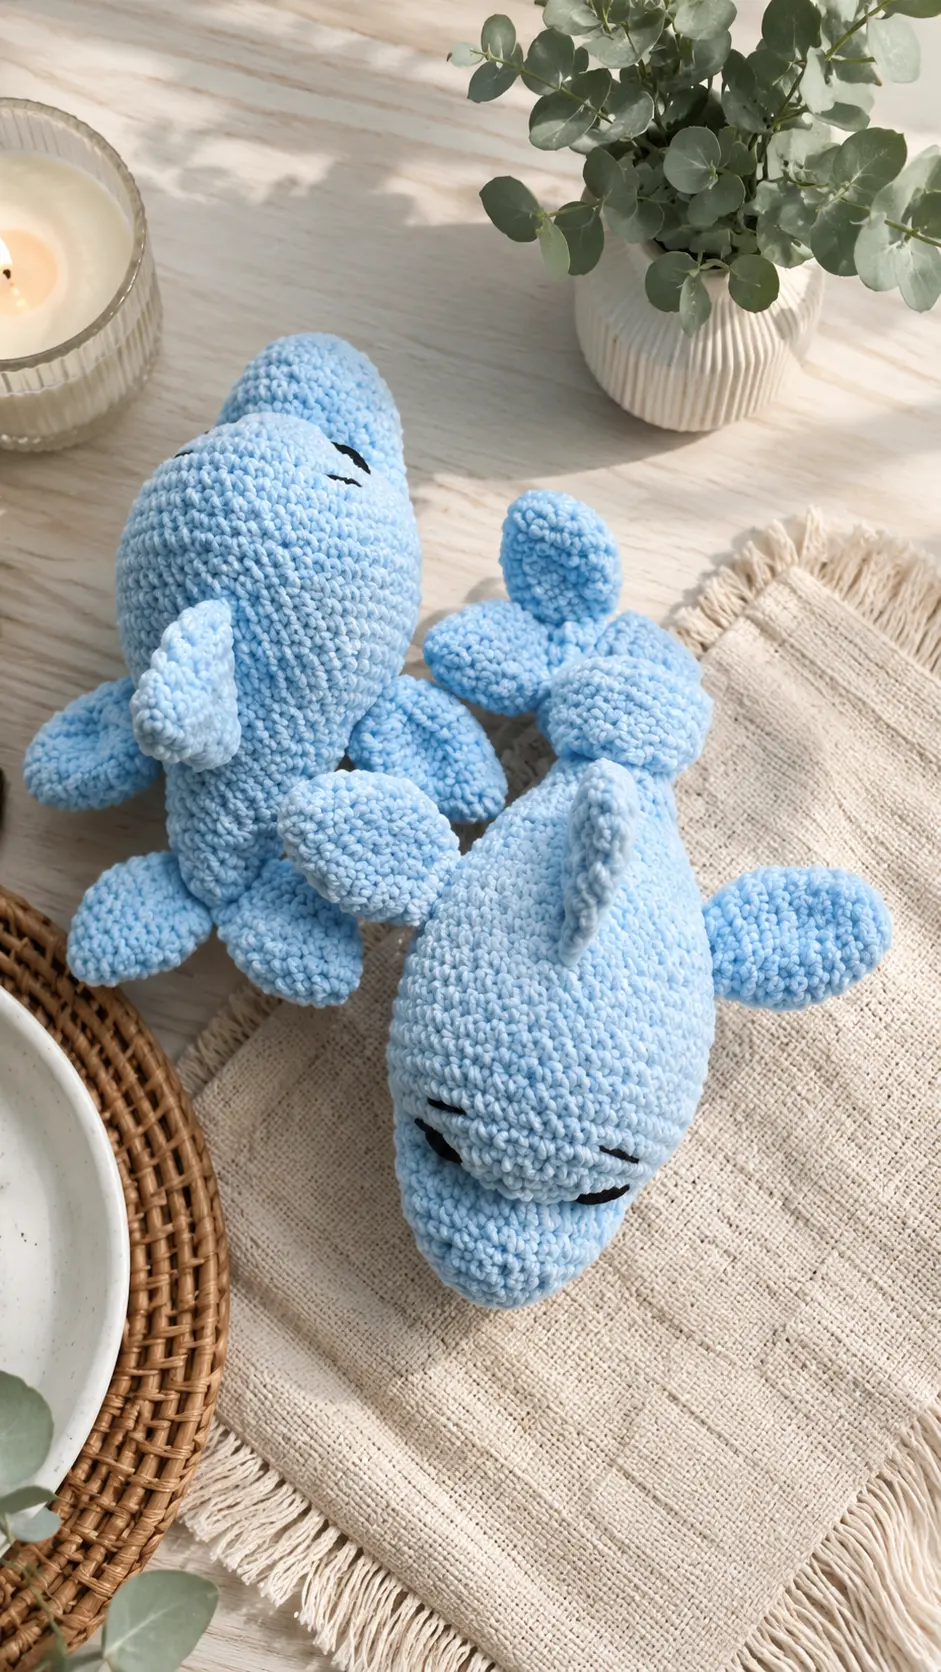
Side Fins (2 details)
- 6 sc in MR
- (1 sc, inc) * 3 (9)
- (2 sc, inc) * 3 (12)
- 12 sc
- (3 sc, inc) * 3 (15)
- (4 sc, inc) * 3 (18)
- 18 sc
- (4 sc, dec) * 3 (15)
- (3 sc, dec) * 3 (12)
- (2 sc, dec) * 3 (9). Crochet across both sides 4 sc. Fasten off yarn and, if desired, leave a long tail for sewing.
Top Fin
- 6 sc in MR
- (1 sc, inc) * 3 (9)
- 9 sc
- 2 inc, 5 sc, 2 inc (13)
- 13 sc
- 3 inc, 7 sc, 3 inc (19)
- 19 sc. Across both sides crochet 9 sc. Fasten off yarn and, if desired, leave a long tail for sewing.
Sculpting
- Insert needle in round 9 in the middle and bring needle out at the outer corner of eye (A), insert into inner corner (B), then bring out at inner corner of second eye (C), bring out at outer corner (D), and bring out at the same point where sculpting started (A1). Gently pull tight, tie 3 knots. Cut yarn and hide inside toy. A1-A-B-C-D-A1
- Insert needle in middle of round 9 and bring out at inner side of first eye (B), insert above inner corner of same eye (B1), then bring out above inner corner of second eye (C1), insert at inner corner (C), and bring out at same point where sculpting started (A1). Gently pull tight, tie 3 knots. Cut yarn and hide inside toy. A1-B-B1-C1-C-A1
- Insert needle in middle of round 9 and bring out at inner side of first eye (B), insert at inner corner (C), and bring out at same point where sculpting started (A1) 1 stitch over. Gently pull tight, tie 3 knots. Cut yarn and hide inside toy. A1-B-C-A1
Assembly
- Sew tail fins onto the end of the tail. Sew edges of fins together above the tail.
- Sew top fin in the middle between rounds 20 and 30.
- Sew side fins between rounds 22 and 28, approximately 8 stitches away from top fin.
- In the place where the 3rd sculpting point was made, sew the lip, hiding the sculpting.
- Embroider white eye reflections, eyebrows, and eyelashes.
Tips for Success
- Count stitches every round: Velvet yarn hides stitches easily, so keeping track with a stitch marker prevents missed stitches.
- Stuff the snout firmly: Taking extra time to shape the nose while stuffing ensures the dolphin maintains its rounded profile.
- Use lighter heat carefully: Melt safety eye backings with a lighter only in a well-ventilated space to prevent them from slipping.
- Keep sl sts loose: When working slip stitches on round 34, stitch loosely so the tail does not pucker or pull out of shape.
- Use semi-cotton yarn for assembly: Sewing pieces on with semi-cotton yarn gives a stronger hold than plush yarn, which can snap when pulled tight.
- Take sculpting slowly: Gently tug sculpting threads step by step so the facial expressions look natural and symmetrical.
Frequently Asked Questions
What hook size works best for plush dolphin amigurumi?
A 3.5 mm hook creates tight, even stitches that prevent stuffing from showing through plush velvet yarn.
Can I use acrylic yarn instead of plush yarn?
Yes, you can substitute acrylic or cotton yarn, but the finished dolphin will turn out smaller.
Do the fins need to be stuffed?
No, the fins are designed to lay flat and hold their shape naturally without fiberfill stuffing.
Why does option 2 have an unstuffed section?
Option 2 uses half double crochet stitches along the body so that part of the tail can be tied into a decorative knot.
How do I secure safety eyes safely for children?
Melt the plastic post behind the safety eye washer using a lighter, then flatten it with the lighter’s edge to lock it in place.
Conclusion
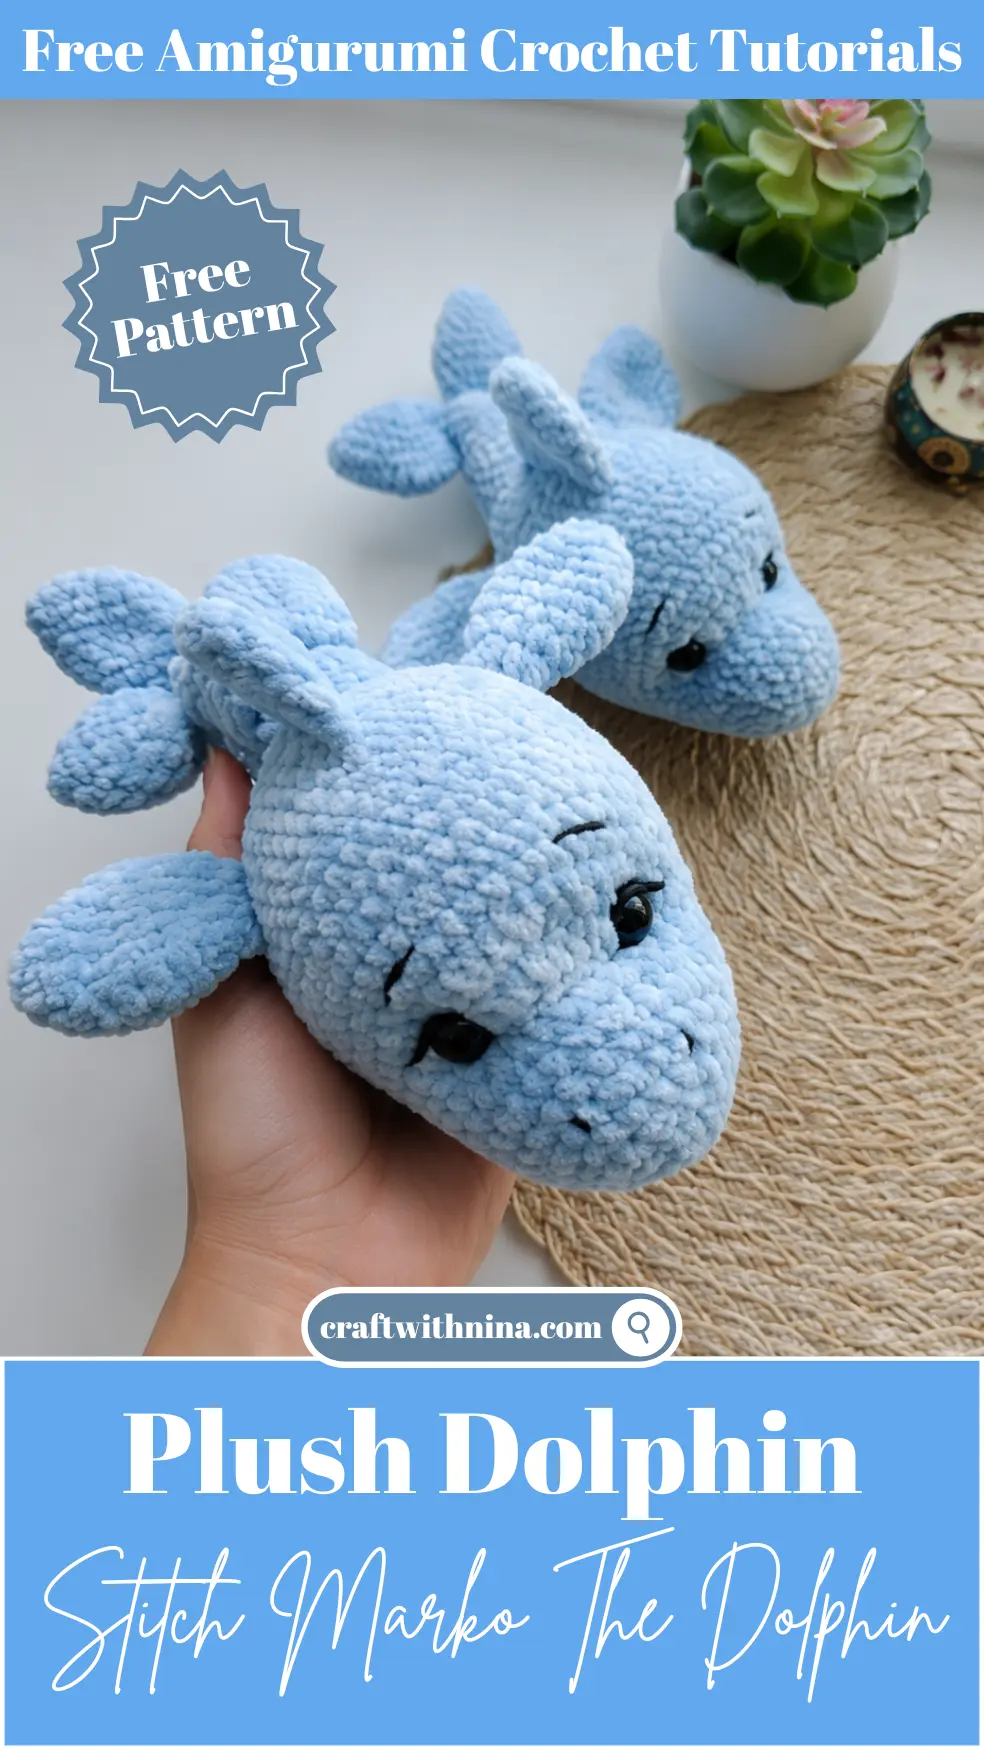
Creating plush ocean animals is such a peaceful way to unwind after a busy week, and this Free Amigurumi Pattern Marko The Plush Dolphin makes the process complete joy. Whether you pick option 1 for a classic dolphin shape or option 2 for a cute knotted tail, you end up with a soft, sweet project that brings a big smile to anyone who sees it. Pick up your favorite soft yarn, settle into a cozy spot, and enjoy every stitch of this lovely pattern! Amigurumi Pattern Marko the Plush Dolphin. Made with soft velvet yarn, this adorable dolphin is wonderfully cuddly and works up faster than you might expect. Whether you’re making it for an ocean lover, a child’s playroom, or your own collection of handmade plushies, it’s a project that’s sure to make you smile. Grab your favorite hook, choose your softest blue yarn, and let’s crochet this sweet little dolphin together.


Leave a Comment