

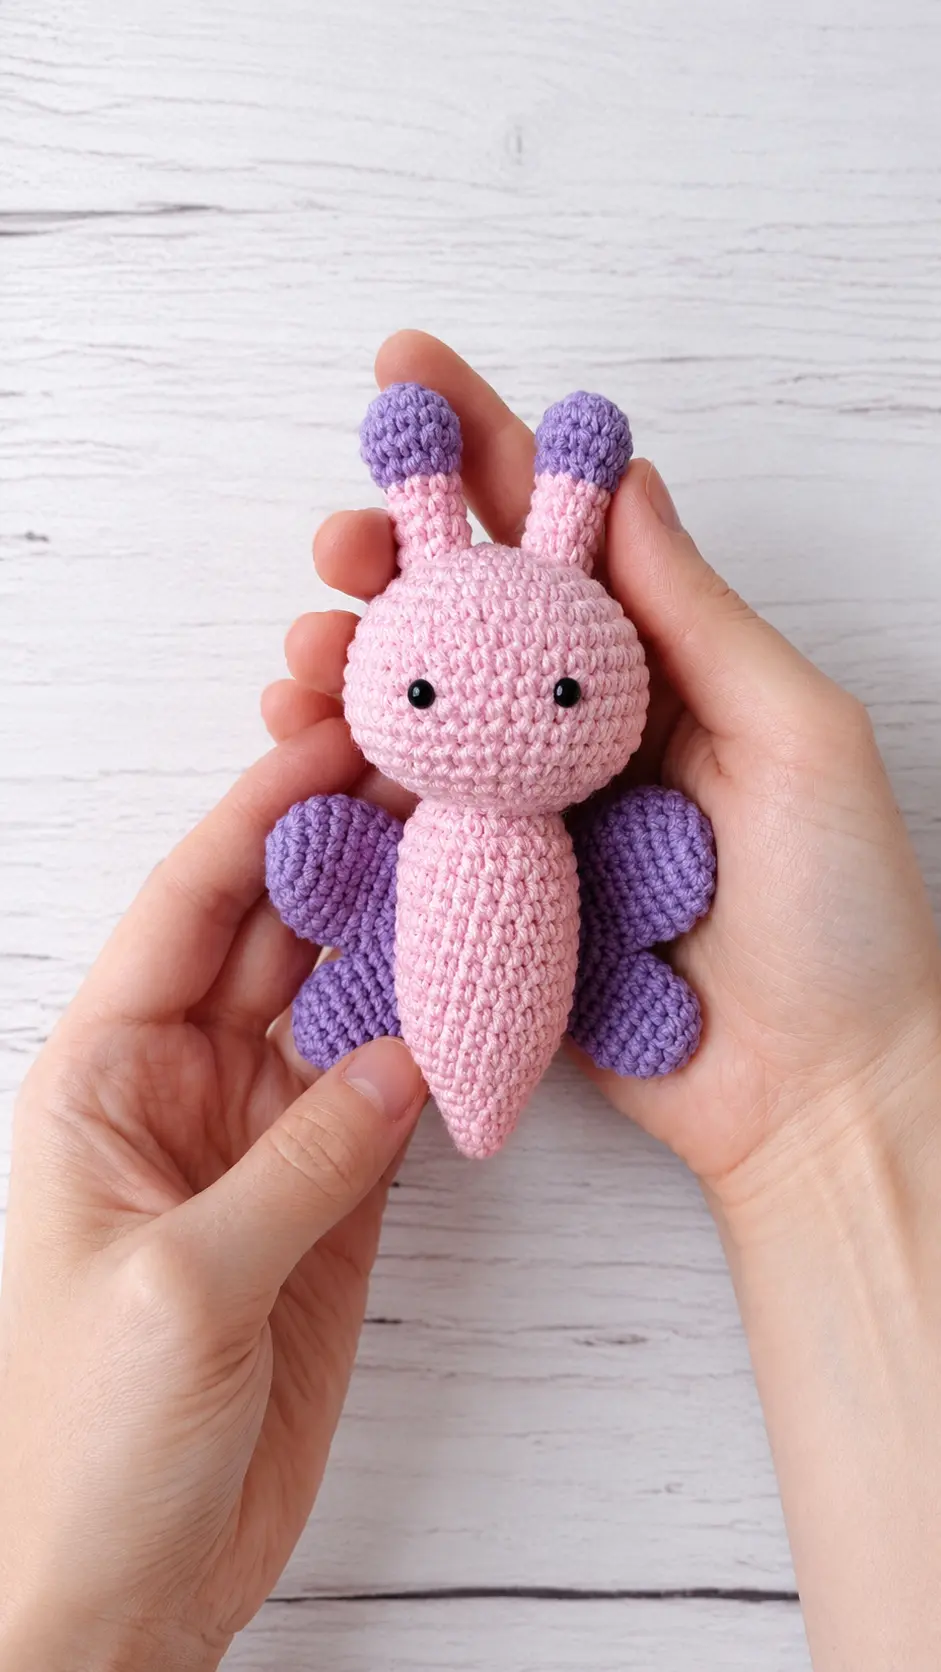
Last Sunday afternoon, I stopped by my local garden center to pick up a few herbs for the patio. While I was looking through the flowers, I noticed several butterflies moving from one bloom to the next. I must have stood there for a good five minutes just watching them. They made everything feel so calm, and I caught myself thinking how pretty those colors would look in yarn.
When I got home, I unpacked my plants, watered the pots, and then wandered into my craft room. I found a couple of skeins of soft pink and purple yarn that reminded me of the butterflies I’d just seen. Instead of tackling the laundry that was waiting for me, I made myself a cup of tea and started crocheting. By the end of the afternoon, a tiny butterfly plush was sitting on my table, and it made me smile every time I looked at it.
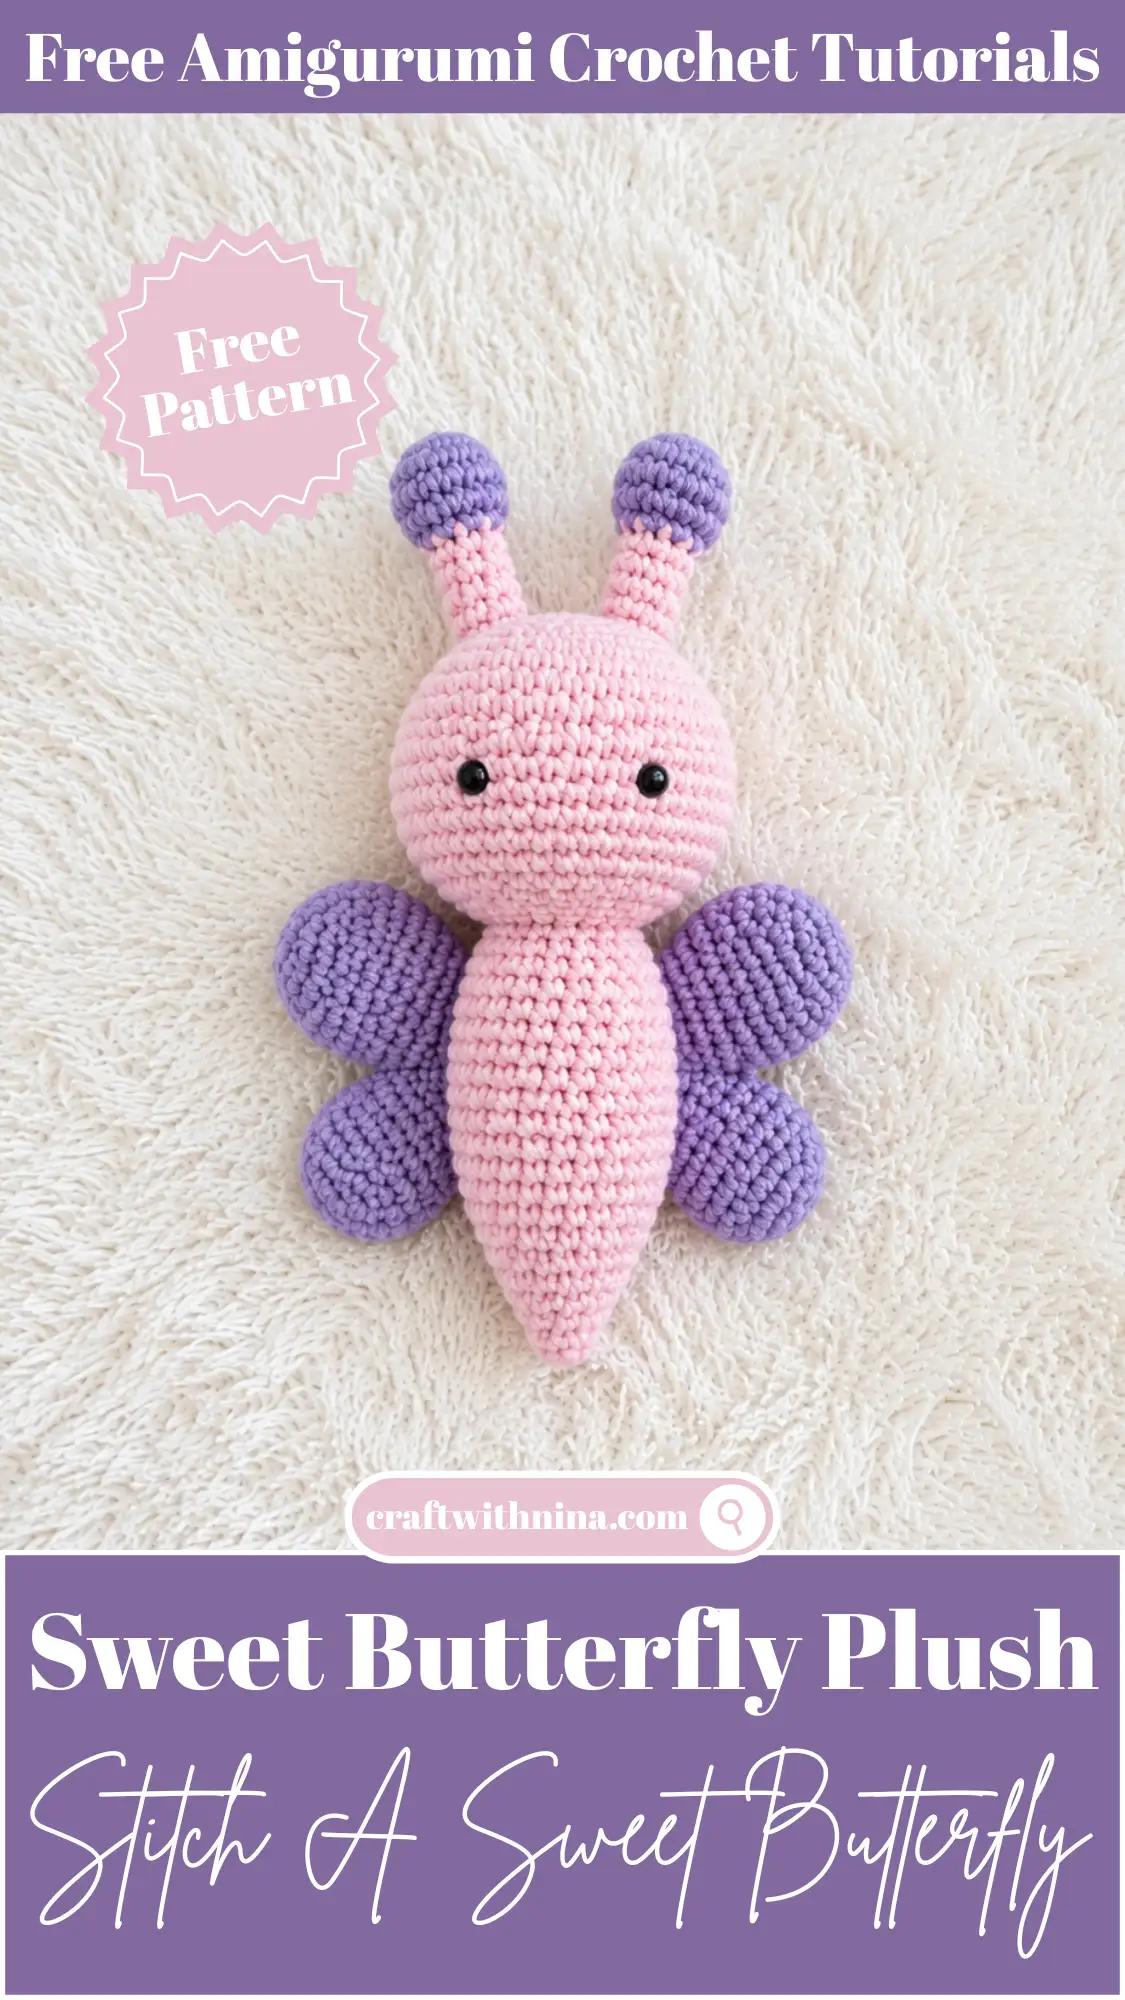
Today, I’m so happy to share this Free Amigurumi Pattern Sweet Butterfly Plush with you. It’s a quick, relaxing project that’s perfect for using your favorite yarn colors to create a cheerful little butterfly. Whether you’re making one as a thoughtful handmade gift or adding a touch of spring to your home, this plush is a joy to crochet. Grab your favorite hook, settle into a comfy chair, and let’s make this sweet little butterfly together.
Materials Needed
- Etrofil Jeans (55% cotton/45%acrylic 50gr/160m), pink (011) and purple (017) colors
- 2.2 mm crochet hook
- Stuffing material (fiberfill)
- 4 mm safety eyes (or D-4 mm eye beads)
- Scissors
- Tapestry needle
Finished Size
The finished toy using the materials stated in this pattern is ~13 cm / 5.1 inches.
Abbreviations
- MR – magic ring
- Sc – single crochet
- Inc – increase (work two sc in one stitch)
- Dec – decrease (work two sc together)
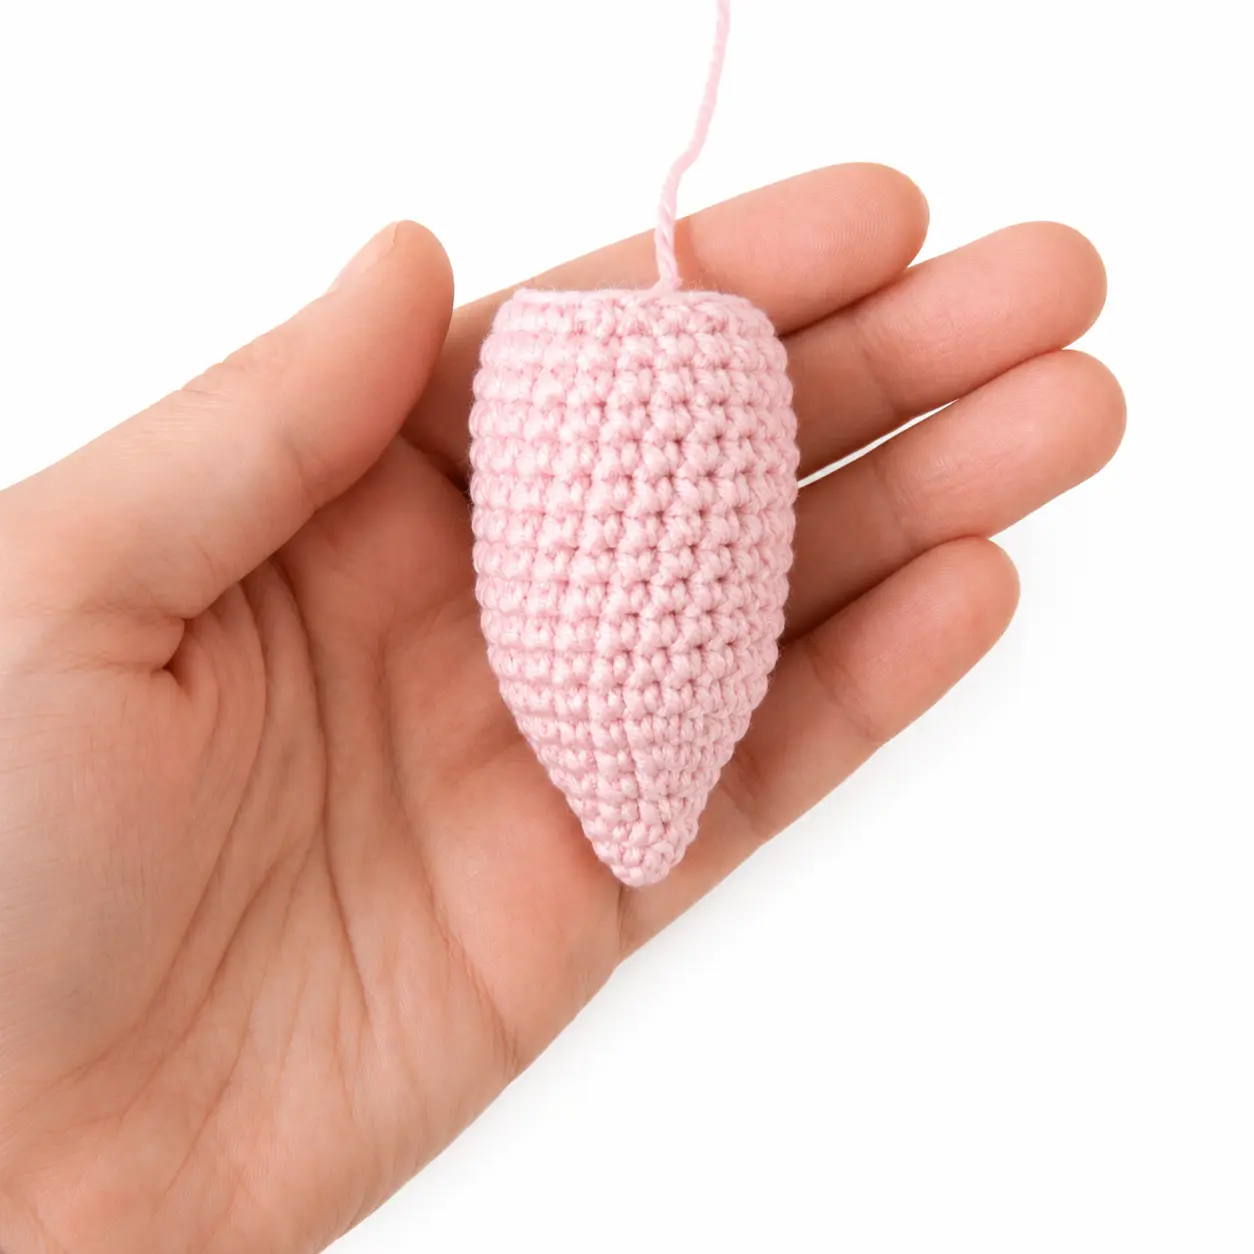
Body
Pink color yarn
1 row: 6 sc into MR
2 row: (2 sc, inc) x 2 (8)
3 row: (3 sc, inc) x 2 (10)
4 row: (4 sc, inc) x 2 (12)
5 row: (3 sc, inc) x 3 (15)
6 row: (4 sc, inc) x 3 (18)
7 row: (2 sc, inc) x 6 (24)
8-18 rows (11 rows): 24 sc (24)
19 row: (2 sc, dec) x 6 (18)
Stuff the detail. Cut yarn leaving a long tail for sewing.
Head
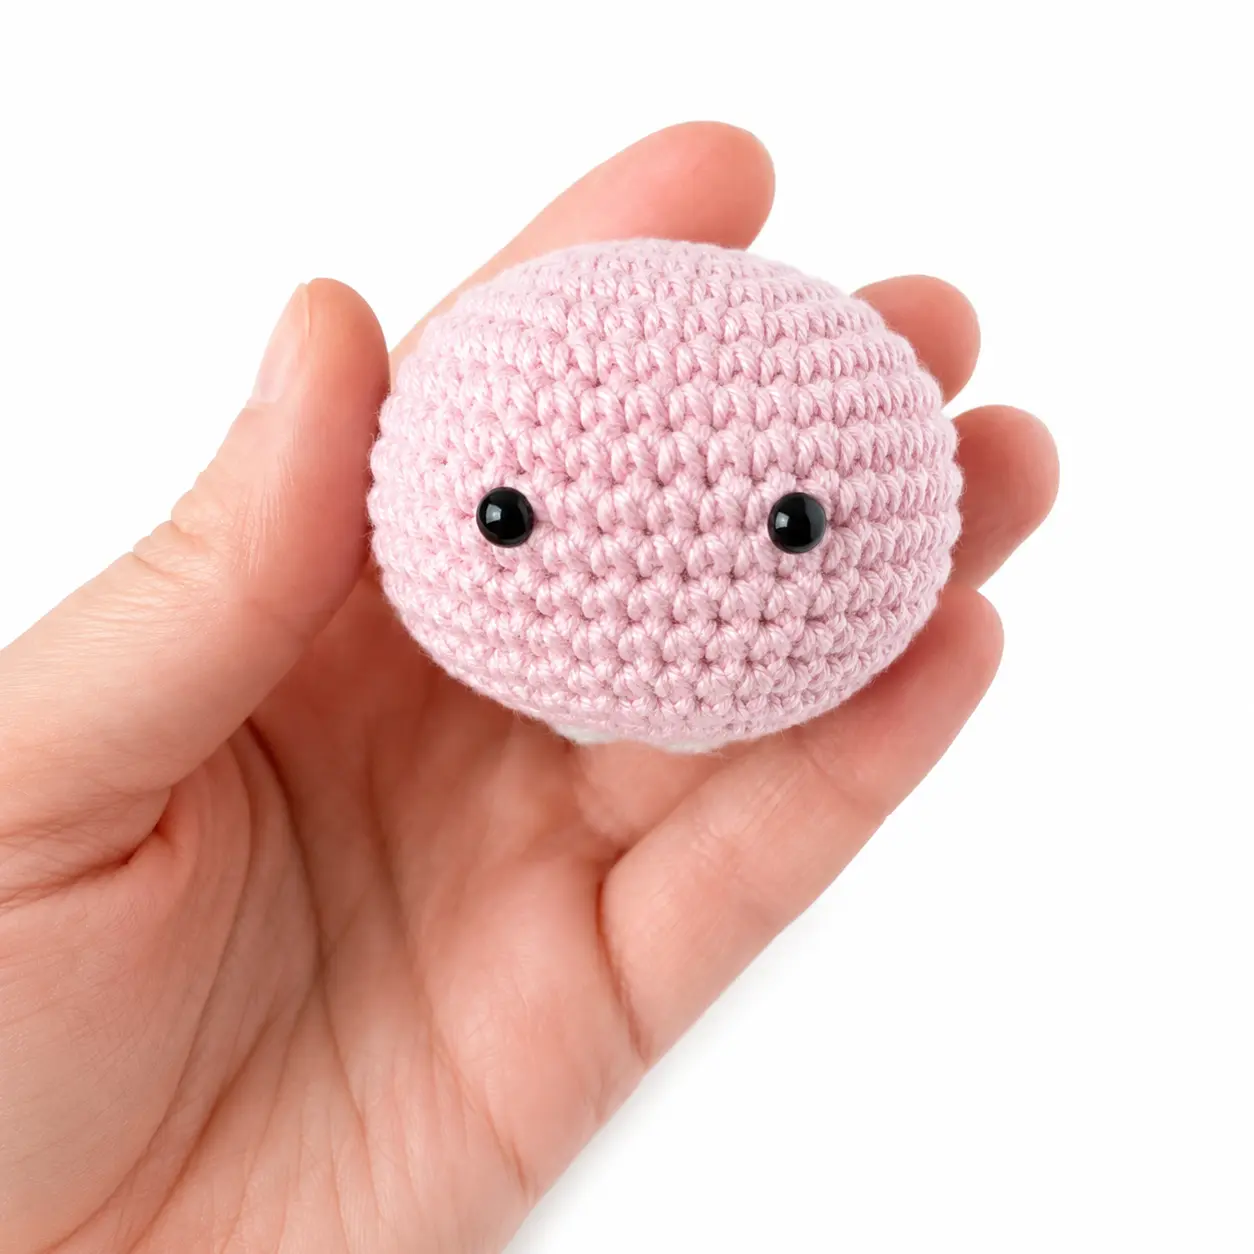
Pink color yarn
1 row: 6 sc into MR
2 row: 6 inc (12)
3 row: (1 sc, inc) x 6 (18)
4 row: (2 sc, inc) x 6 (24)
5 row: (3 sc, inc) x 6 (30)
6 row: (4 sc, inc) x 6 (36)
7 row: (5 sc, inc) x 6 (42)
8-13 rows (6 rows): 42 sc (42)
14 row: (5 sc, dec) x 6 (36)
15 row: (4 sc, dec) x 6 (30)
Attach the eyes between the 10th and 11th rows with 6 sc between them. (If you use safety eyes)
16 row: (3 sc, dec) x 6 (24)
17 row: (2 sc, dec) x 6 (18)
Stuff the detail. Cut yarn and hide a tail.
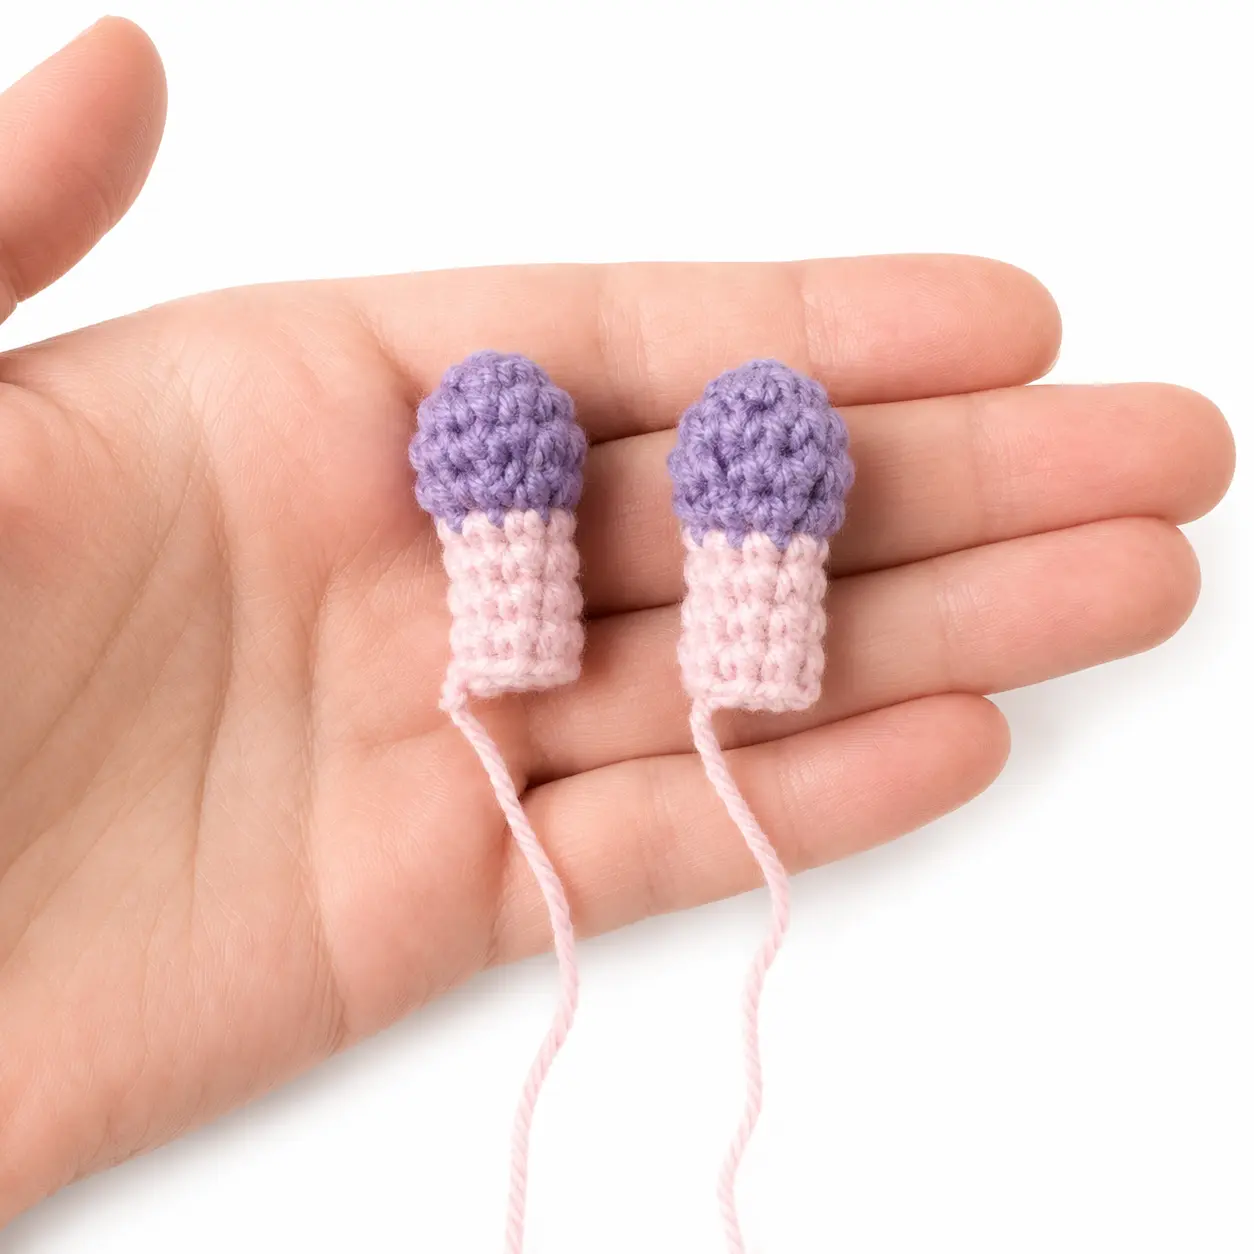
Antennas (make 2)
Purple color yarn
1 row: 6 sc into MR
2 row: 6 inc (12)
3-4 rows: 12 sc (12)
5 row: (2 sc, dec) x 3 (9)
Pink color yarn
6-9 rows: 9 sc (9)
Stuff the detail. Cut yarn leaving a long tail for sewing.
Wings (make 2)
1 piece
Purple color yarn
1 row: 6 sc into MR
2 row: 6 inc (12)
3 row: (1 sc, inc) x 6 (18)
4-6 rows: 18 sc (18)
7 row: (4 sc, dec) x 3 (15)
Cut the yarn and hide the tail.
2 piece
Purple color yarn
1 row: 6 sc into MR
2 row: 6 inc (12)
3 row: (3 sc, inc) x 3 (15)
4-5 rows: 15 sc (15)
6 row: (3 sc, dec) x 3 (12)
Do not cut off the yarn of the second piece and continue working the wing.
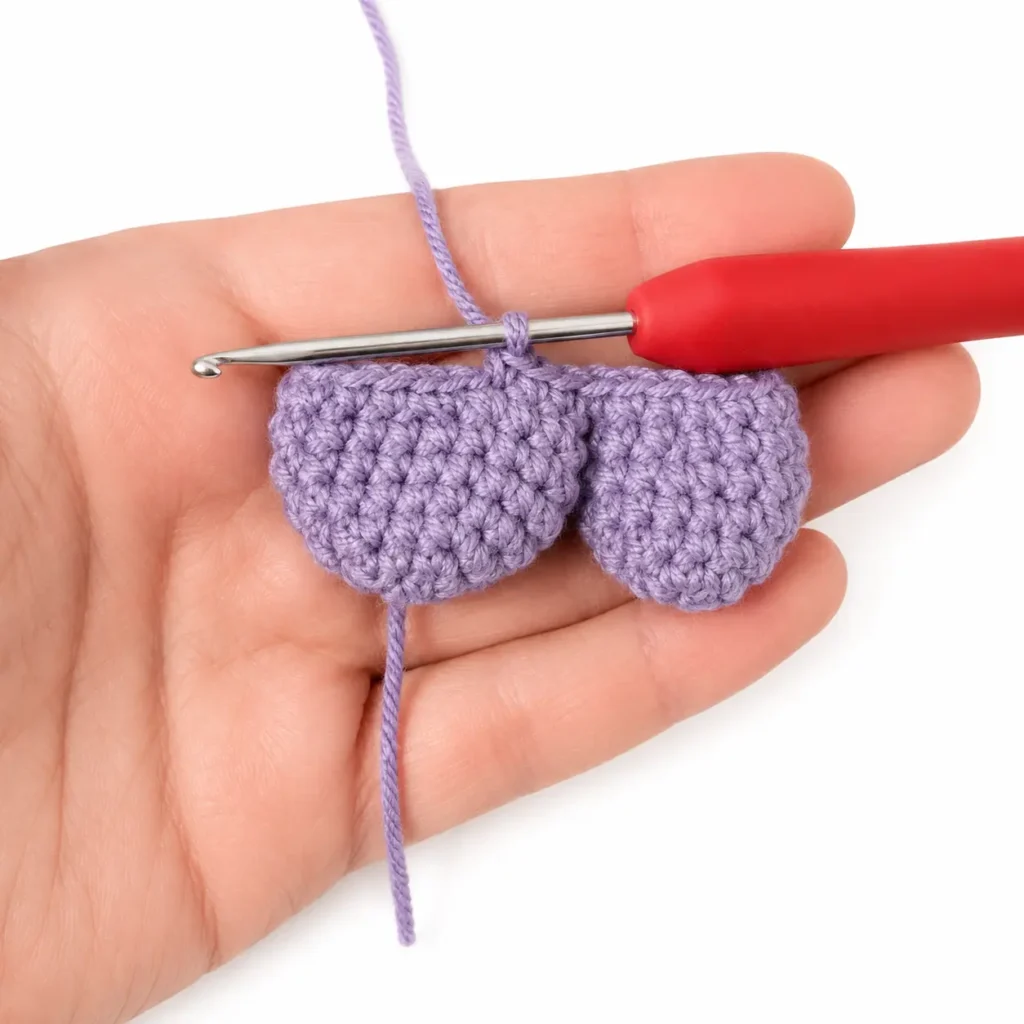
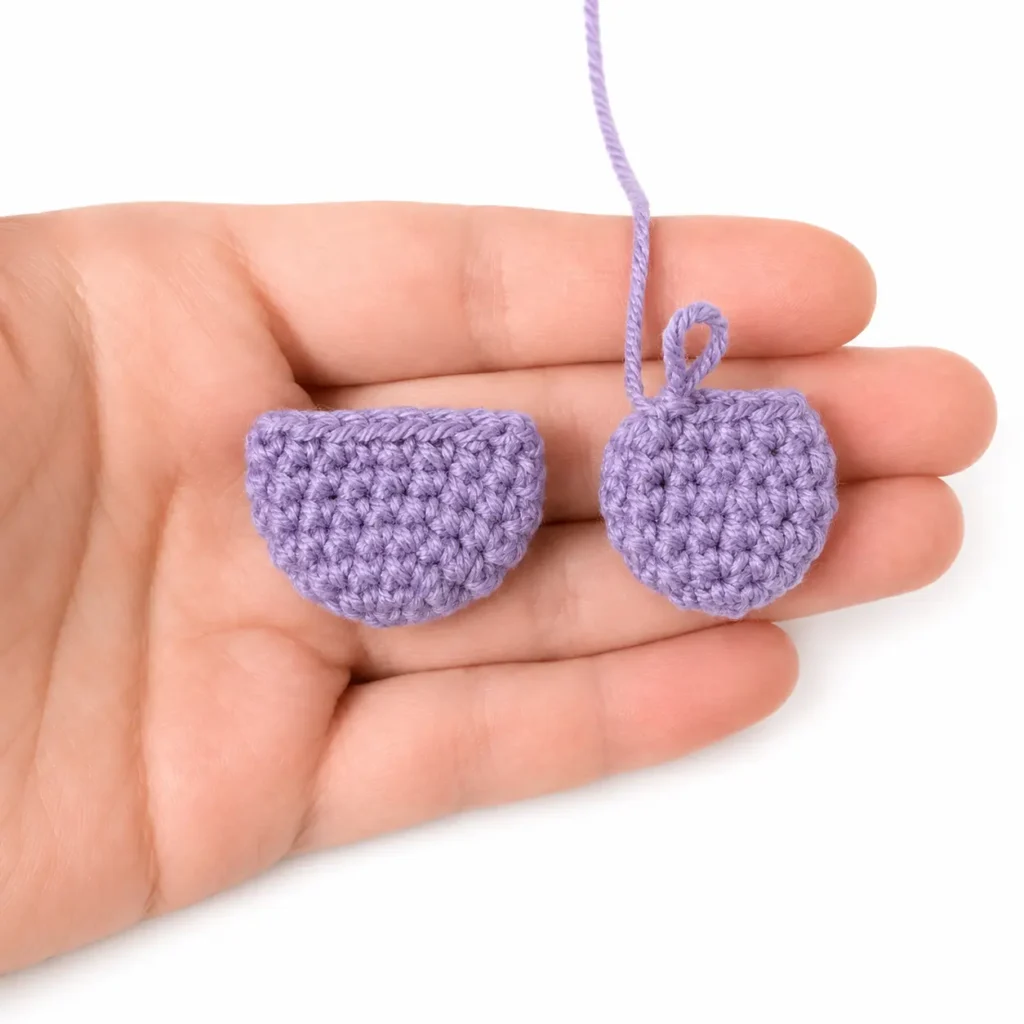
7 row: 6 sc along the second piece, 15 sc along the first piece, 6 sc along the second piece (27)
8 row: (7 sc, dec) x 3 (24)
9 row: (2 sc, dec) x 6 (18)
10 row: (1 sc, dec) x 6 (12)
Cut yarn leaving a long tail for sewing.
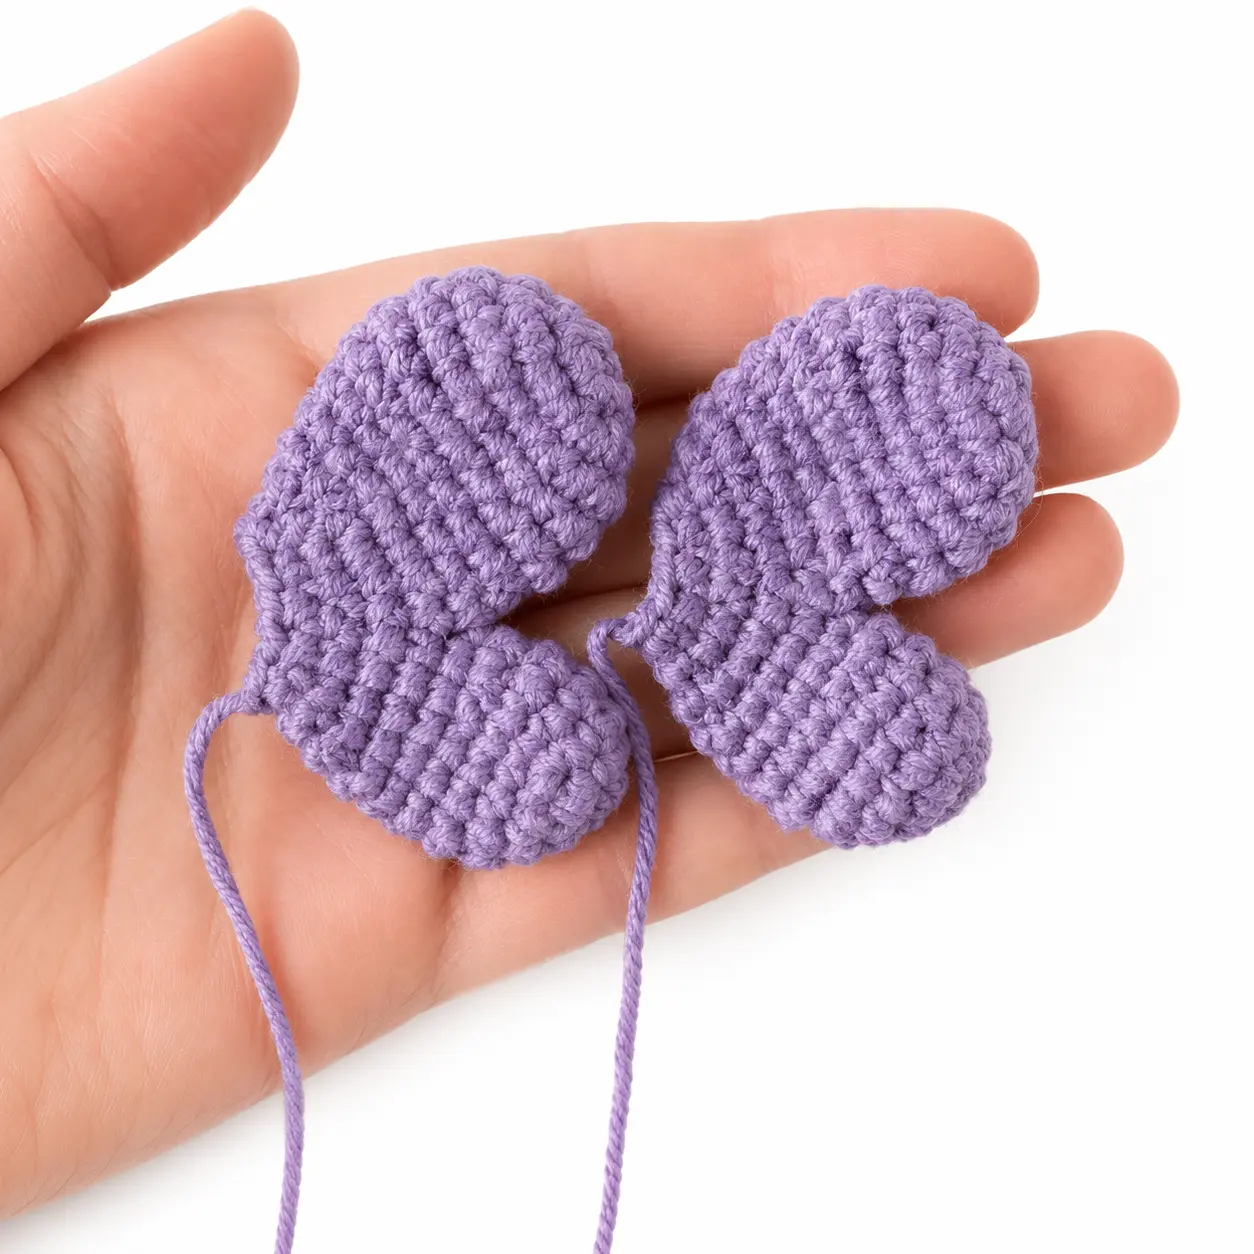
Assembly
Sew the antennas between 2-5 rows.
Sew the body and wings to the head.
Tips for Success
- Check your hook size: Using a 2.2 mm hook keeps your stitches tight so that the fiberfill stuffing does not show through the small single crochet stitches.
- Use stitch markers: Working in continuous rounds can make it easy to lose your spot, so place a marker in the first stitch of every row to stay on track.
- Stuff as you work: Fill the head and body firmly with fiberfill before closing up the final decreases so your butterfly holds its round shape nicely.
- Pin parts before sewing: Use sewing pins to secure the antennas to the top of the head and the wings to the back before stitching them down to make sure everything stays straight.
- Count stitches on the wing join: Pay close attention when joining the two wing pieces in row 7 to make sure you have the exact stitch count needed for the shape.
- Leave long yarn tails: Whenever you finish a piece that needs to be attached, leave a generous tail of yarn to make your tapestry needle work much easier.
Frequently Asked Questions
What type of yarn works best for this project?
A semi-cotton yarn like Etrofil Jeans works wonderfully because it gives great stitch definition and creates a soft, smooth plush finish.
Can I use safety eyes if I am making this for a small child?
If you plan to give this toy to an infant or toddler, it is always safest to embroider the eyes with black yarn instead of using plastic safety eyes.
How do I join the two wing pieces together?
You will crochet across stitches from the second piece, move directly onto the stitches of the first piece, and finish back on the second piece without cutting the working yarn.
How do I keep the antennas upright?
Stuffing the antennas firmly with a bit of fiberfill helps them stay perky and upright on top of the butterfly’s head.
Can I change the colors of the butterfly?
Yes, this project is wonderful for color variations, and you can pick any combination of pink, purple, yellow, or blue from your yarn stash.
Conclusion
I hope you enjoyed working through this project as much as I did! Bringing this sweet little bug to life with just a hook and yarn is such a cozy way to spend a quiet afternoon. It makes a lovely addition to a nursery shelf, a desk companion, or a sweet surprise for someone special in your life. Be sure to save this Free Amigurumi Pattern Sweet Butterfly Plush to your favorite Pinterest boards so you can easily come back to it later. Happy crocheting, and enjoy every stitch!


Leave a Comment