

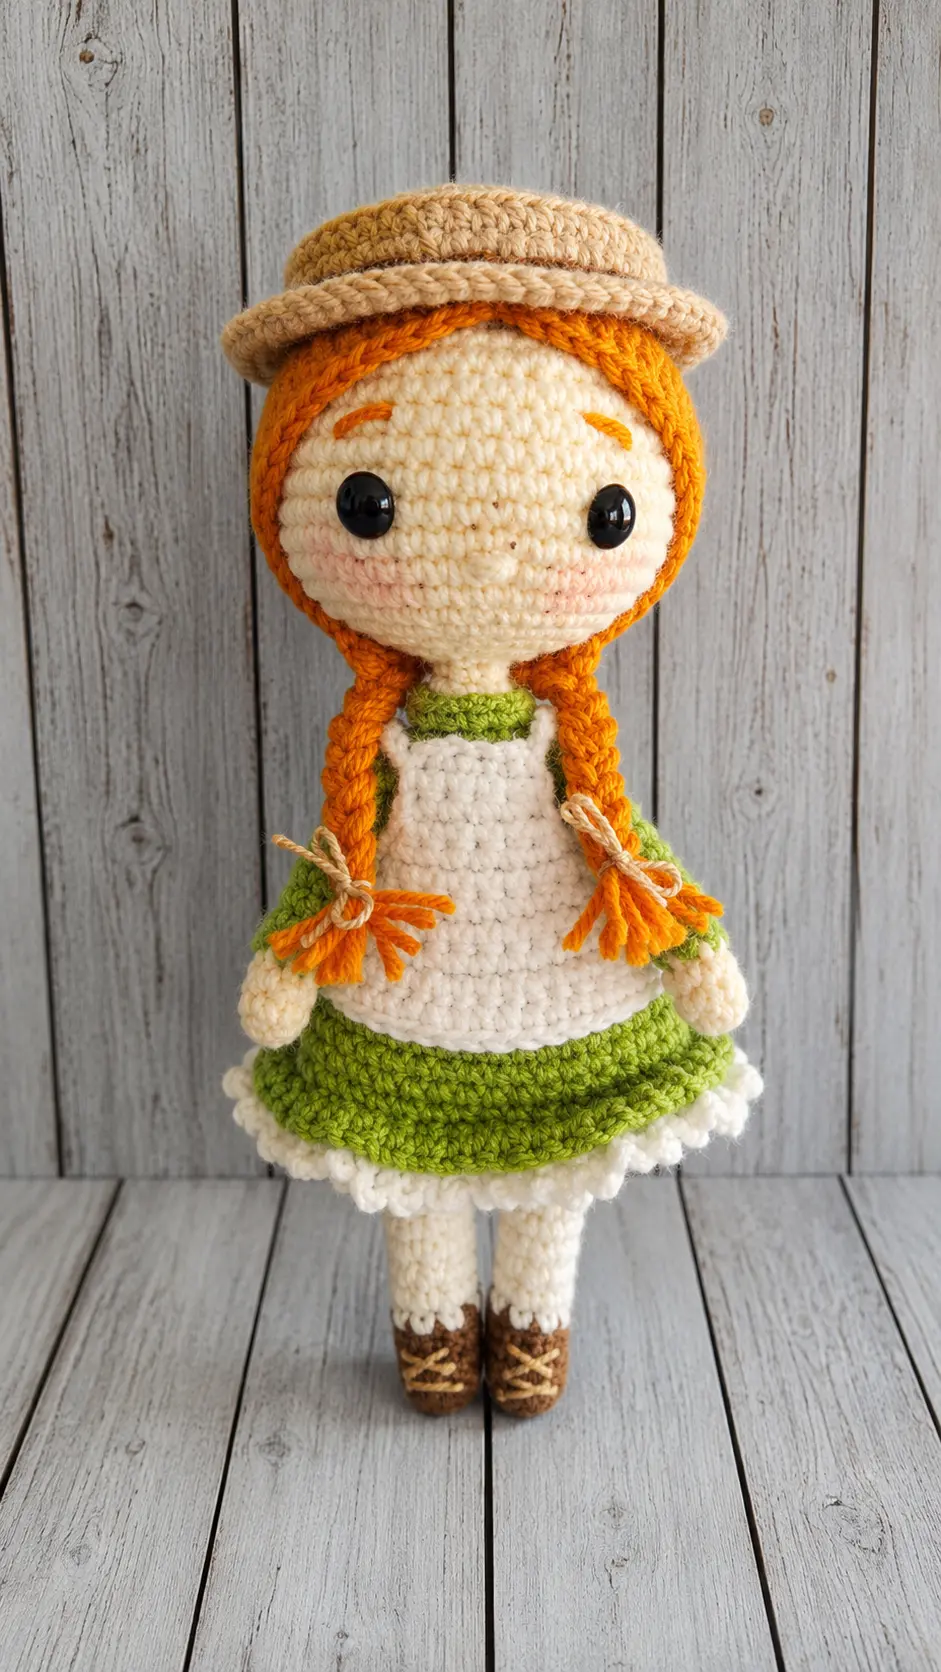
A few weeks ago, I was browsing through a small secondhand bookstore while waiting for my husband to finish an appointment nearby. I wasn’t looking for anything in particular, but an old copy of Anne of Green Gables caught my eye. I picked it up, flipped through a few pages, and instantly remembered reading it years ago. The shop had that familiar scent of old books, and before I left, the novel came home with me.
That evening, after dinner was over and the house had settled down, I sat on the couch with the book beside me and my crochet basket at my feet. I gathered a few skeins of cotton yarn in soft peach, leafy green, and warm rust shades, thinking they would be perfect for a classic doll. As I crocheted, Anne Shirley slowly came to life, complete with her signature red hair and simple dress. It felt like bringing one of my favorite childhood characters into the real world, one stitch at a time.
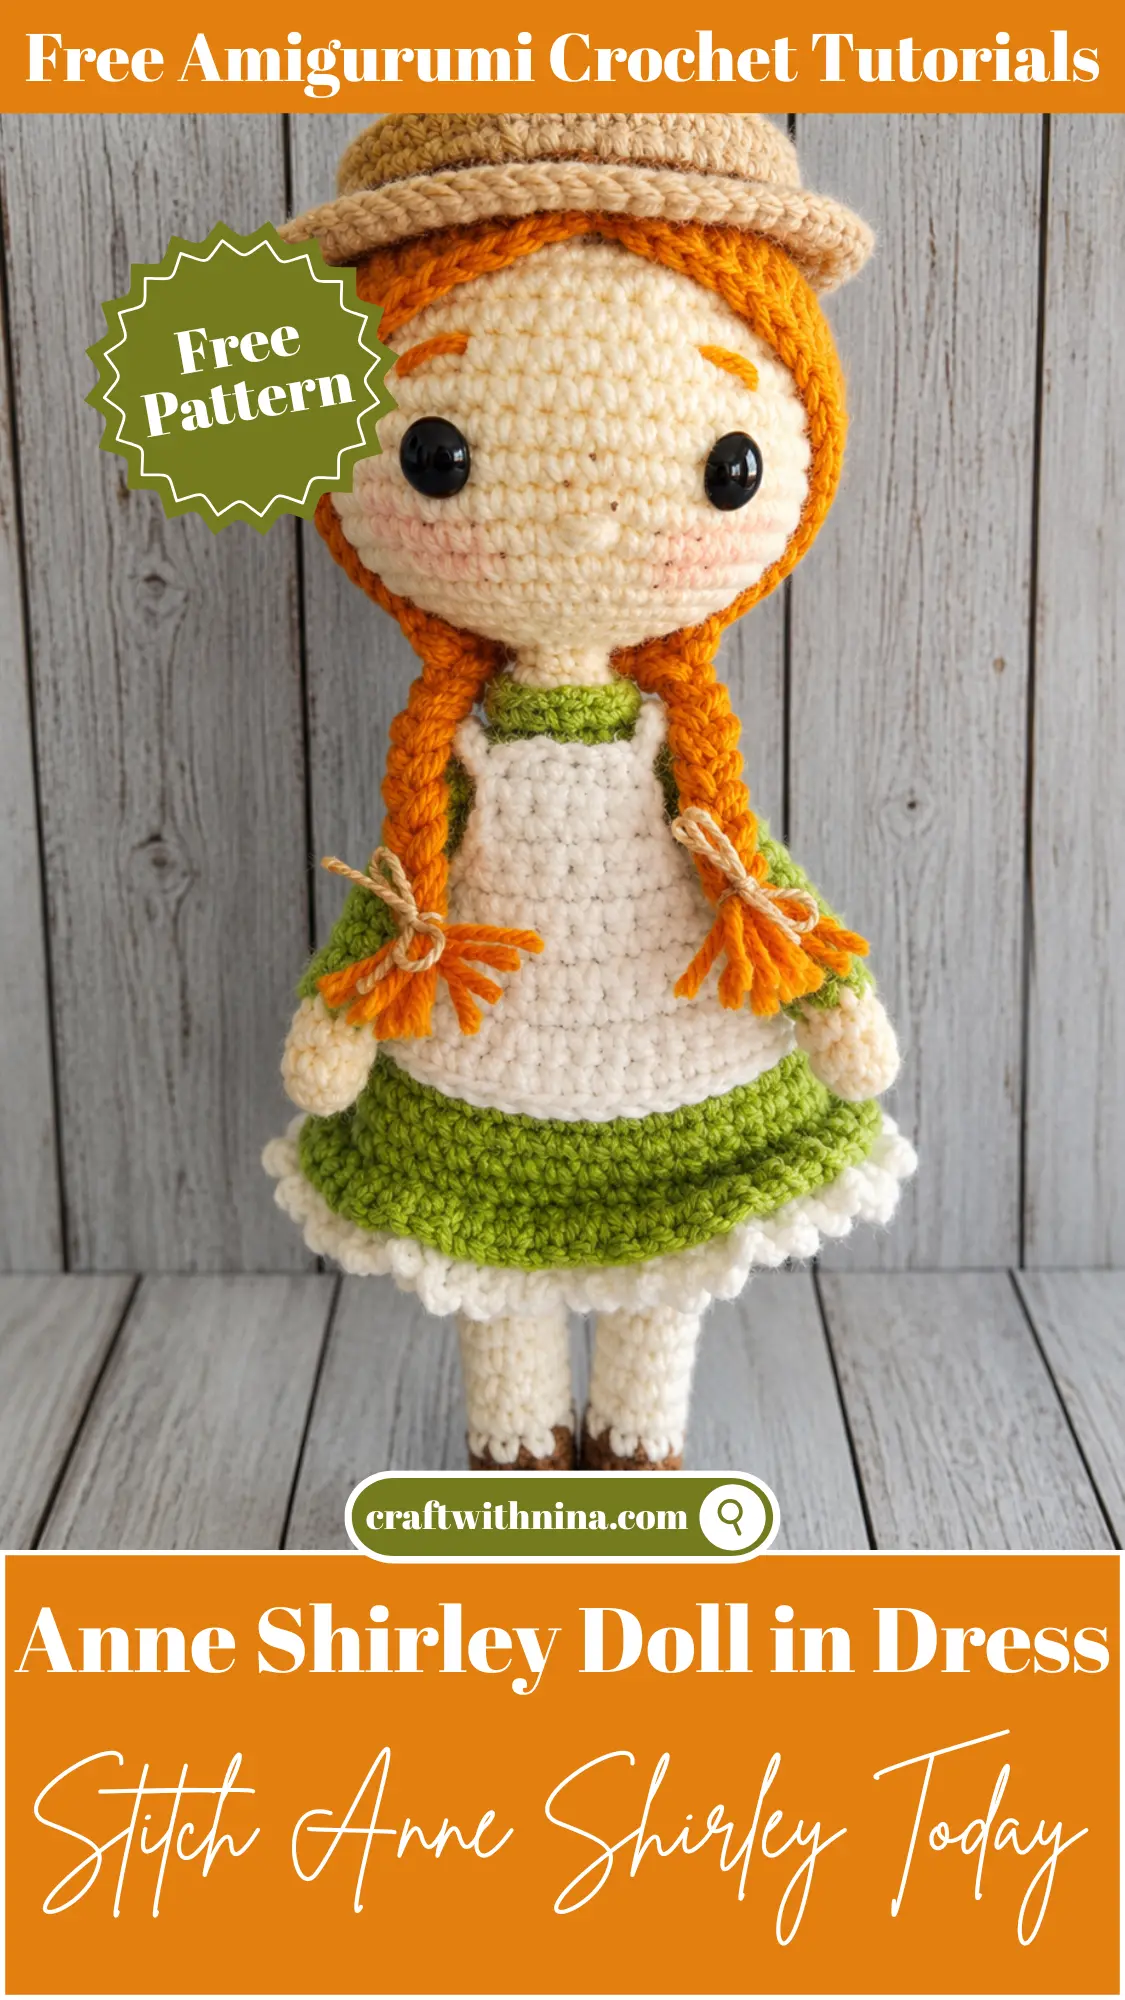
There is something special about combining a love of books with a love of crochet, and this Free Amigurumi Pattern Anne Shirley Doll in Dress does exactly that. Whether you’re making her for a fellow book lover, decorating your craft room, or adding another timeless doll to your collection, this pattern is a relaxing and rewarding project. Gather your favorite cotton or acrylic yarn, find a comfortable spot, and let’s crochet this charming Anne Shirley doll together.
Materials Needed
- Cotton or acrylic yarn in the following colors: light peach (for the skin), olive green, brown, light brown, rust or orange (for the hair) and white
- 3.5 mm crochet hook
- Stuffing
- Wooden chopstick to support the head
- 10 mm security eyes
Abbreviations
Magic Ring: MR
Single Crochet: Sc
Increase: INC
Decrease: Dec
Back Loop: Blo
Front Loop: Flo
Slip Stitch: Sl
Half Double Crochet: Hdc
Double Crochet: DC
Treble Crochet: Tc
Round: R
Pattern Instructions
Arms
Light Peach Yarn
R1. MR, 6 Sc
R2. And R3. 6 Sc
Change To Olive Green Yarn
R4.-r10. 6 Sc
Make 1 Sl And Close The Arm With 2 Sc. Make The Other Arm And Save Them For Later To Be Joint On Body’s Round 31.
Legs
Brown Yarn
R1. MR, 8 Sc
R2.-r4. 8 Sc
Change To White Yarn
R5. 8 Sc
R6.-r17. 8 Sc
Change To Olive Green
R18. 8 Sc
Finish Off The First Leg. Make Another Leg And Do Not Cut The Yarn As We Will Join The Legs To Start The Body.
Body
Olive Green Yarn
Continue From The Second Leg
R19. 2 Sc, Chain 4, Join The Legs, 8 Sc, 4 Sc (On The Chain 4 We Just Made), 6 Sc (24)
R20. 24 Sc (This Includes The Remaining Loops Of The Chain 4)
R21.-r22. 24 Sc
R23. Dec, 9 Sc, Dec, 11 Sc (22)
R24. Blo 22 Sc
R25. Dec, 9 Sc, Dec, 9 Sc (20)
R26. Dec, 8 Sc, Dec, 8 Sc (18)
R27. 18 Sc
R28. (Dec, 4 Sc)*3 (15)
R29. 15 Sc
R30. (Dec, 3 Sc)*3 (12)
R31. 12 Sc (12) Join The Arms With 2 Sc, Make Sure They Are Even On The Sides With 4 Stitches Between Them.
Change To Light Peach Yarn
R32. Blo 12 Sc
R33. 6 Dec (6)
R34. 6 Sc
Go Back To Round 32 Where We Left The Front Loops Free And Make 12 Sc With Olive Green Yarn To Make The Dress Collar.
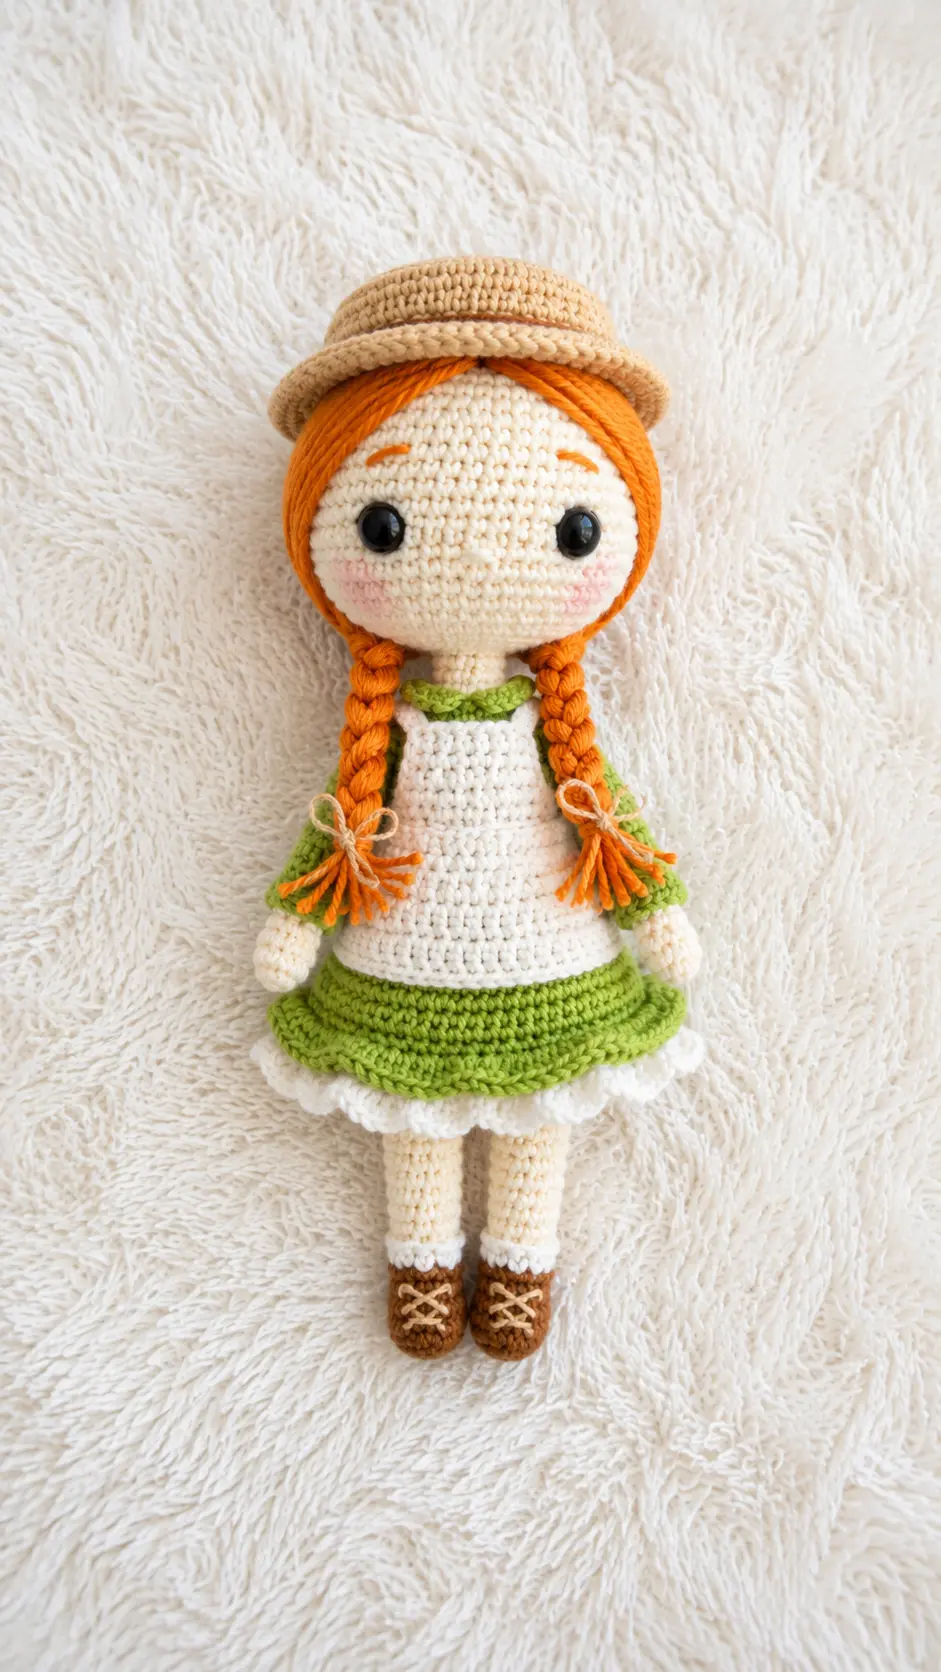
Head
Light Peach Yarn
Continue From The Neck (R34)
R1. 6 Sc (12)
R2. 12 INC (24)
R3. (3 Sc, INC)*6 (30)
R4. 2 Sc, INC, (4 Sc, INC)*5, 2 Sc (36)
R5. (5 Sc, INC)*6 (42)
R6. 3 Sc, INC (6 Sc, INC)*5, 3 Sc (48)
R6.-r14. 48 Sc
Place The Eyes Between Rounds 8-9, 8 Stitches Apart.
Embroider The Nose In Round 7 And The Eyebrows Between Rounds 10-11
R15. 3 Sc, Dec, (6 Sc, Dec)*5, 3 Sc, (42)
R16. (5 Sc, Dec)*6 (36)
R17. 2 Sc, Dec, (4 Sc, Dec)*5, 2 Sc (30)
R18. (3 Sc, Dec)*6 (24)
R19. 1 Sc, Dec (2 Sc, Dec)*5, 1 Sc (18)
R20. (1 Sc, Dec)*6 (12)
R21. 6 Dec (6)
Close By Sewing The Front Loops Of The Last Round And Pull To Tighten The Yarn.
Dress
Olive Green Yarn
Go Back To Round 24 Of The Body Where We Left The Front Loops Free. Insert The Yarn On Any Stitch In The Back, Chain 1 And On That Same Stitch Go On.
R1. 5 Sc, INC, 10 Sc, INC, 5 Sc (24)
R2. (3 Sc, INC)*6 (30)
R3. 30 Sc
R4. (4 Sc, INC)*6 (36)
R5.-r9. 36 Sc
R10. Flo (1 Sc, Chain 1) *36
Finish Off And Weave.
If You Want The Dress To Be Longer Just Make A Few More Rounds Of 36 Sc.
You Can Make A Round Of Sl To Form A Belt.
White Yarn
Go To The Last Round Of The Dress, Insert The Hook On The Back Loops Left And Make (Chain 4, 1 Sc)*36 All The Round Long.
Hair
Rust/Orange Yarn
R1. MR 6 Sc
R2. 6 INC (12)
R3. (1 Sc, INC)*6 (18)
R4. 1 Sc, INC, (2 Sc, INC)*5, 1 Sc, INC (24)
R5. (3 Sc, INC)*6 (30)
R6. 2 Sc, INC, (4 Sc, INC)*5, 2 Pb (36)
R7. (3 Sc, INC)*9 (45)
R8. 22 Sc, INC, 21 Sc, INC (47)
R9.-r12. 47 Sc
R13. 23 Sc, INC, 22 Sc, INC (49)
R14.-r17. 49 Sc
R18. 12 Sc, 1 Hdc, 5 DC, 1 Tc, 4 DC, 1 Sc, 1 Sl, 1 Sc, 4 DC, 1 Tc, 5 DC, 1 Hdc, 12 Sc, 1 Sl.
Leave A Long Tail To Sew The Wig To The Head Or You Can Glue It With A Glue Gun.
To Do The Braids Cut 12 Pieces Of Rust Yarn About 30 Cm (11 Inches). Grab Two Strands, Fold Them In Half And Insert Them On Round 18 Following The Next Directions: Count 7 Stitches From The Last Hdc (Made On Round 18) And Place 2 Strands On Each Of The 8th, 9th And 10th Stitches. Do It On Both Sides Of The Wig, You Should Have 12 Strands (4 On Each Stitch) To Make A Braid.
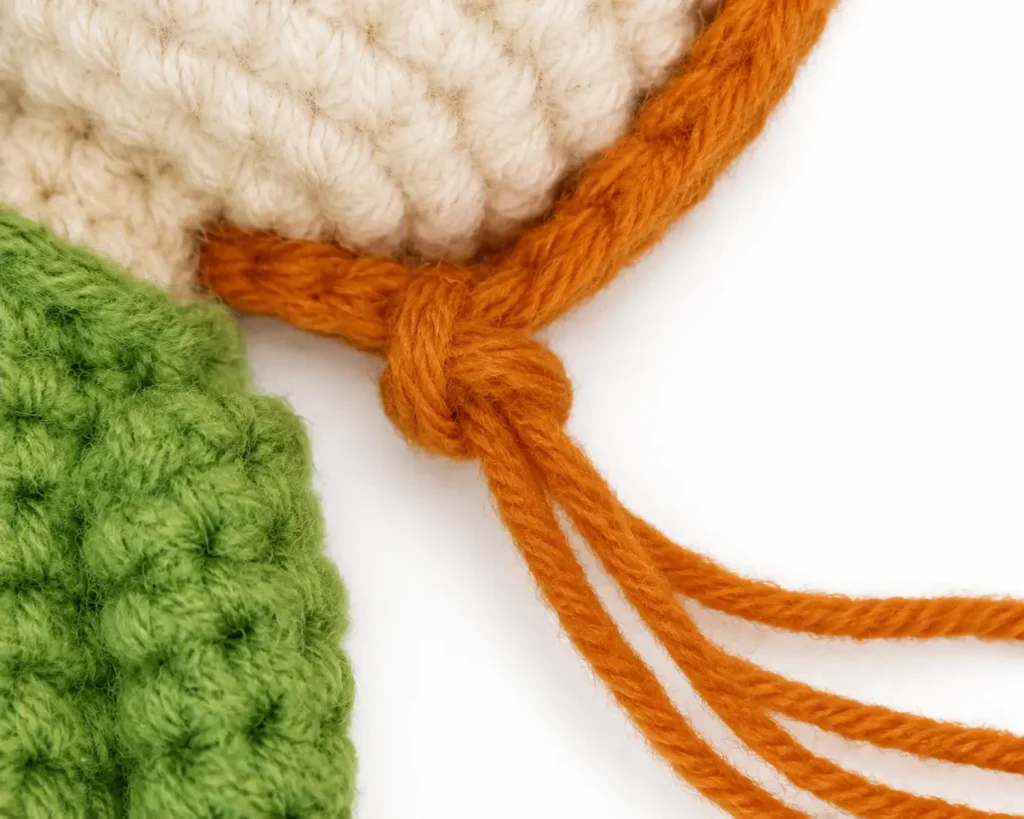
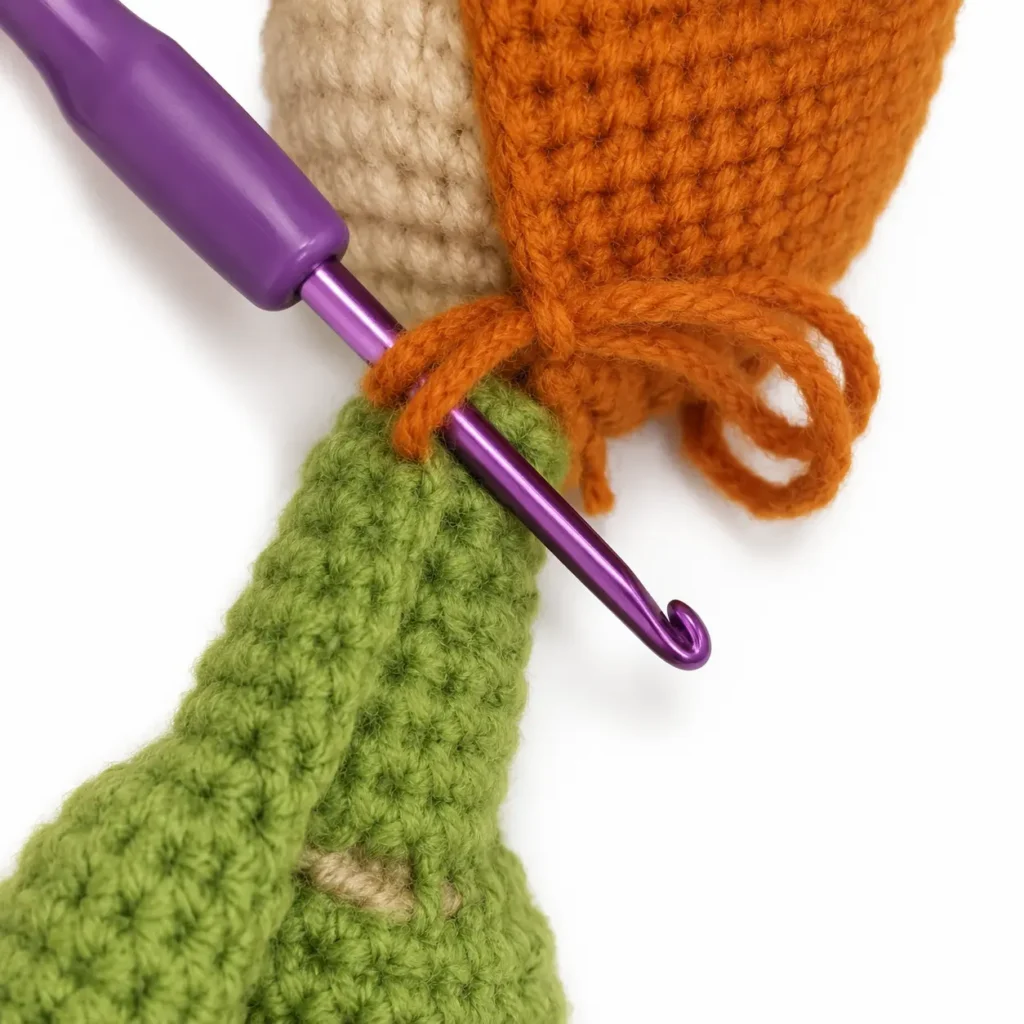
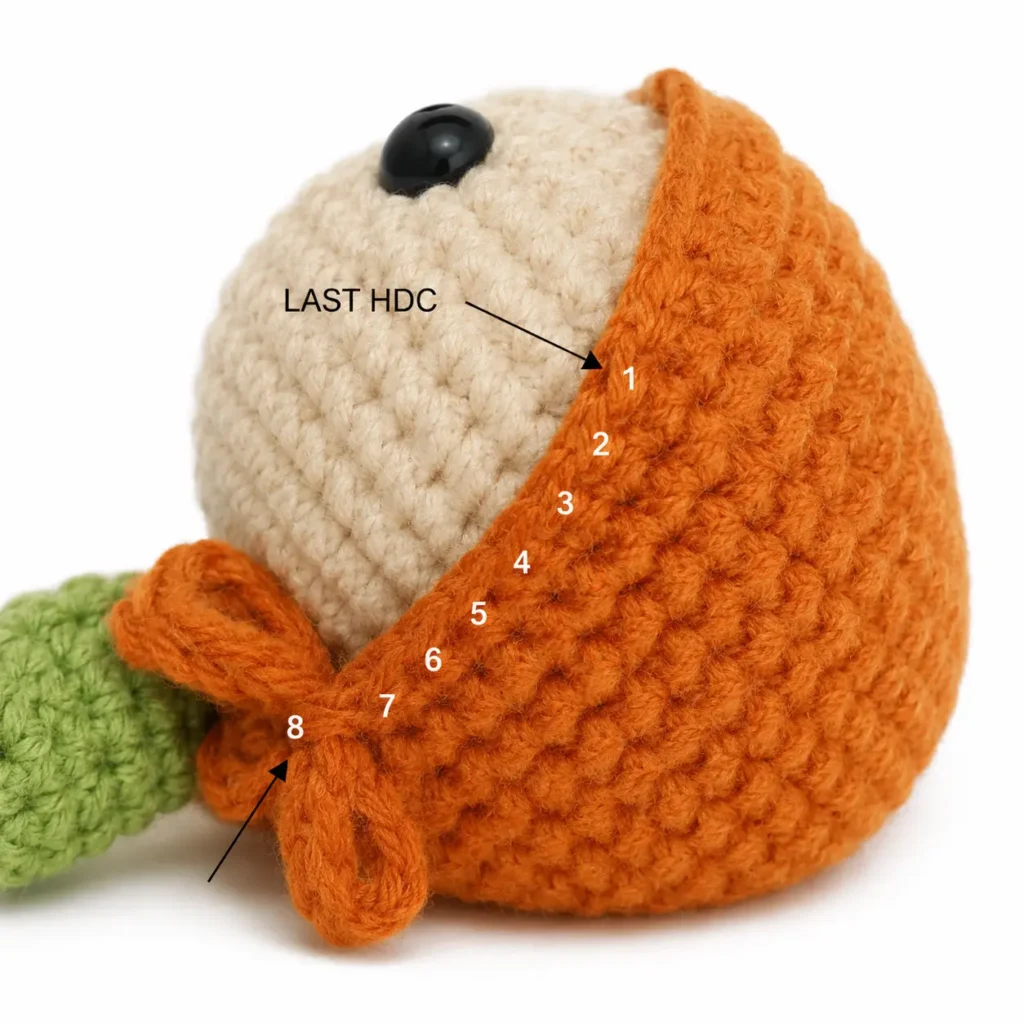
Braid The Doll’s Hair And Secure Them With A Knot.
Apron
White Yarn
Work In Rows, Before Starting A New Row Make A Turning Chain For Single Crochet And 2 Turning Chains For Double Crochet. Chain 19, Skip The Last Chain Made And Start.
Row 1. 2 Sc, Chain 4, Skip 4 Stitches In The Main Chain, 6 Sc, Chain 4, Skip 4 Stitches In The Main Chain, 2 Sc (18)
Row 2.-row 7. 18 Sc
Row 8. 18 INC In DC (36)
Row 9-row 11. 36 DC.
Sew A Button On The Left Edge In Row 6 And Chain 14 On The Right Edge, Join With A Sl In The Same Stitch.
Hat
Light Brown Yarn
R1. MR 6 Sc
R2. 6 INC (12)
R3. (1 Sc, INC)*6 (18)
R4. 1 Sc, INC, (2 Sc, INC)*5 (24)
R5. (3 Sc, INC)*6 (30)
R6. 2 Sc, INC, (4 Sc, INC)*5, 2 Sc (36)
R7. 5 (Sc, INC)*6 (42)
R8. 3 Sc, INC (6 Sc, INC)*5, 3 Sc (48)
R9. Blo 48 Sc
R10. 48 Sc
R11. Flo (7 Sc, INC)*6 (54)
R12. 4 Sc, INC, (8 Sc, INC)*5, 3 Sc, Sl (60)
Finish Off And Weave.
You Can Embroider Or Crochet A Row With Darker Brown To Make The Hat Look Prettier.
To Finish With Some Last Few Details, You Can Embroider Or Draw Freckles With A Marker, Put Some Blush On The Cheeks, Put Some Lashes And Shoelaces Or Whatever You Like, Feel Free To Explore Your Creativity.
Tips for Success
- Insert the Neck Support Early: Since the head is continuous with the neck, insert your wooden chopstick firmly down into the body stuffing before finishing the head to keep it from wobbling.
- Count Hair Strands Carefully: When preparing the braids, cut all 12 strands of rust yarn to the same 11-inch length first so your braids come out completely even on both sides.
- Use Stitch Markers for Free Loops: Mark the unused front loops when working rounds 24 and 32 so it is easy to find where to attach your yarn later for the dress and collar.
- Keep Leg Tension Consistent: Make sure to pull your stitches with equal tension on both legs so the doll stands straight and balanced once joined.
- Pin the Wig Cap Before Fastening: Use sewing pins to hold the hair cap in place around the head before sewing or gluing it down to ensure the hairline stays straight.
- Add Personal Facial Details: Add the embroidered nose, eyelashes, and pink cheeks before closing up the top of the head so you can hide all yarn tails neatly inside.
Frequently Asked Questions
Do I need to stuff the doll’s arms?
No, the pattern instructions specify that the arms do not need to be stuffed with fiberfill. Leave them un-stuffed so they rest flat and soft against the sides of the body.
How do I attach the arms to the body?
You will join the arms directly into Round 31 of the body using single crochet stitches. Make sure they align evenly on the sides with 4 stitches open between them across the chest.
What yarn works best for this amigurumi doll?
A sport weight or DK weight cotton or acrylic yarn works wonderfully with a 3.5 mm hook. Cotton gives great stitch definition for small details like the apron and braids.
How do I join the legs to start the body?
After finishing the second leg, you chain 4 and join directly to the first leg. Work single crochets around the first leg, across the chain, around the second leg, and across the other side of the chain.
Can I make the dress longer?
Yes, if you prefer a longer dress skirt, simply add a few extra rounds of 36 single crochets before working the final border round.
Conclusion
Creating this sweet handmade doll is such a fun and fulfilling project to enjoy over a couple of relaxing afternoons. It makes a delightful addition to any storybook collection or a cherished keepsake for a creative friend. I hope you loved working through this Free Amigurumi Pattern Anne Shirley Doll in Dress as much as I enjoyed stitching mine out on the porch! If you enjoyed this project, save it to your favorite Pinterest crochet boards so you can easily find it again. Happy crocheting, and enjoy every sweet stitch!


Leave a Comment