

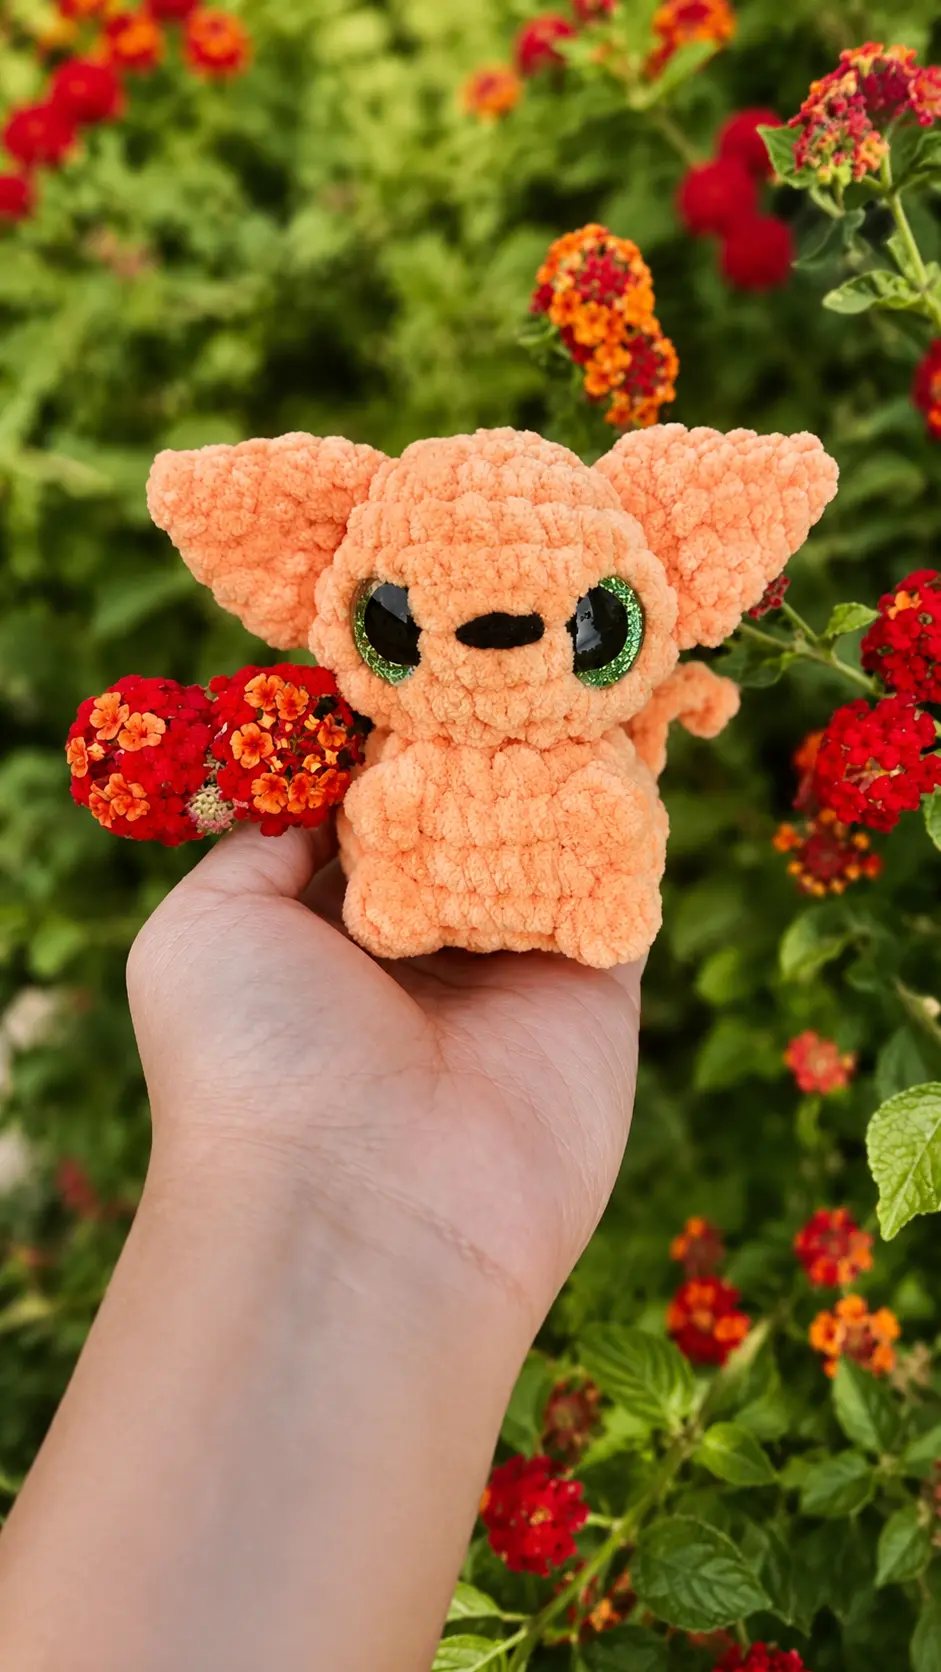
This morning, after wrapping up a few quick household chores, I poured myself a warm cup of coffee and sat down by the sunny kitchen window with my yarn basket. I wanted to start a small, satisfying project that would come together quickly before the afternoon got busy. Looking through my soft yarn skeins, a lovely peachy orange bulky yarn caught my eye. It felt so soft and perfect for a sweet little animal project. I grabbed my favorite 5.5mm hook, settled into my comfortable armchair, and began stitching.
There is nothing quite as cozy as working on a quick plushie project while enjoying a peaceful moment at home. Today, I am so excited to share this Free Amigurumi Pattern Chunky Kitty Plush with you. It is a wonderful low-sew design that works up in no time, making it great for a quick gift or a fun weekend craft. Grab your favorite plush yarn and a hook, and let us get started on this cute little cat together!
Materials Needed
- Premier Parfait Chunky Yarn (less than half a skein) You can use any yarn you would like!
- Two 20 mm safety eyes
- Scrap black yarn for nose
- Polyfill stuffing
- Stitch markers
- 5.5mm crochet hook (You can use any hook that you would like. It may turn out smaller or larger depending on your tension, yarn and hook size)
- Yarn needle
Finished Size
The finished size will vary depending on your yarn weight, hook size, and personal tension. Using Premier Parfait Chunky yarn with a 5.5mm hook creates a compact, palm-sized chunky plushie.
Gauge
Gauge is not critical for this pattern. Just make sure your stitches are worked tight enough so that the polyfill stuffing does not show through the fabric.
Abbreviations
- MR: MAGIC RING
- SC: SINGLE CROCHET
- INC: INCREASE
- DEC: DECREASE
- SL ST: SLIP STITCH
- FLO: FRONT LOOP ONLY
- BLO: BACK LOOP ONLY
- FO: FASTEN OFF
- CH: CHAIN
- R: ROUND
- BBL: BOBBLE STITCH
BBL STITCH WITH 6 LOOPS:
YARN OVER, INSERT HOOK IN INDICATED STITCH, YARN OVER, PULL UP A LOOP, YARN OVER PULL THROUGH 2 LOOPS, (YARN OVER, INSERT HOOK IN SAME STITCH OR SPACE, YARN OVER, PULL UP A LOOP, YARN OVER, PULL THROUGH 2 LOOPS) 4 TIMES (6 LOOPS ON HOOK), YARN OVER AND PULL THROUGH ALL 6 LOOPS.
BBL STITCH WITH 4 LOOPS:
YARN OVER, INSERT HOOK INTO DESIGNATED STITCH, YARN OVER, DRAW UP A LOOP, YARN OVER, PULL THROUGH 2 LOOPS. (YARN OVER, INSERT HOOK INTO SAME DESIGNATED STITCH, YARN OVER, DRAW UP A LOOP, YARN OVER, PULL THROUGH 2 LOOPS.) REPEAT ANOTHER TIME (4 LOOPS ON YOUR HOOK).
Pattern Instructions
HEAD TO BODY:
STARTING IN COLOR OF YOUR CHOICE
R1: 8SC IN MR (8)
R2: INC X8 (16)
R3: (1SC, 1INC) X8 (24)
R4-R5: 24SC (TOTAL OF 2 ROUNDS)
R6: 3SC, 4INC, 7SC, 4INC, 6SC (32)
R7: 32SC (32)
R8: (1SC, 1 DEC) X10, 2SC (22)
PLACE EYES BETWEEN ROUNDS 6-7 ABOUT 4 STITCHES APART
STUFF HEAD.
R9: DEC X11 (11)
R10: FLO (1SC, 1INC) X5, 1SC (16)
R11: INC X16 (32)
R12: 10SC, BBL(4 LOOPS), 6SC, BBL(4 LOOPS), 14SC (32)
R13: 32SC
R14: 10SC, BBL (6 LOOPS), 6SC, BBL (6 LOOPS), 14SC (32)
BBL STITCH PLACEMENT MAY VARY. BBL STITCHES SHOULD BE DIRECTLY UNDER EYES
R15: (2SC, 1DEC) X8 (24)
STUFF BODY
R16: BLO (1SC, 1DEC) X8 (16)
R17: DEC X8 (8)
FINISH STUFFING. FO WEAVE IN YARN THROUGH FRONT LOOPS ONLY TO CLOSE.
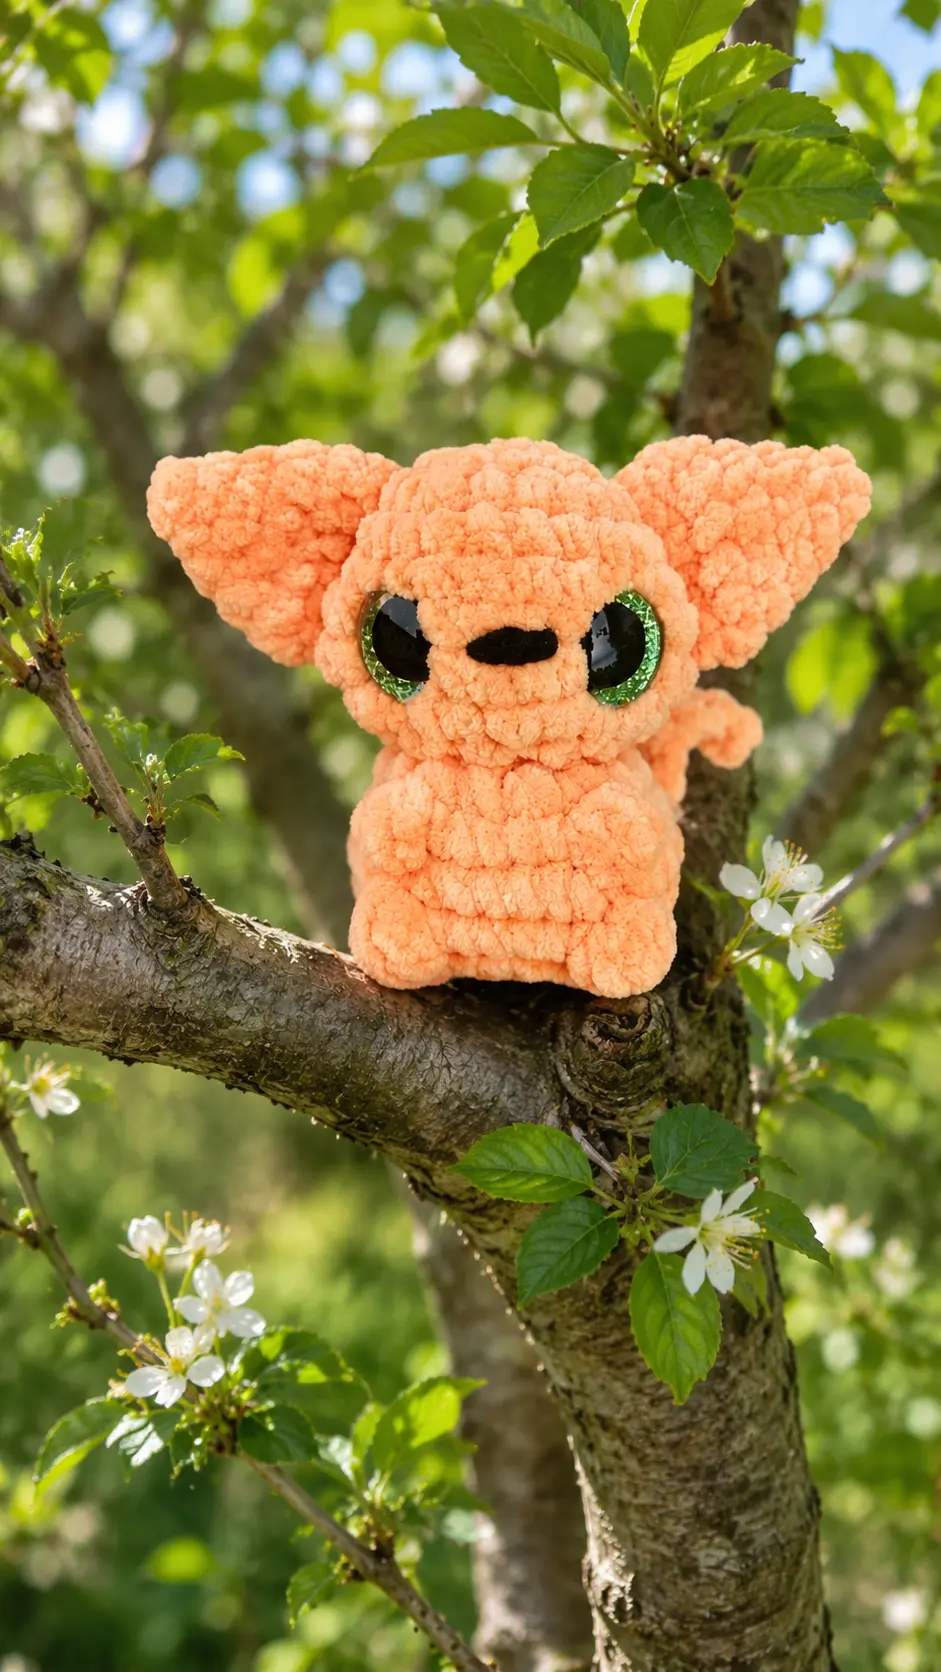
EARS: (MAKE 2)
R1: 4SC IN MR (4)
R2: (1SC, 1INC) X2 (6)
R3: (2SC, 1INC) X2 (8)
R4: (3SC, 1INC) X2 (10)
R5: (4SC, 1INC) X2 (12)
DO NOT STUFF
FOLD EAR IN HALF AND SC 5 THROUGH BOTH SIDES.
FO LEAVE A LONG TAIL FOR SEWING
Tail:
INSERT HOOK IN ROUND 13 OF THE CATS BACK. DEPENDING ON PREFERENCE YOU CAN HAVE THE TAIL DIRECTLY IN THE MIDDLE OF THE BACK, OR TOWARDS THE SIDE OF THE BACK, THAT WAY YOU CAN SEE THE TAIL WHEN LOOKING AT THE FRONT OF THE CAT.
PULL UP A LOOP AND SL ST.
CH 9. IN THE SECOND LOOP FROM THE HOOK SC. 7 SC DOWN THE REST OF THE CHAIN. ONCE YOU REACH THE BOTTOM OF THE CHAIN SL ST INTO THE BEGINNING STITCH.
FO AND LEAVE A LONG TAIL FOR SEWING (SEW THE TAIL SLIGHTY TO HELP MAKE THE TAIL STAND STRAIGHT UP)
ASSEMBLY:
SEW EARS BETWEEN ROUNDS 3-6 ON HEAD.
Yay!! You’re done!
Tips for Success
- Check Bobble Alignment: Stitch tensions vary, so always make sure your bobble stitches line up directly under the safety eyes before continuing past rounds 12 and 14. If they seem slightly off, adjust by adding or subtracting one single crochet stitch before making the bobble.
- Use a Stitch Marker for Plush Yarn: Velvet and chenille yarns can make it tricky to see loop openings clearly. Placing a marker in the first stitch of every round helps keep your count accurate.
- Count Bobble Loops Carefully: Pay close attention to the stitch instructions for rounds 12 and 14. The front paws use 4-loop bobbles, while the back legs use larger 6-loop bobbles for extra definition.
- Pin the Ears Before Sewing: Use sewing pins to secure both ears between rounds 3 and 6 on top of the head before attaching them permanently. This lets you check that they are straight and evenly spaced.
- Stuff in Stages: Stuff the head completely after round 8, and add stuffing to the body after round 15. Adding stuffing in small amounts ensures a nice, smooth shape without lumpiness.
- Tuck in the Tail: When sewing the tail base slightly upward, take an extra stitch through the back wall of the body to keep the tail pointing up nicely instead of flopping down.
Frequently Asked Questions
Is this pattern suitable for beginners?
Yes, this project is very beginner friendly. It uses basic single crochet stitches, simple increases and decreases, and straightforward bobble stitches to create the paws without needing complex joining steps.
What yarn works best for this chunky cat?
Super bulky plush yarn like Premier Parfait Chunky works wonderfully to give the cat a soft, squishy look. However, you can use any yarn in your stash with an appropriate hook size.
Why are my bobble stitches not lining up under the eyes?
Everyone holds their yarn with different tension, which can shift the starting point of rounds slightly over time. Feel free to shift the single crochets before the bobble stitch by one or two stitches so the paws rest directly beneath the eyes.
How do I attach the safety eyes securely?
Insert the posts of your 20 mm safety eyes between rounds 6 and 7, about 4 stitches apart, before stuffing the head. Snap the plastic backings firmly into place on the inside of the work to keep them secure.
Do I need to stuff the ears or tail?
No, the ears and tail are worked without any polyfill stuffing. Folding the ears in half and stitching across the bottom edge gives them plenty of structure on their own.
Conclusion
I hope you have so much fun making this adorable plush kitty. It is such a quick and gratifying project to work up when you want to create something cute without spending hours on assembly. Be sure to save this Free Amigurumi Pattern Chunky Kitty Plush to your favorite Pinterest crochet board so you can make another one whenever the crafting mood strikes. Happy crocheting, and enjoy your sweet new handmade friend!


Leave a Comment