

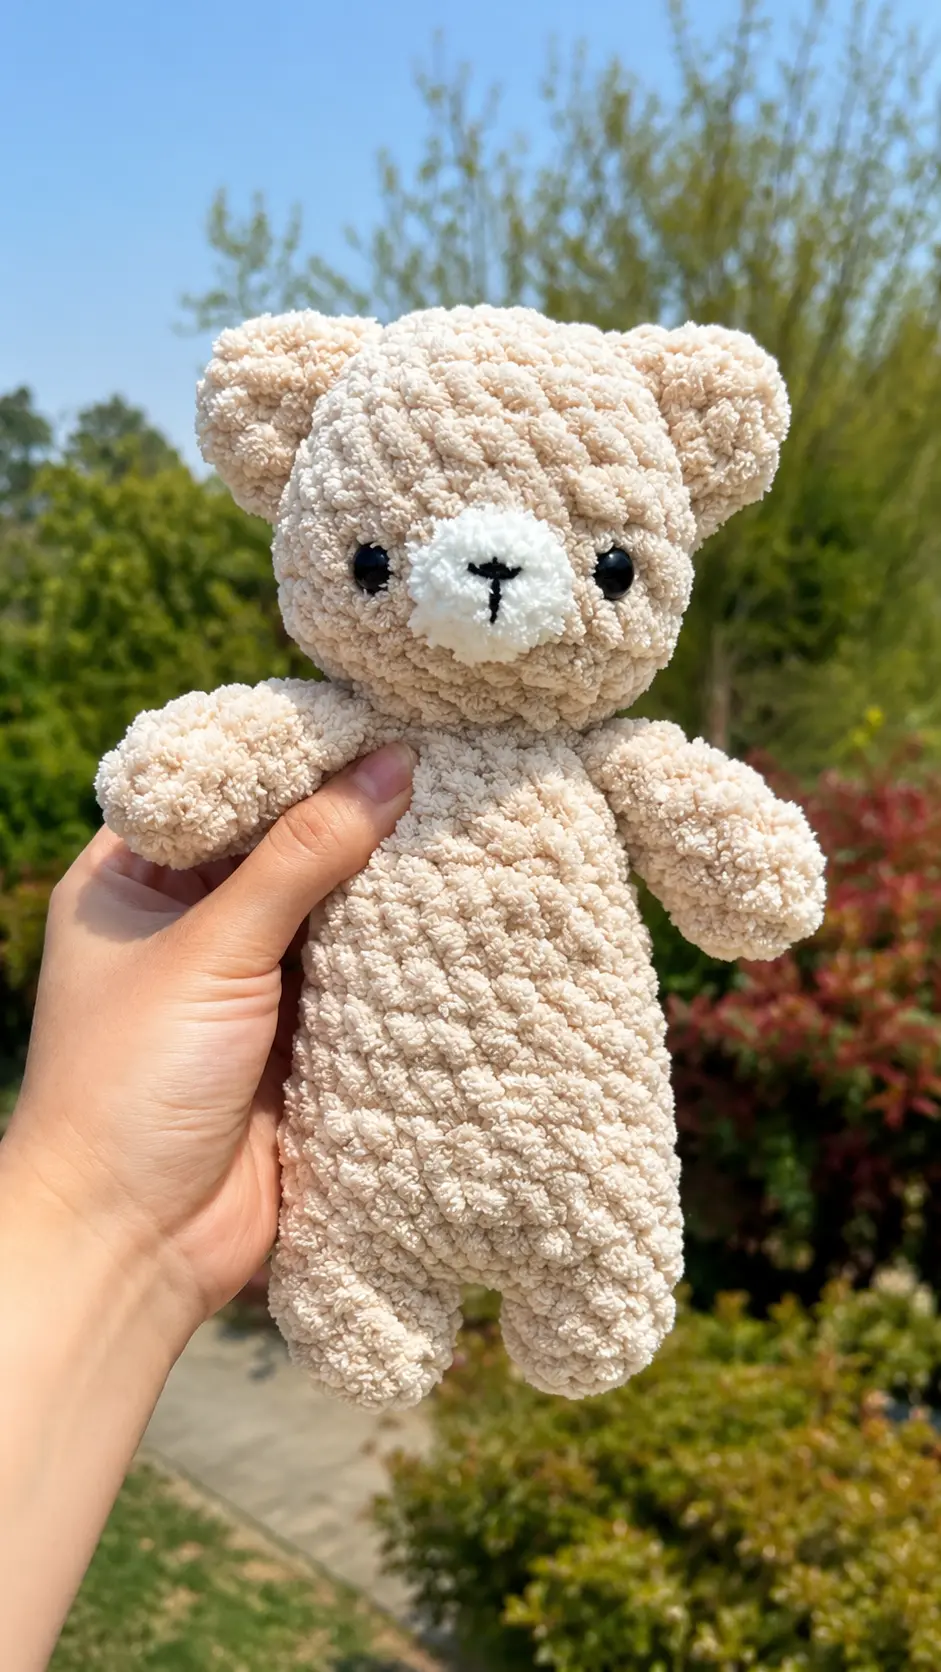
Yesterday afternoon, I was organizing my basket of extra yarn when I came across a leftover skein of plush cream yarn. It was just sitting there, waiting for the right small project to come along. I brewed a fresh cup of tea, sat down by the window, and decided it was the perfect time to make something soft and cuddly. There is nothing quite like sitting in a quiet living room with a hook in hand while the sun sets outside.
I wanted a project that was relaxing, simple, and quick to stitch together without too much fuss. A sweet plush bear felt like just the thing to make. Today, I am so happy to share this cozy little project with you. Whether you want to make a sweet plushie for a loved one or just want a quick weekend project, this Free Amigurumi Pattern Soft Crochet Teddy Bear is a wonderful choice for your hook. Let us grab our hooks, pick out our softest yarn, and get started on this adorable bear together.
Materials Needed
- Any size yarn in brown and cream (weight 6 Alize Softy Mega was used in the original sample)
- Smaller size yarn in dark brown for nose embroidery (weight 4)
- Crochet hook (5.5 mm used in the original sample)
- Polyfil stuffing
- Safety eyes (12 mm used in the original sample)
- Scissors
- Stitch marker
- Sewing/darning needle
Finished Size
The finished size depends on the yarn weight and hook size used. Using weight 6 plush yarn with a 5.5 mm hook creates a soft, palm-sized plushie.
Gauge
Gauge is not critical for this project. Keep your stitches tight enough so that polyfil stuffing does not show through the gaps.
Abbreviations
- MR = magic ring
- sc = single crochet
- inc = increase
- dec = decrease
- slst = slip stitch
- FO = fasten off
- st(s) = stitch(es)
Pattern Instructions
Head
R1: 6sc MR (6)
R2: inc x 6 (12)
R3: (sc, inc) x 6 (18)
R4: (2sc, inc) x 6 (24)
R5-R9: sc around (24) [5 rounds]
R10: (2sc, dec) x 6 (18)
R11: (sc, dec) x 6 (12)
Insert safety eyes between rows 8 and 9 about 5 sts apart. Stuff the head and FO.
Snout
R1: 6sc MR (6)
Slst to first sc. FO and leave a long tail for sewing. Sew snout on rows 8 and 9 between the eyes. Embroider a nose on the snout.
Legs and Body
R1: 8sc MR (8)
R2-R3: sc around (8) [2 rounds]
FO after first leg. Ch 2 after second leg and connect to first leg with a sc. This will count as the first stitch in R4.
R4: (4sc, inc) x 4 (24)
R5-R7: sc around (24) [3 rounds]
R8: (10sc, dec) x 2 (22)
R9: sc around (22)
R10: (9sc, dec) x 2 (20)
R11: sc around (20)
R12: (8sc, dec) x 2 (18)
Start stuffing the legs and body.
R13: sc around (18)
R14: (4sc, dec) x 3 (15)
R15: sc around (15)
R16: (3sc, dec) x 3 (12)
Finish stuffing and FO leaving a long tail for sewing. Line up the 12 stitches on both the head and the body and sew them together.
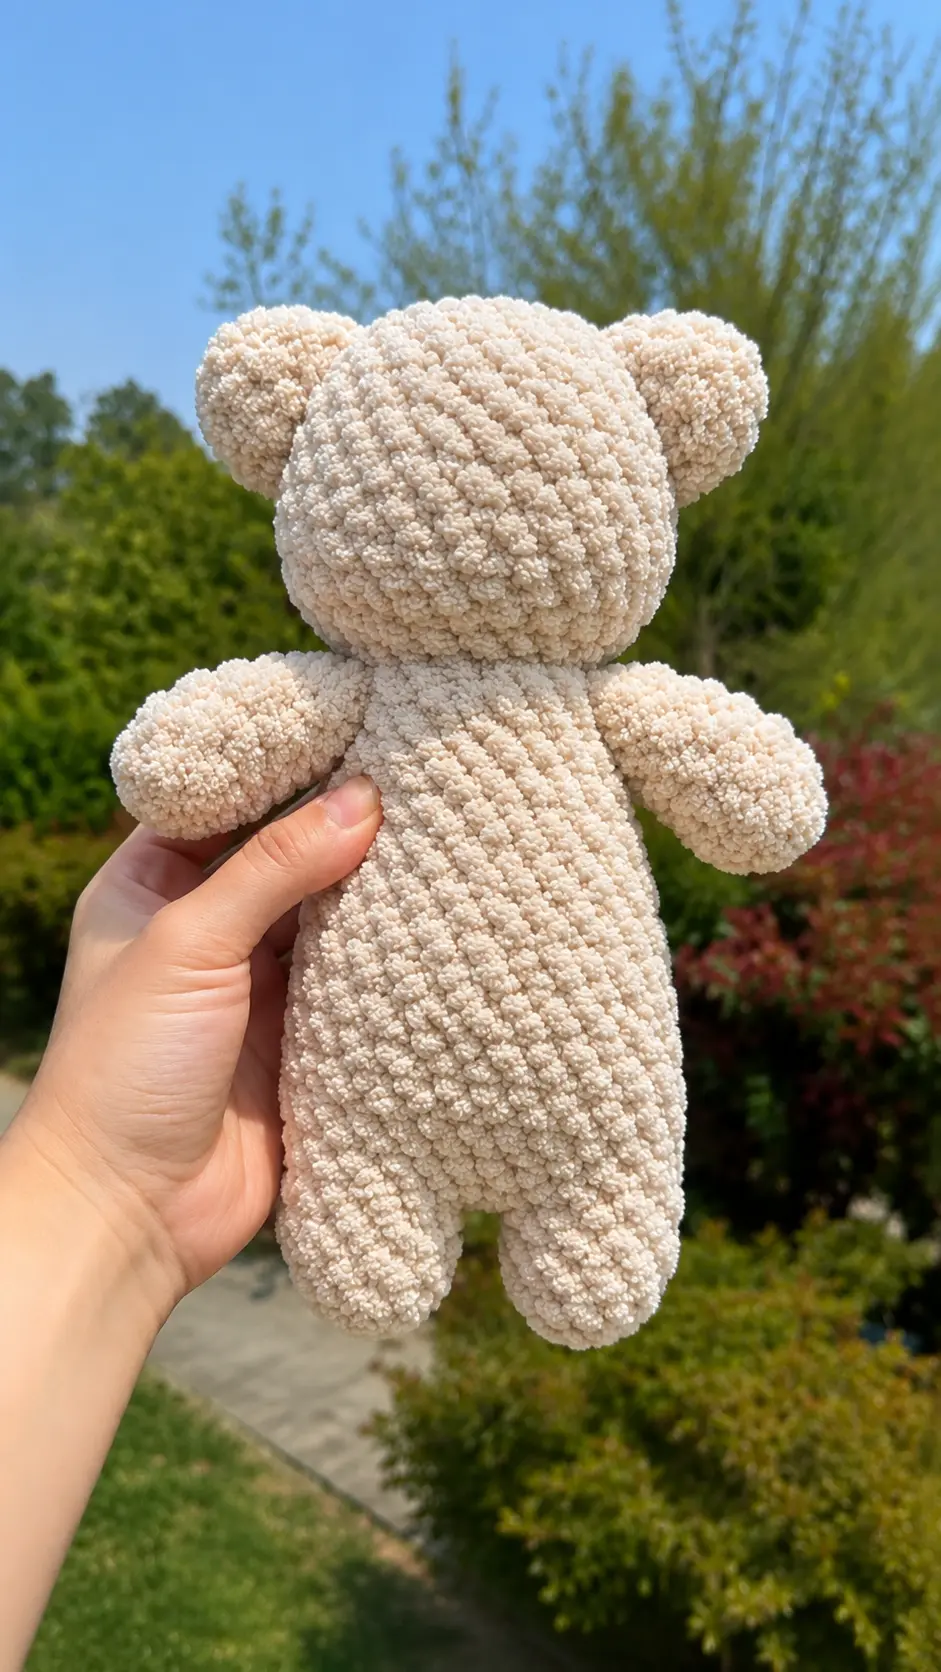
Arms (make 2)
R1: 6sc MR (6)
R2-R6: sc around (6) [5 rounds]
Stuff the arms a bit more than halfway. Fold the arms in half and sc 3 across to close the opening. Sew the arms on each side of the body directly beneath the head.
Ears (make 2)
R1: 6sc MR (6)
R2: (2sc, inc) x 2 (8)
R3: sc around (8)
FO and leave a long tail for sewing. Sew the ears on rows 4-7 on top of the head.
Tips for Success
- Use a Stitch Marker: Plush yarn can make it difficult to see individual stitches clearly, so marking the first stitch of each round helps keep your round counts accurate.
- Maintain Tight Tension: Keeping your tension slightly firm prevents the polyfil fiberfill from showing through the stitches.
- Pin Pieces Before Sewing: Use straight pins to secure the snout, ears, and arms in place before stitching them down to make sure everything looks symmetrical.
- Leave Extra Long Tails: When fastening off, leave a generous tail of yarn for assembling pieces so you never run short mid-stitch.
- Lightly Stuff the Arms: Only stuff the lower half of the arms so that they lay flat against the body rather than sticking straight out.
- Secure Safety Washer Firmly: Snap the safety eye backings on firmly before stuffing the head to keep them locked into place safely.
Frequently Asked Questions
What type of yarn works best for this teddy bear pattern?
Bulky plush or chenille yarn works great for creating a soft plush finish. However, standard worsted weight acrylic or cotton yarn also works nicely if you prefer a smaller classic amigurumi look.
How do I make sure the safety eyes stay secure?
Push the plastic safety washers firmly onto the back posts on the inside of the crochet work before stuffing the head. If you are making this plushie for infants or toddlers, embroidering eyes with dark yarn is the safest choice.
Can I adjust the size of the teddy bear?
Yes, you can easily change the size of the bear simply by changing your yarn weight and matching hook size without making any alterations to the stitch counts.
How do I avoid leaving a hole when connecting the legs?
When you chain 2 and single crochet into the first leg, pull your working loop tight. If a small gap remains after connecting, use the yarn tail left over from the first leg to stitch the gap closed neatly.
What is the best technique for embroidering the nose?
Use a darning needle and dark brown worsted yarn to stitch a horizontal line across the top of the snout, then add a single vertical line down the center to form a clean nose and mouth detail.
Conclusion
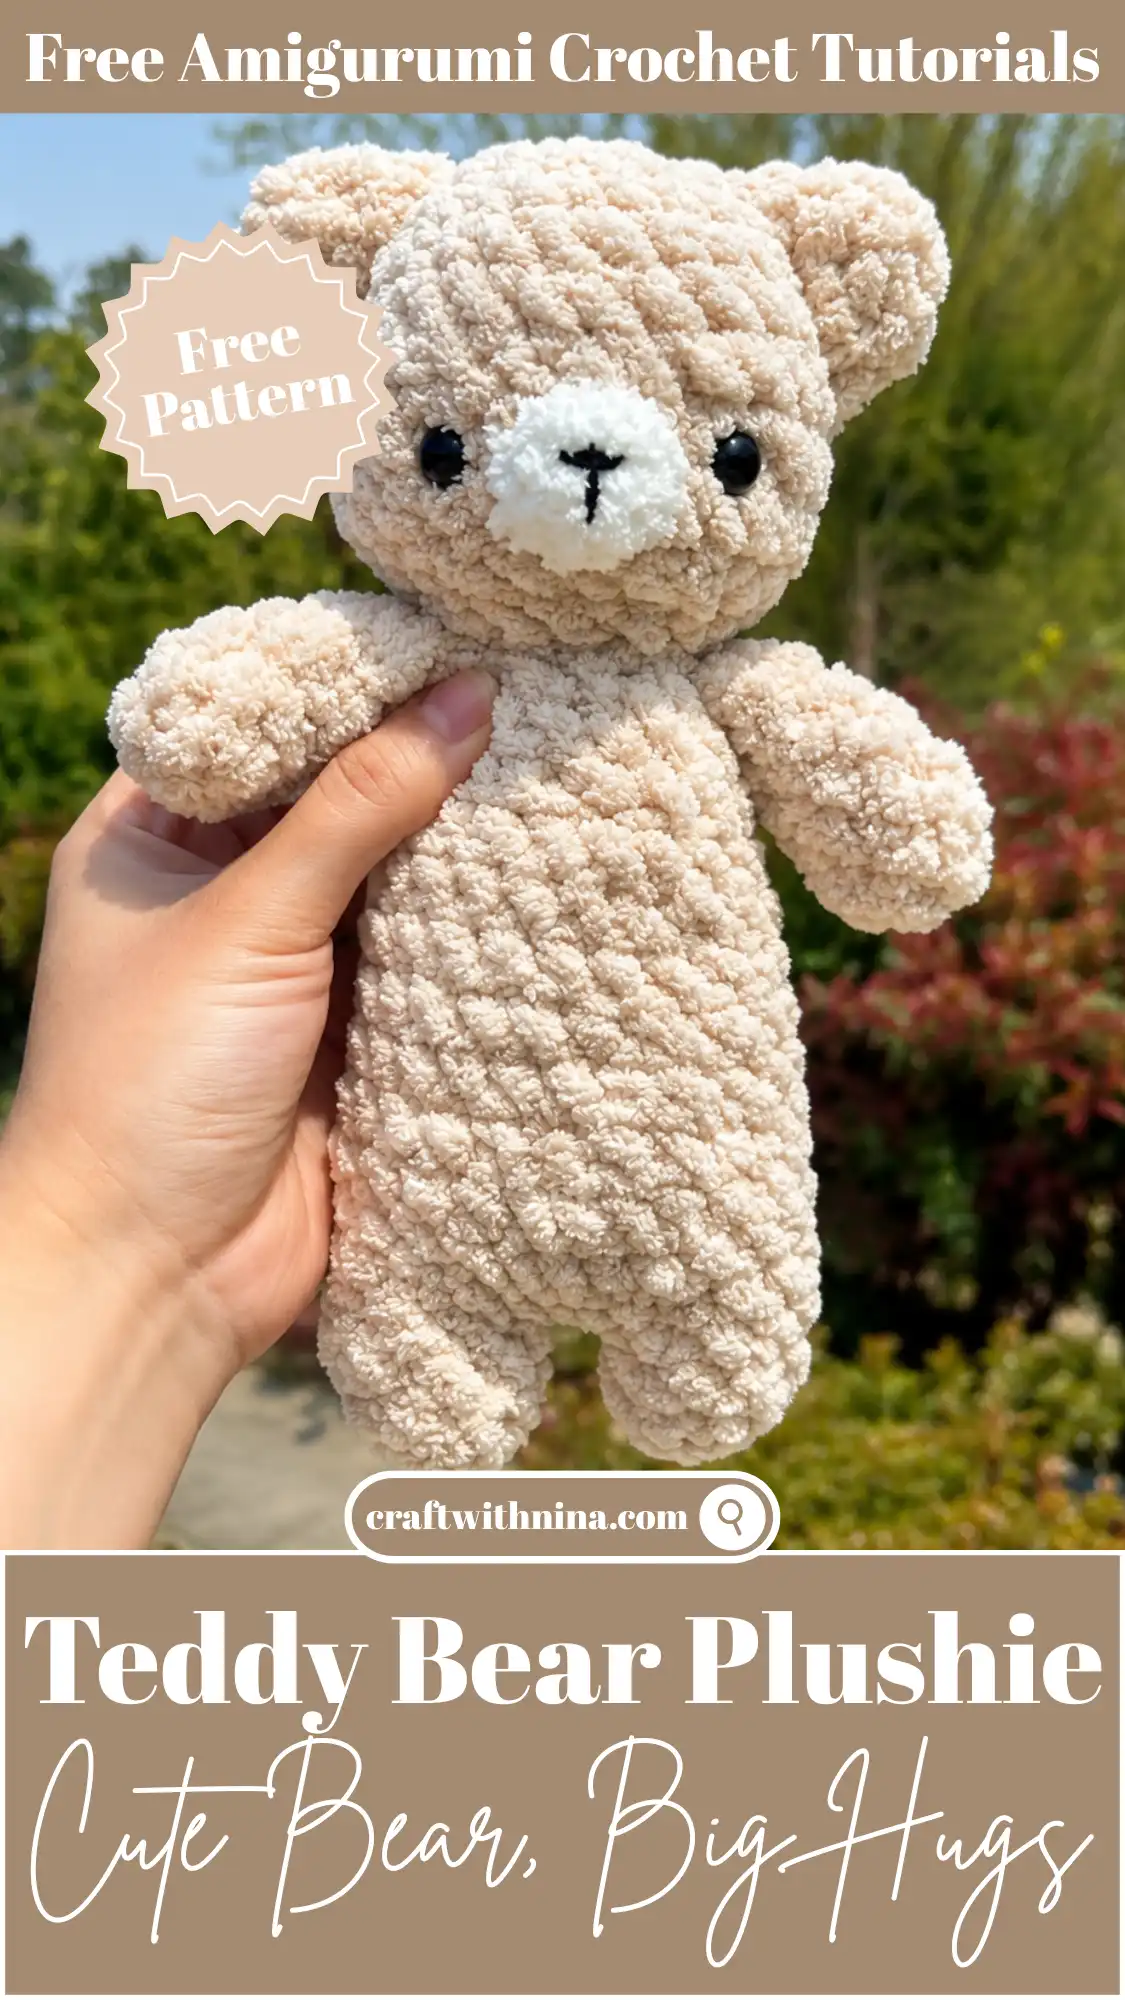
I hope you enjoyed making this cute stuffed bear as much as I did. Small projects like this are so rewarding because they come together quickly and bring a little extra warmth into the home. Save this Free Amigurumi Pattern Soft Crochet Teddy Bear in your favorite crafting folder or pin it to your crochet board on Pinterest for your next quiet afternoon. Happy crocheting, and enjoy every stitch of your new handmade creation!


Leave a Comment