

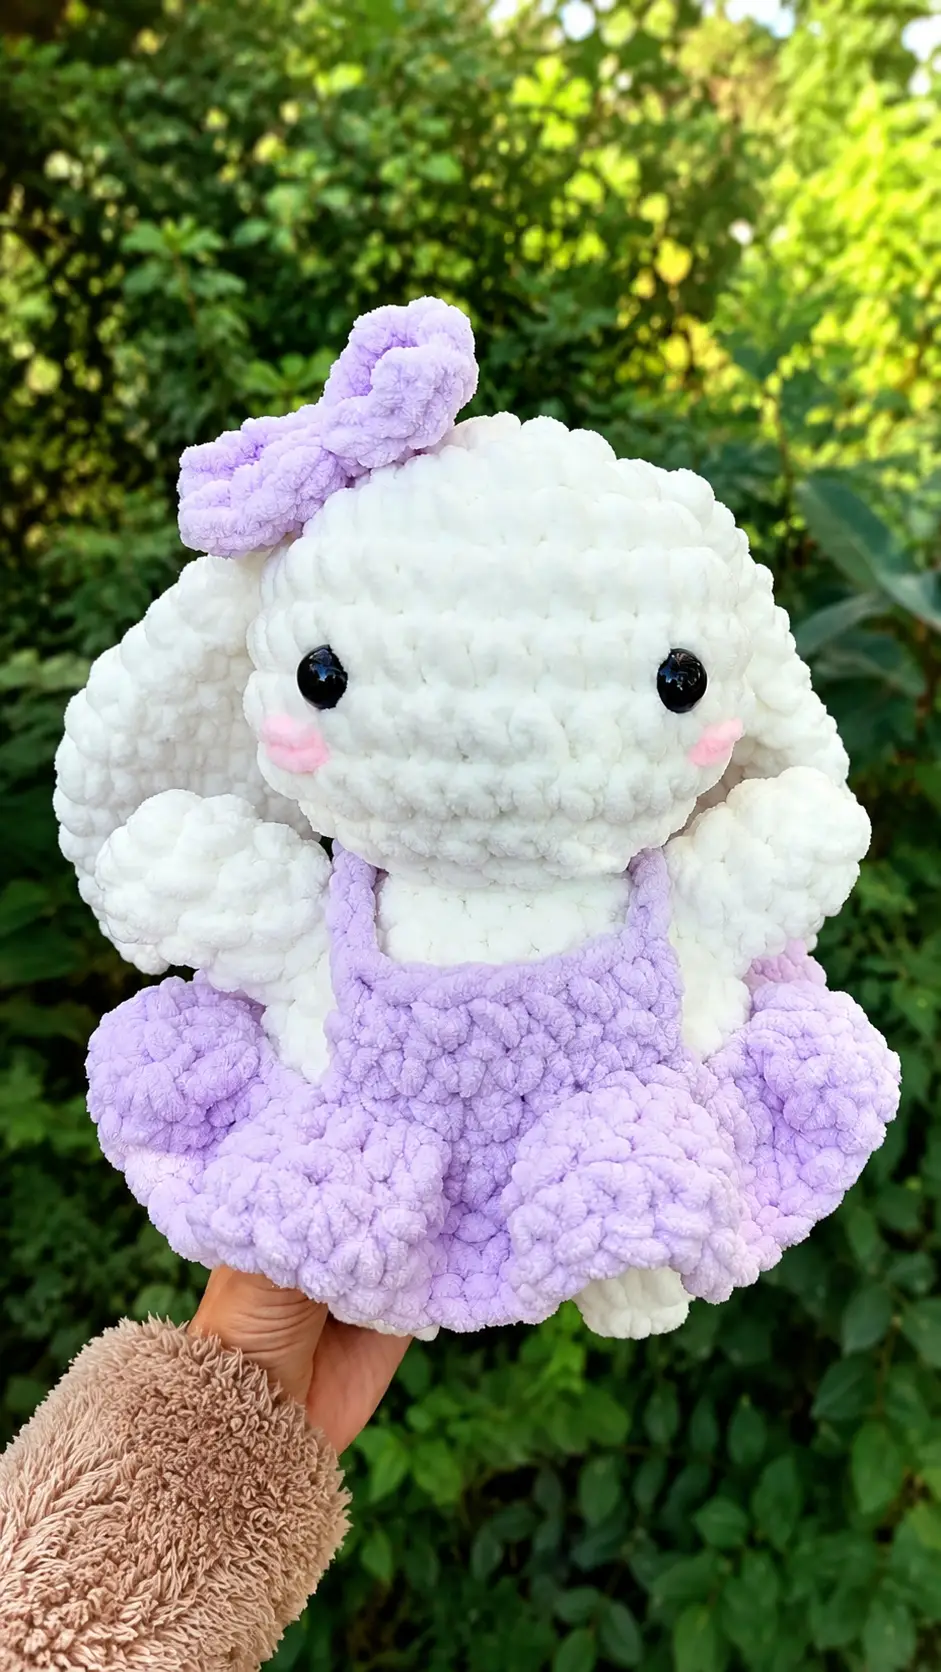
Last Friday, I stopped by my local craft store to pick up stuffing for another project. I promised myself I wasn’t buying any more yarn because my shelves were already full. Of course, that plan lasted about five minutes. Right near the entrance was a display of jumbo chenille yarn in the prettiest pastel colors, and I couldn’t walk past it without touching it. It was so soft that I ended up bringing home three skeins.
That afternoon, after I finished folding the laundry, I made a cup of coffee and sat down at the dining room table just to see what I could create with my new yarn. I wasn’t following a pattern or looking at pictures—I simply let the stitches guide me. Before long, a round little bunny with tiny ears and a sweet dress started taking shape, and I knew it was one of those projects I wouldn’t want to put down until it was finished.
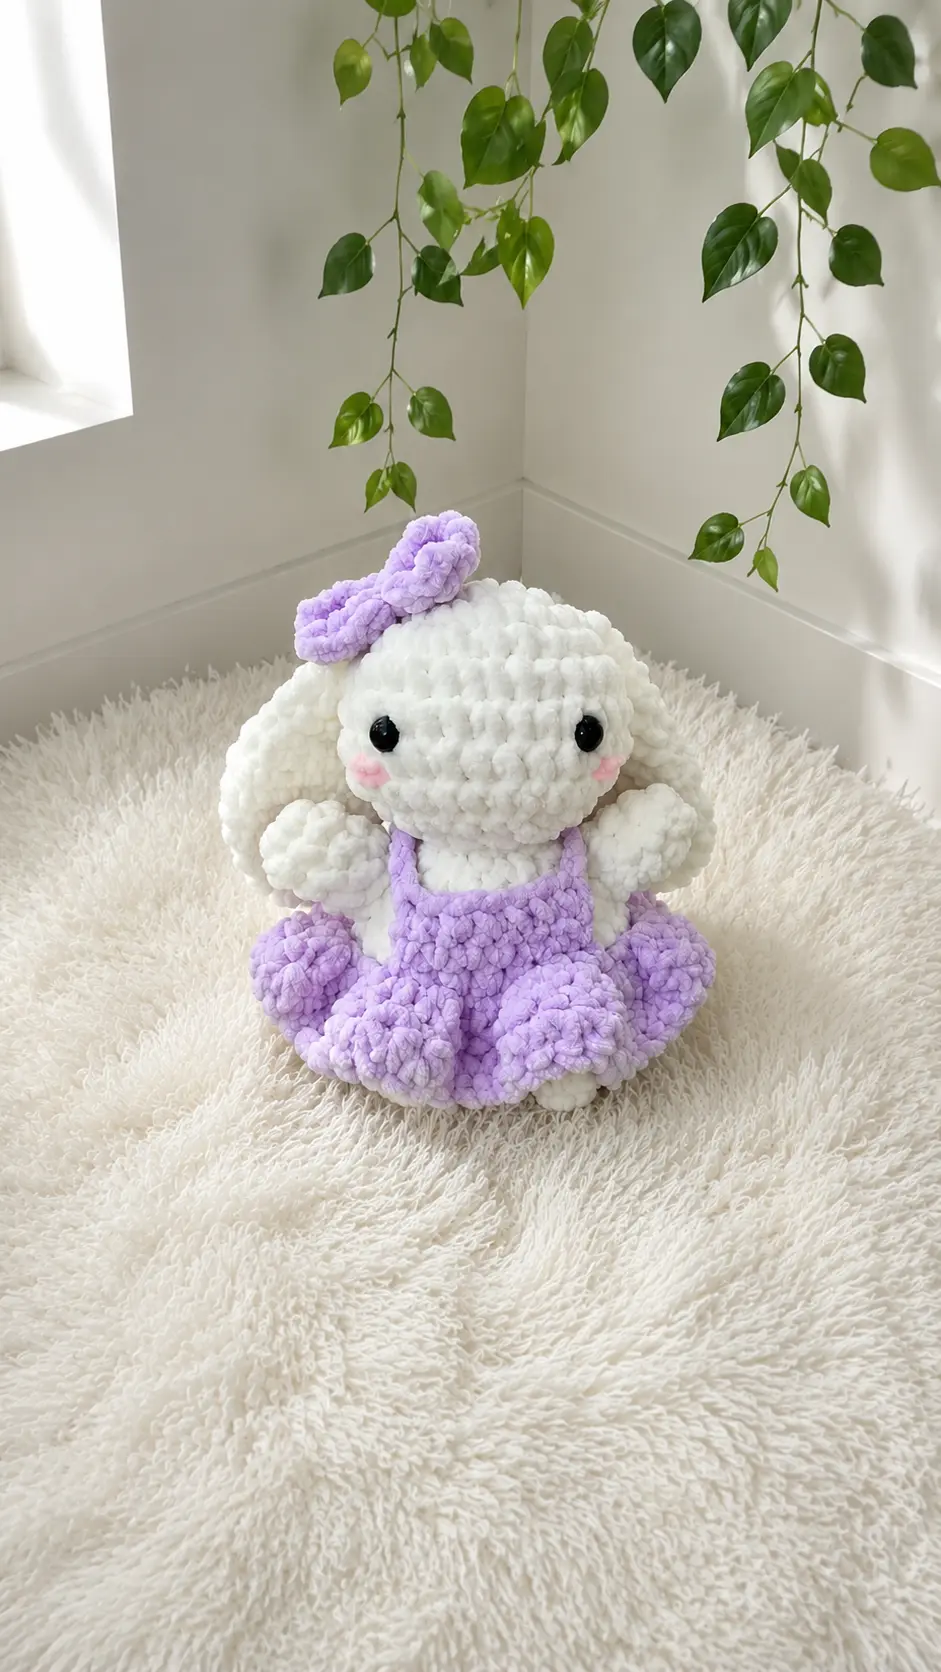
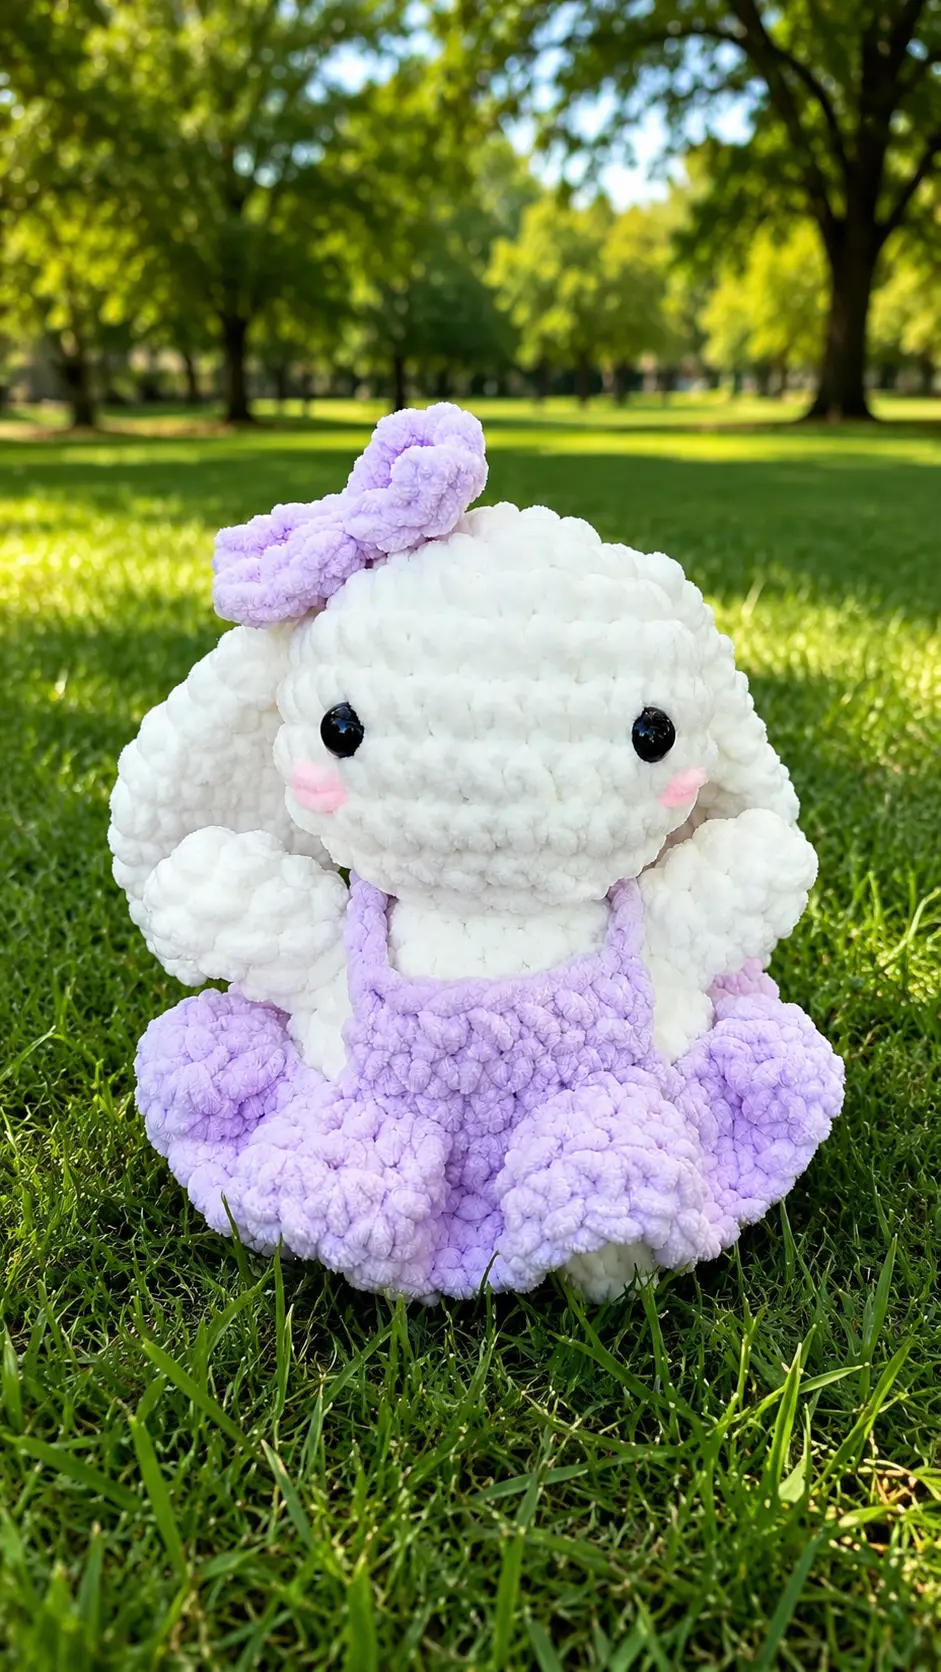
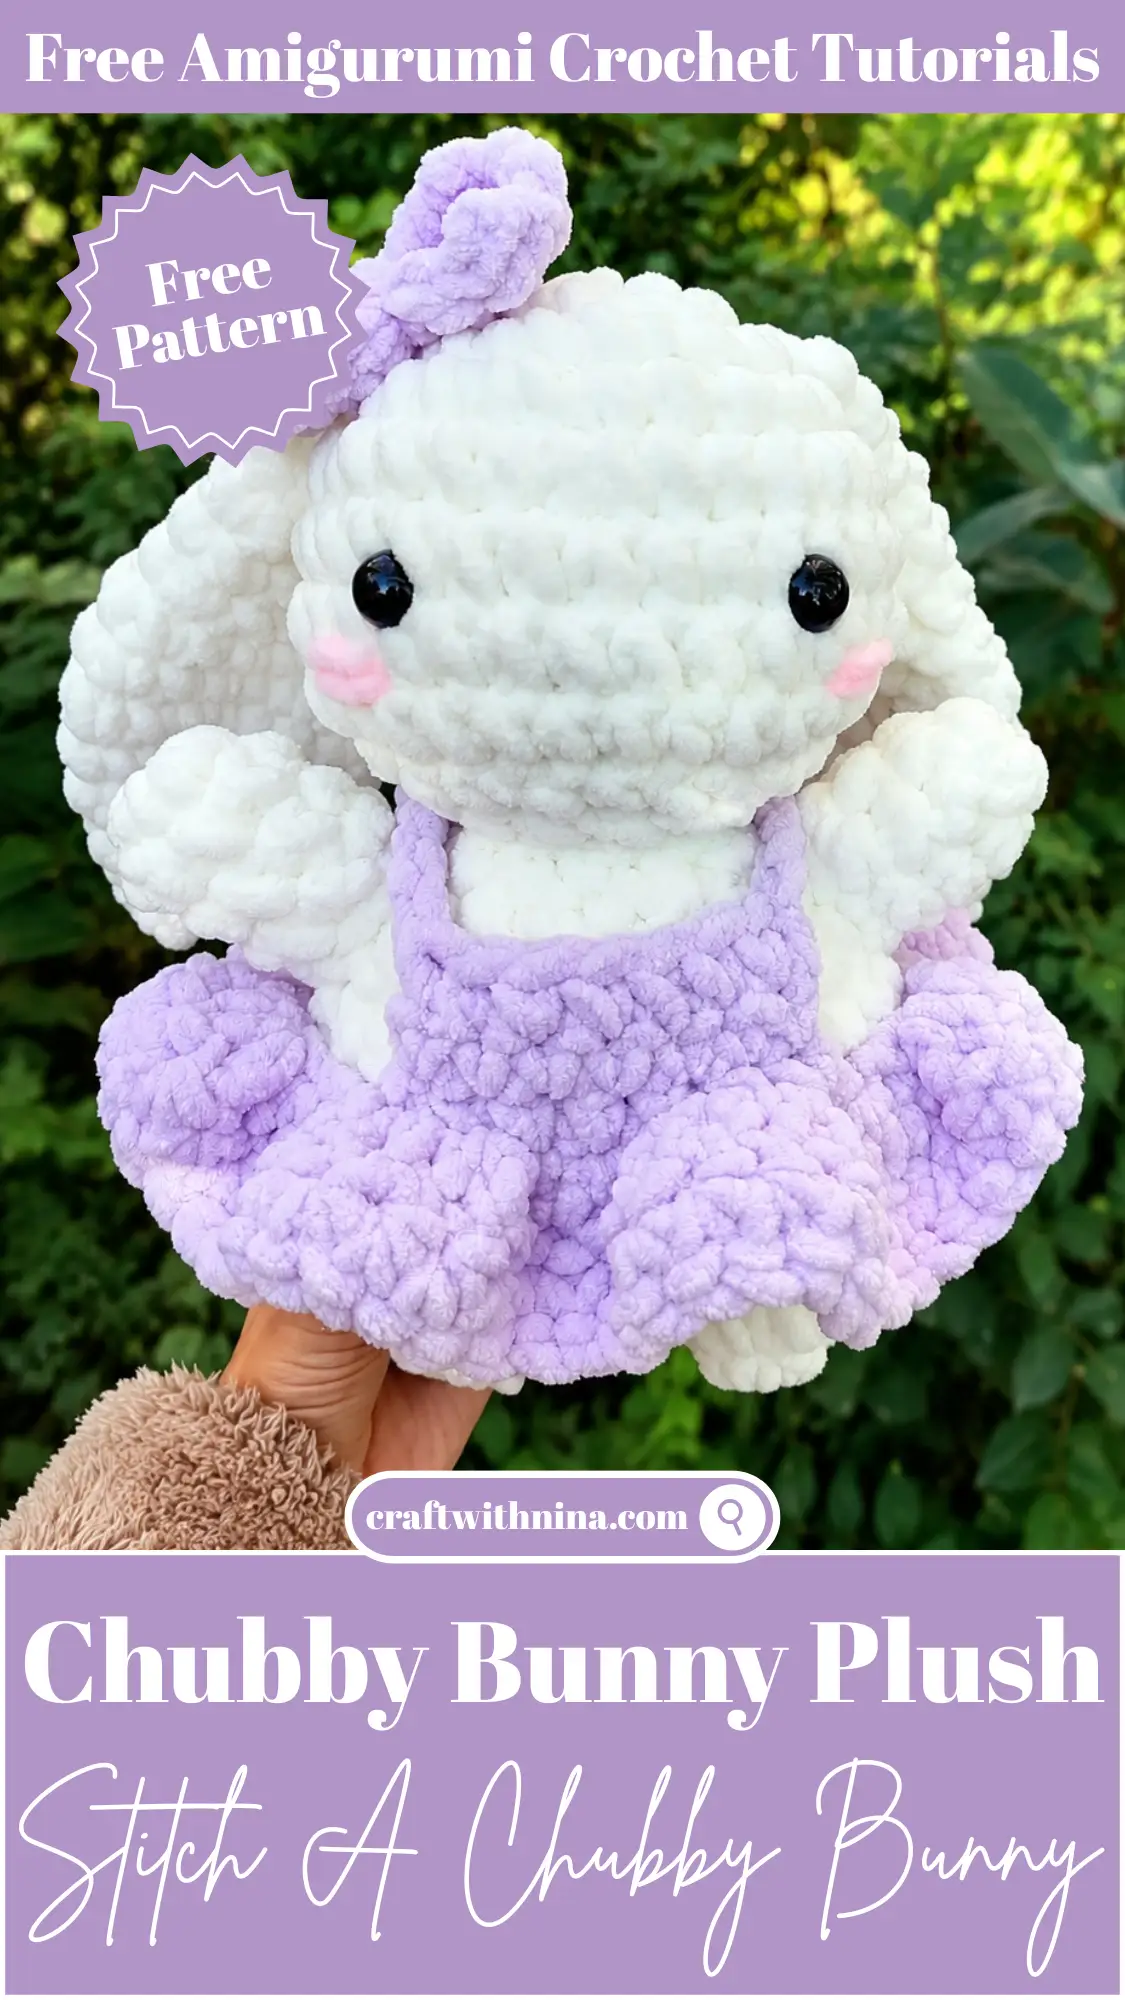
If you love quick, satisfying plushie projects, you’re going to fall in love with this Free Amigurumi Pattern Chubby Bunny Plush. Made with super-soft jumbo chenille yarn, it works up surprisingly fast, and the adorable little dress gives it an extra touch of charm. Whether you’re crocheting a gift for someone special or adding another cuddly friend to your collection, this bunny is sure to become a favorite. Grab your hook, get comfortable, and let’s crochet this sweet little plush together.
Materials Needed
• 3 colours of jumbo chenille yarn (or your preferred yarn type)
• 10mm crochet hook (or another suitable size)
• Darning needle
• Polyfill stuffing
• Safety eyes ( used 15mm)
• Scissors
Finished Size
The finished size will depend on the weight of yarn and hook size you choose. When made with jumbo chenille yarn and a 10mm hook, this plushie turns out delightfully soft, squishy, and chubby.
Abbreviations
• MR: Magic Ring
• SC: Single Crochet
• DC: Double Crochet
• FO: Fasten Off
• SS: Slip stitch
• CH: Chain
• inc: Increase
• dec: Decrease
Pattern Instructions
Head
• R1: 6SC in a MR (6)
• R2: inc x 6 (12)
• R3: (1SC,inc)x6 (18)
• R4: (1SC,inc,1SC)x6 (24)
• R5: (3SC,inc)x6 (30)
• R6-8: SC around (3 rows) (30)
• Place eyes between R6 and R7, around 8 stitches apart
• R9: (1SC, dec) x 10 (20)
• Stuff firmly
• R10: dec, (1SC, dec) x 6 (13)
• Continue stuffing if needed
• FO, no need to leave a Long tail
Arms (x2)
• R1: 6SC in a MR (6)
• R2-4: SC around (2 rows) (6)
• FO and leave a Long tail for Sewing
• Stuff the arms
Body
• R1: 6SC in a MR (6)
• R2: (1SC,inc)x3 (9)
• R3: SC around (9)
• FO and repeat R1-R3 to make another leg. For the second leg, do not FO and CH 2.
• R4: Attach the first leg to the second leg with a SC. 8SC, 2SC in the CH2, 9SC, 2SC in the CH2 (22)
• R5: 4SC, inc, 11SC, inc, 5SC (24) (the increases should be on opposite sides on each leg (hip area))
• R6: (3SC,inc)x6 (30)
• R7-8: SC around (2 rows) (30)
• R9: (3SC, dec) x 6 (24)
• R10: (2SC, dec) x 6 (18)
• Stuff firmly
• R11: (1SC, dec, 2SC, dec) x 2, 1SC, dec, 1SC (13)
• Continue stuffing if needed
• FO, Sew head to body and sew any holes in the Legs closed
Ears (x2)
• R1: 4SC in a MR (4)
• R2: incx4 (8)
• R3: (1SC,inc)x4 (12)
• R4: SC around (12)
• R5: (2SC, inc) x 4 (16)
• R6-8: SC around (3 rows) (16)
• R9: (2SC, dec) x 4 (12)
• R10-11: SC around (2 rows) (12)
• R12: (1SC, dec) x 4 (8)
• R13-14: SC around (2 rows) (8)
• Do not stuff the ears
• R15: Pinch the edges together and SC along the top to seal the edges (4)
• FO and leave a long tail for sewing
Bow
• R1: CH 7
• SC 6 starting on the 2nd CH from hook (6). CH 1 and turn
• R2-3: SC across, CH 1 and turn at the end of each row (2 rows) (6)
• FO and tie a piece of yarn around the rectangle to cinch the middle inwards
Dress
(flexible – this is a guide!)
• R1: CH as many as required to wrap around R7 Of the body (I did 35). Form a loop with a SS (35)
• R2: CH 2, then DC twice in each stitch around (70)
• R3: SS to the first DC and CH1. SC around (70)
• FO and put the skirt on the bunny. Sewing is not required if you want the dress to be removable
• R1 of the skirt should be placed on R7 of the body
• On the front of the bunny, attach new yarn on R1 of the skirt
• R4: CH1, SC 7 along the top of the skirt, making sure it is centered. (7)
• R5-6: CH1 and turn, SC across (7)
• Do not FO. CH 7 for one strap and leave to attach later.
• Repeat R4-R6 + the CH7 centered across the back. Do not FO yet.
• Straps: The 2 CH7s that you made while crocheting the front and back panels should be on the left and the right of the bunny.
• Attach both chains to the corresponding corner on the opposite panel with a SS and FO
Assembly
• Sew ears to the head, between R3 and R4
• Place arms 9-10 stitches apart (view from the front). Sew arms to R9 and R10 of the body (Leaving a one row gap between the arm and the head).
• Make sure the straps of the dress are placed above the arms
• Sew cheeks (using colour 3) underneath the eyes
• Sew bow to the ear
• Weave in all the ends
Congratulations! You have finished making your chubby bunny! If you share your outcome on Instagram, please tag me so that I can see your amazing creations!
Tips for Success
- Count your stitches on the legs carefully: When joining the two legs with your chain stitches, make sure your initial single crochets align cleanly so the body sits straight without twisting.
- Stuff as you go: Plush yarn can make it tricky to push stuffing into tight spaces later. Add small, firm handfuls of polyfill as you finish the lower sections of the head and body.
- Keep your tension even with jumbo yarn: Jumbo chenille yarn is very soft, but if you pull too hard, the core thread can snap. Maintain a smooth, relaxed tension to keep stitches neat.
- Use stitch markers for round starts: Continuous rounds in plush yarn can obscure your starting stitches. Marking the first stitch of every round helps avoid accidental increases or decreases.
- Customize the dress fit easily: Since plush yarns vary in thickness, adjust your starting chain for the dress by wrapping the chain around your bunny’s waist before joining it into a loop.
- Use strong thread for sewing components: If your chenille yarn snaps while sewing pieces together, use a matching shade of worsted weight acrylic yarn or heavy-duty thread to attach the head and ears securely.
Frequently Asked Questions
Can I make this pattern with regular worsted weight yarn?
Yes, you can use medium worsted weight yarn or velvet yarn instead of jumbo yarn. Keep in mind that your bunny will turn out much smaller, so adjust your hook size to a 3.5mm or 4.0mm accordingly.
How do I stop jumbo chenille yarn from shedding while working?
To minimize shedding, avoid frogging (unraveling) your work repeatedly. You can also lightly singe the loose ends of chenille yarn with a lighter to lock the fibers in place before weaving them in.
Are safety eyes safe for baby gifts?
Safety eyes are generally secure, but they can pose a choking hazard for babies and toddlers. If you are making this bunny for a young child, embroidered eyes made with black yarn are a safer alternative.
Do I have to make the dress removable?
No, you can sew the dress directly onto the body during assembly if you want it to stay permanently in place. Leaving it loose simply allows for fun outfit changes.
Why does my bunny lean to one side when standing?
Leaning usually happens if the stuffing inside the legs and lower body is uneven, or if the initial leg connection was slightly rotated. Adjust the polyfill inside the base to help balance your plushie.
Conclusion
Working on cute amigurumi project ideas like this soft little bunny is such a rewarding way to spend your free time. It comes together quickly, makes a fantastic addition to any shelf or nursery, and brings so much charm to your handmade collection. I hope you enjoy working through this Free Amigurumi Pattern Chubby Bunny Plush as much as I did. Pick out your favorite soft yarn shades, settle into your favorite crafting chair, and enjoy every stitch!


Leave a Comment