

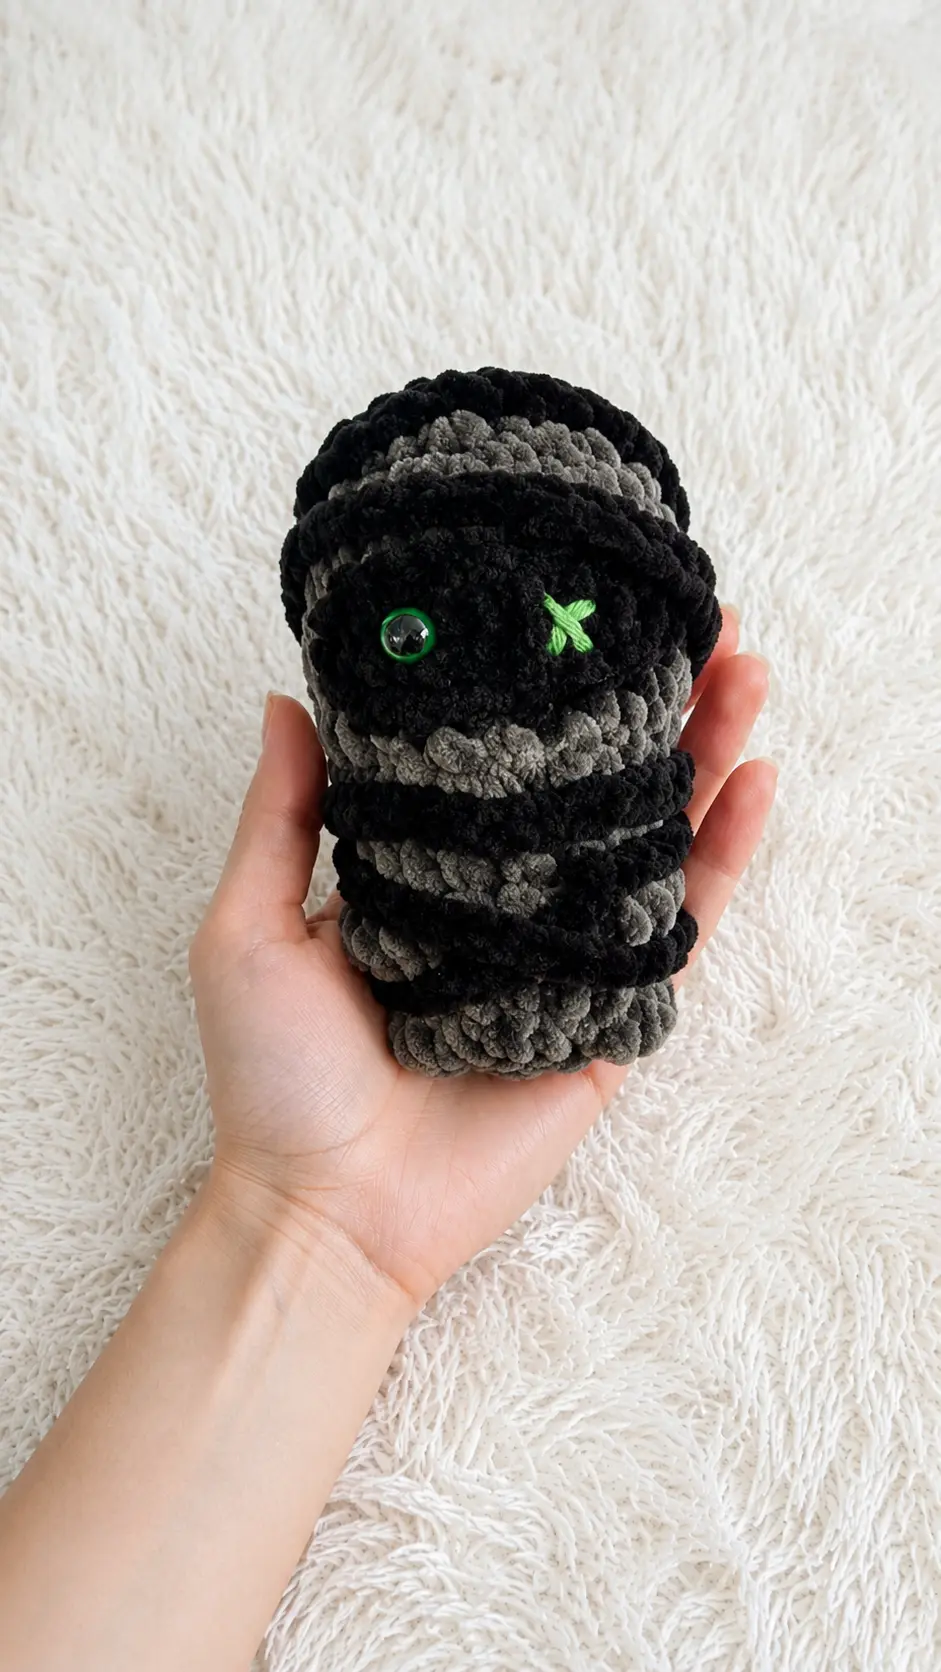
Last weekend, my daughter and I stopped by the dollar store to pick up a few decorations for Halloween. We laughed at all the little ghosts, pumpkins, and plastic skeletons, but I kept thinking, “I could crochet something cuter than this.” On the drive home, the idea stayed in my head. As soon as I got home, I pulled out my basket of leftover plush yarn to see what I had to work with.
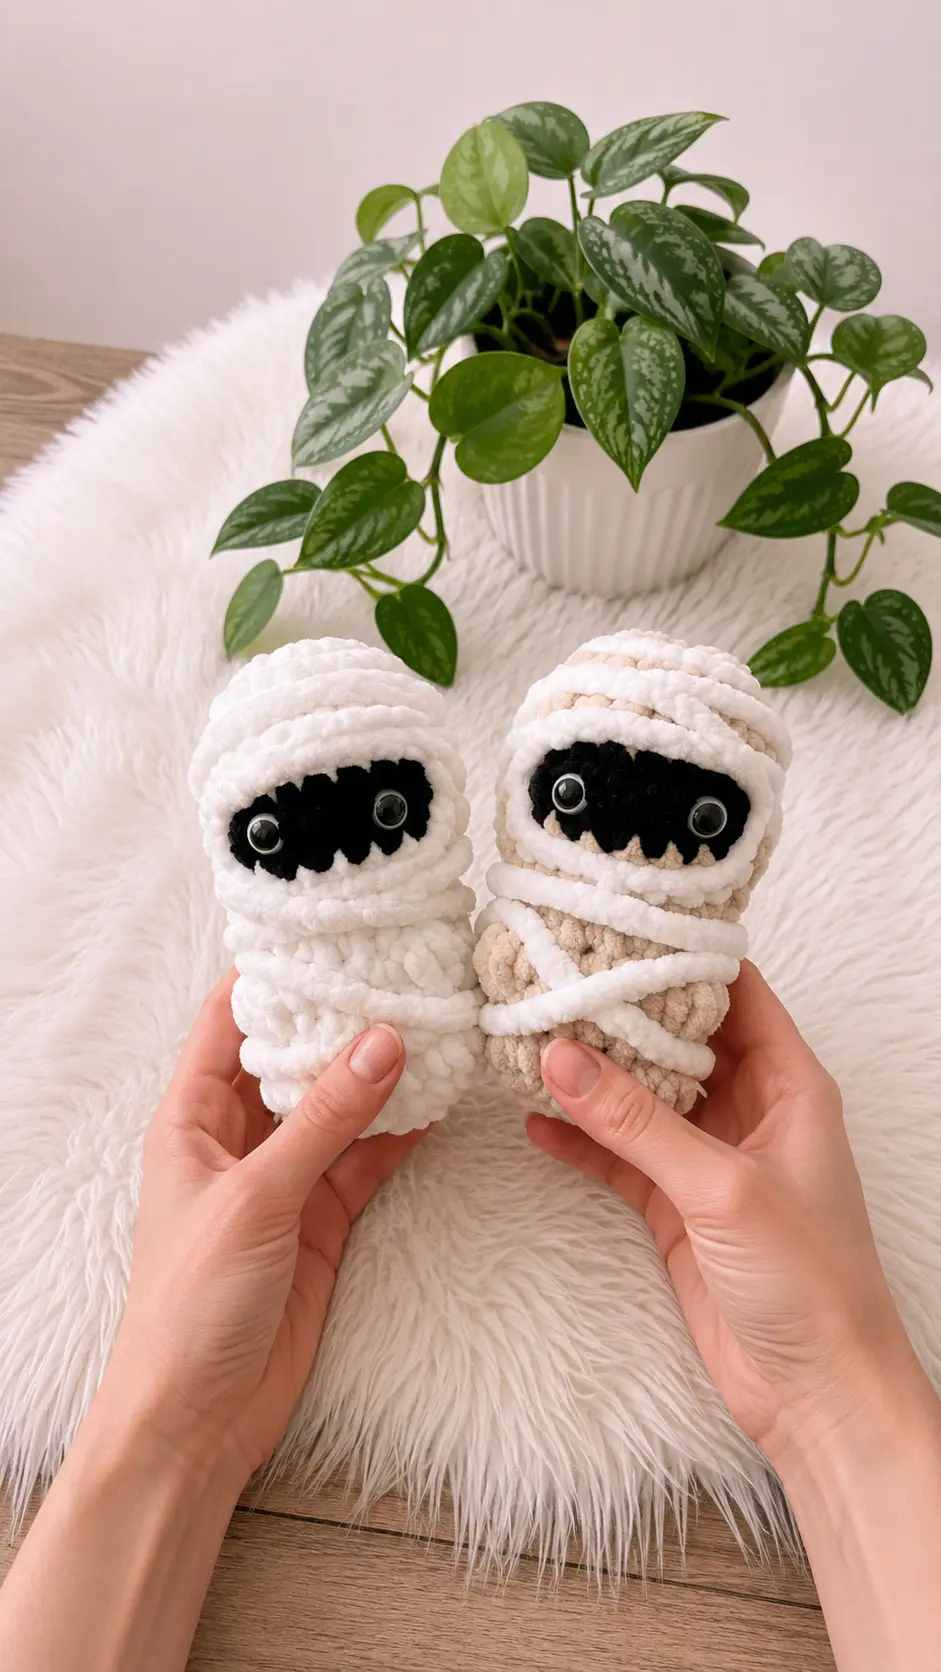
I found a few cream and beige skeins that were just the right colors for a tiny mummy. After dinner, with the dishes done and the house finally quiet, I sat at the kitchen table and started experimenting. A little round body, a pair of tiny eyes, and a long strip wrapped around like bandages—and before I knew it, the cutest little mummy was sitting in front of me.
This Free Amigurumi Pattern Mummy Market Mini is the result of that fun evening. It’s a quick, beginner-friendly project that uses chunky plush yarn to create an irresistibly soft little Halloween decoration. Whether you’re making a basket full to sell at a craft market, decorating your home for spooky season, or surprising friends with a handmade treat, this tiny mummy is sure to be a favorite. Grab your hook, gather your leftover yarn, and let’s crochet this adorable Halloween friend together.
Materials Needed
- 5mm crochet hook
- any super chunkyweight yarn. I used Hobbii Honey Bunny, Baby Snuggle and Toucan yarns
- 10 or 12mm safety eyes
- toy stuffing
- stitch marker
- tapestry needle
Abbreviations
- R – round
- MR – magic ring
- sc – single crochet
- inc – increase
- BLO – back loop only
- dec – invisible decrease
- bob – bobble
- FO – fasten off
- slst – slip stitch
- ch – chain
- yo – yarn over
Pattern Instructions
Main Pattern
using main colour:
R1. MR 8 sc (8)
R2. inc around (16)
R3. (sc, inc) x8 (24)
R4-5. sc around (24)
R6. 8sc, change to face colour and work 8sc in BLO, change to main colour and using both loops work 8sc (24)
R7. 8sc, using face colour work 8sc, change to main colour and work 8sc (24)
break off yarn for face and continue using main colour
R8. (4sc, dec) x4 (20)
R9. (3sc, dec) x4 (16)
R10. (3sc, inc) x4 (20)
R11. 8sc, bob, 4sc, bob, 6sc (20)
you may need to adjust the position of your bobble stitches to ensure the arms are centrally located
insert safety eyes between rnds 6&7 with 3 stitches inbetween
begin stuffing
R12. sc around (20)
R13. 9sc, bob, 4sc, bob, 5sc (20)
R14. BLO dec around (10)
finish stuffing
R15. dec around (5)
FO and sew hole closed
Stitch Details
Bobble stitch:
- yo, insert hook into stitch and pull up a loop, yo and pull through 2
- repeat until 5 loops on hook,
- yo and pull through all 5 loops
Eye Bandages
To make the bandages around the eyes:
using your chosen colour make a slst and insert into the first front loop of rnd 5 (begin in top right corner). Slst across these 8 stitches, slst 2 stitches down, sl st 8 across, slst 2 up, slst to first stitch
FO and weave in ends
Body Bandages
To make the body bandages:
using your chosen colour ch 140 stitches
FO
sew one end to the back centre of your mummy (at rnd 14)
Wrap your bandage around the body. Using a long piece of yarn, sew the bandages in place by making roughly 8 to 10 stitches around the body
Tips for Success
- Keep your tension consistent: When working with thick, fluffy plush yarn, try not to pull too tight. Maintaining a smooth, relaxed tension helps keep your stitches even and prevents your hands from tiring out.
- Adjust your bobble positions: Yarn thickness and personal gauge can slightly shift stitch placement over several rounds. Check the alignment of the arm bobbles on Round 11 and Round 13 before completing the round to make sure they line up centered with the face.
- Stuff in small pinches: Fiberfill can get lumpy quickly inside compact plush toys. Add small, teased-apart tufts of stuffing as you go so the shape stays nice, smooth, and firm.
- Wrap the body bandage loosely: Avoid pulling the long chain tie too tightly as you wrap it around the body. Keeping it relaxed creates a realistic, dimensional wrap effect that does not crush the plush body shape underneath.
- Tack down the bandage wraps securely: Take your time tacking the chain strip down with matching yarn. A few extra hidden stitches at key crisscross points keep the wraps from sliding out of place over time.
Frequently Asked Questions
Can I make this pattern with standard worsted weight yarn?
Yes, you can use any weight yarn you like. Just be sure to drop down to an appropriate hook size, such as a 3.5mm or 4.0mm hook for worsted weight yarn, and use smaller safety eyes so the proportions stay balanced.
What is the best way to secure the safety eyes on plush yarn?
Because plush chunky yarn has a looser weave, safety eye washers can sometimes slide through if pulled hard. You can add a small circle of scrap felt behind the fabric on the inside before snapping the washer into place to keep it locked tightly.
Do I need to stuff the bobble stitch arms?
No, bobble stitches create natural, self-contained puffy bumps directly on the fabric surface, so they do not require any additional stuffing inside.
How do I join the long chain bandage to the body cleanly?
Thread the starting tail of your 140-chain strand onto your tapestry needle and stitch it firmly into Round 14 at the center back. Tie a small secure knot inside the stitch body before wrapping the length around.
Can I glue the long body wrap instead of sewing it?
While sewing is recommended for long-term durability, you can use small dabs of washable fabric glue or hot glue underneath the chain wrap if you are making decorative display pieces for market tables.
Conclusion
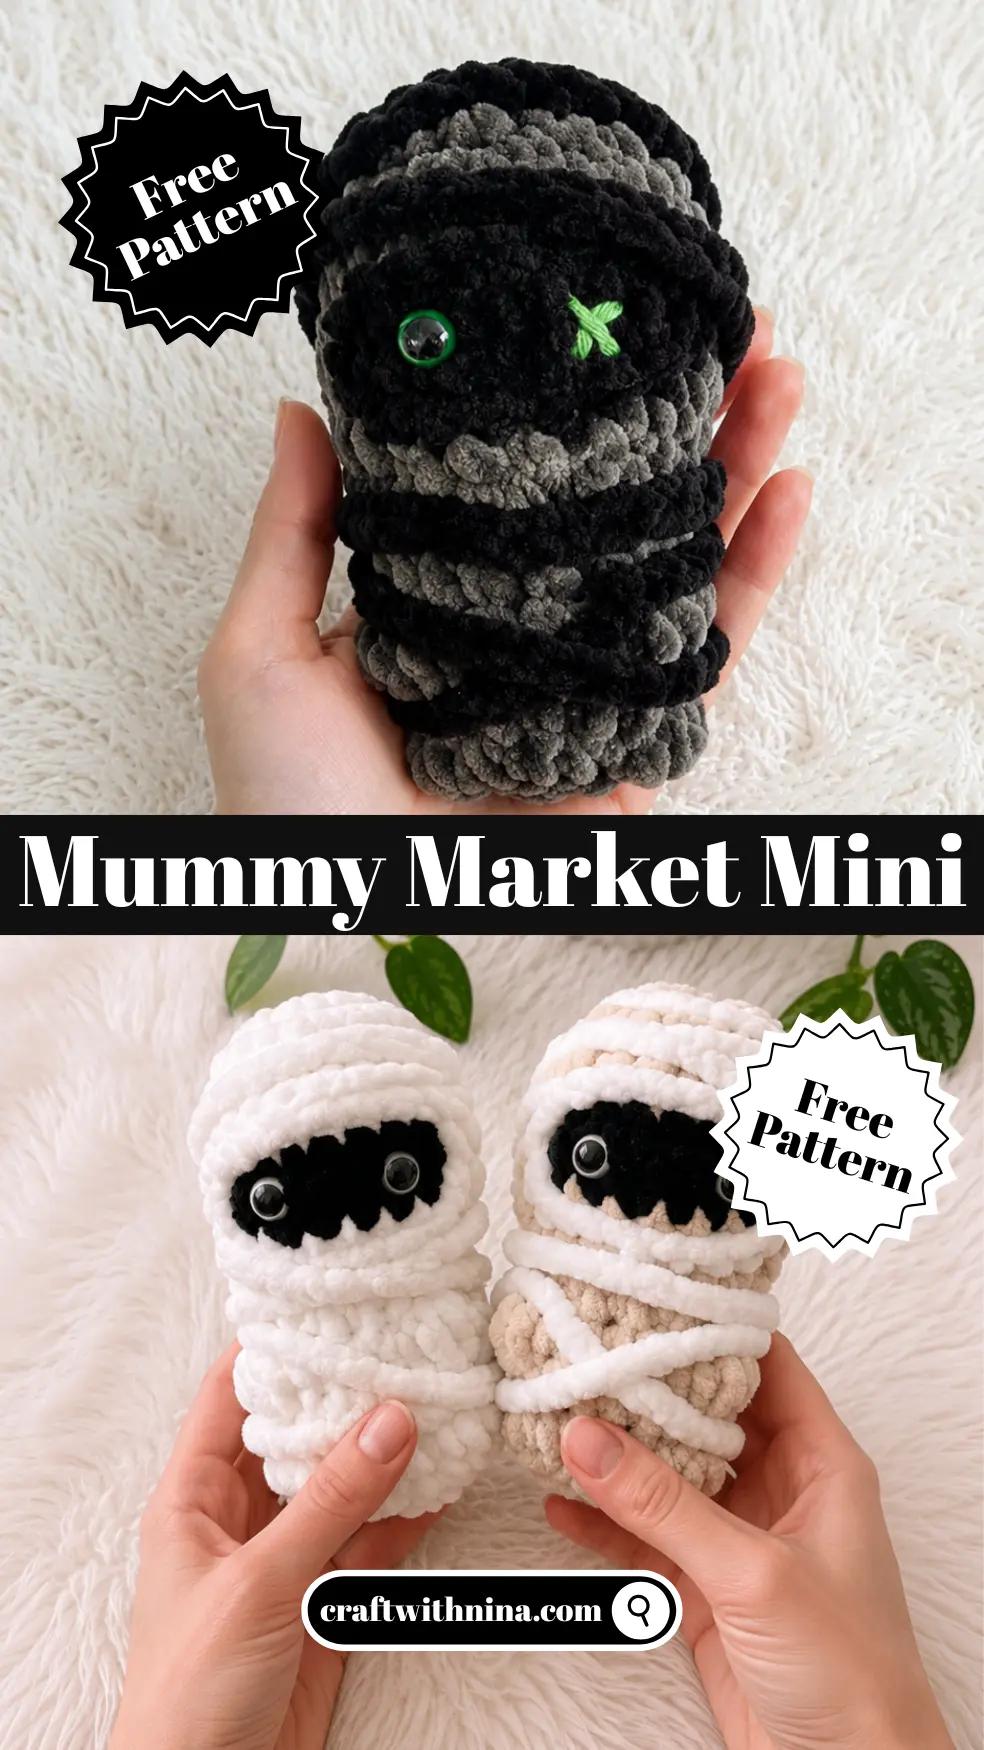
This Free Amigurumi Pattern Mummy Market Mini is guaranteed to bring a smile to anyone who sees it. It is one of those delightful afternoon projects that lets you use up short yarn tails while stitching up something cute and full of seasonal cheer. Pick out your favorite cozy colors, enjoy every stitch, and happy crocheting!


Leave a Comment