

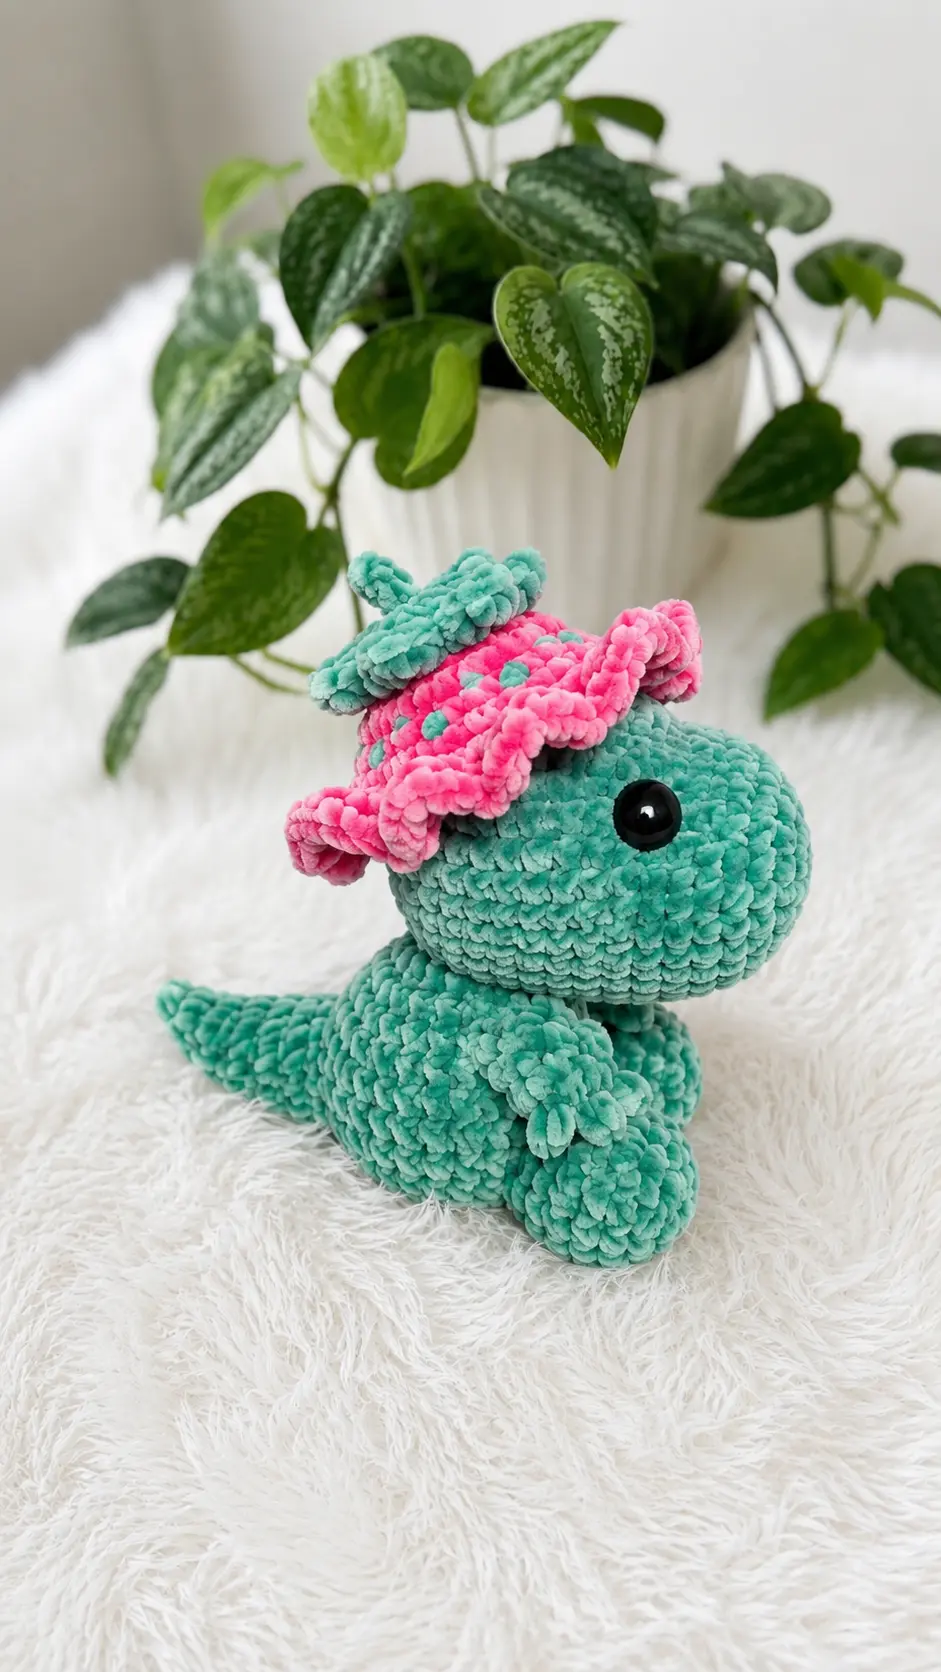
Last Thursday, I had to run a few errands across town, and one of my stops was the little yarn shop I hadn’t visited in months. I wasn’t planning to buy anything—I was just looking around while waiting for my sister to finish at the bakery next door. As I wandered through the aisles, I spotted the softest plush yarn in bright green and pink. The colors made me smile, and I couldn’t leave without bringing them home.
That evening, after dinner was cleaned up and the house had finally gone quiet, I sat at the kitchen table with those new skeins and started crocheting just to unwind. The bright colors felt too fun for an ordinary project, so I decided to turn them into a cute little dinosaur with strawberry-inspired details. By bedtime, I had the sweetest little plush smiling back at me.
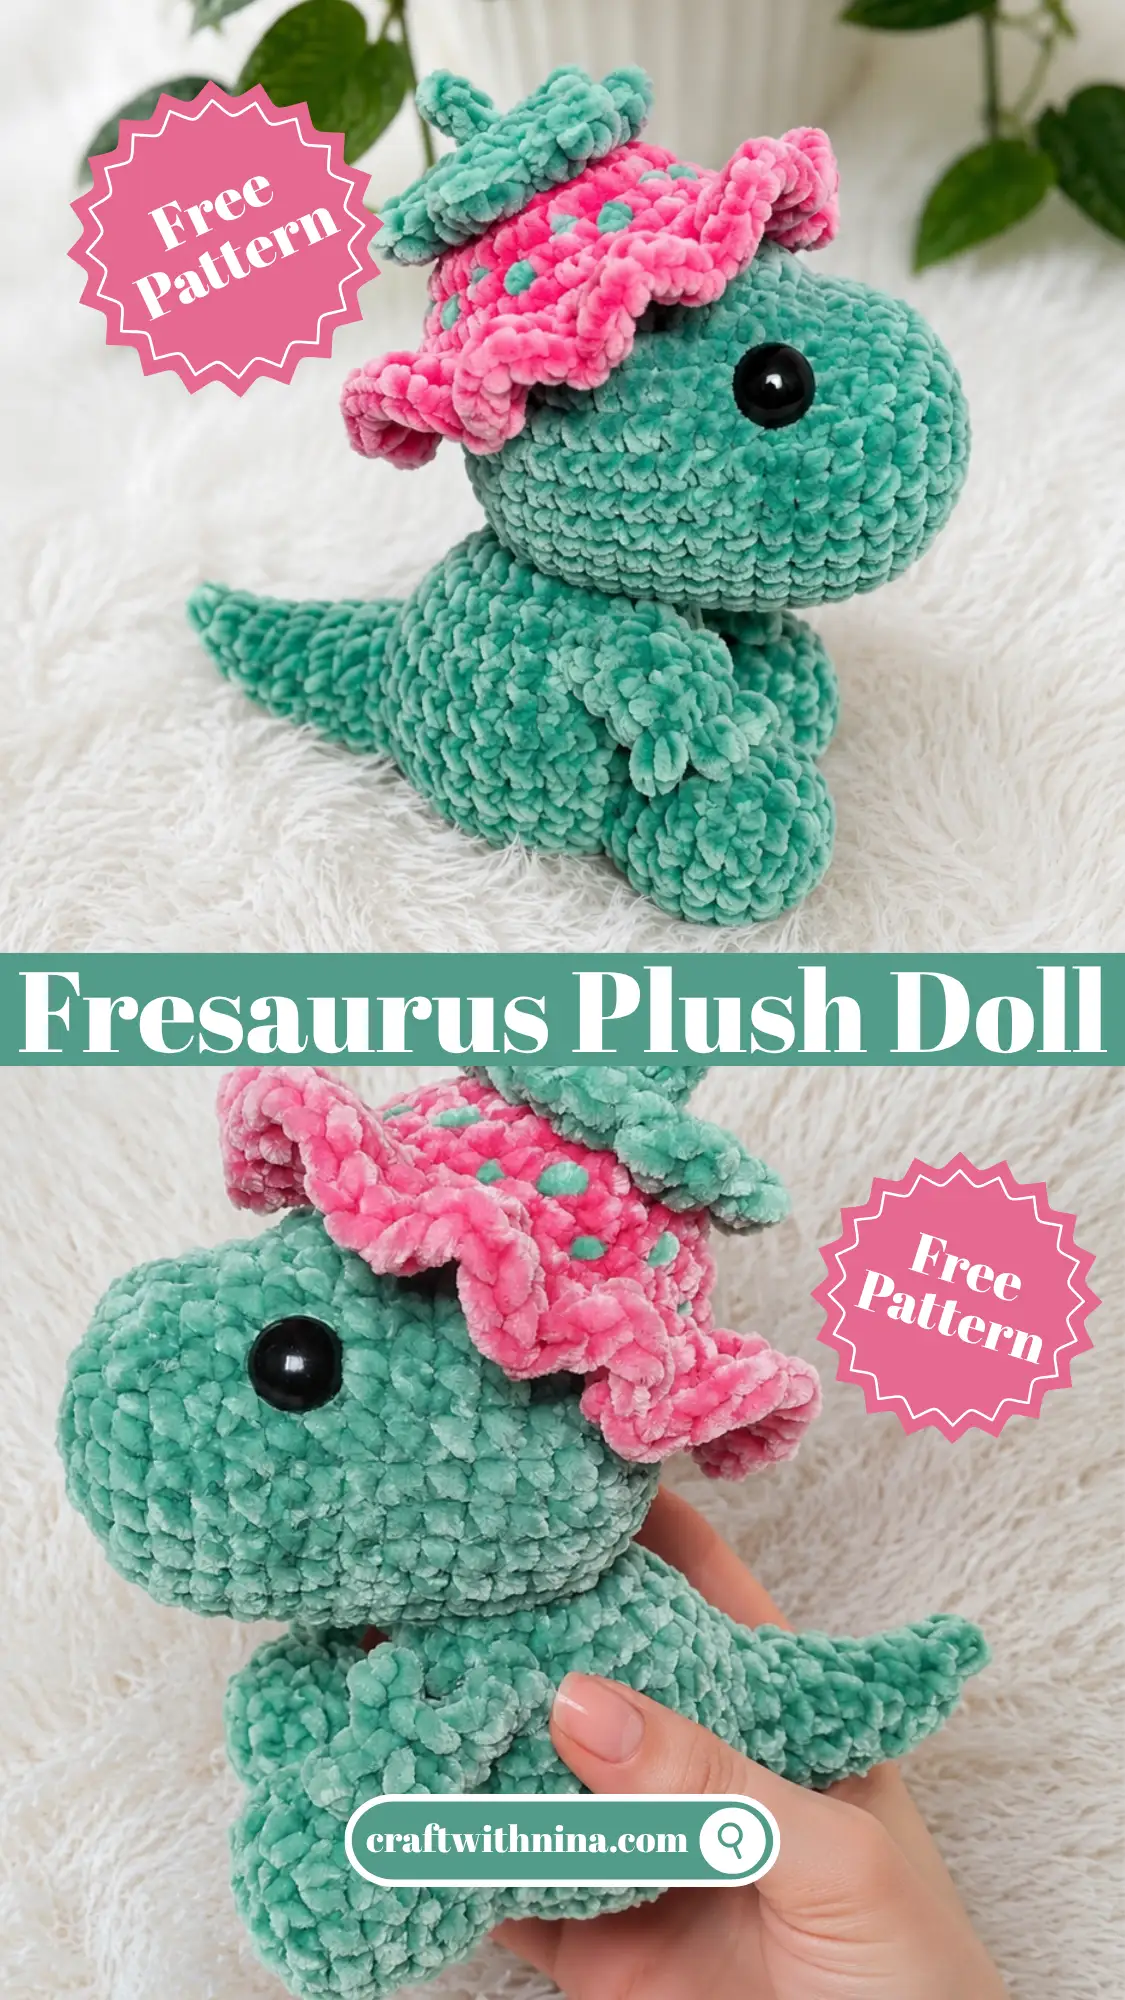
This Free Amigurumi Pattern Fresaurus Plush Doll is the result of that unexpected craft store find. It combines an adorable Tyrannosaurus Rex with charming strawberry details for a soft, playful project that works up beautifully with plush velvet yarn. Whether you’re making it as a thoughtful handmade gift or adding another lovable creature to your amigurumi collection, this pattern is sure to bring a smile. Grab your favorite hook, pick out your softest yarn, and let’s crochet this adorable little friend together.
Materials Needed
Before we start:
- Use the colors you like! and the crochet that is most comfortable for you for the material you chose.
- Any questions you have in the process you can send me a message.
- Chenille / Velvet yarn (bulky weight) green and pink.
- 6mm crochet hook (J)
- 16mm Safety eyes
- Stuff material
- Yarn needle
- Scissors
Finished Size
- Not specified in the original pattern details, as size will vary depending on your yarn choice and tension.
Abbreviations
- Sc: single crochet
- Dc: double crochet
- Hdc: half double crochet
- Inc: increase
- Dec: decrease
- *: repeat around
- BLO: back loop only
- Ch: chain
- Sl st: slip stitch
Pattern Instructions
Head
- ) 6sc into magic ring
- 2) Inc in each st (12)
- 3) 1 sc, inc * (18)
- 4) 2sc, inc * (24)
- 5) -8) Sc around (24)
- 9) 2sc, 4 inc, 18sc (28)
- 10) (2sc, inc)x4, 16sc (32)
- 11) -15) Sc around (32)
- (Between rounds 8 and 9 put the safety
- eyes about 8 visible stitches apart,
- make sure each eye is on each side of
- the face)
- 16) 7sc, 2dec, 21sc (30)
- Stuf as you decrease
- 17) 3sc, dec* (24)
- 18) 2sc, dec * (18)
- 19) 1sc, dec * (12)
- 20) 6 dec (6)
- Cut and close with a yarn needle
Body
- 1) 6sc into niagic ring
- 2) Inc in each st (12)
- 3) 1 sc, inc * (18)
- 4) 2sc, inc * (24)
- 5) 3sc, inc * (30)
- 6) -7) Sc around (30)
- 8) 3sc, dec * (24)
- 9) – 10) Sc around (24)
- 11) 2sc, dec (18)
- 12) – 13) Sc around (18)
- Make a si st, leave long tail to sew and
- cut.
Tail
- 4sc into magic ring
- 1sc, inc * (6)
- sc around (6)
- 2sc, inc * (8)
- 3sc, inc * (10)
- 4sc, inc * (12)
- 5sc, inc * (14)
- 6sc, inc * (16)
- Finish with a sl st, leave a long tail to sew and cut.
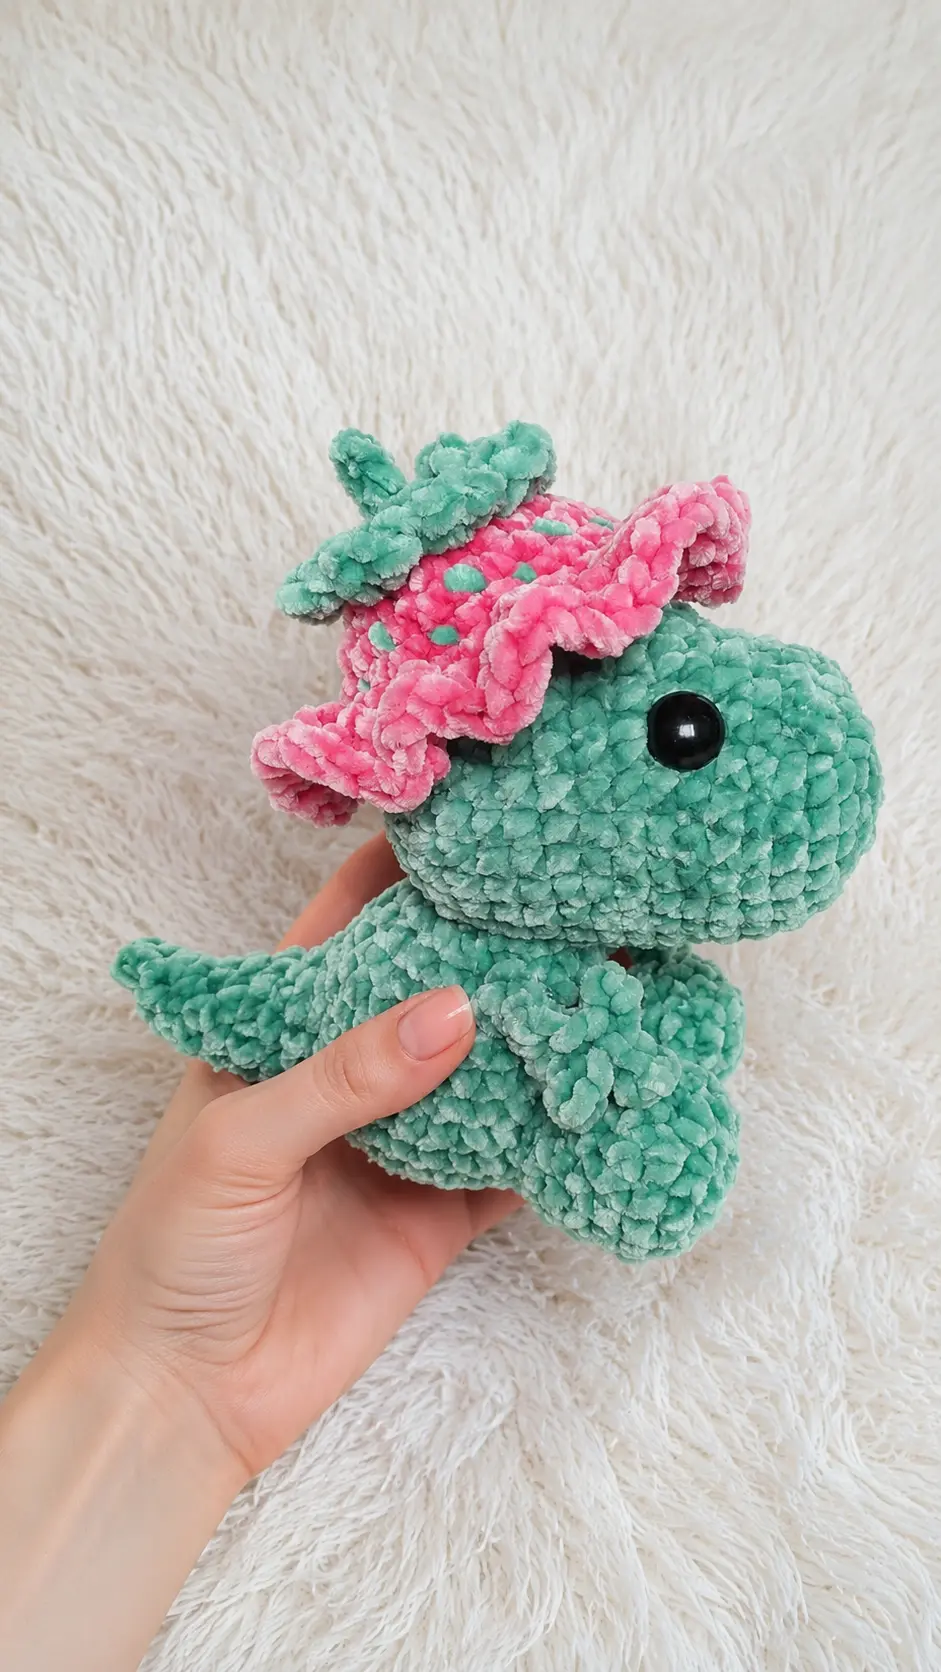
Arms x2
We will make the 3 fingers first:
Ch 3, from the second ch; 2sl st, repeat this 2 more times.
Join with the first ch with a sl st (to close the “hand”)
Then make ch 4 and sc 3 from the second ch (to form the arm) finish with a sl st in the middle of the hand.
Leave long tail to sew.
Nota: la hebra final te quedará bajo un dedo, por lo que cuando vayas a coser el brazo al cuerpo con una aguja lanera mueves la hebra hacia la parte inferior del brazo.
Legs x2
- 6sc into magic ring
- Inc in each st (12)
- 4inc, 8sc (16)
- Sc around (16)
- 1sc, 4 dec, 7sc (12)
- -7) Sc around (12)
- Finish with a sl st, leave a long tail to sew and cut.
Hat
Upper part
- With green
- 8sc into magic ring
- Inc in each st (16)
- (sl st, dc inc) x 8
- Finish with a sl st, leave a long tail to sew and cut.
Small stem
With green
Ch 4, from the second ch, sc 3, leave a thread to sew in the center of the magic ring at the top.
Hat
With Pink
- 8sc into magic ring
- Inc in each st (16)
- 1sc, inc * (24)
4)-6) Sc around (24)
- 3sc, inc * (30)
Close the round with a sl st, now we will make the edge of the hat
- Repeat this sequence around the edge of the hat (ch 2, dc inc)
End with a sl st, cut and hide the strand.
Sew and add details!
- With a piece of green yarn embroider little dots around the hat.
You can add on the round 5/6 approx from the head two green embroidered marks for the “nose”.
Tips for Success
- Work carefully with velvet yarn: Plush yarn is wonderfully soft, but pulling too hard can cause the fibers to shed. Use a gentle, steady tension when pulling your magic rings closed.
- Use stitch markers for every round: Continuous rounds are easy to lose track of when working with bulky chenille. Placing a marker in the first stitch of each round helps keep your count accurate.
- Stuff the snout securely: To give your dinosaur head a defined shape, firmly push stuffing into the snout area between rounds 9 and 15 before closing.
- Move the arm yarn tail before sewing: As noted in the pattern, thread your arm tail down to the underside of the arm before stitching it to the body. This keeps the tiny hands laying flat.
- Secure the hat firmly: Position the strawberry hat slightly tilted on the head before sewing. Pinning it in place first ensures it stays centered while you attach it.
Frequently Asked Questions
What kind of yarn works best for this project?
Bulky weight chenille or velvet yarn works best because it gives the dinosaur its plush, squishy feel and hides seam lines nicely.
Can I use a smaller yarn weight and hook?
Yes, you can use worsted weight acrylic yarn with a 3.5mm or 4.0mm hook, but your finished dinosaur will be much smaller.
How do I keep the safety eyes from popping out of plush yarn?
Because velvet yarn stitches are soft and flexible, you can add a tiny circle of felt on the back inside the head before snapping the washer into place for extra security.
How do I attach the tiny stem to the strawberry top?
Use a tapestry needle to pass the yarn tails of the stem through the center magic ring of the green topper, tie a firm knot on the back, and weave in the ends.
Do I need to stuff the dinosaur tail?
Yes, add a light amount of stuffing to the tail as you sew it to the back of the body to help it hold a cute, curved shape.
Conclusion
I hope you have so much fun bringing this sweet dinosaur to life! It is such a rewarding project to stitch on a cozy afternoon, and the finished plush brings a smile to anyone who sees it. Be sure to save this Free Amigurumi Pattern Fresaurus Plush Doll to your favorite crafting board for your next cozy crochet day. Happy crocheting!


Leave a Comment