

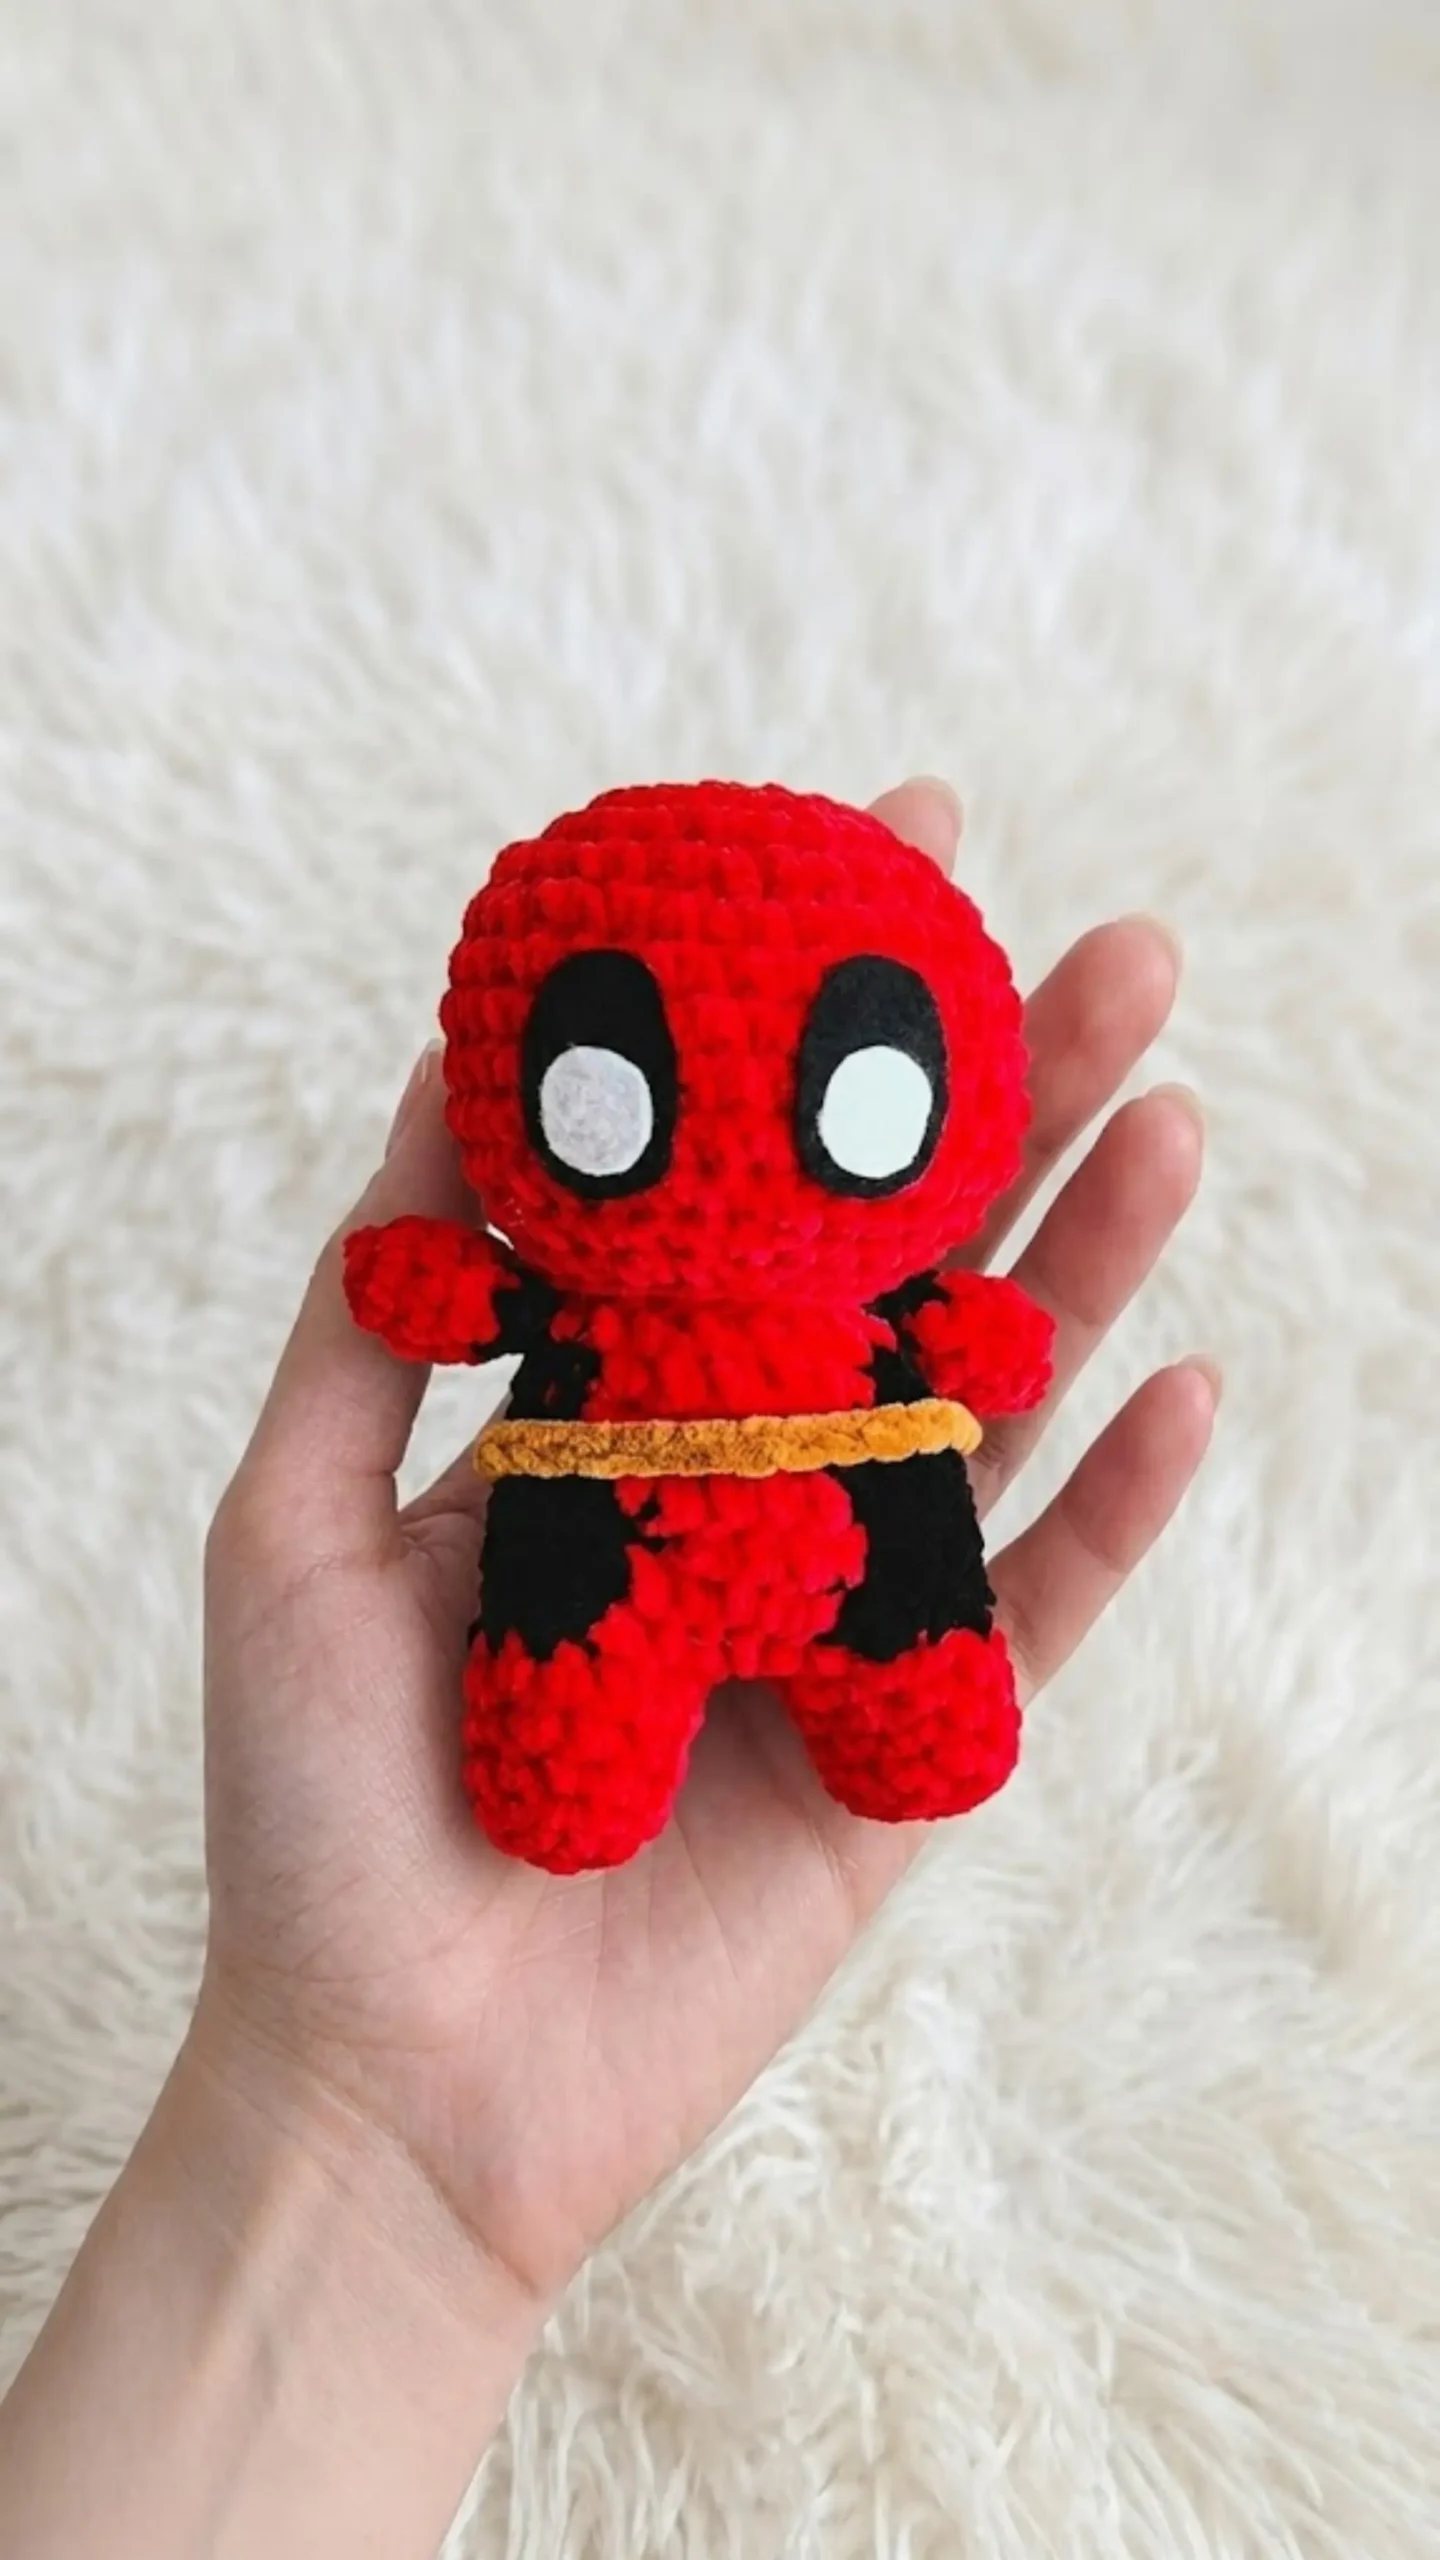
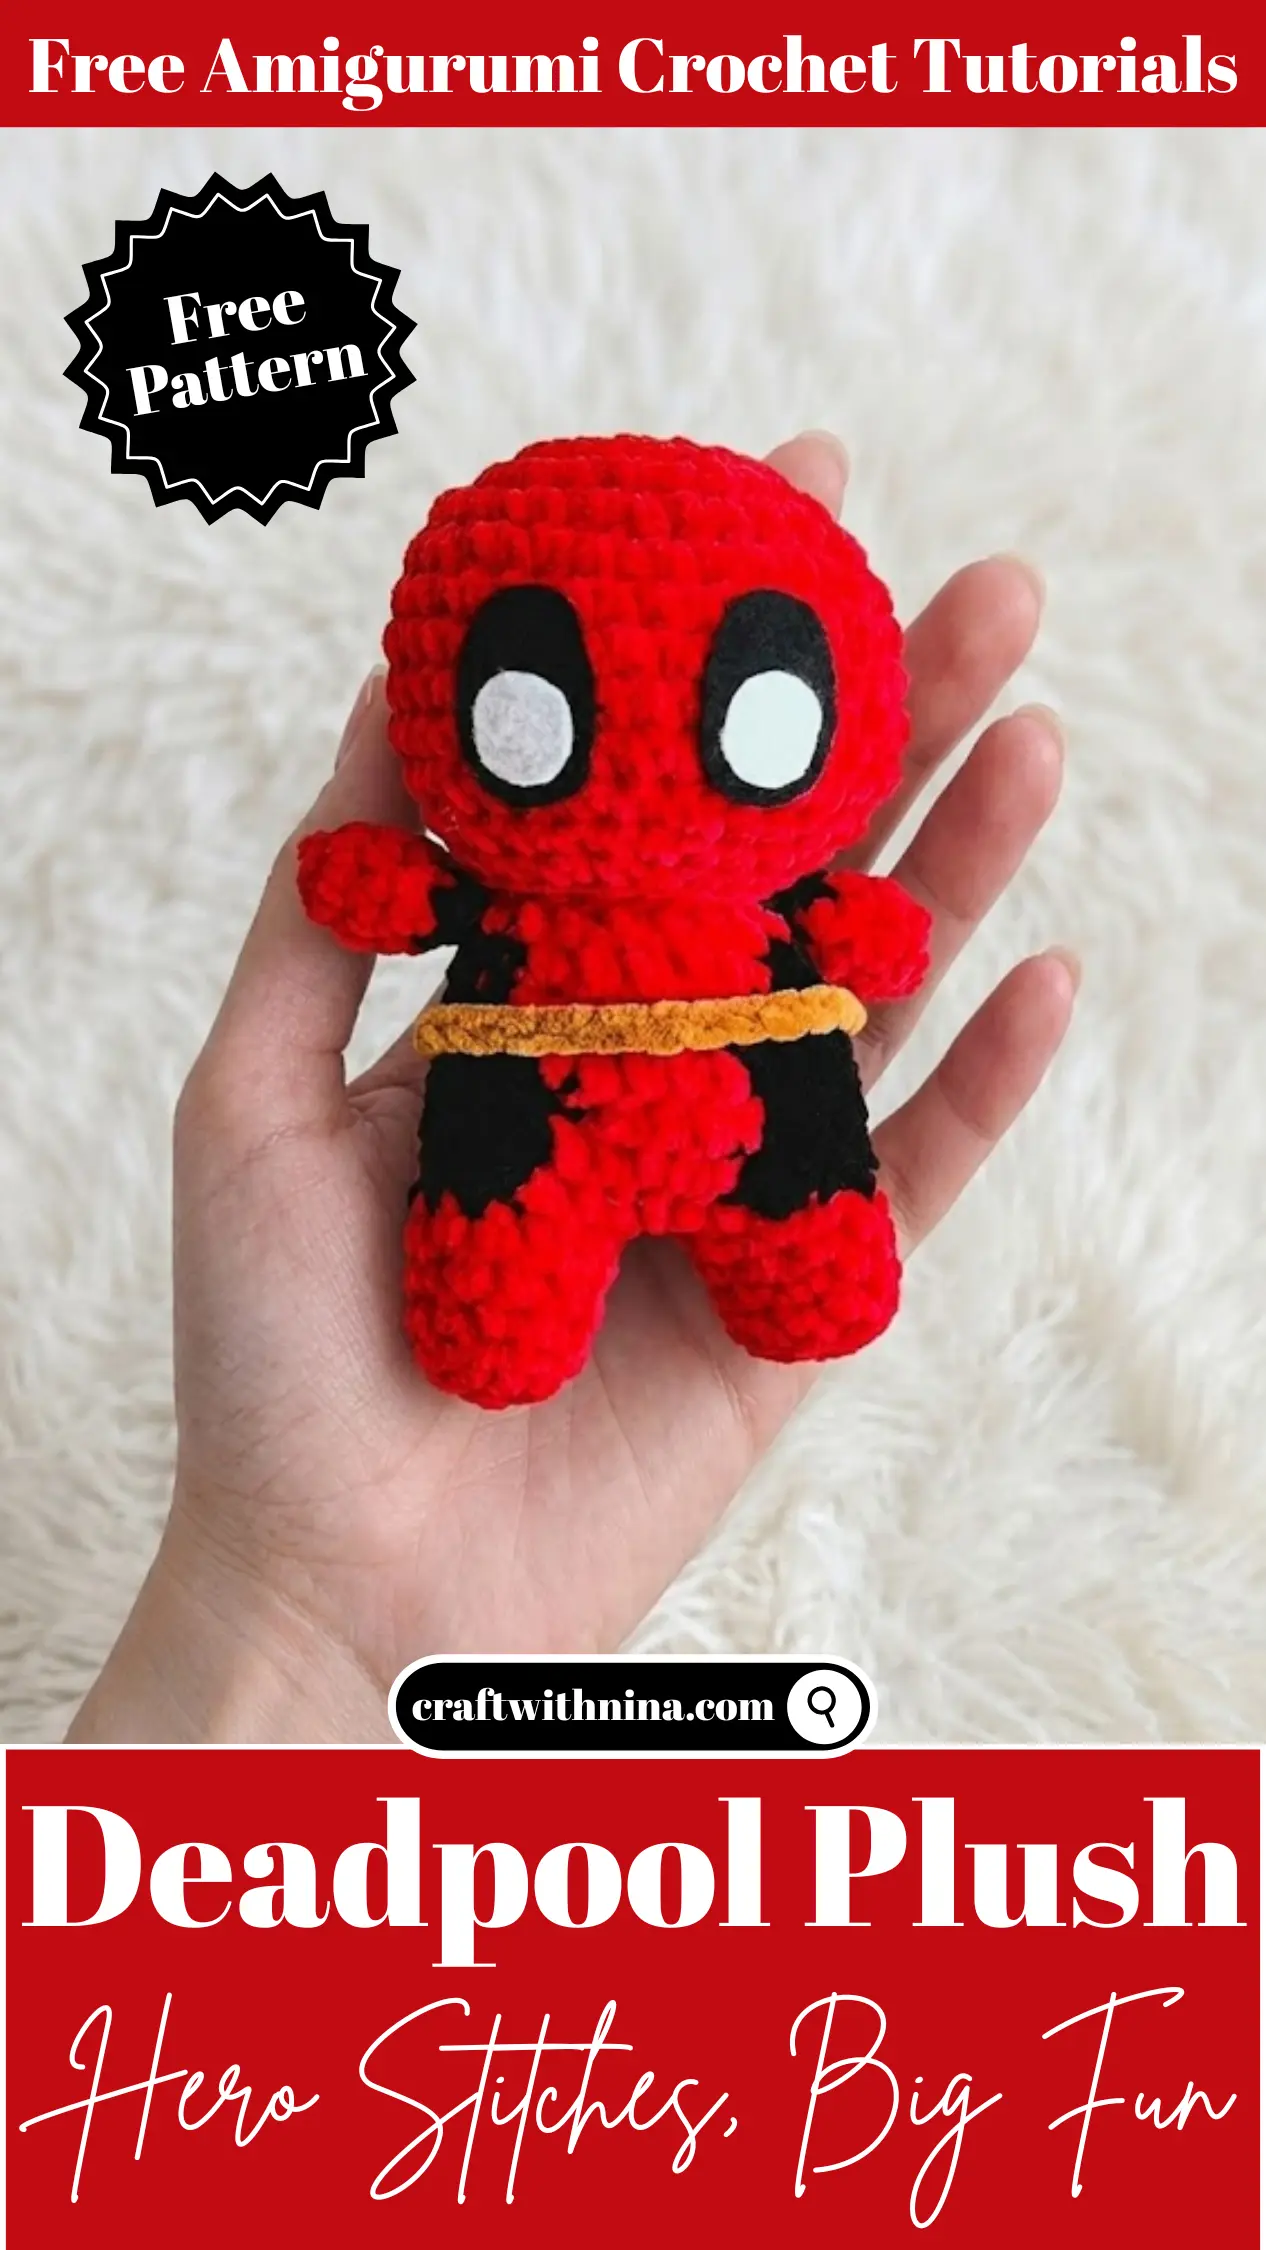
Some crochet projects seem to come together at exactly the right moment. I had been looking for something fun, small, and relaxing to make with a few leftover skeins of plush yarn sitting in my stash. As soon as I picked up the red and black colors, the idea for a tiny Deadpool plush popped into my head. It felt like the perfect project for an afternoon of easy crocheting.
This Free Amigurumi Pattern Crochet Deadpool Plush is soft, cute, and surprisingly quick to make. Whether you are creating it as a gift for a comic book fan or adding it to your own handmade collection, this little plush is sure to bring a smile. Gather your favorite crochet hook, get comfortable, and let’s crochet this adorable Deadpool together.
Materials Needed
- Hook: 5mm
- Black chenille size 4 medium
- Red chenille size 4 medium
- Brown chenille size 4 medium
- Black felt
- White felt
- Stuffing
- Tapestry needle
- Stitch markers
- Scissors
- Fabric glue
Abbreviations
- R: round
- st: stitch
- mr: magic ring
- ch: chain
- sc: single crochet
- dc: double crochet
- sl st: slip stitch
- inc: increase
- dec: decrease
- BLO: back Loop only
- FO: fasten off
- cc: change color
Pattern Instructions
Head
R1: 8sc in a mr (8)
R2: 8inc (16)
R3: (sc, inc)x8 (24)
R4: (3sc, inc)X6 (30)
R5: (2sc, inc, 2sc)x6 (36)
R6-10: 36sc (36) – 5 rounds
R11: (4sc, dec)x6 (30)
R12: (3sc, dec)x6 (24)
R13: (4sc, dec)x4 (20)
Cut yarn, FO with an invisibile join.
Add fiber fill (stuff a lot).

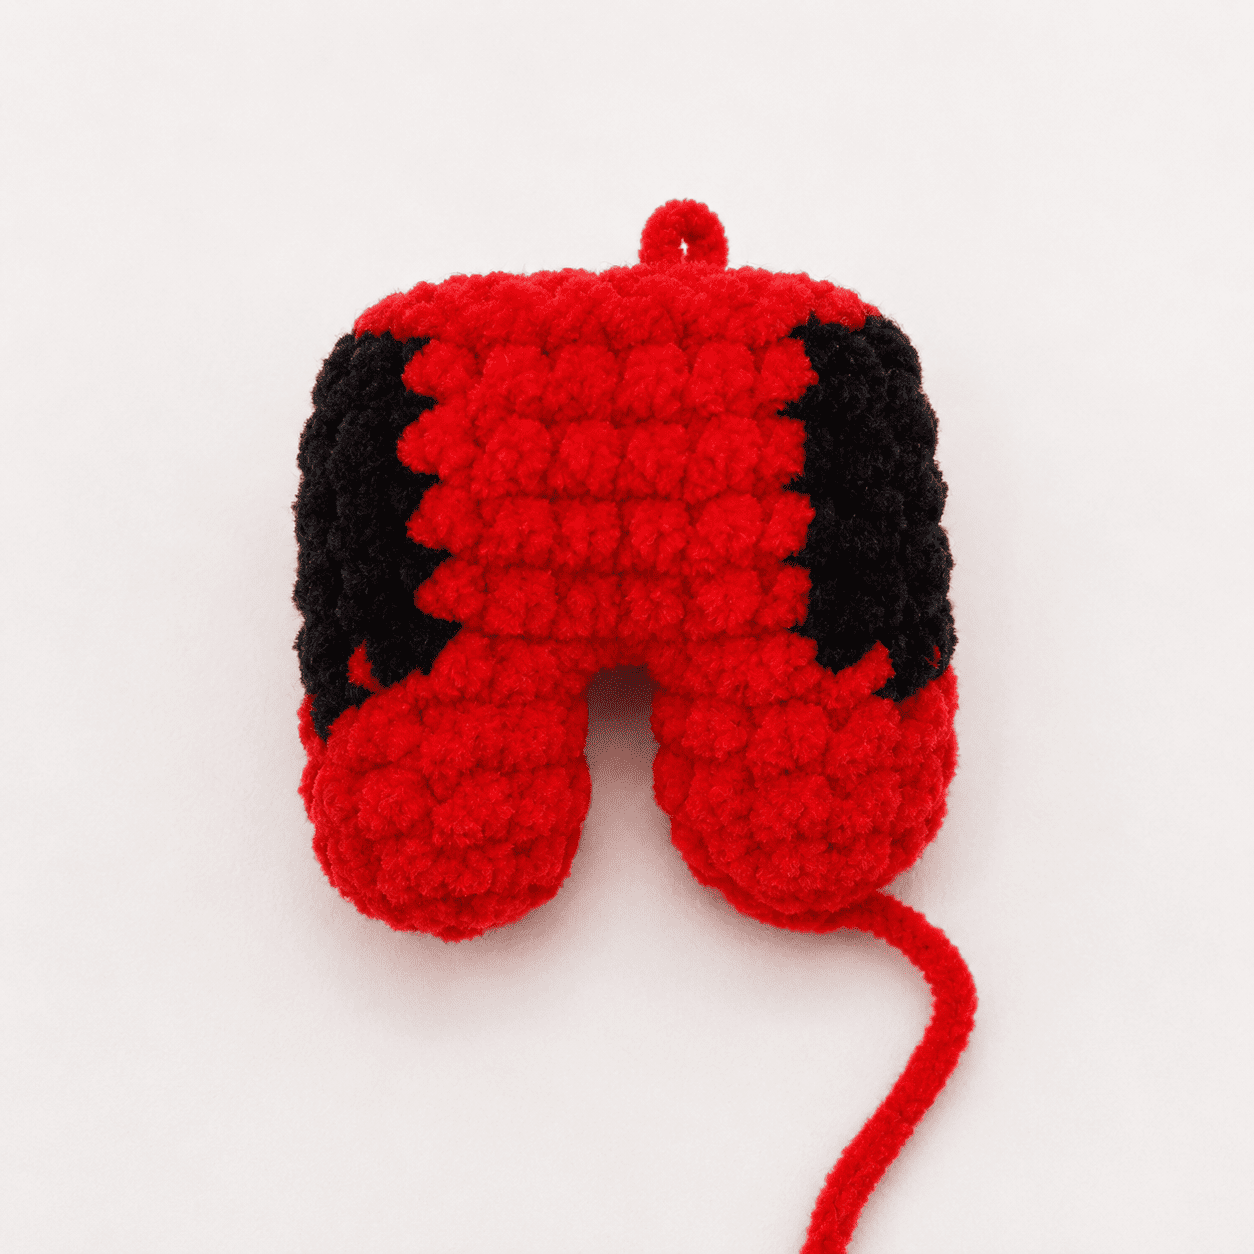
Body pt.1
Start with red yarn
R1: 5sc in a mr (5)
R2: 5inc (10)
R3: BLO 10sc (10)
R4-5: 10sc (10) – 2 rounds
Cut yarn and FO with an invisibile join.
Make another leg but this time don’t cut yarn and ch2.
R6: Insert the hook in any of the first leg sts and make 4sc, cc to black 3sc, cc to red 3sc, 2sc in the 2ch, 3sc, cc to black 3sc, cc to red 4sc, 2sc in the 2ch (24)

Body pt.2
R7: 3sc, cc to black inc, 3sc, inc, cc to red 6sc, cc to black inc, 3sc, inc, cc to red 5sc (28)
R8-11: 3sc, cc to black 7sc, cc to red 6sc, cc to black 7sc, cc to red 5sc (28) 4 rounds
Start stuffing as you go, when you stuff the feet remember to keep them flat.
R12: 3sc, cc to black dec, 3sc, dec, cc to red 6sc, cc to black dec, 3sc, dec, co to red 5sc (24)
You can now cut black yarn.
R13: (4sc, dec)x4 (20)
Finish stuffing.
Cut yarn Leaving a long tail for sewing.
Arms (x2)
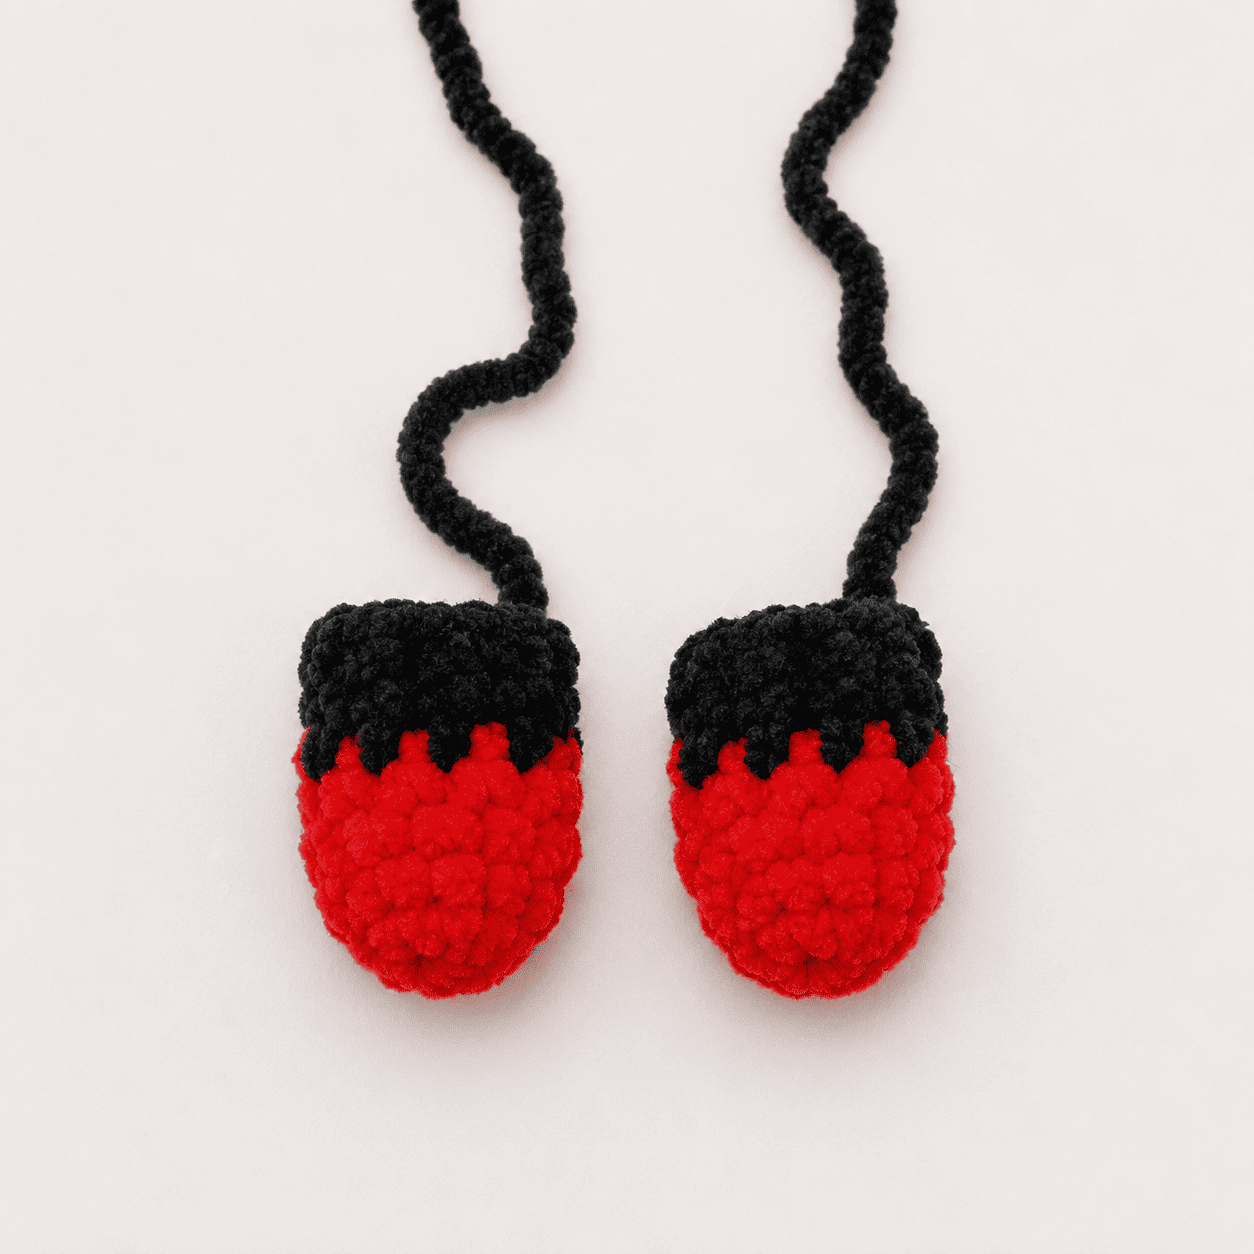
Start using red yarn
R1: 4sc in a mr (4)
R2: 4inc (8)
R3-4: 8sc (8) – 2 rounds
R5: cc to black 8sc (8)
R6: fold the arm and close it making 4sc (4) – don’t stuff the arm
Cut yarn leaving a long tail.
Belt
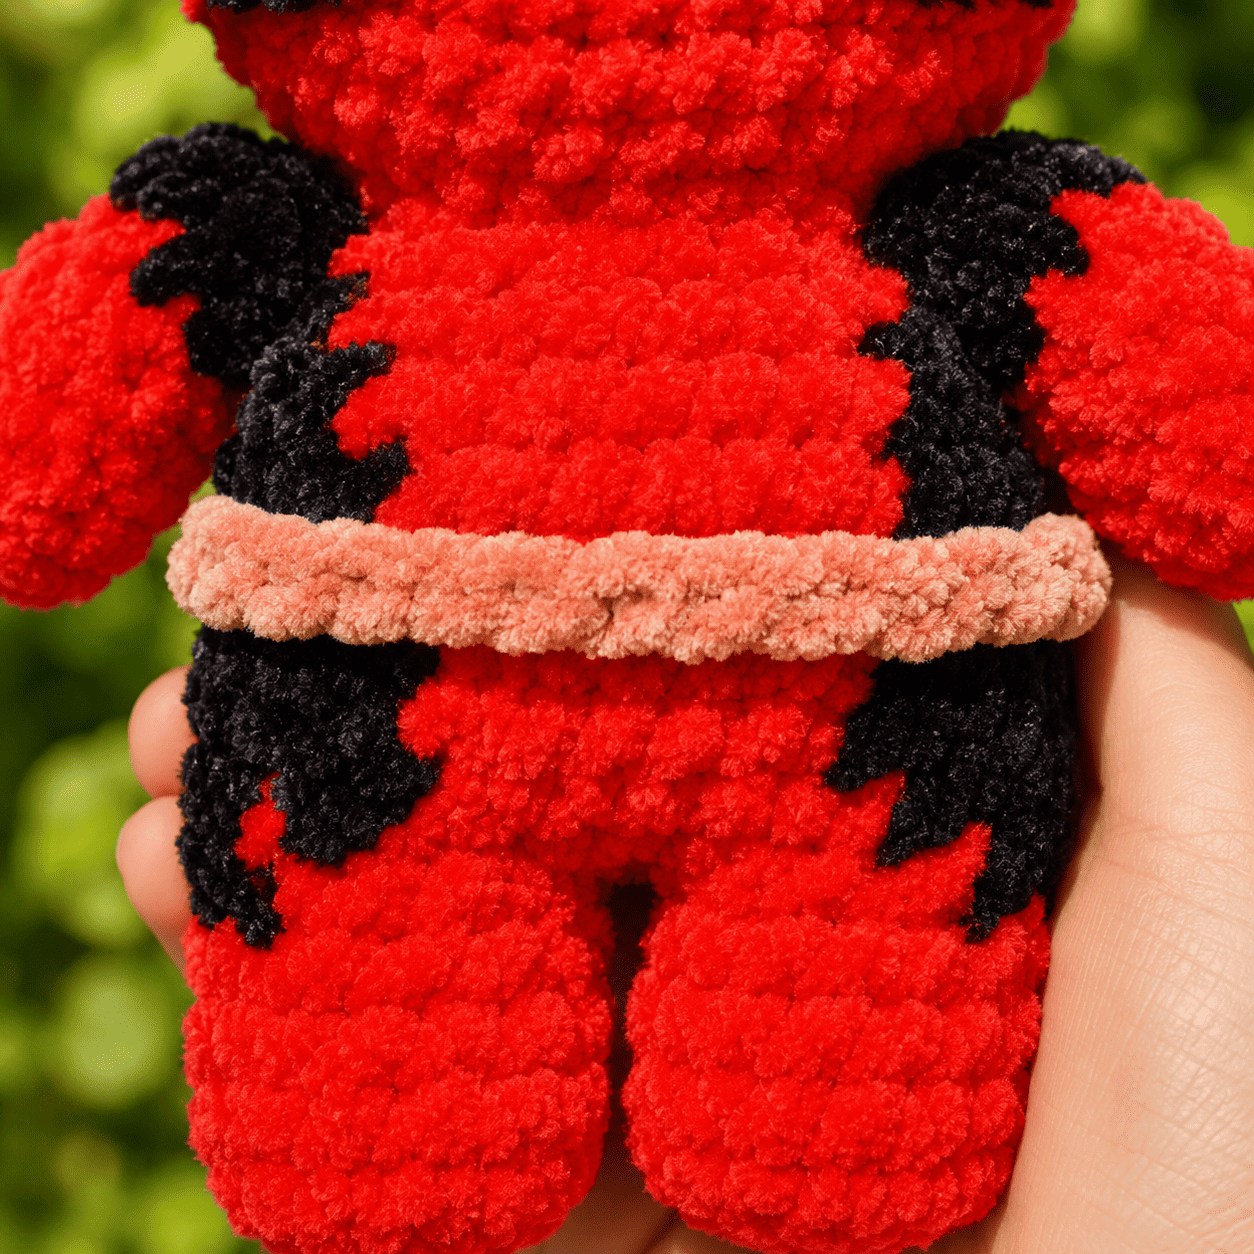
Use brown yarn
Slip knot, ch 25 or desired length.
Cut yarn leaving a long tail for Sewing.
Sewing
- Sew the head to the body, add fiber fill while sewing if needed
- Sew the arms to the body at R12-13
- Sew the belt to the body at R9
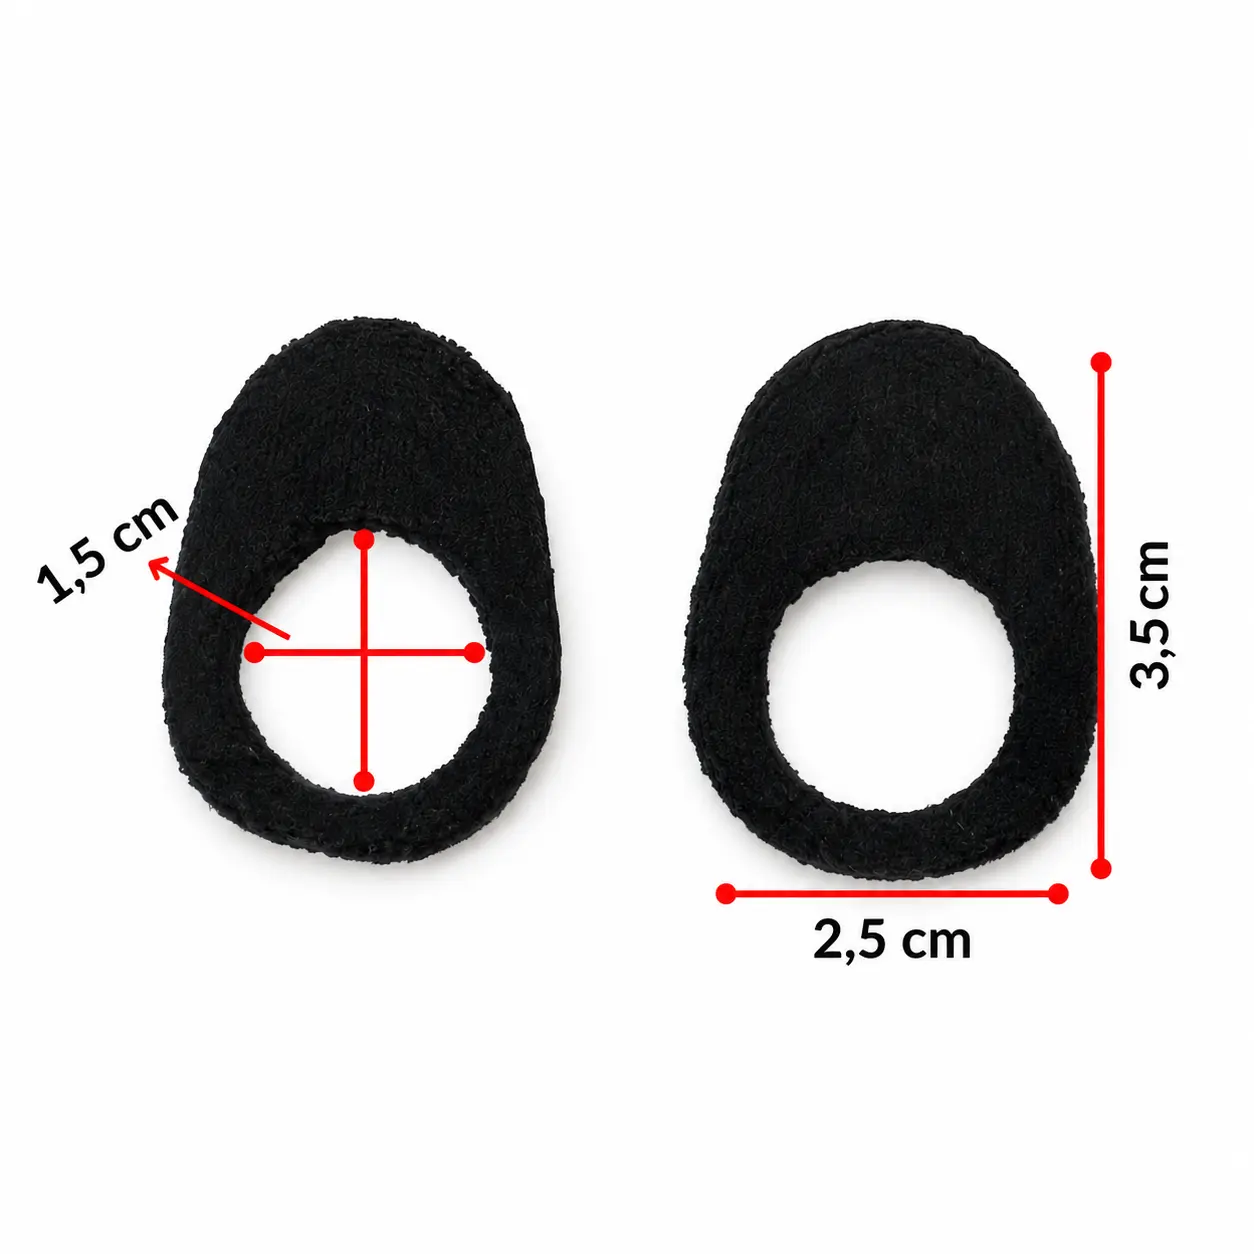
- Cut black and white felt and attach the eyes between R6-10, 3 visibile sts apart
Note that the size may vary according to the yarn you are using
Final notes
Congrats! You’ve finished your Deadpool! hope you enjoyed making this pattern!
If you make the pattern and post it on IG please tag me @eliyarnart, so that I can see your lovely creation.
This pattern is for personal use only: do not copy, redistribute, sell or claim this pattern as yours.
Tips for Success
- Manage your color changes: When changing colors between red and black, pull the new color through on the last loop of the previous stitch for a clean look.
- Keep your stitch markers handy: Working in continuous rounds can make it easy to lose your place, so mark your first stitch every time.
- Keep the feet flat: When adding your fiber fill to the legs, press them flat with your fingers so the plush sits nicely.
- Cut felt carefully: Use sharp fabric scissors to get clean edges on the black and white felt eye pieces.
- Glue safely: Allow the fabric glue to dry completely before letting anyone play with the finished doll.
Frequently Asked Questions
Can I use regular acrylic yarn instead of chenille yarn?
Yes, you can use regular medium weight acrylic yarn. Your finished plush will just turn out smaller than the plush chenille version.
What is the best way to attach the felt eyes?
You can use a high quality fabric glue to secure the felt pieces to the head, or you can use matching sewing thread to stitch them down.
Do I need to stuff the arms?
No, the instructions state that you should not stuff the arms. You will simply fold them flat and crochet the top edge closed.
How do I make the invisible join?
Thread your yarn tail into a needle, skip the next stitch, pass under both loops of the following stitch, and then go back down into the center of the last stitch you made.
Can I adjust the length of the belt?
Yes, you can easily chain more or fewer stitches for the belt to make sure it fits perfectly around your doll’s waist.
Conclusion
I hope you have as much fun making this little guy as I did. Crocheting is such a wonderful way to relax after a busy week, and this Free Amigurumi Pattern Crochet Deadpool Plush makes the sweetest gift for the comic book fans in your neighborhood or family. Leave a comment below if you try it out. Happy crocheting, friends.


Leave a Comment