

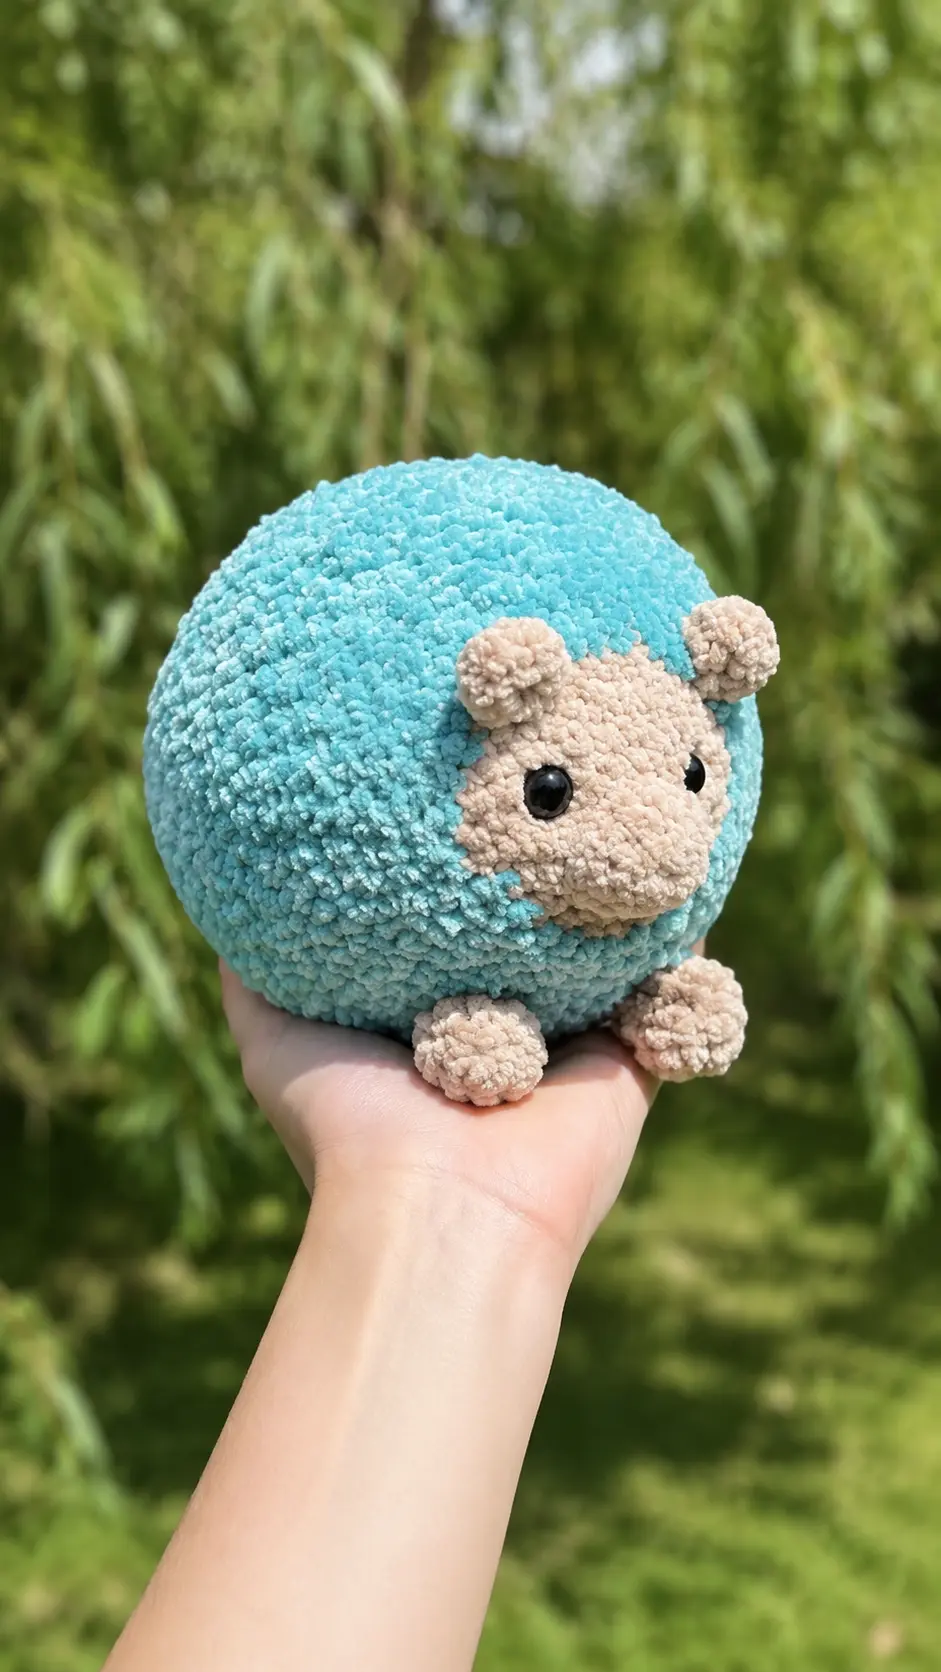
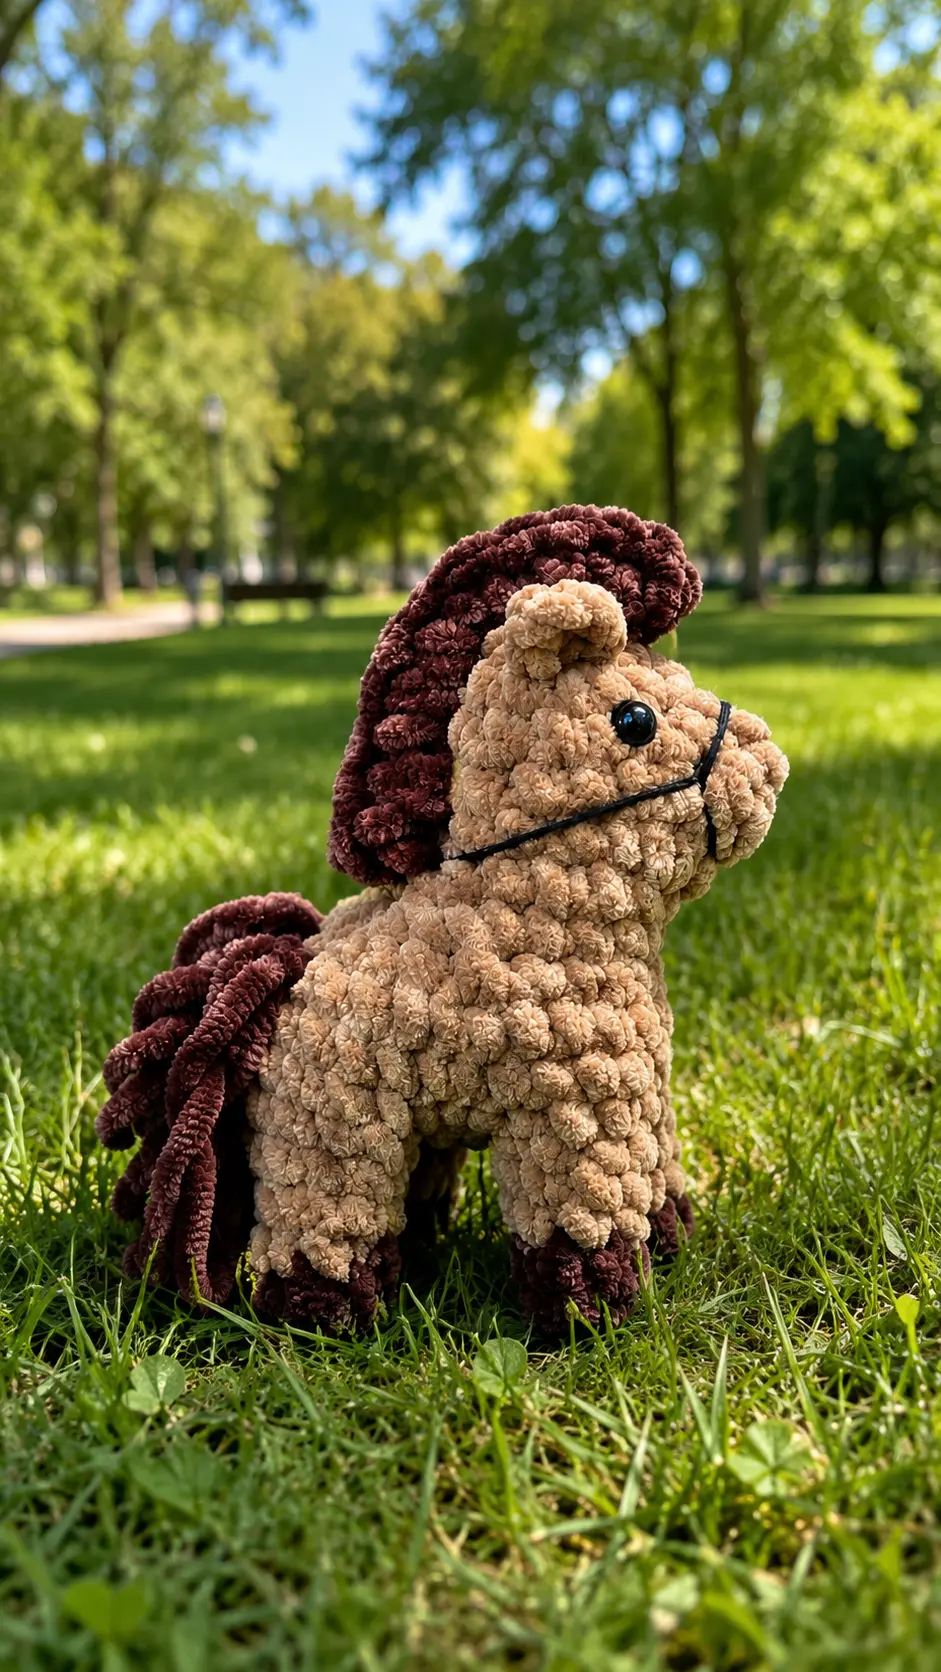
Saturday afternoons are my absolute favorite time to unwind after a busy week of running errands and finishing up household chores. Once the kitchen counters are wiped down and the last load of laundry is neatly folded, I love to head over to my favorite armchair near the window with a warm mug of herbal tea. Yesterday, I decided to pull out some leftover fuzzy yarn from my craft closet to make something cheerful for our upcoming community charity drive. I wanted a project that was quick, round, and extra soft to the touch. That is how this adorable little creature came to be, and I am so excited to share the Magical Puff Crochet Pattern with you today. It is a wonderfully simple project that uses a mix of smooth and fluffy textures to create the most huggable little friend. Whether you want to make one for a neighbor or clear out some of your softest yarn stash, this project comes together beautifully in just a single afternoon. Grab your hooks, find a cozy spot, and let’s get crafting together.
Materials Needed
- Yarn:
- Alize Softy in tan, option to use acrylic size 5 as well for the face, feet, and ears
- Himalaya Koala in color of choice, or any fluffy yarn for the body
- Crochet Hook: A 4.5mm hook for the fluffy yarn and a 4mm hook for the alize softy, or sizes to match your specific yarn
- Stitch Markers
- Safety Eyes: 12mm size
- Scissors
- Tapestry Needle
- Stuffing
Finished Size
- Not specified in the original pattern text, as the final size depends entirely on your choice of fluffy yarn and hook size.
Gauge
- Not specified.
Abbreviations
In US crochet terminology:
- MC-magic circle/magic ring
- st/sts-stitch/stitches
- sc-single crochet
- inc-increase
- cc-color change
- dec-invisible decrease
I recommend using a face yarn/hook around -0.5 or -1 smaller than your fluffy body yarn/hook!
- FO- fasten off with a slip stitch, cut, & weave in ends unless otherwise stated
- (x)-stitch count at end of row
- x.-round/row
Pattern Notes
- The pattern designer recommends adjusting your hook and face yarn to be slightly smaller than your main body yarn to keep the stitches tight.
- Be sure to keep your stitch markers handy, as working with highly textured or fluffy yarn makes it difficult to see individual stitch loops.
Magical Puff Crochet Pattern Instructions
Feet (x4)
Using tan,
- sc 6 in MC (6) 2. (sc1,inc)x2
- sc all (8) sc 2 (8)
- (sc 1, dec)x2, sc 2 (6)
- Stuff lightly
- fold in half & sc 3 across FO: No need for a tail; the feet will be crocheted into the body.
Ears (x2)
Using tan,
- sc 4 in MC (4)
- sc 1, inc 2, sc 1 (6) FO: Leaving a long tail for sewing later.
Face & Body
Using tan,
- sc 6 in MC (6)
- sc all (6)
- inc all (12)
- sc 6. (sc 1, inc)x3 (15)
- sc 6, (sc 2, inc)x3 (18)
- (sc 2, inc)x6 (24)
- (sc 3, inc)x6 (30)
- Place eyes between rounds 6-5 with 8 visible sts from between each eye.
- cc to fuzzy yarn and switch hooks: (sc 4, inc)x6 (36)
- (sc 5, inc)x6 (42)
- (sc 6, inc)x6 (48)
- (sc 7, inc)x6 (54)
- (sc 8, inc)x6 (60)
- For the following rounds, adjust the sts as necessary to get the legs properly aligned.
- sc 3, crochet leg into body with sc 3, sc 4, crochet leg into body with sc 3, sc 47 (60) 14-18. sc all (60) * 5 rounds
- sc 4, crochet leg into body with sc 3, sc 4, crochet leg into body with sc 3, sc 46 (60)
- sc all (60)
- (sc 8, dec)x6 (54)
- (sc 7, dec)x6 (48)
- Stuff firmly, making sure to stuff the nose of the face.
- (sc 6, dec)x6 (42)
- (sc 5, dec)x6 (36)
- (sc 4, dec)x6 (30)
- (sc 3, dec)x6 (24)
- (sc 2, dec)x6 (18)
- (sc 1, dec)x6 (12)
- (dec)x6 (6)
- Finish stuffing FO: Sew the hole closed The leg should be on the outside of the body before crocheting them together!
Assembly
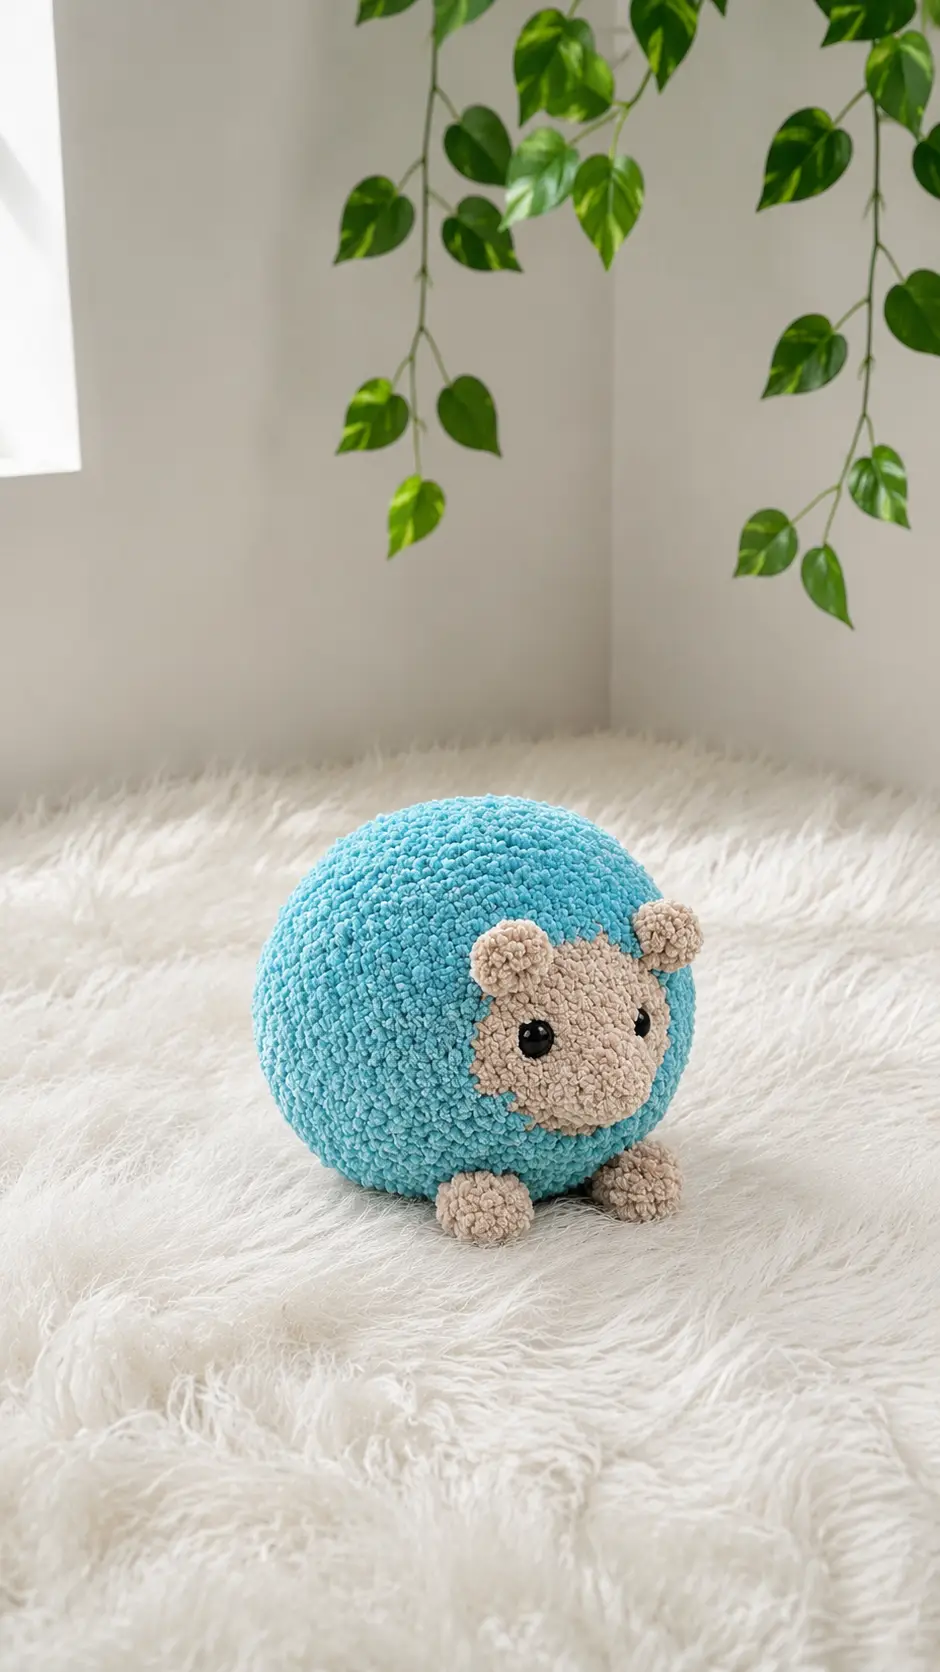
• Sew ears between rounds 7-8 with 6-7 visible sts between each one. Use your left over FO to indicate the bottom of the ears here. The holes should be facing outwards and not down towards the head • Embroider nose on round 1 • OPTIONAL: add eye decor with white yarn around your safety eyes for additional cuteness
Tips for Success
- Feel your stitches: Fluffy yarn can make it hard to see your stitches with your eyes. Use your fingers to feel for the next space to insert your hook.
- Count your stitches often: It is very easy to lose or add a stitch when working with chenille or blanket yarn, so check your stitch counts at the end of every single round.
- Secure your safety eyes early: Make sure to place the safety backings on your 12mm eyes firmly before moving past round 7, as it becomes impossible to reach them later.
- Adjust your foot placement: Everyone has slightly different crochet tension, which means your rounds might twist. Feel free to move the stitches slightly on rounds 13 and 19 so the feet line up straight on the bottom.
- Stuff the nose carefully: Use the back of a crochet hook to push small bits of stuffing right into the tip of the tan nose before filling up the rest of the main round body.
Frequently Asked Questions
What should I do if my fluffy yarn sheds when I cut it?
Fluffy yarn can shed quite a bit at the raw ends. To fix this, you can gently singe the very tip of the yarn tail with a lighter for a split second, or tie a small knot at the end to keep the fluff secure.
Can I use regular acrylic yarn for the entire project?
Yes, you can use standard acrylic yarn for the whole project. Just keep in mind that your finished toy will be much smaller and will not have the signature fluffy look.
How do I join the feet into the body during rounds 13 and 19?
To crochet the feet directly in, hold the flattened top edge of the foot against your working stitches. Insert your hook through both layers of the foot and then through the body stitch, completing a normal single crochet.
What kind of thread is best for embroidering the nose?
A small strand of black or dark brown medium weight yarn works wonderfully for the nose. You can also use embroidery floss doubled up to make the nose stand out clearly on round 1.
Why do I need to use a smaller hook for the face yarn?
Using a smaller hook for the smooth face yarn ensures that the stitches stay tight and dense. This keeps the toy stuffing from poking through the holes between your stitches.
Conclusion
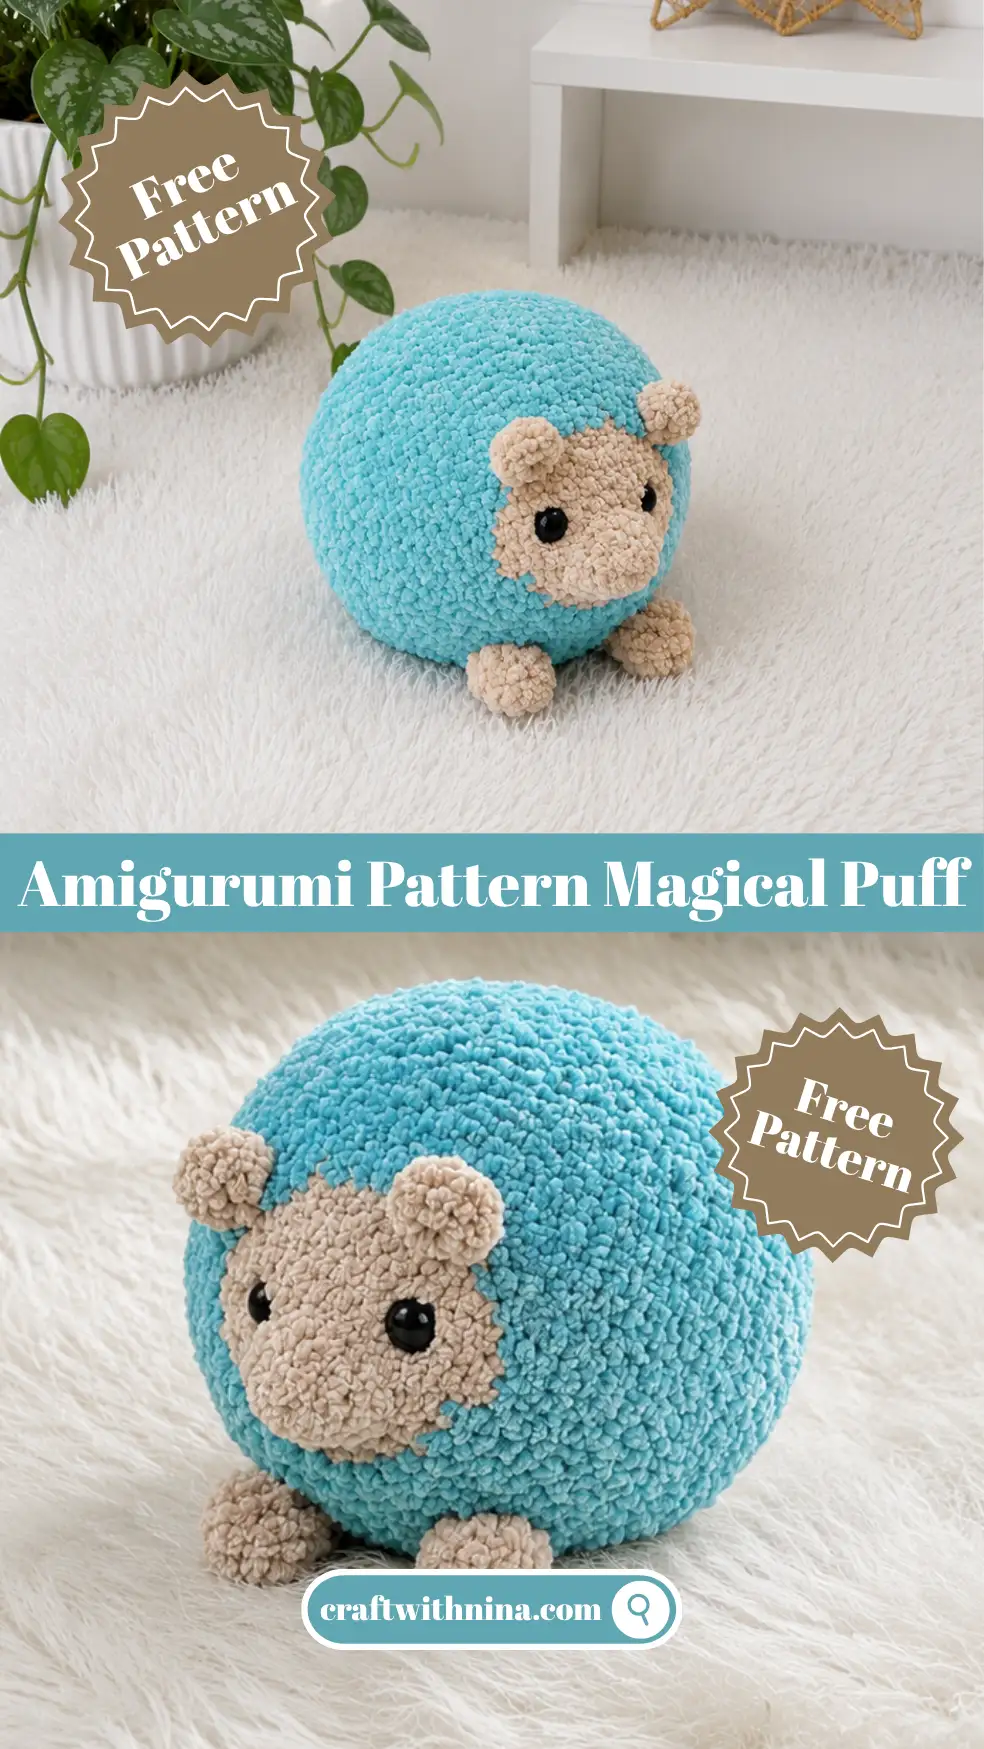
Thank you so much for joining me today to look over this wonderful project. Gathering my yarn and sitting down to work on a fresh design always brings so much comfort to my day, and I hope this Magical Puff Crochet Pattern brings that same quiet joy to your crafting corner. These little plushies are so wonderfully quick to make, which makes them fantastic choices for last minute gifts or sweet items to sell at a local community craft table. If you decide to sit down and make one of your own, please let me know how it goes in the comments below. I would love to hear about the lovely yarn colors you choose for your project. Happy crocheting, friends.


Leave a Comment