

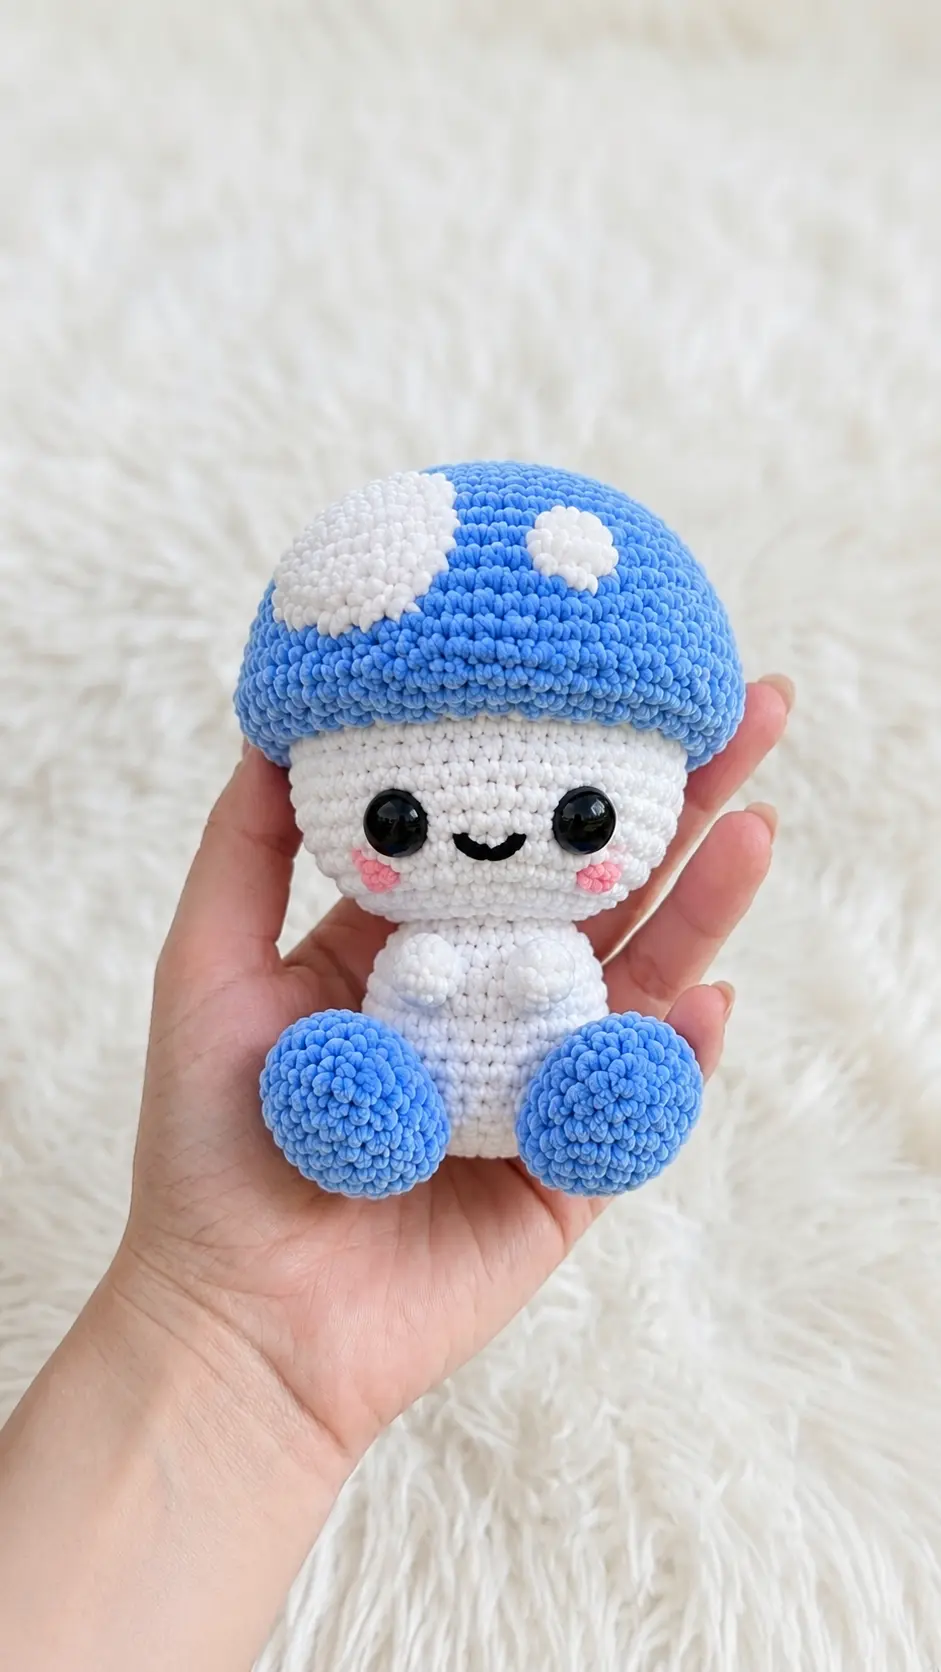
My teenage daughter and I spent yesterday afternoon clearing out our old craft closet, and among the bins of half-finished projects, we found a bag of plush chenille yarn in soft blues and creams. It instantly reminded me of the whimsical fairy garden decorations my kids used to love when they were little. My son, who is now getting ready for college, even stopped by to watch as I sat at the kitchen counter with my favorite 3.5 mm hook, sipping a cold glass of lemonade and sketching out ideas. That relaxing afternoon inspired me to share this absolutely adorable project with you all. Today, we are going to learn how to make a sweet mushroom plushie using this free crochet toadstool pattern!
Whether you want to make a pocket-sized companion for a child or a whimsical decoration for your shelf, this crochet toadstool pattern is a wonderful project to curl up with on a quiet afternoon. The pattern uses simple stitches but incorporates a fun texture for the little hands, making it a great project for anyone comfortable with basic amigurumi techniques. Let’s grab our hooks and get started!
Materials Needed
- Beige, blue and white yarn
- Crochet hook for your yarn, I used 3.5 mm hook
- Fiber fill
- Scissors
- Sewing needles
- Stitch markers
- Pins (for sewing)
- Safety eyes of preferred size
- Felt for details and glue
Finished Size
The size of your Cutie Toadstool may vary depending on the yarn and tension.
Abbreviations
- CH: Chain
- R(n): Round
- MR: Magic ring
- SC: Single crochet
- HDC: Half double crochet
- TRC: Treble crochet
- INC: Single crochet increase
- BOB5: Bubble stitch made of 5 Partial Double Crochet
- DEC: Single crochet decrease
- FLO: Front loop only
- BLO: Back loop only
- SLst: Slip Stitch
- FO: Fasten off
Pattern Instructions
Body section
Start with beige
- R1: CH5,
- Starting in the 2nd chain from the hook, 3 SC in the next 3 CH,
- 4 SC in last stitch of the chain.
- Turn and continue crocheting around the other side of the chain,
- 2 SC, 3 SC in to the first stitch of this round (12)
- R2: 4 SC, 2 INC, 4 SC, 2 INC (16)
- R3: (SC, INC) x8 (24)
- R4: BLO 24 SC all around (24)
- R5-8: 24 SC all around (24) [4 rounds]
- R9: 5 SC, BOB5, 2 SC, BOB5, 15 SC (24)
Note on R9: The BOB5 should be placed in the middle of the front of the body. Feel free to adjust the position based on your yarn and tension. TIP: Keep a loose tension while doing Bubble stitches for better result.
- R10: (2 SC, DEC) x6 (18)
Start stuffing
- R11: 18 SC all around (18)
- R12: (SC, DEC) x6 (12)
Finish stuffing, don’t overstuff, keep the base of the body flat
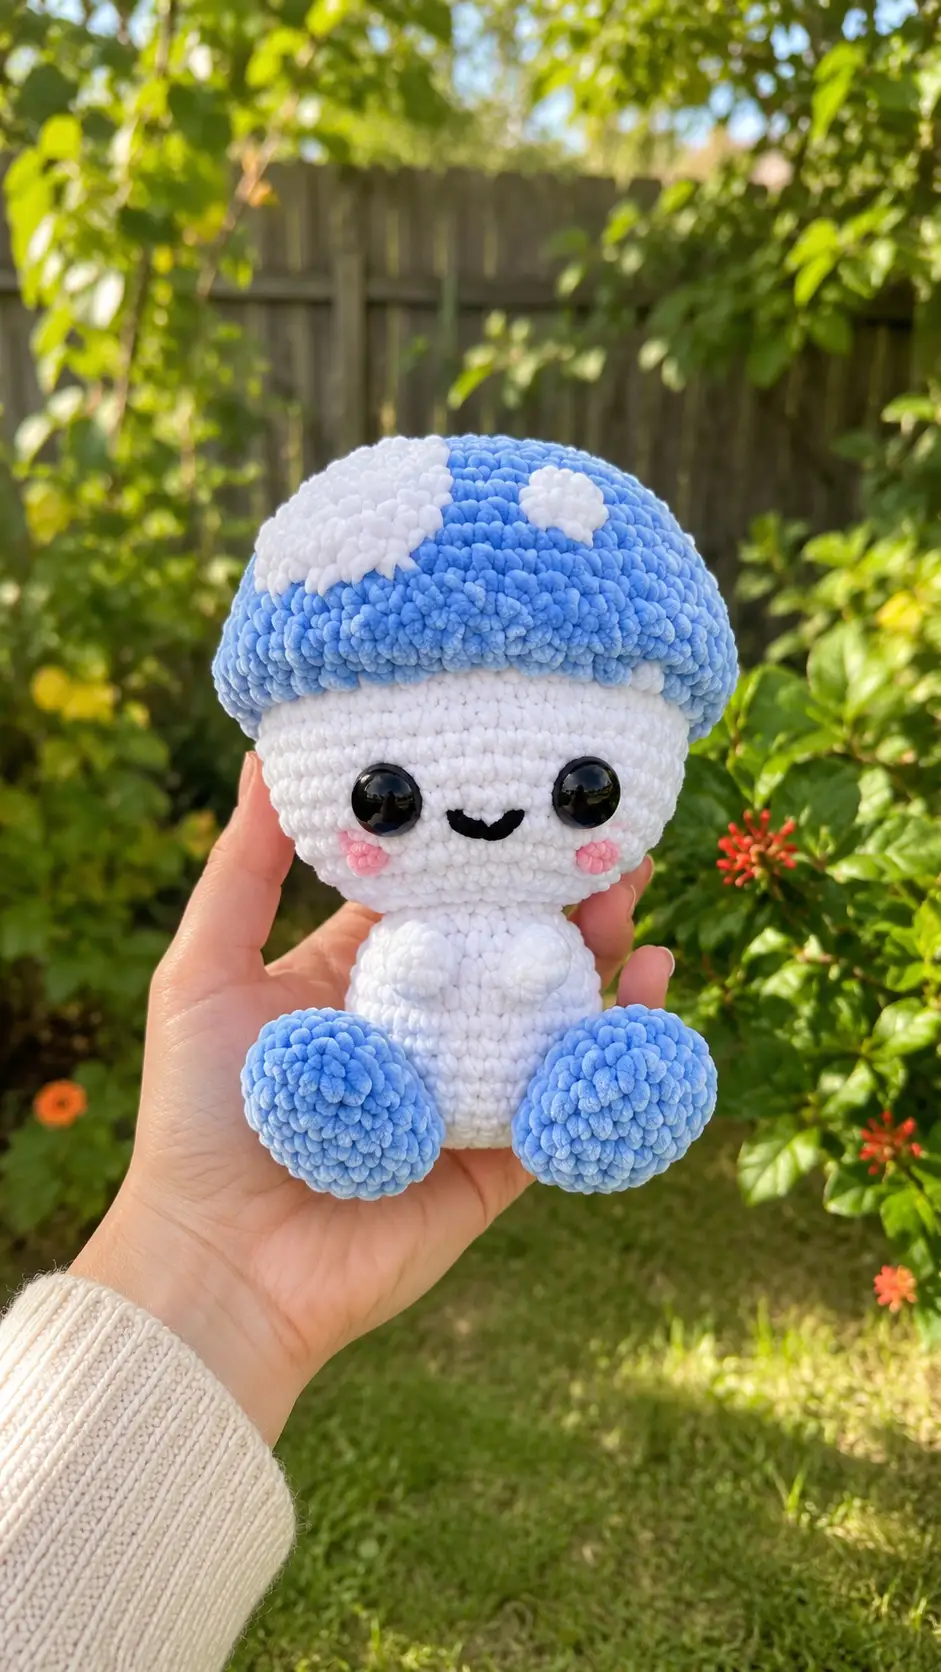
Head section
Continues to Head section
- R13: INC x12 (24)
- R14: (SC, INC) x12 (36)
- R15: (2 SC, INC) x12 (48)
- R16-20: 48 SC all around (48) [5 rounds]
Insert safety eyes between rounds 17-18, 6 visible stitches apart, if you are using them. You can use my free resin eye tutorial on ko-fi!
- R21: (2 SC, DEC) x12 (36)
- R22: CH2, FLO 36 TRC (36)
Make a loose SLst in the CH2 we did at the beginning R22 will be bent and sewed to the head
CC to blue
Cap section
Continues to Cap section
- R23: FLO (2 SC, INC) x12 (48)
- R24-26: BLO 48 HDC all around (48) [3 rounds]
- R27-28: 48 SC all around (48) [2 rounds]
- R29: (4 SC, DEC) x8 (40)
- R30: 40 SC all around (40)
- R31: (3 SC, DEC) x8 (32)
- R32: 32 SC all around (32)
Start stuffing the head and the cap. Use pins to keep the cap in the right position while stuffing if you can (secure the round 26-27 of the cap to the 21-22 of the head), otherwise just pay attention not to overstuff and check you are still able to position the cap. If you are still having issues start sew the cap before stuffing.
- R33: (2 SC, DEC) x8 (24)
Finish stuffing, don’t overstuff
- R34: (SC, DEC) x8 (16)
- R35: DEC x8 (8)
FO Leave a long tail for sewing the hole closed and the cap to the head, instructions below.
Sew the cap to the head
With the long tail sew the cap to the head to keep it in the right position.
- Insert the needle in the center of the cap.
- Pull it out on the back of the head from rounds 21-22.
- Start sewing by inserting the needle in round 26-27 of the cap skipping vertically the treble crochets.
- Repeat.
Feet x2
Use blue
- R1: 6 SC in MR (6)
- R2: (INC) x6 (12)
- R3-4: 12 SC all around (12) [2 rounds]
- R5: (SC, INC) x6 (18)
- R6: 18 SC all around (18)
- R7: (4 SC, DEC) x3 (15)
- R8: (3 SC, DEC) x3 (12)
- R9: (2 SC, DEC) x3 (9)
- R10: (SC, DEC) x3 (6)
Lightly stuff or don’t stuff
FO, close the hole and leave a long tail for sewing. Weave the end to rounds 8-9. Sew the feet to rounds 8-9 of the body, tilted, just beside the BOB5.
Dots
Small dots x2
Use white/beige
- R1: 8 SC in MR (8)
SLst, FO, leave a long tail for sewing
Medium dot x1
Use white/beige
- R1: 8 SC in MR (8)
- R2: (INC) x8 (16)
SLst, FO, leave a long tail for sewing
Big dots x2
Use white/beige
- R1: 8 SC in MR (8)
- R2: (INC) x8 (16)
- R3: (SC, INC) x8 (24)
SLst, FO, leave a long tail for sewing
Sew the dots randomly on the cap.
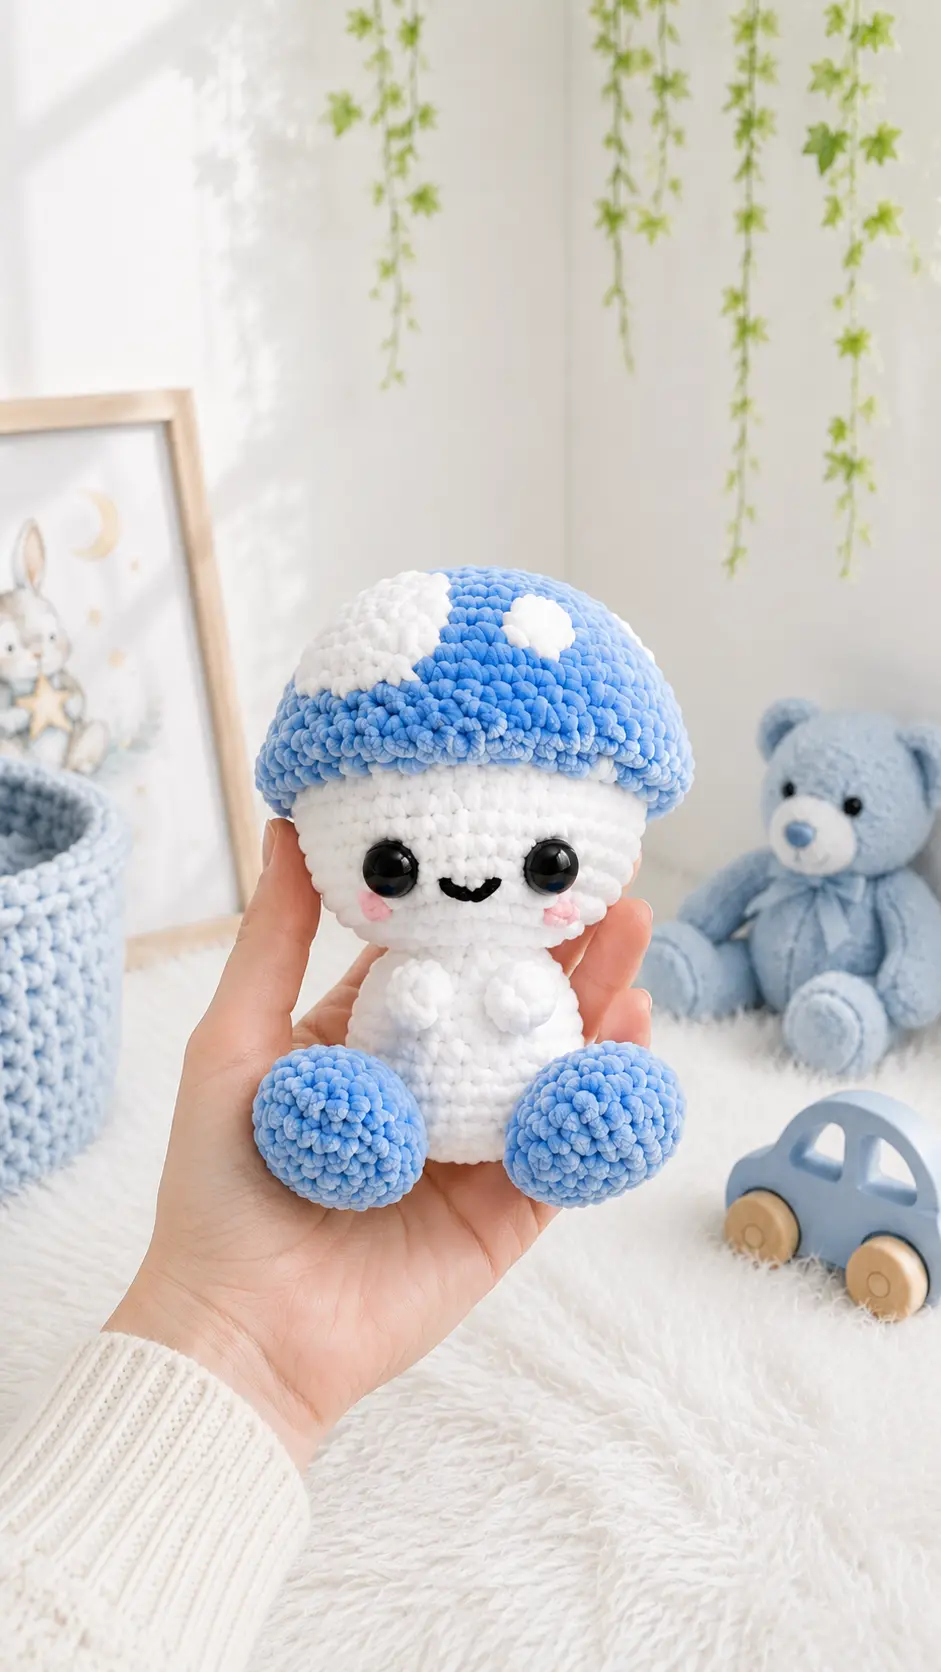
Personalize your Cutie toadstool!
Felt details
Some ideas for a beautiful result <3 Add some felt details like mouth and cheeks.
Charms
You can add some charms to your Cutie toadstool for a more detailed result.
Bow
Knot a ribbon around the neck or crochet a long chain and make a bow.
Tips for Success
- Keep an Eye on Tension: Working with plush yarns can sometimes hide your stitches. Feel free to use your fingers to feel for the loops if they are hard to see.
- Loose Stitching on Bubbles: Remember to follow the designer’s note to keep a loose hand when crocheting your bubble stitches. This lets them pop out beautifully at the front of the little body.
- Pin Before Sewing: Use dressmaker pins to hold the cap and the little feet in place before making your permanent stitches. It makes a world of difference to ensure your plushie sits perfectly flat.
Frequently Asked Questions
What kind of yarn is best for this pattern?
You can use any yarn you like, but a super bulky chenille or velvet yarn works wonderfully to make a soft, huggable plushie. Just make sure to match your hook size to the yarn weight you choose.
Do I have to use safety eyes?
Not at all! If you are making this toy for a very young child, embroidered eyes or felt details are a much safer alternative to plastic safety eyes.
How do I stop my amigurumi from showing fiberfill?
If you can see the stuffing through your stitches, try switching to a smaller crochet hook size or working on tightening your tension. This keeps the stitches nice and dense.
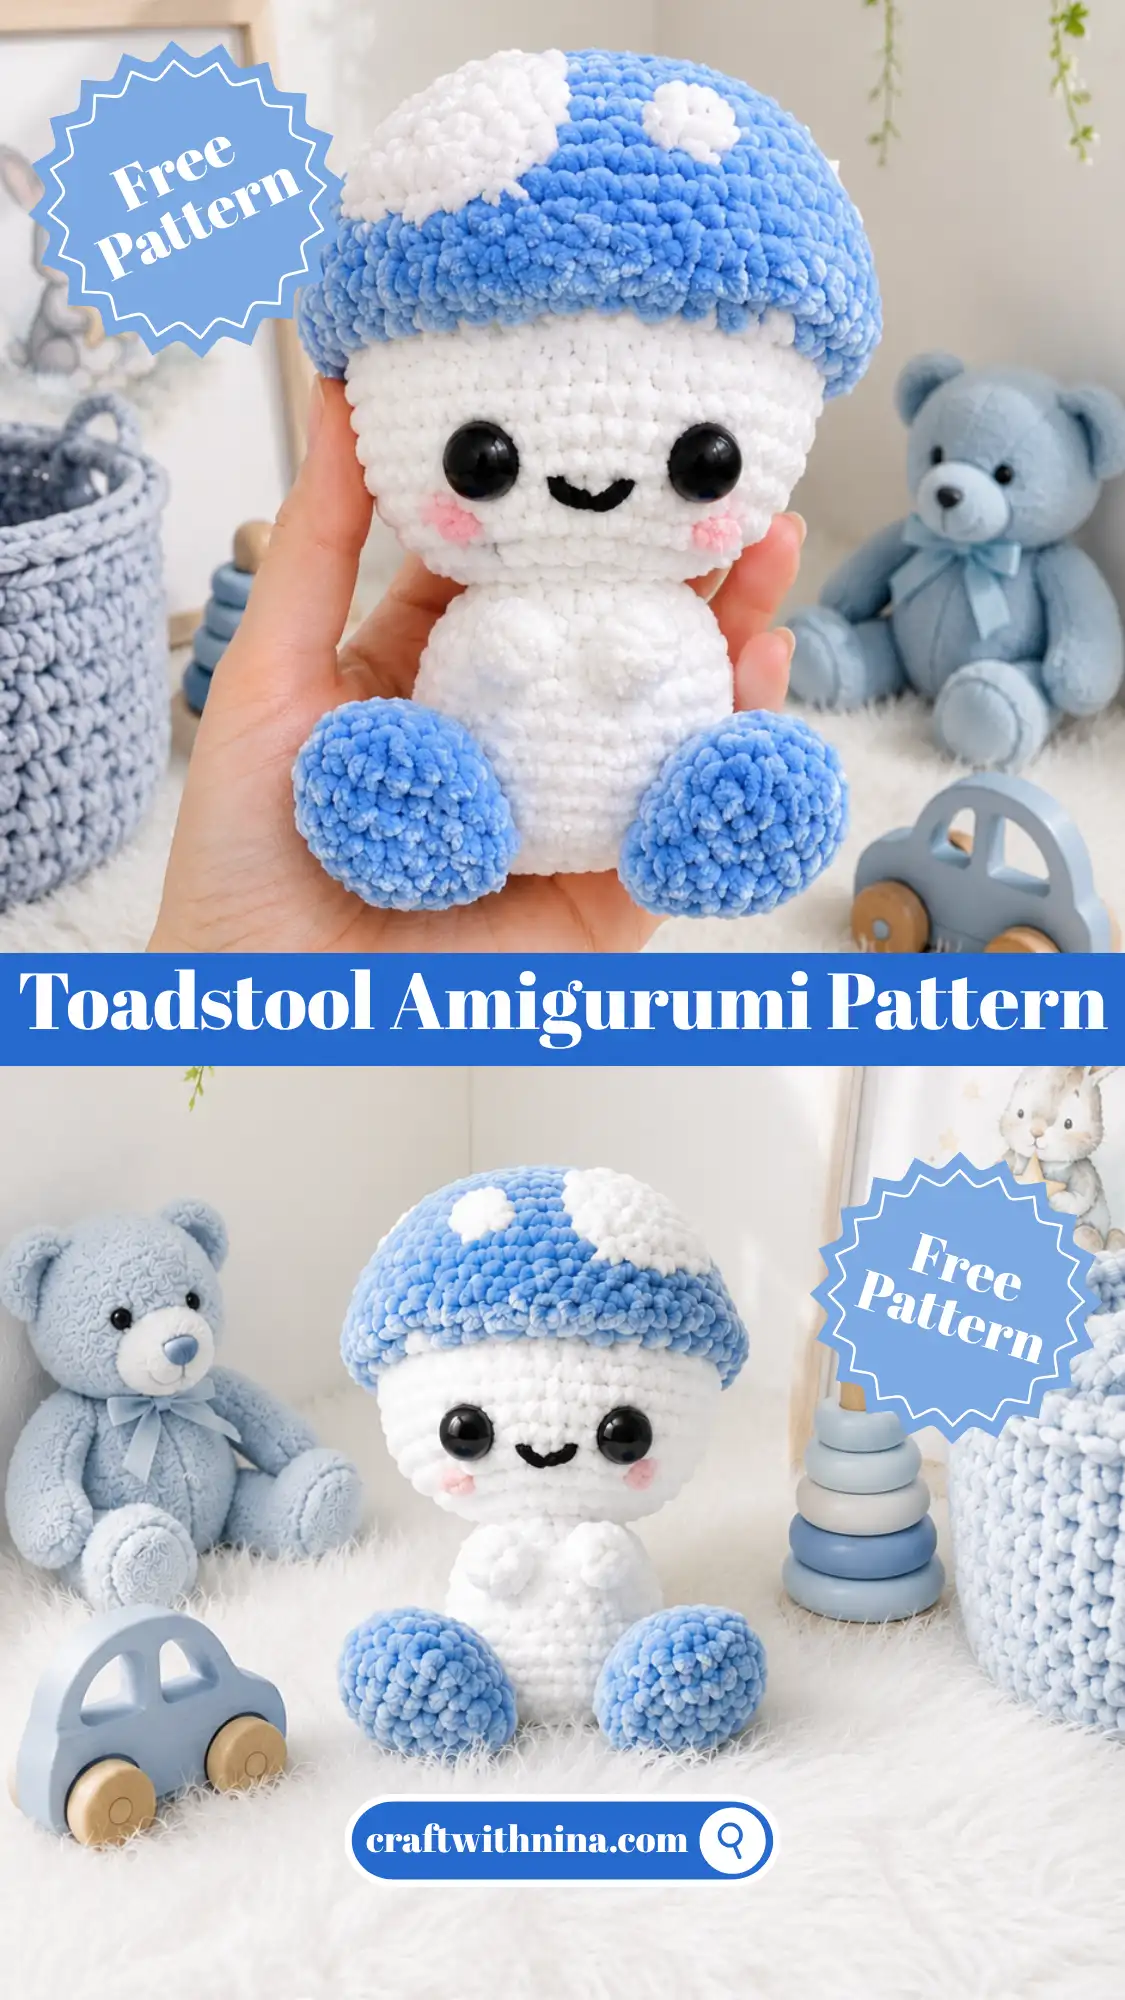
Conclusion
I hope you enjoyed working on this sweet little project as much as I did! It really is a delightful way to spend a quiet morning or afternoon. Once your project is complete, you will have a beautiful homemade creation to share with someone special or to brighten up a corner of your home. Happy stitching, and I can’t wait to share our next crochet adventure together!


Leave a Comment