Designing a toddler room is such a fun challenge because you’re trying to balance what’s cute and age-appropriate now with what’ll still work as they grow. Toddlers aren’t babies anymore, but they’re not quite big kids yet either. They’re starting to have opinions about what they like, they need space to play and explore, but they also still need that cozy, safe feeling for bedtime. I think the key is creating a room that’s playful and stimulating during the day but can also calm down at night when it’s time to sleep. It’s a lot to ask from one space, but it’s totally doable.
What I’ve learned is that toddler rooms need to be really functional above all else. This is the age where they’re making massive messes, pulling everything out, and constantly on the move. So you need storage that actually works and is easy for them to use, furniture that’s safe and sturdy, and surfaces that can handle the inevitable spills and crayon marks. But functional doesn’t have to mean boring. You can have a room that’s both practical and absolutely adorable. The trick is choosing pieces that’ll last beyond the toddler years – like a regular twin bed instead of a toddler bed, or storage solutions that work for toys now and books or clothes later.
The colors and themes are where you can really have fun. Some parents go with specific themes like animals, vehicles, or space, while others prefer a more general color scheme that can evolve. Personally, I like keeping the big investments like furniture and wall color fairly neutral, then bringing in the personality and color through easier-to-change elements like bedding, rugs, artwork, and accessories. That way when they suddenly decide they hate dinosaurs and love unicorns, you’re not repainting the entire room or buying all new furniture.
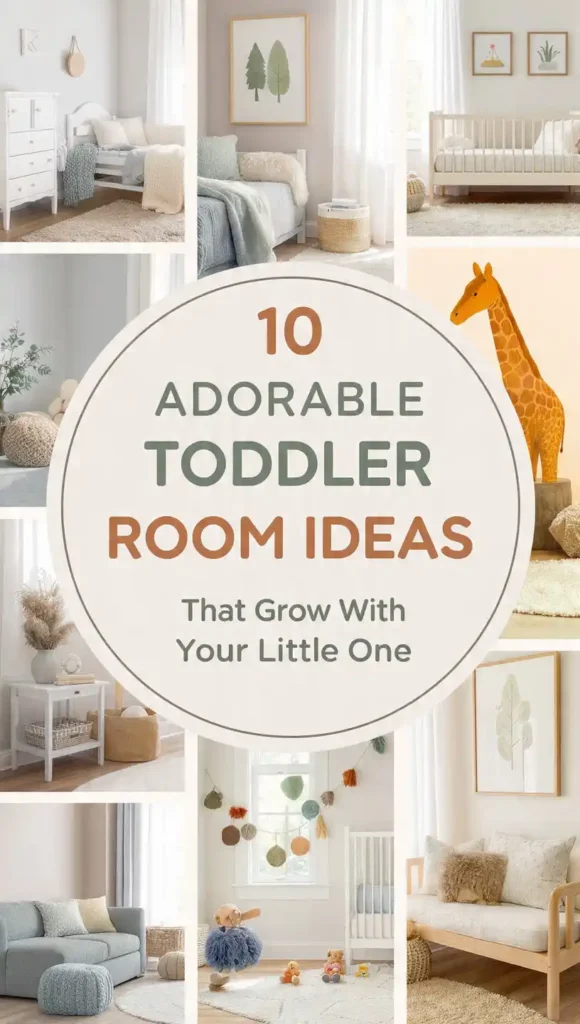
Whether you’re transitioning from a nursery or creating a toddler room from scratch, these ideas will help you design a space that’s safe, fun, functional, and grows with your child. Let’s look at ten beautiful toddler room ideas.
1. Low Montessori-Style Bed
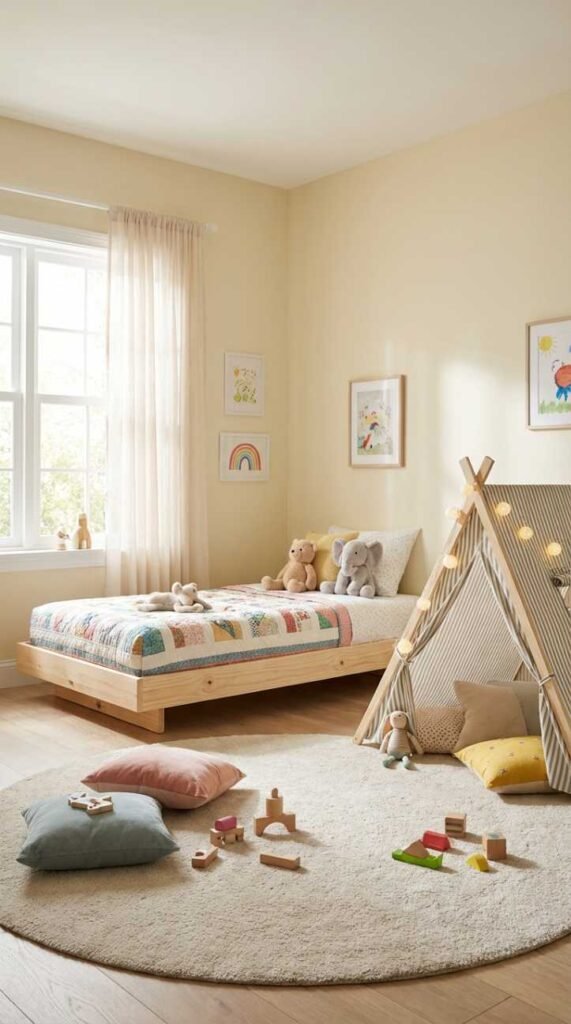
A floor bed or very low bed frame is perfect for toddlers because they can get in and out independently without the risk of falling from a high bed. This Montessori approach encourages independence and makes bedtime less stressful for everyone. You can use just a mattress on the floor with a pretty bed frame around it, or a low platform bed. Style it with cute bedding and some floor pillows nearby for reading time. Add a canopy or tent over the bed to make it feel cozy. The low bed gives them freedom while keeping them safe, and you’re not worrying about them tumbling out in the middle of the night.
2. Reading Nook with Book Display
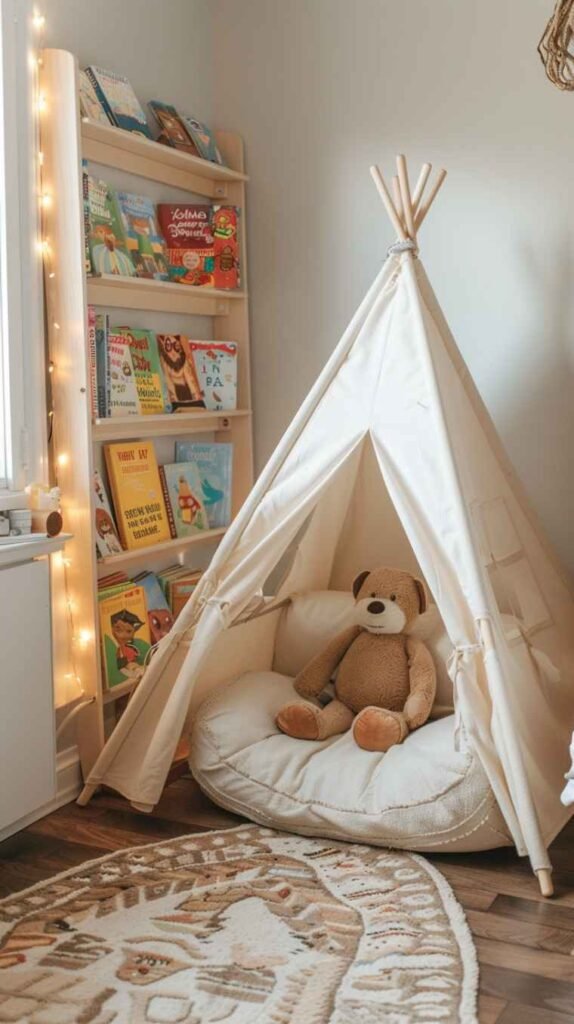
Create a cozy little reading corner with forward-facing book shelves where toddlers can actually see the book covers. Those plastic or wooden shelves that display books facing out make it so much easier for little ones to choose books themselves. Add a small chair or floor cushions, maybe a teepee or canopy, and some soft lighting. This dedicated reading spot encourages a love of books and gives them a quiet space to look at pictures or have story time. Make it inviting with soft textures and their favorite books within easy reach. It becomes their special spot that they actually want to spend time in.
3. Activity Wall with Chalkboard or Art Station
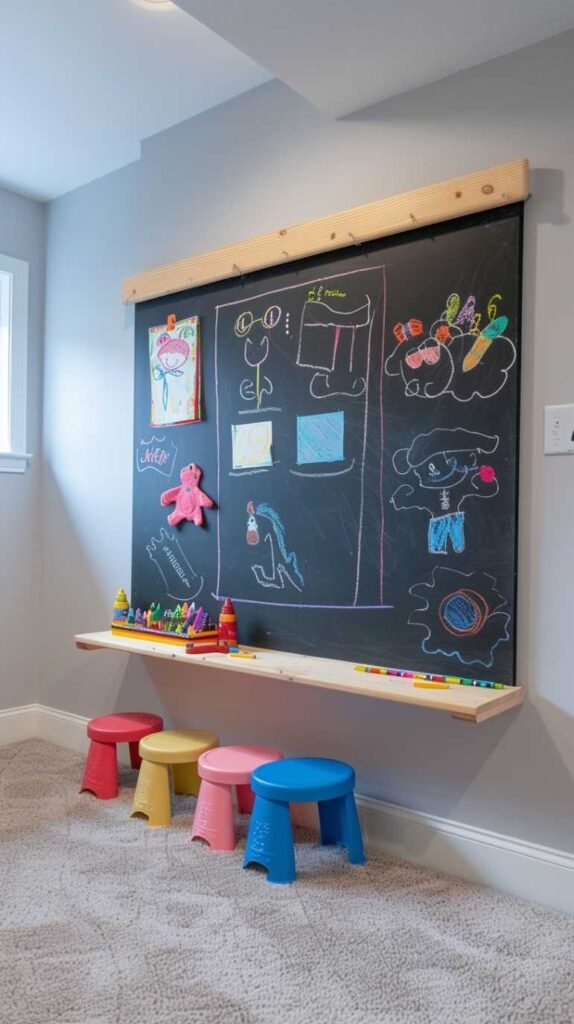
Dedicate one wall or section to creative activities with a large chalkboard, magnetic board, or even just a low table with art supplies. Toddlers love to draw and create, so giving them a designated spot for it contains the mess and encourages creativity. Mount a chalkboard at their height with a small ledge below for chalk, or set up a little table with washable markers and paper. You could also add a large roll of paper mounted on the wall that they can pull down and draw on. Having this creative station in their room means they can explore art whenever inspiration hits without you worrying about them drawing on walls elsewhere.
4. Cube Storage for Toy Organization
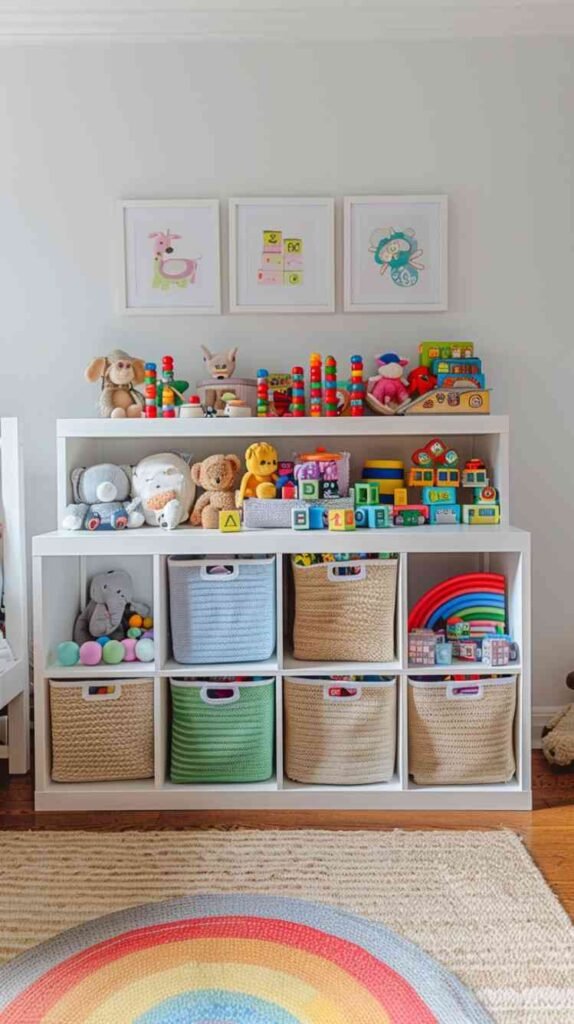
Cube storage systems are absolutely perfect for toddler rooms because they make cleanup visual and manageable. Get a cube shelf unit and fill it with fabric bins or baskets – you can even label them with pictures showing what goes inside. Blocks in one bin, cars in another, stuffed animals in another. The defined spaces make it easier for toddlers to put things away in the right spot, and everything has a home. Choose colorful bins or stick with neutral ones depending on your style. The cube system can grow with them too – later those same cubes can hold books, art supplies, or whatever they need as they get older.
5. Animal Theme with Soft Colors
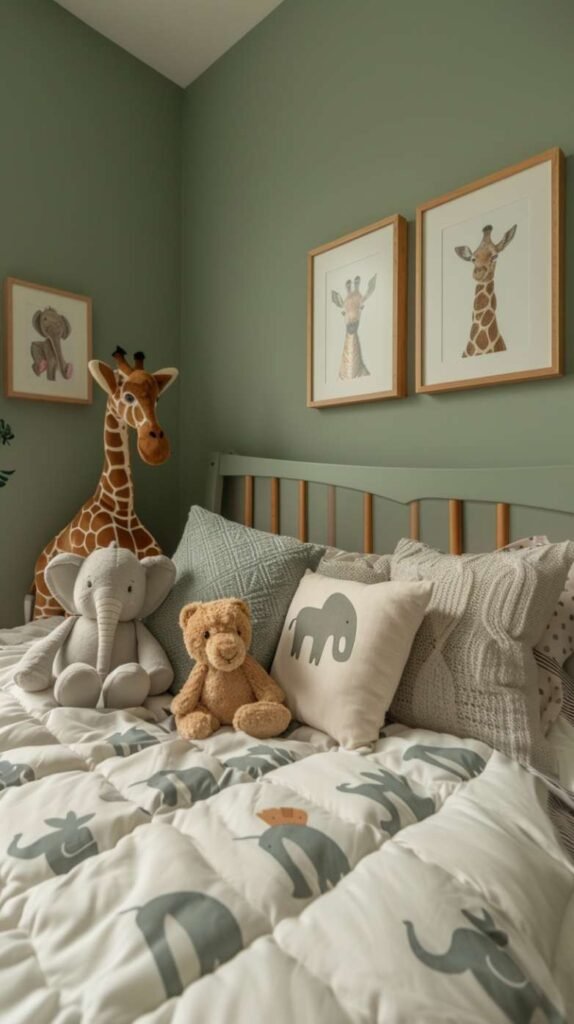
Animals are always a hit with toddlers, and you can do an animal theme that’s sweet without being babyish. Use soft, muted colors like sage green, warm gray, and cream as your base, then bring in animal elements through artwork, stuffed animals, bedding, or decals. Safari animals, woodland creatures, or farm animals all work beautifully. A large animal rug, animal prints on the wall, and some cute animal-shaped pillows create the theme without overwhelming the room. Keep it sophisticated with the softer color palette so it doesn’t feel too juvenile and can grow with them for several years.
6. Climbing Triangle or Indoor Play Equipment
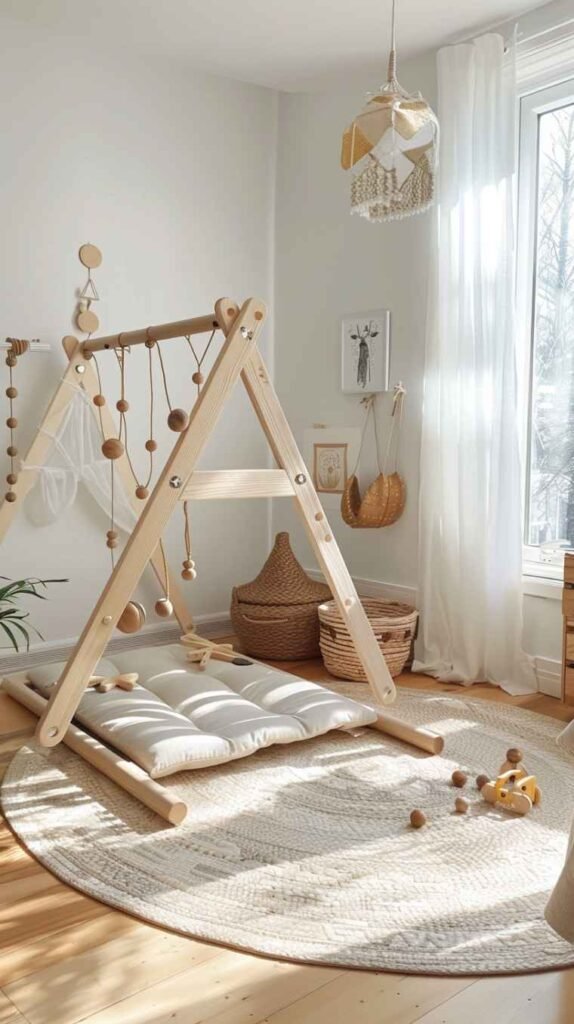
Toddlers have so much energy, and having some active play equipment in their room is actually really smart. A climbing triangle, small slide, or balance board gives them a physical outlet that’s safe and contained. These Montessori-inspired play items help develop gross motor skills and let them burn energy even when you can’t get outside. Choose wooden equipment that’s sturdy and fits your aesthetic – lots of them are actually quite beautiful and don’t look like plastic eyesores. Position it on a soft rug for safety, and you’ve got an indoor play area that keeps them active and engaged.
7. Growth Chart Wall Decal
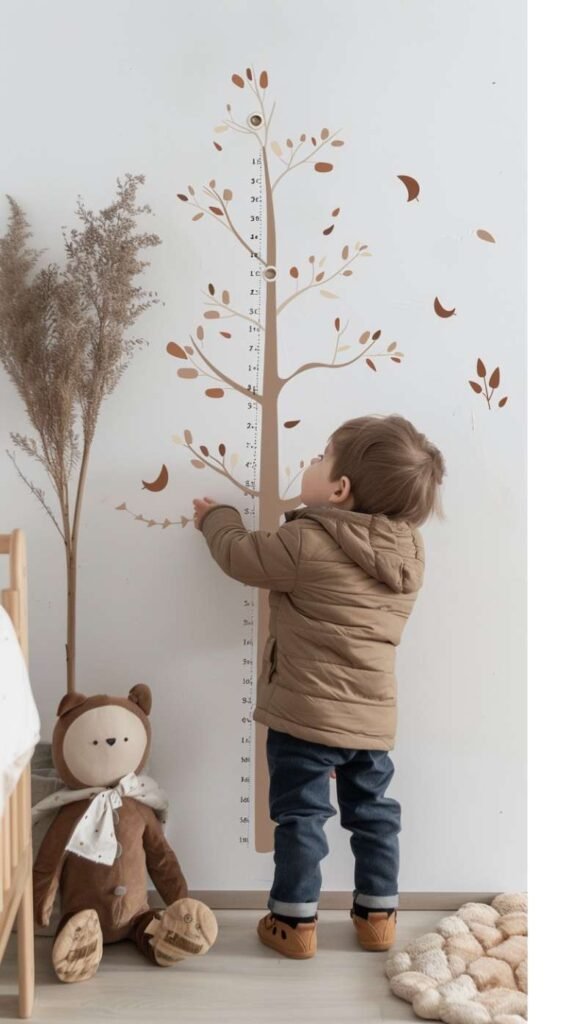
Add a fun and functional element with a growth chart decal on the wall. You can find really cute ones shaped like trees, rulers, animals, or mountains. It becomes both decoration and a way to track how much they’re growing, which toddlers think is so exciting. Mark their height every few months or on birthdays, and they love seeing how much they’ve grown. Choose one that matches your room’s theme and color scheme. It’s one of those sweet touches that serves a purpose and creates memories you’ll look back on fondly when they’re older and you see all those little pencil marks documenting their growth.
8. Themed Rug as Play Space
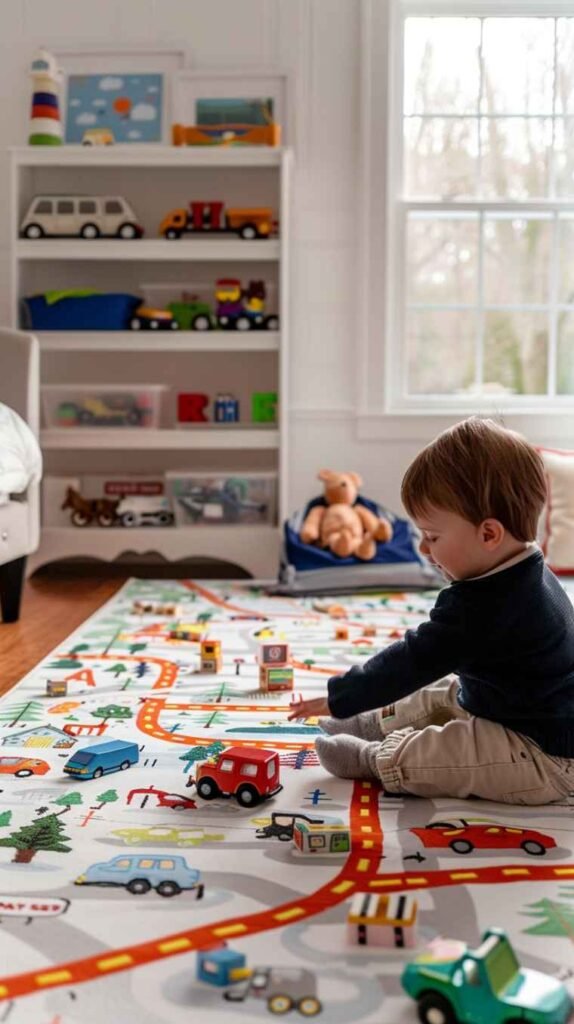
A large area rug isn’t just for decoration – it defines the play space and makes floor time more comfortable. Choose a rug with a fun design that encourages imaginative play, like a road map for toy cars, a farm scene, or just colorful patterns that create zones. The rug should be durable and easy to clean because it’s going to see a lot of action. Toddlers naturally gravitate to sitting on the floor to play, so having a soft, defined space for that is really important. The right rug ties the room together while being totally functional for their playing, building, and creating.
9. Name Letters or Personalization
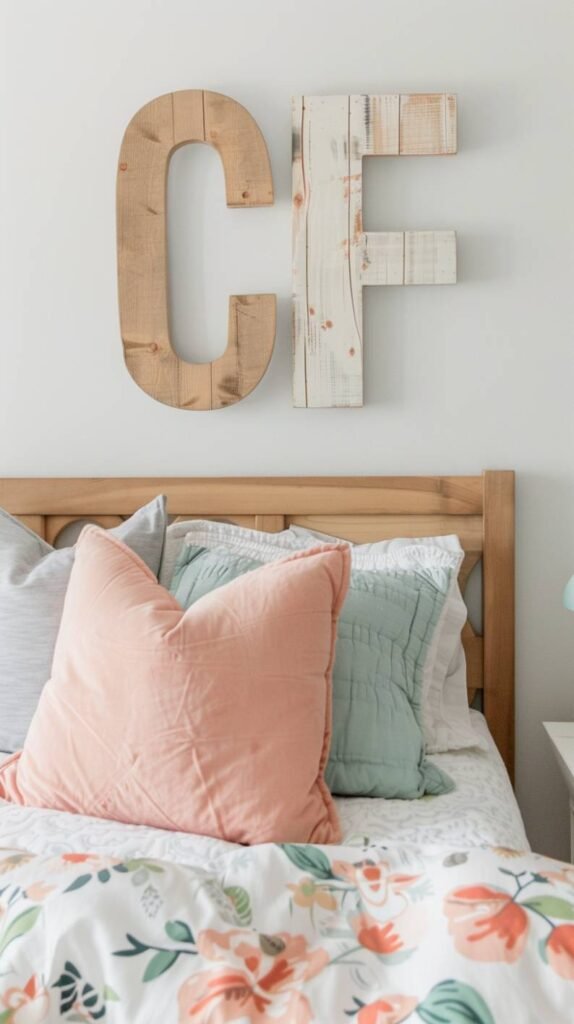
Make the room feel special and theirs by adding their name in large letters on the wall or shelf. You can buy wooden letters, fabric letters, or even spell it out with individual framed letters. It helps toddlers start recognizing their name and makes the space feel personalized just for them. Choose letters that match your color scheme and style – painted wood, fabric-wrapped, metal, whatever fits your aesthetic. Put them above the bed, on a shelf, or on the wall where they can see them. It’s such a simple touch that makes their room feel like it truly belongs to them.
10. Cozy Corner with Floor Cushions and Tent
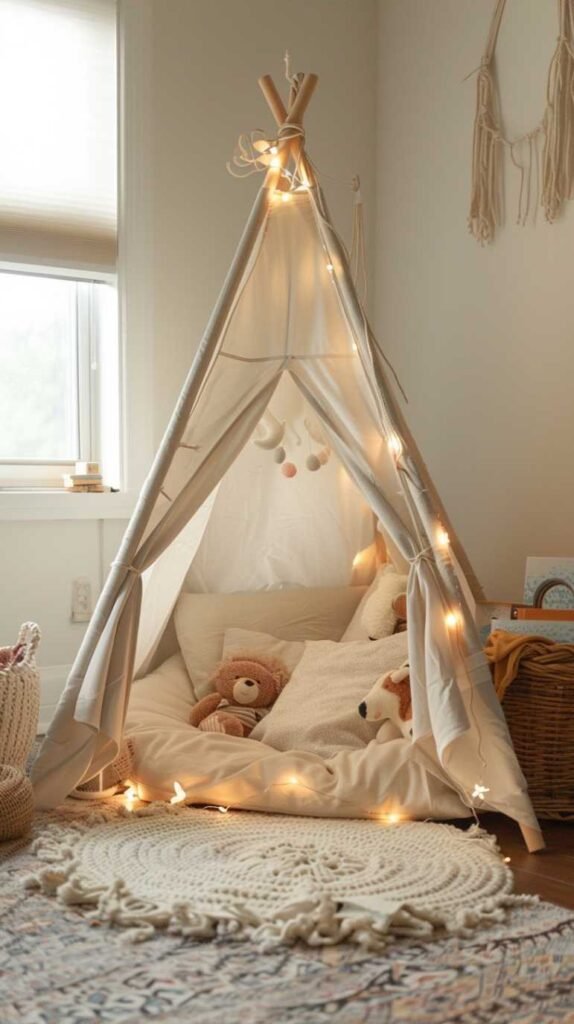
Create a cozy retreat corner with a play tent or teepee and lots of soft floor cushions and pillows. Toddlers love having their own little hideaway where they can play pretend, read, or just chill out when they need some quiet time. Add some string lights inside the tent, soft blankets, and a few stuffed animals. This becomes their special space within their room – a place that feels safe and magical. Choose a tent in neutral colors or one that matches your theme. It’s perfect for independent play and gives them ownership over their space in a way that really matters to toddlers who are asserting their independence.