

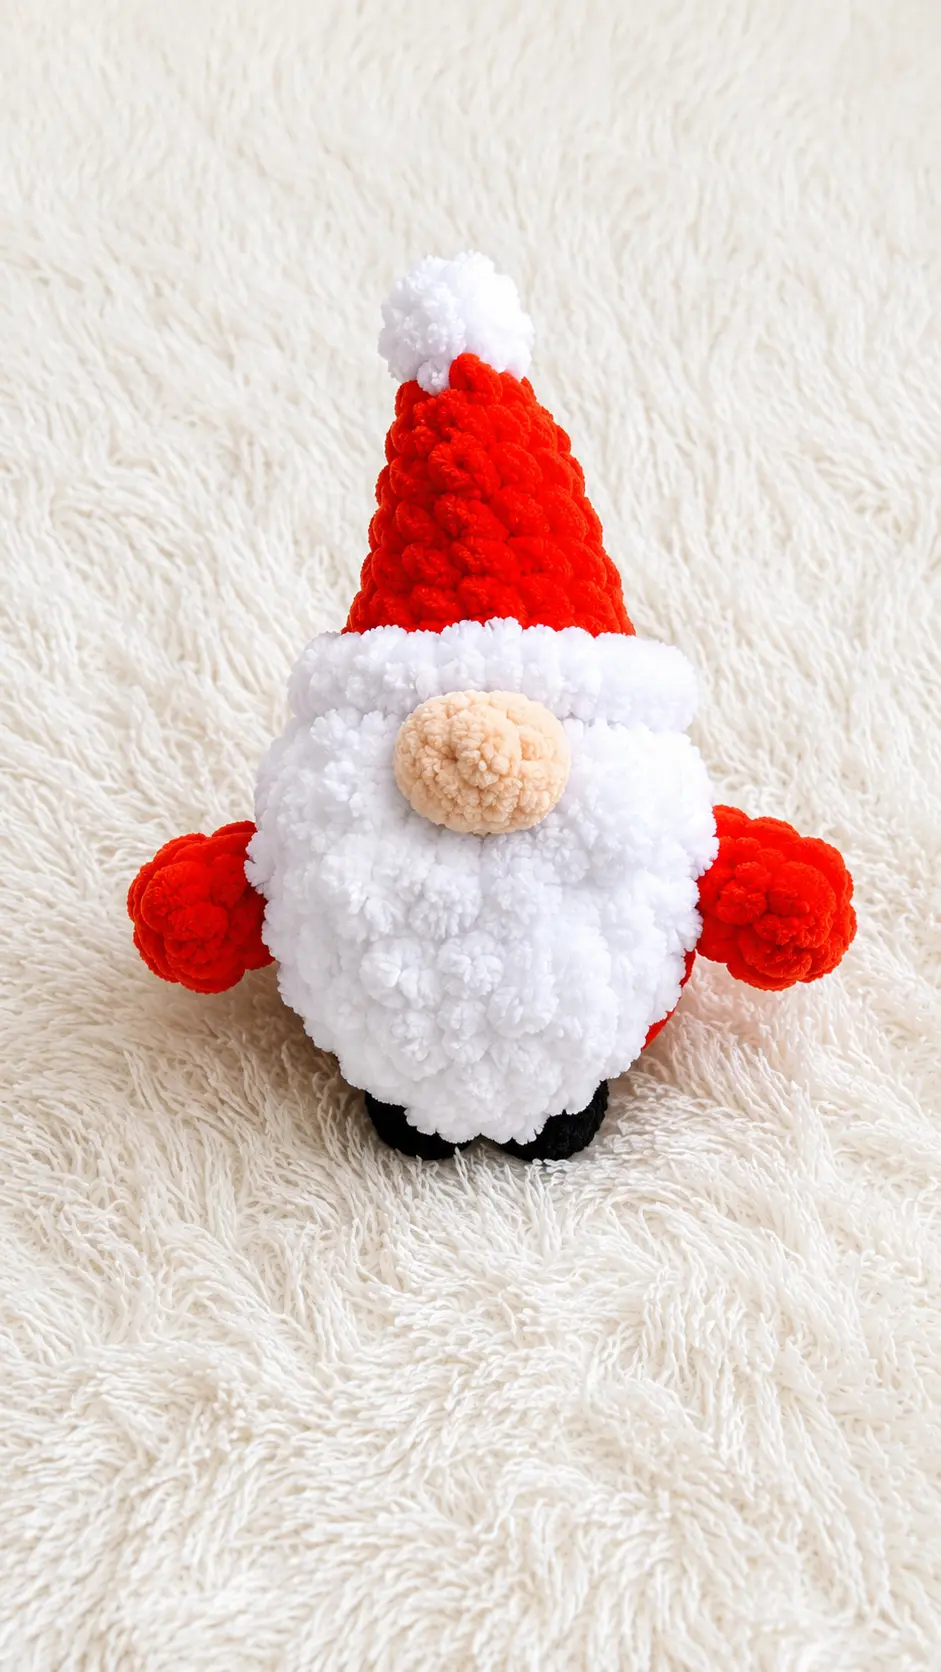
A few weekends ago, I stopped by a small holiday market at our community center. One table was filled with handmade decorations, and tucked between the wreaths and candles were the cutest little gnomes. They all had oversized hats, round noses, and fluffy beards, and every person who walked by seemed to stop and smile at them. I didn’t buy one, but I kept thinking how fun it would be to crochet my own version.
Later that evening, after I got home and everything around the house was quiet, I wandered into my craft room to see what I had left in my yarn basket. There were a few small balls of bright red, white, and beige plush yarn that were just the right colors. I put on an old movie, settled into my favorite spot on the couch, and started crocheting. Before the movie was over, a tiny gnome with a floppy hat and a fluffy beard was sitting beside me, and I couldn’t help smiling every time I looked at him.
Today, I’m excited to share this Free Amigurumi Pattern Little Plush Gnome with you. It’s a quick, relaxing project that’s perfect for using leftover yarn and creating a charming little decoration. Whether you’re making it for your own home, adding it to a seasonal display, or giving it as a thoughtful handmade gift, this adorable gnome is sure to become a favorite. Grab your favorite hook, gather your yarn, and let’s crochet this sweet little gnome together.
Materials Needed
- plush yarn 100g/120m
- hook 3.75 mm
- stuffing, needle for closing stitches of the last round, marker
Abbreviations
- sc – single crochet
- inc – increase
- dec – decrease
- ch – chain stitch
- sl st – slip stitch
- tch – turning chain
- hdc – half double crochet
Nose and Feet: we work 4 dc into one stitch with one top.
Arms: 3 dc into one stitch with one top (popcorn).
Pattern Notes
The gnome is one-piece, only the beard is sewn on. We start crocheting from top to bottom.
Pattern Instructions
We start crocheting with main color
- 1) 4 sc in magic ring (4)
- 2) (sc, inc)x2 (6)
- 3) (sc, inc)x3 (9)
- 4) 9 sc
- 5) (2 sc, inc)x3 (12)
- 6) work back loop only: 5 sc, (change thread to nose color) popcorn (nose), (main color) 6 sc
- 7) (3 sc, inc)x3 (15)
- 8) 4 sc, 4 ch, in 2nd from hook popcorn (arm), sl st in same stitch, 2 sc further along chain, sl st in base stitch, further along body 6 sc, arm, 5 sc (15)
- 9) (4 sc, inc)x3 (18)
- 10) 18 sc (18)
- 11) back loop only: (dec)x9 stuff with fiberfill
- 12) (dec)x2, (change color to feet color), popcorn, popcorn, (change color to main), dec, sc (6)
Cut thread, add fiberfill, close opening, hide thread.
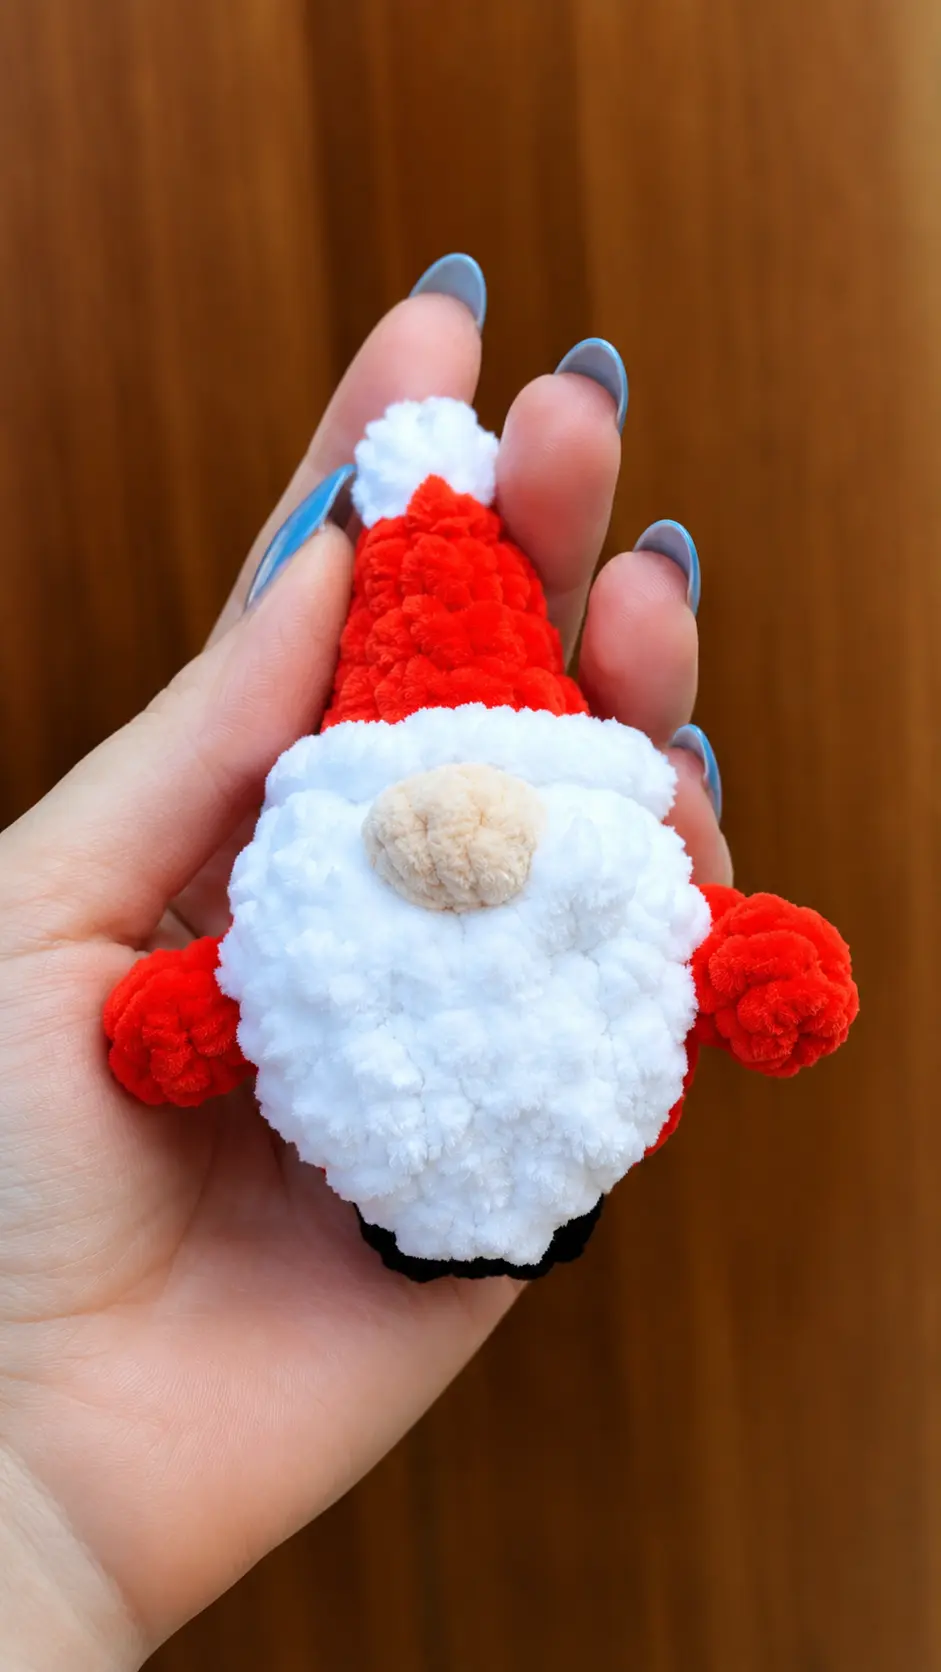
Return to round 6, attach white thread (brim) and work into left front loops 12 sc.
Beard:
Crochet in turning rows
Cast on 2 ch, in 2nd stitch from hook make:
- 1) inc, tch, turn
- 2) (inc)x2, tch, turn
- 3) 4 sc, tch, turn
- 4) inc, 2 sc, inc, tch, turn
- 5) 2 hdc, turn, make edging in the round with sc, into stitch of row 1 make an increase of 3 sc, continue to corner of row 5. In 2 stitches of row 5 make 2 hdc, turn, 2 sc edging along hdc stitches. Cut thread leaving a long end for sewing to body.
Place beard onto body, notch tight under nose, sew on top with several stitches.
On top of cap make several stitches with white color, mimicking a pompom or crocheting can start row 1 with white color.
Tips for Success
- Keep yarn tension consistent: Plush chenille yarn can stretch differently than standard cotton, so keep your tension light but firm enough to hide the stuffing.
- Use a stitch marker: Since plush yarn can make individual rounds tricky to see, mark your first stitch every time you begin a new round.
- Stuff in small increments: Fill the body in small bits as you approach the bottom so the shape remains smooth without bulging at the seams.
- Popcorn stitch placement: Take your time when working the bobble stitches for the nose and feet so they pop outward clearly on the right side of your work.
- Tack down the beard neatly: Position the curved notch of the beard directly beneath the nose before sewing so it fits snugly against the body.
Frequently Asked Questions
- What kind of yarn is recommended for this gnome?A chunky or super bulky plush chenille yarn (around 100g/120m) works best to get that soft, squishy look.
- Is this gnome pattern worked in one piece?Yes, the body, hat, nose, arms, brim, and feet are worked continuously from the top down, with only the beard needing to be sewn on at the end.
- Can I use safety eyes instead of leaving it eye-less?Traditional gnomes usually have their hats pulled down right over their noses, but you can certainly tuck small safety eyes above the nose if you prefer.
- How do I make the white pompom on top of the hat?You can either start round 1 of the pattern in white yarn or simply embroider a few white stitches over the tip after finishing.
- Is this project beginner friendly?Yes, as long as you are comfortable with basic stitches, color changes, and working simple cluster or popcorn stitches, it comes together very quickly.
Conclusion
Quick projects like this are such a pleasure to make when you want a fast, cute result without a lot of complicated finishing work. You can easily make a couple of these in an evening using leftover plush yarn in different colors. I hope you have fun making your own cozy little character using this Free Amigurumi Pattern Little Plush Gnome. Happy crocheting!


Leave a Comment