

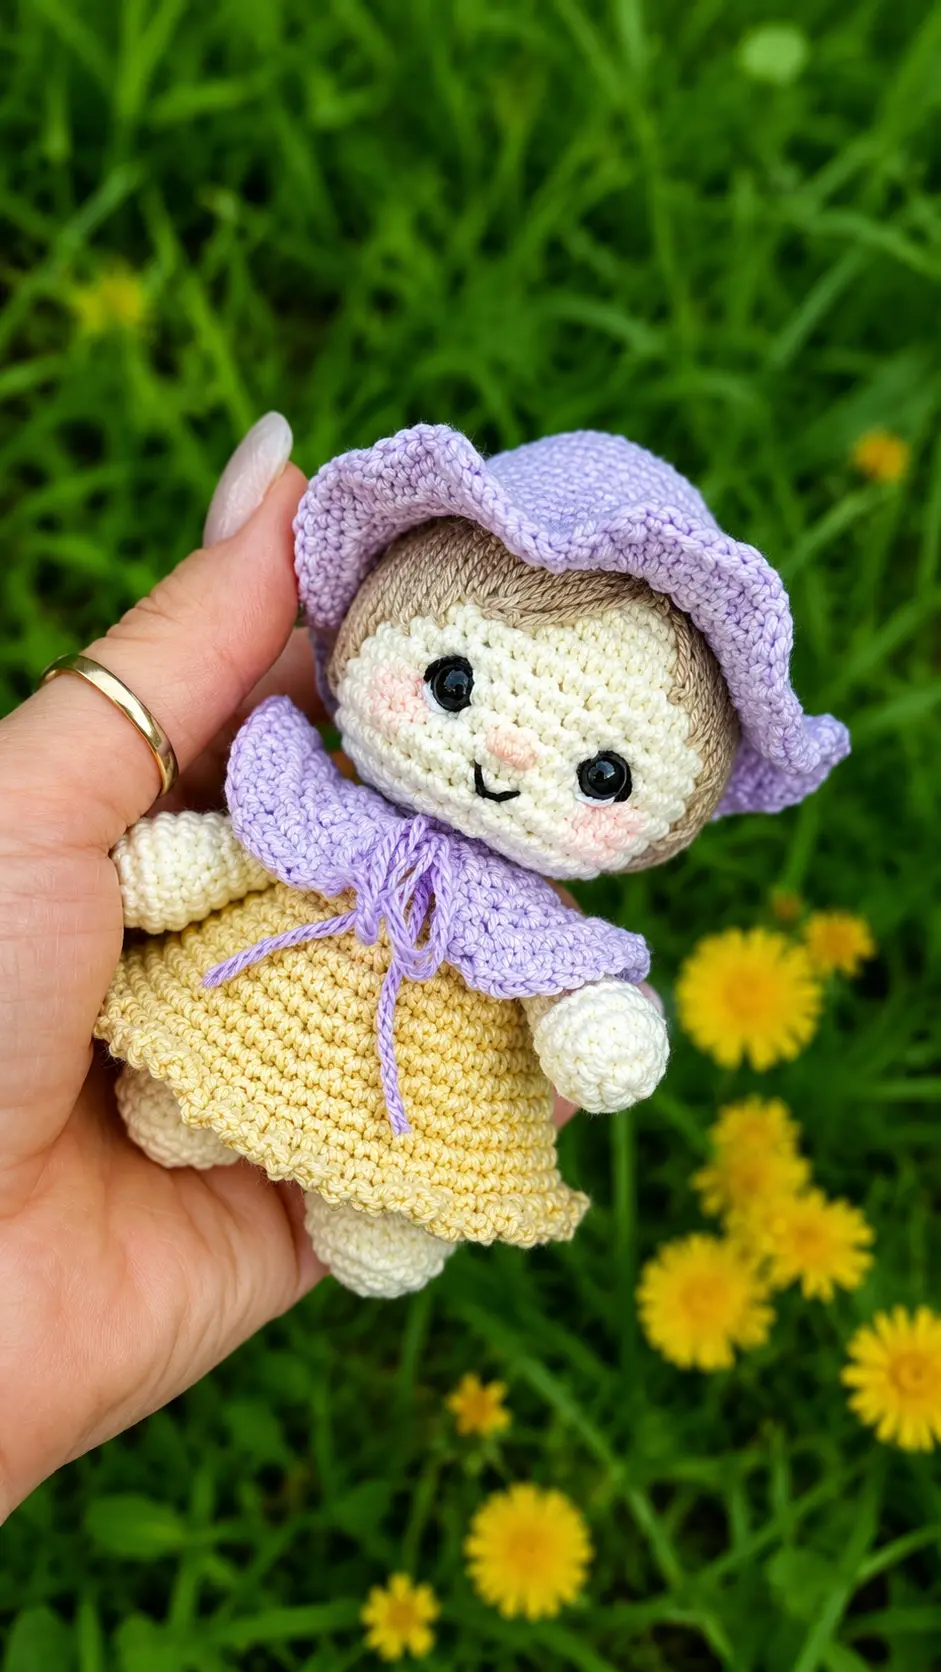
Last weekend, I stopped by a small farmers market with one of my neighbors. After picking up fresh vegetables and homemade jam, we wandered into a booth selling handmade decorations. There were little wooden gnomes everywhere—on shelves, tucked into flower pots, and even hanging from tiny wreaths. My neighbor laughed and said, “I could see you crocheting something like that.” She wasn’t wrong.
When I got home, I unpacked my groceries and kept thinking about those cheerful little gnomes. Before putting everything away, I walked into my craft room to see what yarn I had on hand. A few half-used skeins of soft pastel cotton were waiting in my basket, and they felt perfect for a small doll. I made myself a cup of coffee, sat down at the kitchen table, and spent the afternoon crocheting. By the time I finished, the sweetest little gnome girl was smiling back at me, and she found the perfect spot on my kitchen shelf.
Today, I’m excited to share this Free Amigurumi Pattern Little Gnome Girl Doll with you. It’s a relaxing project that’s full of charming details and a wonderful way to use leftover yarn. Whether you’re making her to decorate your home, brighten a seasonal display, or give as a thoughtful handmade gift, she’s sure to bring a smile. Grab your favorite hook, gather your yarn, and let’s crochet this adorable little gnome together.
Materials Needed
- YarnArt Jeans (body color) – 03
- YarnArt Jeans (dress color) – 88
- YarnArt Jeans (cap and collar color) – 89
- Gazzal Jeans (sepal color) – 1128
- Alize Extra (hairstyle color) – 95
- 2 mm crochet hook
- 4 mm safety eyes
- Fiberfill stuffing
- Large tapestry needle for sewing parts
- Stitch marker
- Scissors
Finished Size
When made with the suggested yarn weight and hook size, this little gnome doll stands approximately 4 to 5 inches tall.
Abbreviations
- MR – magic ring
- ch – chain
- sl st – slip stitch
- sc – single crochet
- inc – increase (2 single crochet in one stitch)
- dec – decrease (single crochet 2 stitches together)
- hdc – half double crochet
- dc – double crochet
- BLO – back loop only
Pattern Instructions
Legs (make 2)
- 6 sc in MR
- 6 inc (12)
- (3 sc, inc) x 3 (15) 4-7. 15 sc (4 rounds)
Fasten off and cut the yarn on the first leg. Crochet the second leg in the same way, do not cut the yarn.
Body
Continue crocheting. On the second leg ch 1, join to the first leg.
- 15 sc along the first leg, 1 sc in ch, 15 sc along the second leg, 1 sc in ch (32) 9-13. 32 sc (5 rounds)
- (6 sc, dec) x 4 (28)
- 28 sc
- (5 sc, dec) x 4 (24)
- 24 sc
- (2 sc, dec) x 6 (18)
Change color to yellow
- Crochet in BLO 18 sc
- (1 sc, dec) x 6 (12)
Fasten off and cut the yarn.
Dress
Attach yellow yarn to the front loops of round 19.
- 18 sc
- (2 sc, inc) x 6 (24)
- 24 sc
- (3 sc, inc) x 6 (30)
- 30 sc
- (4 sc, inc) x 6 (36)
- 36 sc
- (5 sc, inc) x 6 (42)
- 42 sc
- (6 sc, inc) x 6 (48) 11-13. 48 sc (3 rounds)
- (1 sc, ch 2, 1 sc, ch 2)* to the end of the round.
Fasten off and cut the yarn.
Arms (make 2)
- 6 sc in MR
- 6 inc (12) 3-5. 12 sc (3 rounds)
- (2 sc, dec) x 3 (9) 7-11. 9 sc (5 rounds)
- (1 sc, dec) x 3 (6)
Cinch the opening closed. Fasten off and cut the yarn.
Head
- 6 sc in MR
- 6 inc (12)
- (1 sc, inc) x 6 (18)
- (2 sc, inc) x 6 (24)
- (3 sc, inc) x 6 (30)
- (4 sc, inc) x 6 (36)
- (5 sc, inc) x 6 (42) 8-17. 42 sc (10 rounds)
Insert safety eyes between rounds 14 and 15 at a distance of 6 sc.
- (5 sc, dec) x 6 (36)
- (4 sc, dec) x 6 (30)
- (3 sc, dec) x 6 (24)
- (2 sc, dec) x 6 (18)
- (1 sc, dec) x 6 (12)
Fasten off. Leave a tail for sewing.
Cap
- 6 sc in MR
- 6 inc (12)
- (1 sc, inc) x 6 (18)
- (2 sc, inc) x 6 (24)
- 24 sc
- (3 sc, inc) x 6 (30)
- 30 sc
- (4 sc, inc) x 6 (36) 9-11. 36 sc (3 rounds)
- (5 sc, inc) x 6 (42)
- 42 sc
- (6 sc, inc) x 6 (48) 15-18. 48 sc (4 rounds)
- sl st, ch 3, 2 dc in the same stitch, (2 dc in 1 st, 3 dc in 1 st) * to the end of the round.
Fasten off and cut the yarn.
Sepal
Leaves (make 5)
Ch 6 From the 2nd ch from hook: 1 sc, 1 hdc, 1 dc, 1 hdc, 3 sc in the stitch, 1 hdc, 1 dc, 1 hdc, 1 sc (11)
Fasten off and cut the yarn.
Stem
- 6 sc in MR 2-6. 6 sc (5 rounds)
Fasten off and cut the yarn.
First sew the leaves to the cap, then sew the stem to the leaves.
Collar
Crochet in turning rows. Ch 15
- From the 2nd ch from hook 14 inc (28) 2-4. 28 sc
- (3 sc, inc) x 7 (35)
- 1 sc, 2 hdc in 1 st, (2 dc in 1 st) x 31, 2 hdc in 1 st, 1 sc
Fasten off and cut the yarn. Make ties in round 1 on both sides.
Decoration
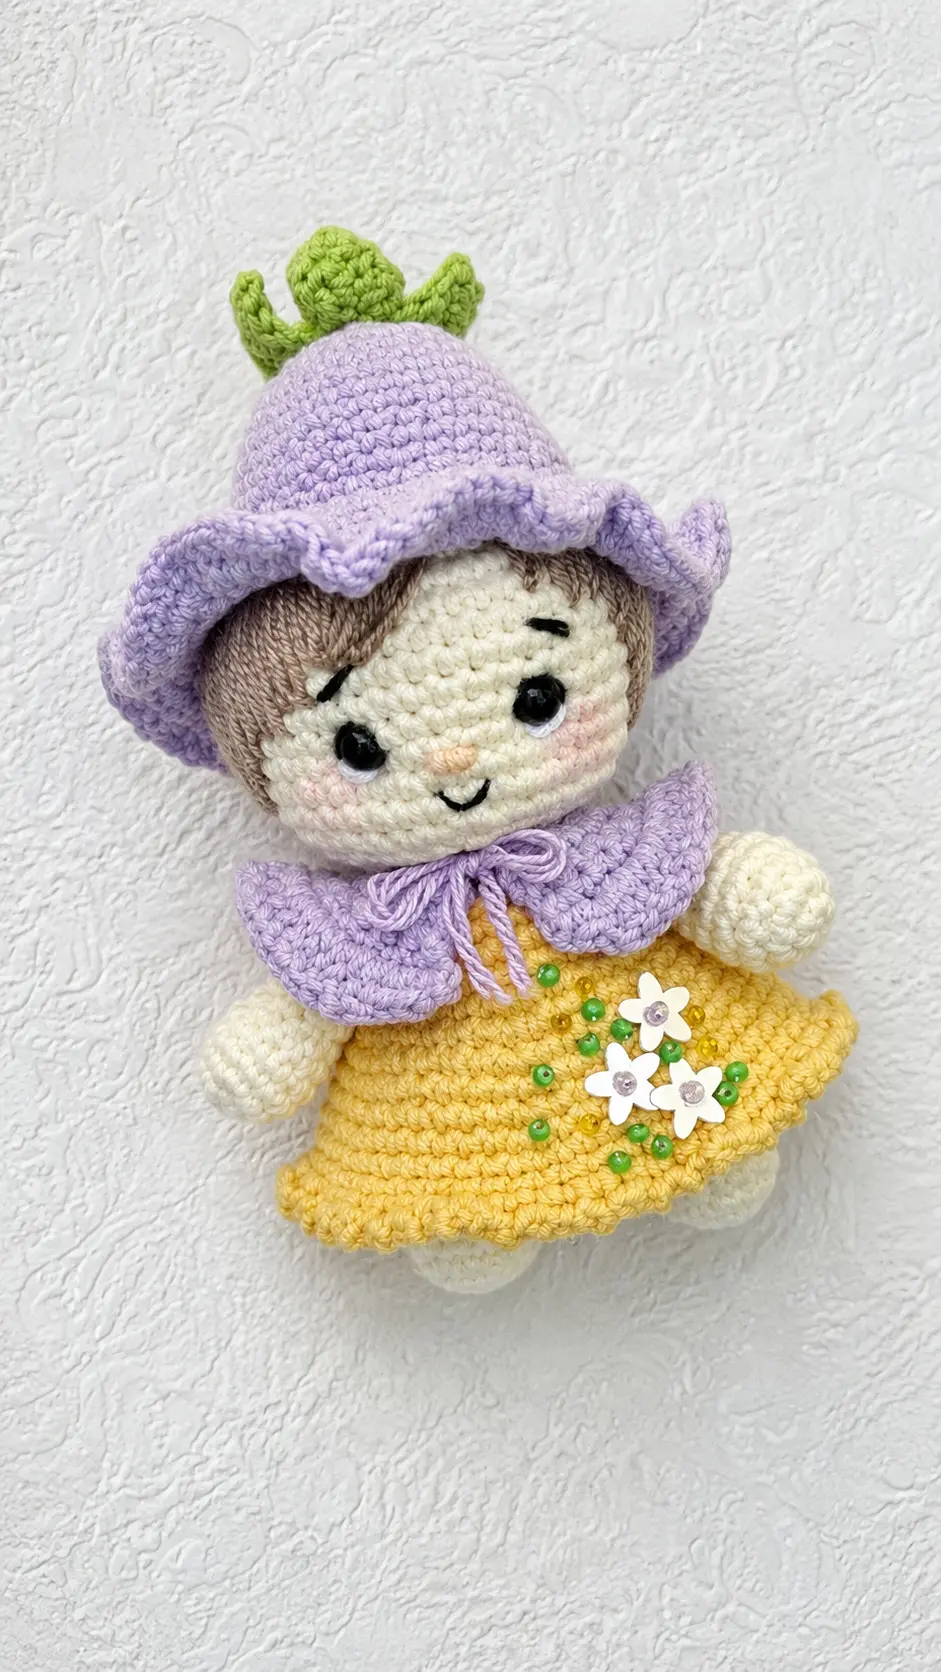
Create the hairstyle. Embroider the entire head in a circle. Try to embroider tightly without gaps. Do facial sculpting. Decorate the face.
Assembly
Sew the arms between rounds 18 and 19. Sew on the head. Put on the collar. Sew on the cap.
Congratulations, your Little Gnome Girl is ready!
Tips for Success
- Keep stitches firm: Use a slightly smaller hook than recommended for your yarn to keep the stitches tight, which prevents fiberfill stuffing from showing through.
- Stuff as you go: Add small pieces of stuffing to the body and head as you work the decreasing rounds so that the doll stays firm and rounded.
- Embroider carefully: When adding the hair and face details, take your time placing the stitches so the eyes and nose match up evenly.
- Pin before sewing: Use glass-head sewing pins to secure the cap and arms in place before stitching them permanently to ensure they are centered.
- Use stitch markers: Place a marker in the first stitch of every continuous round so you never lose your place while counting.
- Weave in ends securely: Use a long tapestry needle to hide all your yarn ends deep inside the stuffed body so they stay secure over time.
Frequently Asked Questions
Can I use acrylic yarn instead of cotton blend yarn?
Yes, you can use any yarn fiber you prefer. Cotton blend yarn gives a smooth finish and great stitch definition, but acrylic yarn works nicely and gives the gnome a slightly softer feel.
What skill level is needed to complete this pattern?
This project is very beginner friendly. It uses basic single crochet stitches, simple increases and decreases, and standard joining techniques.
How do I make sure the safety eyes are secure?
Make sure to snap the back washer firmly into place on the inside of the head before you begin the decrease rounds. If making this toy for a baby, you can embroider the eyes with dark yarn instead.
Can I change the colors of the dress and cap?
Absolutely. This pattern is wonderful for stash busting. You can customize the outfit colors for different seasons, like reds and greens for Christmas or bright pastels for spring.
How do I attach the hair neatly?
Take long strands of embroidery or acrylic yarn and stitch around the top section of the head using long straight stitches, packing them closely together so no skin color shows through.
Conclusion
This Free Amigurumi Pattern Little Gnome Girl Doll is such a lovely weekend project to work on while watching television or sitting on the porch. I hope you enjoy stitching every little detail, from her frilly collar to her darling flower cap! Happy crocheting!


Leave a Comment